You walk past your house, coffee in hand, and notice a dark patch on the brickwork. It’s been there since last winter. Maybe it’s bigger now. You shrug it off as just "old house stuff." But deep down, you know it’s not right. That stain isn’t just cosmetic. It’s a symptom. And more often than not, the culprit isn’t the bricks themselves. It’s the mortar between them. Specifically, the pointing.
We tend to think of pointing as just the glue holding our homes together. A simple filler. But in reality, it’s the first line of defense against the rain, wind, and cold. When it’s done wrong, it doesn’t just look bad. It acts like a sponge, soaking up water and holding it tight against your walls. This trapped moisture has nowhere to go. So it goes inward. Into your plaster. Into your timber. Into your life.
By 2026, we’ve seen a surge in DIY home improvements. People are tackling projects they might have hired out a decade ago. That’s great for empowerment. But it’s also led to a spike in what experts call "pathological pointing." That’s a fancy way of saying the repair job is actually causing the disease. If you’ve recently repointed your home or are thinking about it, you need to know the traps. Because fixing bad pointing is far harder than doing it right the first time.
The Cement Trap: Why Harder Isn’t Better
Let’s talk about the biggest mistake of all. Using the wrong mortar mix. Specifically, using modern Portland cement on older buildings. It’s a classic error. You go to the builder’s merchant, ask for strong mortar, and walk away with a bag of cement-heavy mix. It feels solid. It sets hard. You think you’ve built a fortress.
But here’s the thing. Bricks are porous. They breathe. They absorb a little rain, then let it evaporate out when the sun comes out. Old lime mortar does the same. It’s soft. It’s flexible. It lets moisture pass through it. Cement? Cement is like plastic wrap. It’s impermeable. When you point old bricks with hard cement, you seal the surface. The rain hits the brick face, soaks in, and tries to get out. But it can’t escape through the joints.
So where does it go? It gets trapped inside the wall. The moisture migrates inward, seeking the path of least resistance. That’s usually your internal plaster. Soon, you have bubbling paint. Salts crystallizing on your skirting boards. The brick itself can start to crumble because the water freezes inside it during winter. This is called frost spalling. The cement didn’t protect the wall. It sentenced it. In 2026, conservation officers are still fighting this battle. If your home was built before 1930, chances are it needs lime, not cement. Always check.
The Recessed Joint: Aesthetic Over Function
There’s a style of pointing that looks incredibly sharp. Clean lines. Deep shadows. It’s called recessed pointing, or sometimes struck pointing. It’s popular in modern renovations because it makes the brickwork look crisp and defined. Architects love it for new builds. But on existing walls, especially those exposed to heavy rain, it’s a disaster waiting to happen.
The problem is physics. When you rake the mortar back from the face of the brick, you create a little ledge. The top edge of the brick below the joint sticks out. When rain runs down the wall, it hits that ledge. Instead of shedding off cleanly, the water pools. It sits there. It seeps into the joint from the top. Over time, that constant saturation breaks down the mortar bond.
Worse, if the mortar shrinks slightly as it cures (which it always does), a tiny gap forms at the top of the joint. This is a direct channel for water to enter the core of the wall. You might not see it for years. But the damp will be there, working its way down. By the time you notice the tide mark on your interior wall, the damage is extensive. Stick to flush or weather-struck pointing for most residential properties. Let the water run off, not sit still.
The Skin-Deep Fix: Overpointing Gone Wrong
Sometimes, the old pointing isn’t fully failed. It’s just a bit tired. Crumbly in spots. The easy solution seems obvious: just slap new mortar over the top. It’s quicker. It’s cheaper. It’s called overpointing. And it’s one of the fastest ways to ruin a wall.
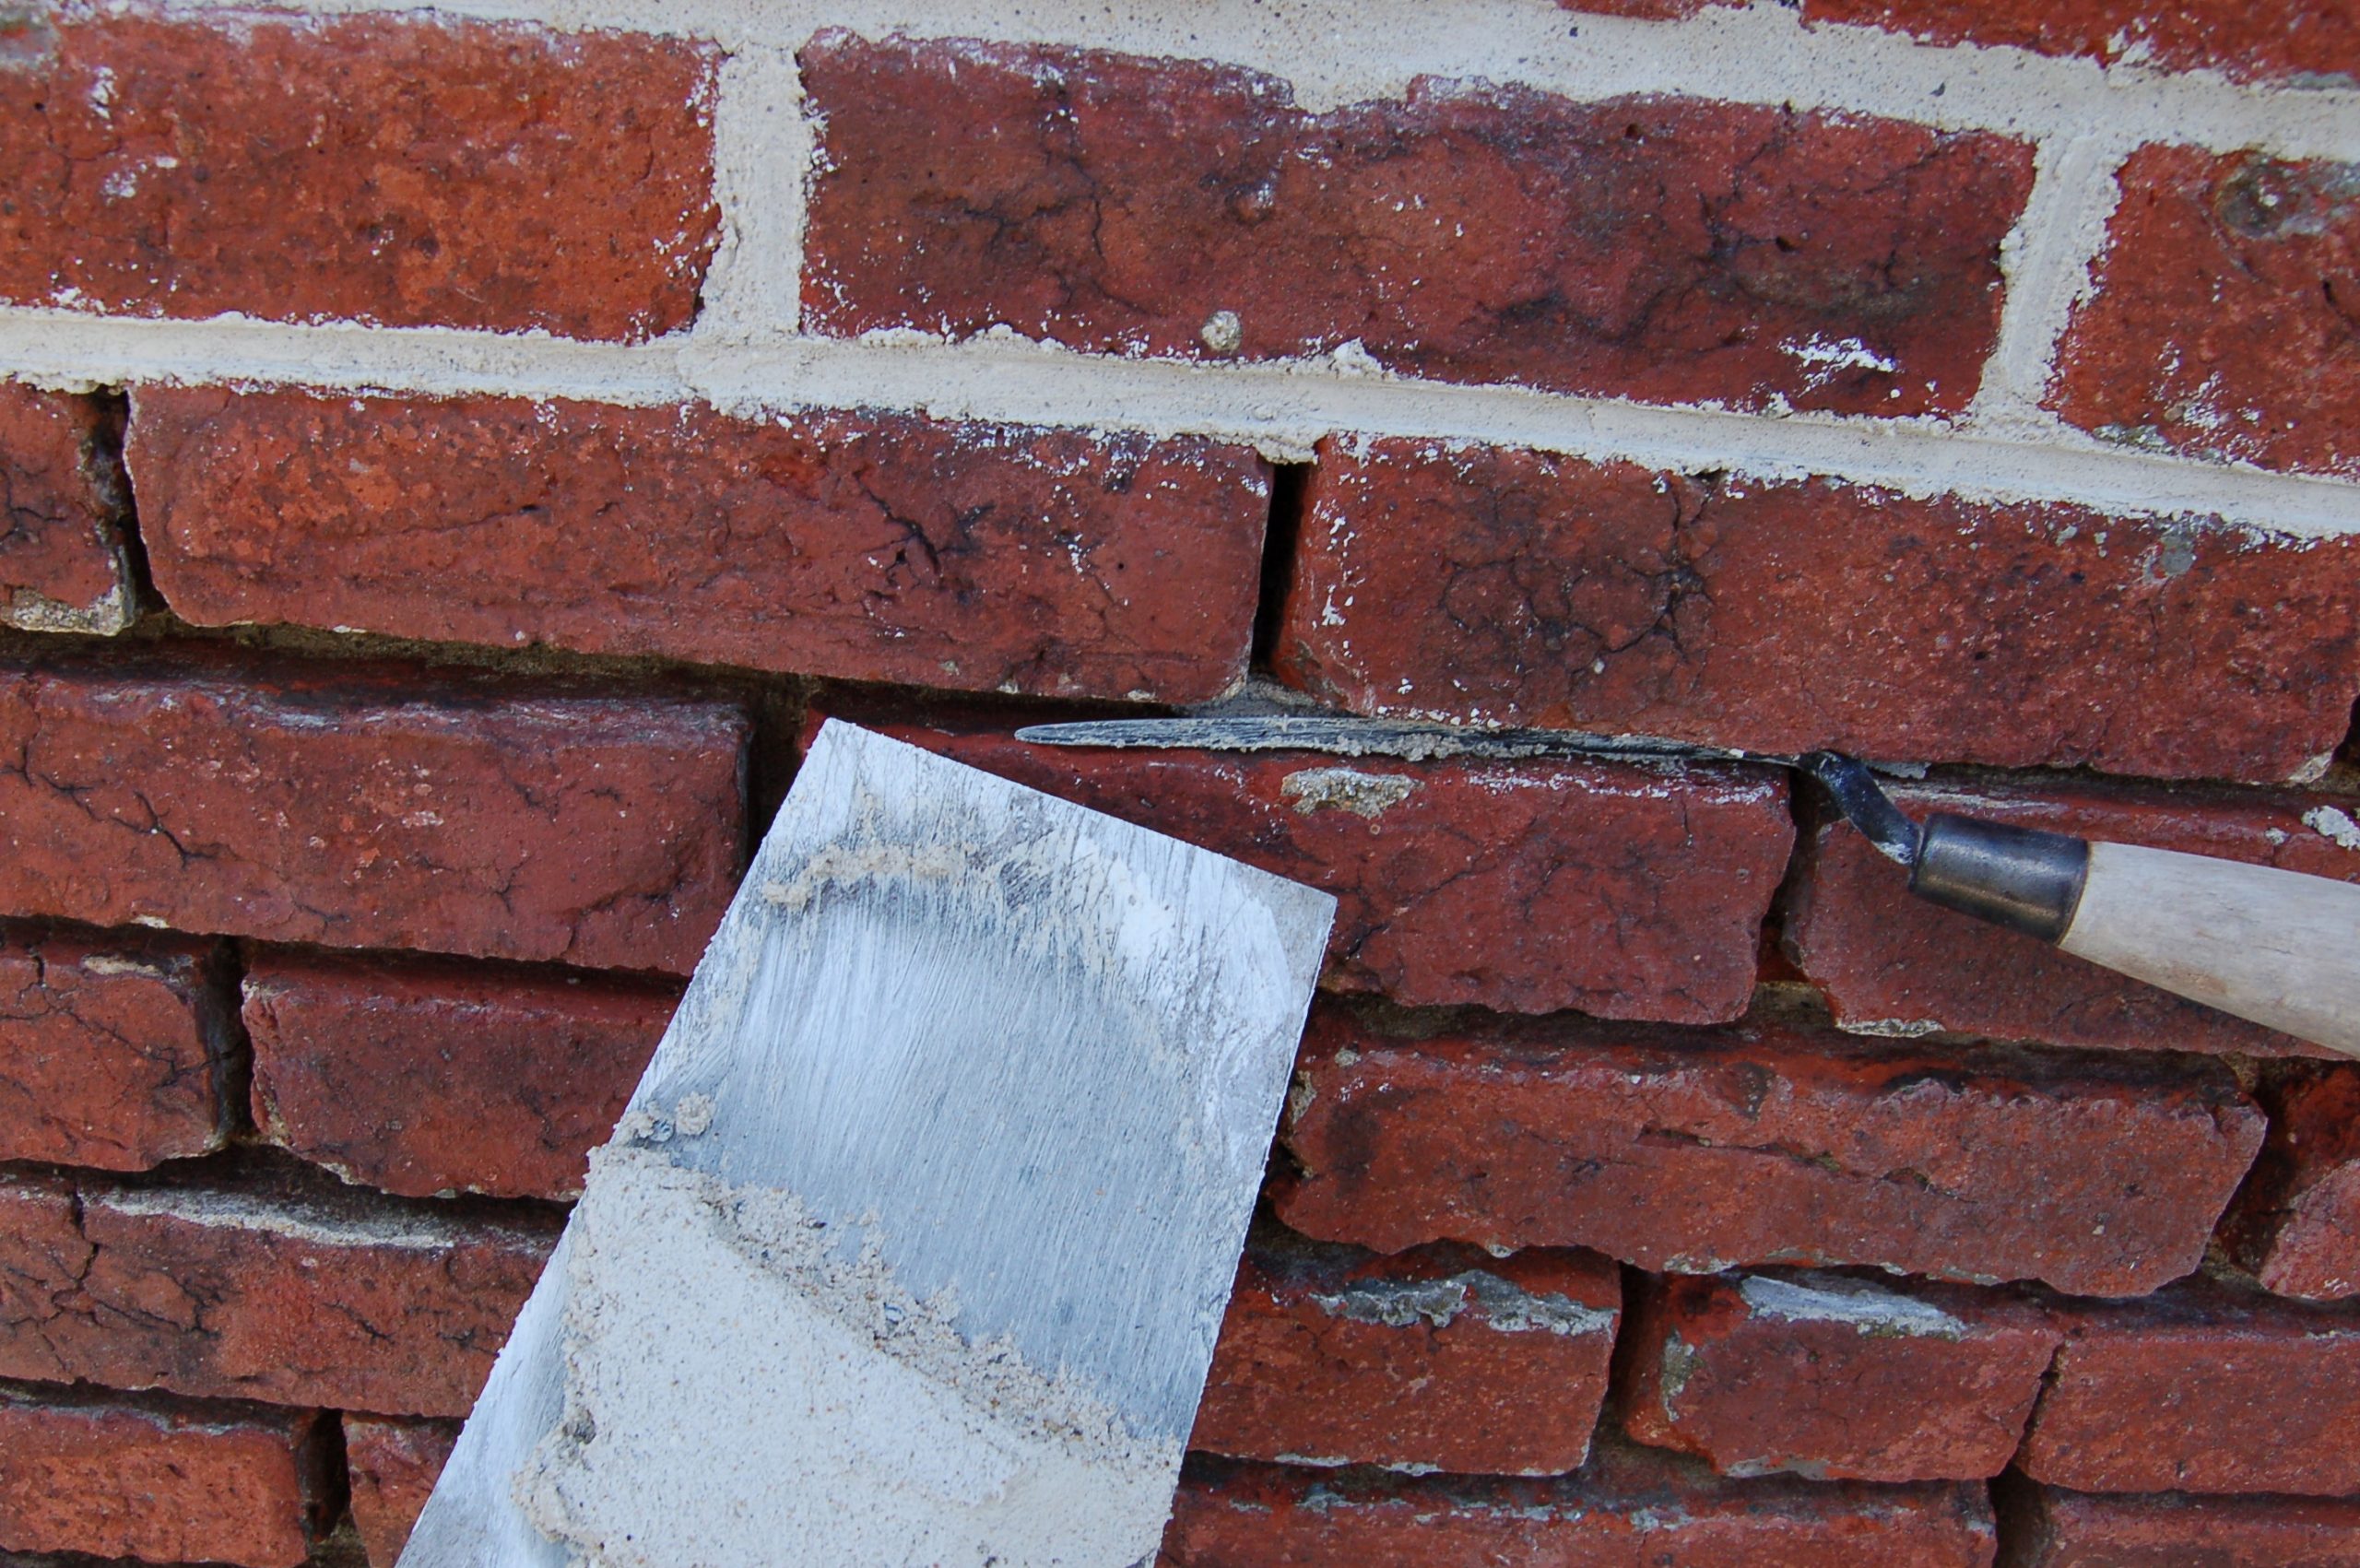
New mortar needs a mechanical key to stick. It needs to grip onto something rough and solid. If you just apply a thin layer of fresh mix over old, dusty, loose mortar, it won’t bond. It’ll sit on top like icing on a stale cake. Within a year, thermal expansion and contraction will crack it. Rain will get behind the new skin. Now you have two layers of failed mortar trapping water between them.
Proper repointing requires raking out. You need to remove the old mortar to a depth of at least twice the width of the joint. Usually, that’s about 15-20mm. This exposes the clean sides of the bricks. The new mortar locks into these sides. It becomes part of the wall structure, not just a sticker on the front. If a contractor suggests they can just "touch it up" without raking out, run. Or at least, get a second opinion. It’s a corner cut that costs double in the long run.
Ignoring the Weather: Timing Is Everything
Mortar isn’t just about ingredients. It’s about environment. You can buy the best lime putty in the world, but if you apply it on a freezing day or in blazing sunshine, it will fail. This is a mistake we see every spring and autumn. Homeowners rush to finish exterior jobs before the "bad weather" sets in, ignoring the micro-climate of the wall itself.
If it’s too hot, the water in the mix evaporates too quickly. The mortar doesn’t have time to cure properly. It becomes weak and dusty. It cracks. If it’s too cold, below 5°C, the chemical reaction that hardens the mortar stops. If water inside the mix freezes, it expands. This blows the joint apart from the inside. Lime mortar is even more sensitive. It needs to stay damp to carbonate correctly.
In 2026, with increasingly erratic weather patterns, this is harder to manage. You can’t just look at the forecast for "rain." You need to watch the wind and the sun. Protect fresh pointing with hessian sacks if it’s windy. Mist it down if it’s hot. Cover it if frost is predicted. Rushing the job because you want it done by the weekend is a recipe for having to do it again next year. Patience isn’t just a virtue here; it’s a structural necessity.
The Tooling Error: Compressing vs. Smearing
How you finish the joint matters as much as what you put in it. This is called tooling. When the mortar is "thumbprint hard" (firm but still workable), you press it with a specialized tool to compact it and shape it. This compression pushes the aggregate into the pores of the brick edge, creating a watertight seal.
A common mistake is smearing. Instead of pressing the mortar, the worker uses a trowel or a brush to smooth it over the brick faces. This looks neat initially. But it creates a weak surface layer. It doesn’t compact the joint. More importantly, it smears mortar onto the brick face. This is messy, yes, but it also prevents the brick from breathing properly at the edges.
Smearing also leads to "laitance." This is a weak, milky film of cement particles that rises to the surface. It flakes off easily. Once it flakes, water gets in. Proper tooling brings the fines to the surface in a controlled way, creating a dense, durable skin. It takes skill. It takes practice. If you see a job where the mortar looks painted on rather than pressed in, be wary. That wall will likely leak within a few seasons.
Finally, there’s the issue of compatibility. Not just chemical compatibility, but visual and physical matching. Every house has a history. The original builders used local sand. Local lime. Specific techniques. When we repair, we often ignore this context. We use bright white, sterile sand from a bag. It stands out like a sore thumb.
But beyond aesthetics, mismatched materials cause stress. If the new mortar is significantly stronger or denser than the surrounding historic fabric, it changes how the wall moves. Walls settle. They expand in summer and contract in winter. If the pointing is rigid and the bricks are soft, the bricks will take the strain. They will crack. The mortar should always be slightly weaker than the brick. It’s a sacrificial layer. It’s meant to wear out so the bricks don’t have to.
In recent years, heritage guidelines have become stricter for good reason. Using a generic mix on a Victorian terrace or an Edwardian semi is negligent. You need to analyze the existing mortar. Match the color, the texture, and the permeability. It’s not just about preserving the look. It’s about preserving the function. Your home is a system. Disrupt one part, and the whole thing suffers. Take the time to get the match right. Your walls will thank you.
So, where does this leave us? Pointing isn’t just a chore. It’s a critical maintenance task that defines the health of your home. The mistakes are common. Cement on lime buildings. Recessed joints on exposed walls. Skimping on the rake-out. Ignoring the weather. These aren’t minor errors. They are fundamental misunderstandings of how masonry works.
If you’re looking at your walls right now, look closely. Are the joints flush or recessed? Is the mortar crumbling or rock hard? Do you see dark patches after rain? Don’t panic. But do act. Bad pointing doesn’t fix itself. It only gets worse. Water is patient. It will find the crack. It will soak the brick. It will rot the timber.
Fixing it requires respect for the materials. Respect for the craft. And a willingness to do it slowly, and correctly. Whether you hire a pro or tackle it yourself, make sure you’re using the right mix for your specific wall. Check the age of your property. Consult a specialist if you’re unsure. It’s better to spend a bit more on the right lime mortar today than to replaster your living room next year. Your home is your sanctuary. Keep it dry. Keep it breathing. Keep it safe.