You know the sound. It’s not a roar. It’s not even a splash. It’s that rhythmic, maddening plip… plip… plip coming from the dark cabinet under your kitchen sink. You’ve ignored it for weeks. Maybe months. You tell yourself it’s just condensation. You tell yourself you’ll call someone. But here we are, in 2026, and that little puddle is still growing.
Let’s be real. Calling a plumber for a basket strainer feels like overkill. It’s a small part. It costs maybe twenty bucks. But the idea of crawling under there, wrestling with rusty nuts, and potentially flooding your kitchen? That’s enough to make anyone hesitate. I get it. I’ve been there. The good news is, replacing a basket strainer is one of those home repairs that looks way scarier than it actually is. With the right prep and a little patience, you can fix this yourself. And you’ll save a chunk of change while you’re at it.
Is It Really the Strainer? (Don’t Skip This Step)
Before you rush out to buy parts, take a second to play detective. Not every leak under the sink comes from the basket strainer. In fact, assuming it’s the strainer is the most common mistake DIYers make. Grab a flashlight and a dry rag. Wipe everything under the sink completely dry. Then, run some water. Watch closely.
If the water drips from the very top, where the metal flange meets the sink basin, you’ve likely got a bad strainer seal. But if the leak is coming from the joints further down the pipe, or from the P-trap itself, you might just need to tighten a slip nut or replace a washer. Also, check the sink basin itself. Sometimes, especially with older stainless steel or composite sinks, there can be a tiny pinhole or crack right next to the drain hole that the old strainer was covering up. If you see rust or corrosion spreading on the underside of the sink around the hole, that’s a bad sign. You don’t want to install a brand new strainer only to find out the sink itself is compromised.
Another thing to look for is slow drainage. If your sink drains sluggishly, the problem might not be a leak at all, but a clog deep in the pipes. Replacing the strainer won’t fix a clog. So, give it a quick test. If the water goes down fine but still leaks, you’re probably safe to proceed with a strainer replacement. If it pools up, grab a plunger or a drain snake first. Save yourself the headache of doing the job twice.
Gathering Your Arsenal: Tools for 2026
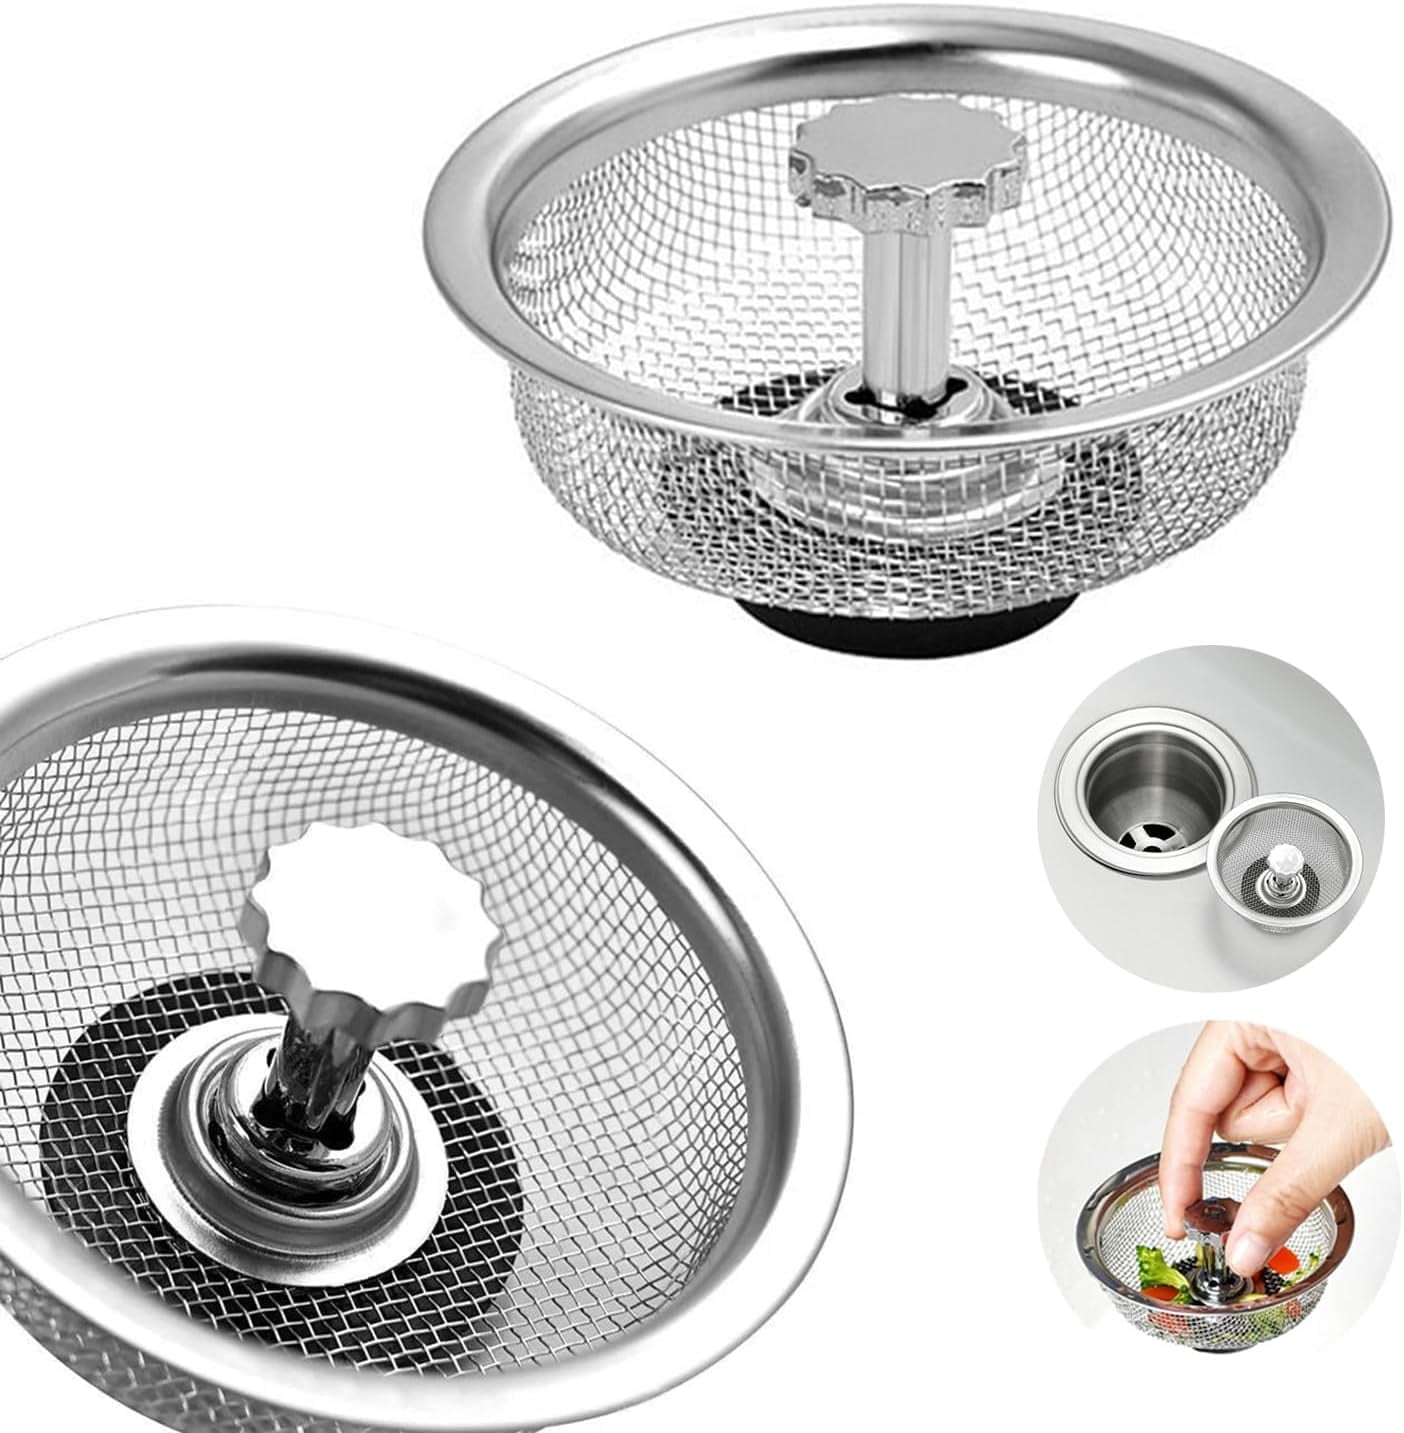
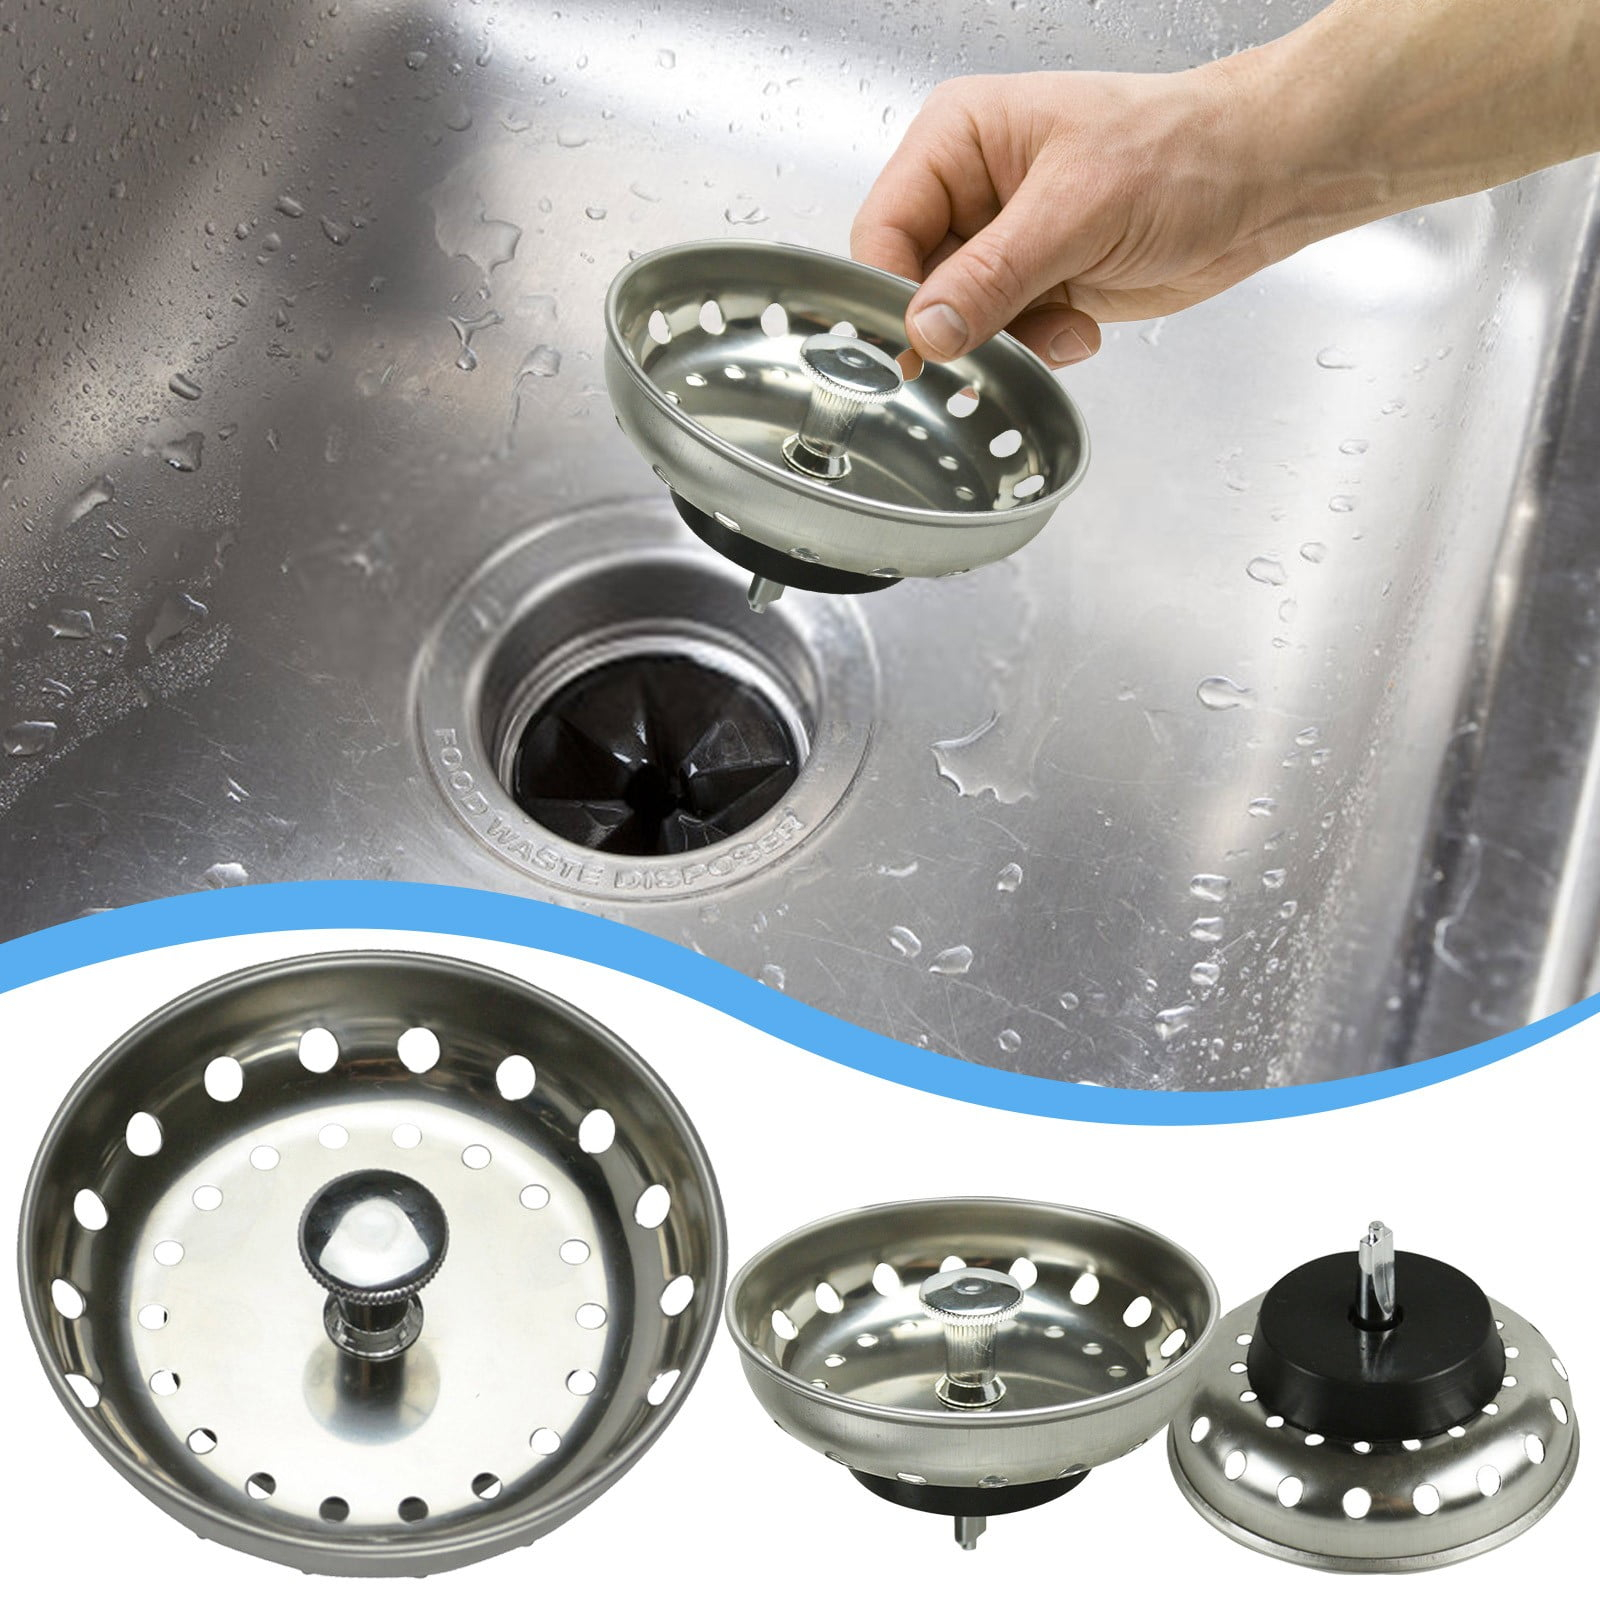
Okay, so it’s definitely the strainer. Now, what do you need? The nice thing about this job is that you don’t need a van full of professional gear. Most of this stuff is probably already in your junk drawer. First, you’ll need a new basket strainer kit. These are widely available at any hardware store or online. In 2026, you’ll find lots of options, from basic stainless steel to fancy brushed gold finishes that match your faucet. Just make sure it fits your sink hole. Standard size is usually 3.5 inches, but measure yours to be sure.
You’ll also need some plumber’s putty or silicone caulk. Plumber’s putty is the old-school favorite. It’s soft, easy to work with, and creates a great watertight seal. However, if you have a granite, marble, or quartz sink, skip the putty. Some oils in traditional putty can stain natural stone. For those surfaces, use 100% silicone caulk instead. It’s safer and just as effective.
For tools, grab an adjustable wrench or a pair of channel-lock pliers. You’ll use these to loosen the old locknut and tighten the new one. A screwdriver might come in handy if your old strainer has crossbars at the bottom. And don’t forget a bucket! Place it directly under the P-trap before you start taking things apart. There will be residual water in the pipes, and you don’t want that nasty gray sludge all over your cabinet floor. Oh, and some old rags. You’ll need them more than you think.
The Great Removal: Getting the Old One Out
This is the part where things get messy. Start by removing the P-trap. Loosen the slip nuts on either side of the U-shaped pipe. You can usually do this by hand, but if they’re stuck, use your pliers gently. Don’t crank on them too hard, or you’ll crack the plastic. Once the nuts are loose, pull the trap down and dump the contents into your bucket. Expect some gunk. It’s normal.
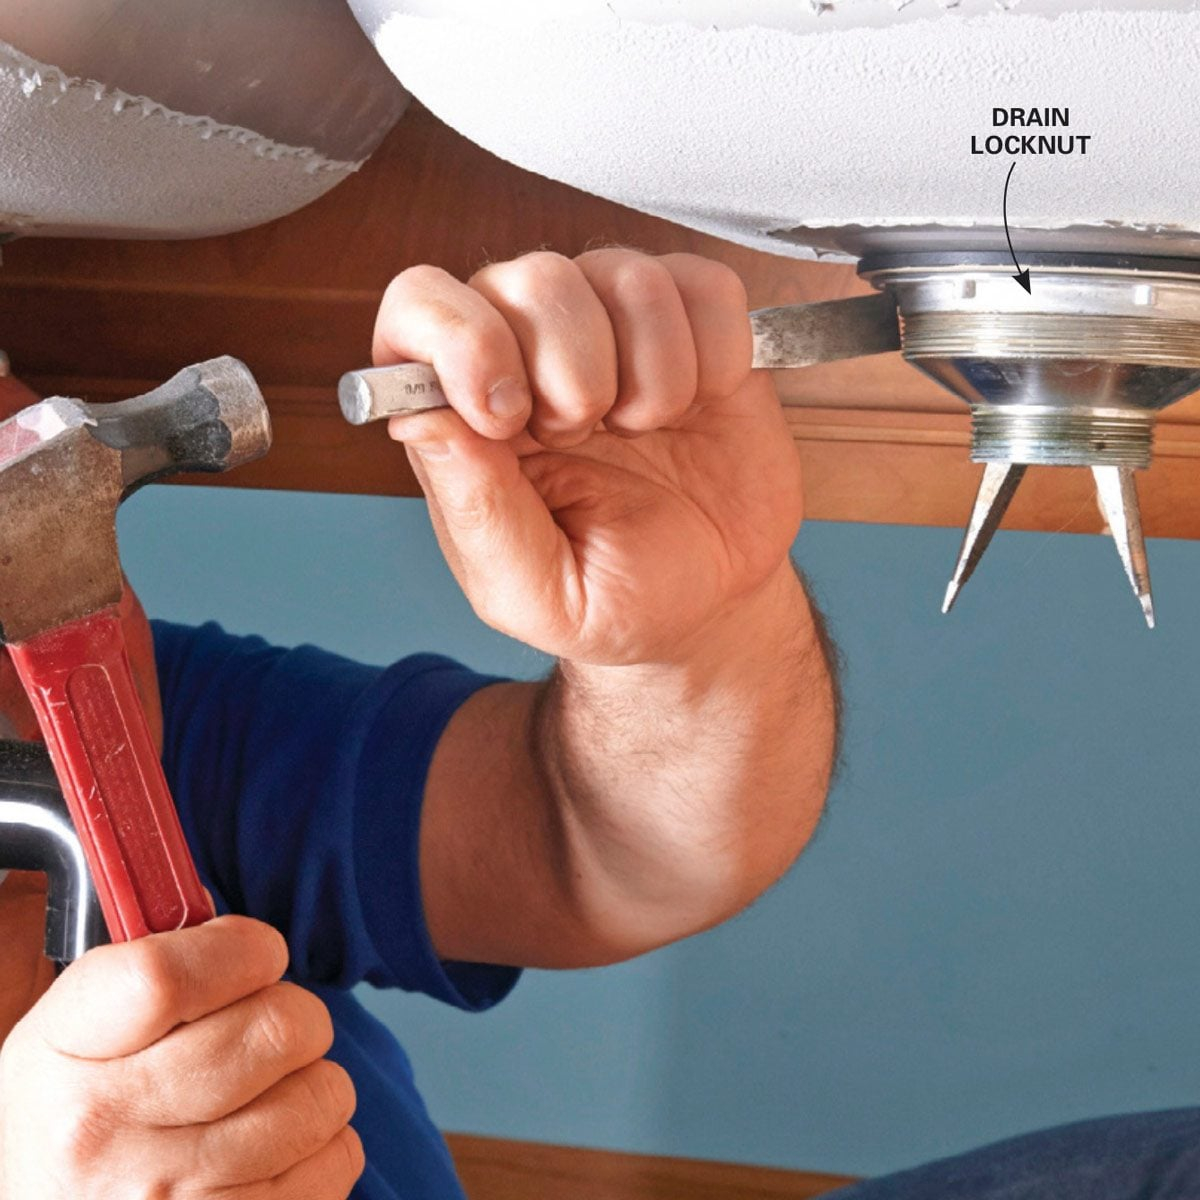
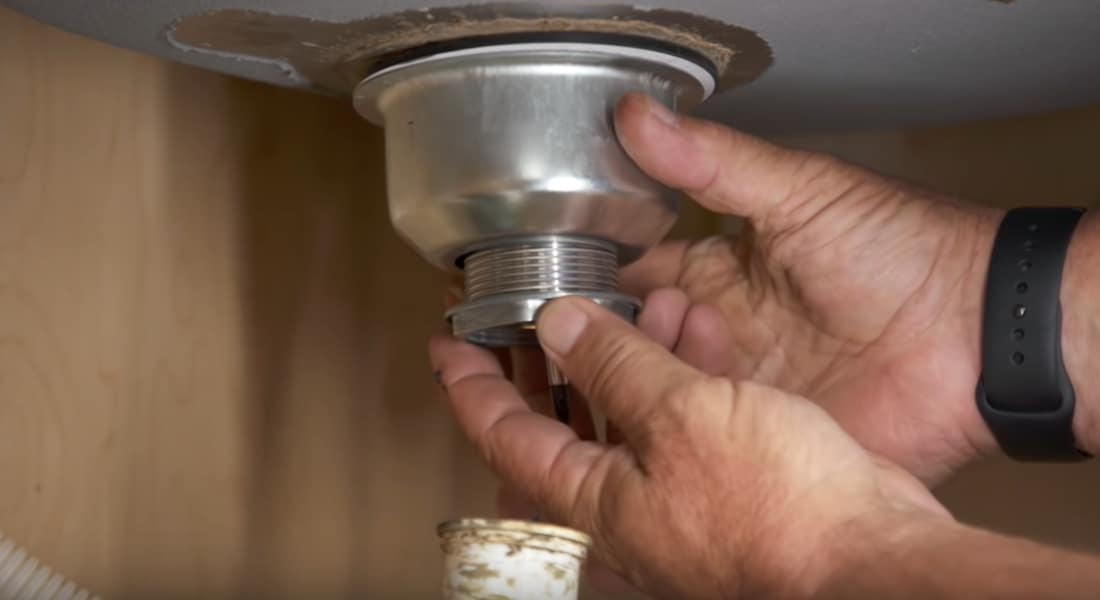
With the trap out of the way, you can see the bottom of the basket strainer. There’s a large locknut holding it in place. This nut is often corroded or calcified, especially if you’ve had the leak for a while. Spray it with a penetrating oil like WD-40 or PB Blaster and let it sit for ten minutes. This makes a huge difference. Then, use your pliers to turn the nut counter-clockwise. It might take some effort. If it’s really stubborn, you can try tapping the pliers lightly with a hammer to break the corrosion bond. Just be careful not to damage the sink.
Once the locknut is off, the strainer body should drop down. If it’s stuck, it’s probably sealed with old putty or caulk. Gently wiggle it back and forth. You might need to push it up from below while pulling the flange from above. When it finally comes free, you’ll see a ring of old, hardened putty around the hole. Scrape this off thoroughly. Use a putty knife or even an old credit card. The surface needs to be clean and smooth for the new seal to work. Take your time here. A sloppy cleanup leads to a sloppy seal, which leads to… well, more leaks.
Prepping the Surface: The Secret to a Leak-Free Seal
Now that the old strainer is out and the hole is clean, inspect the area again. Run your finger around the edge of the drain hole. Is it smooth? Are there any nicks or burrs? If the metal is rough, the new seal might not sit right. You can use a little fine-grit sandpaper to smooth out any rough spots. Wipe the area down with rubbing alcohol to remove any grease or debris. It needs to be bone dry and clean.
If you’re using plumber’s putty, roll out a rope about the thickness of a pencil. Form it into a circle and press it firmly around the underside of the new strainer’s flange. Don’t be shy with it. You want a continuous bead with no gaps. When you press the strainer into the sink hole, the putty will squish out the sides. That’s good. It means you have enough. If you’re using silicone, apply a generous bead around the flange instead. Silicone takes longer to cure, so you’ll need to let it set for a few hours before running water, whereas putty is ready to go almost immediately.
Drop the strainer body into the hole from the top. Make sure it sits evenly. From underneath, slide the rubber gasket onto the threads, followed by the friction ring (if your kit has one), and then the locknut. Hand-tighten the nut as much as you can. This holds everything in place while you adjust the alignment. Check from the top to make sure the strainer is centered. If it’s crooked, the water won’t drain properly, and it might look weird too.
Tightening It Down: Finding the Sweet Spot
Here’s where most people mess up. They think tighter is better. It’s not. If you overtighten the locknut, you’ll squeeze all the putty out, leaving gaps. Or worse, you’ll crack the sink basin, especially if it’s made of porcelain or fireclay. You want to tighten it just enough to create a firm seal.
Use your pliers to give the locknut another quarter to half turn after hand-tightening. That’s usually plenty. As you tighten, watch the putty squeezing out from the top. You should see a consistent ring of putty emerging all the way around. If it stops squeezing out on one side, stop tightening. You can always add more putty later, but you can’t un-crack a sink.
Once it’s tight, wipe away the excess putty from the top with your finger or a rag. It should look neat and tidy. If you used silicone, wipe away the excess with a damp cloth and smooth the bead for a professional finish. Remember, if you used silicone, you need to wait. Check the package instructions, but it’s usually at least 24 hours before you can introduce water. Patience is key here. Rushing this step is the fastest way to undo all your hard work.
With the new strainer secured, it’s time to put the plumbing back together. Reattach the P-trap. Make sure the slip nuts are aligned correctly and hand-tighten them. Give them a slight tweak with your pliers, but again, don’t go crazy. Plastic threads strip easily. If your old P-trap looks gross or cracked, now is the perfect time to replace it. They’re cheap and easy to swap. While you’re at it, check the condition of the tailpiece connecting the strainer to the trap. If it’s corroded, replace it.
Once everything is reconnected, remove the bucket. Plug the sink and fill it with a few inches of water. Let it sit for a minute. Look under the sink. Do you see any drips? If not, pull the plug and watch the water drain. Check the connections again as the water rushes through. Sometimes leaks only show up under the pressure of flowing water.
If you see a small drip, don’t panic. Try tightening the offending nut just a tiny bit. If it’s leaking from the top flange, you might need to redo the seal. But if it’s dry, congratulations. You did it. Run the garbage disposal if you have one, just to make sure everything vibrates correctly and doesn’t shift. Clean up your tools, throw away the old parts, and enjoy the silence. No more plip… plip… plip.
Fixing a leaky basket strainer isn’t glamorous. It’s a bit gritty and requires you to contort your body into awkward positions. But it’s satisfying. You’ve solved a problem that was nagging at you. You’ve saved money. And you’ve learned a skill that’ll serve you well for years. In 2026, with all the smart home gadgets and complex appliances, there’s something refreshing about fixing a simple mechanical issue with your own two hands. So go ahead. Dry off that cabinet floor. You’ve earned it.