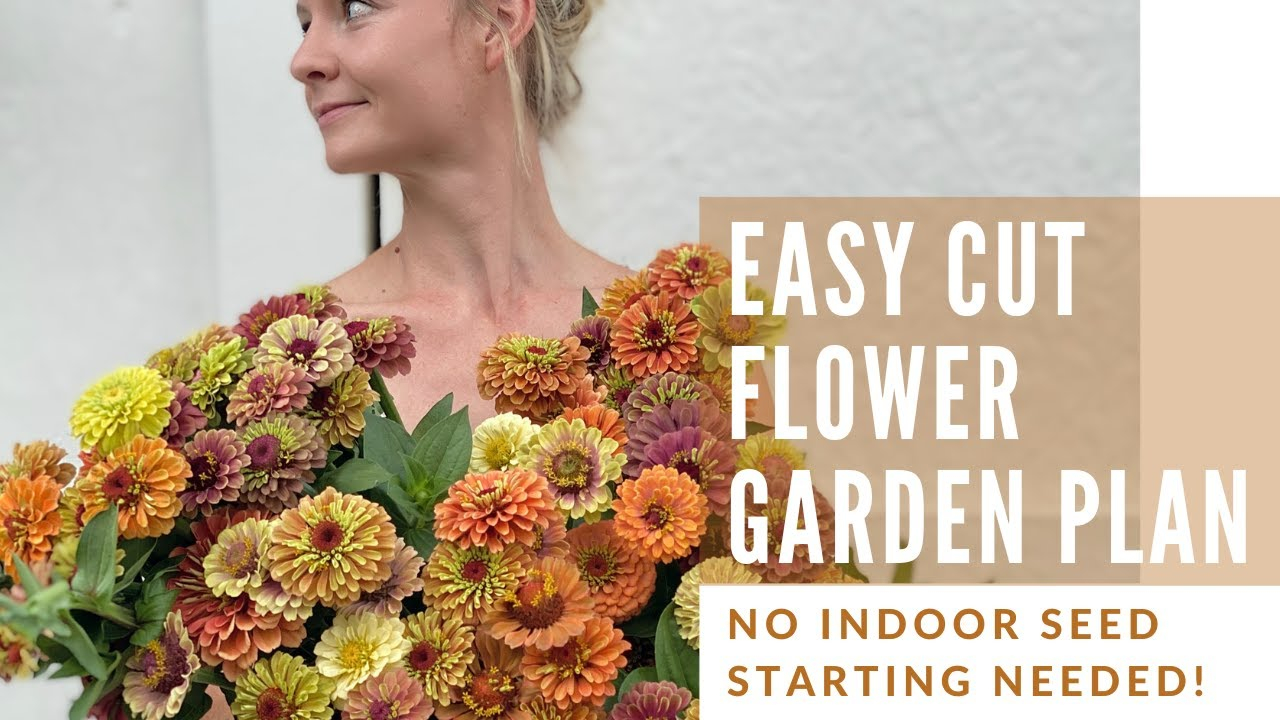
You’ve done the hard part. You woke up early, dew still clinging to your eyelashes, and snipped the best bits from your garden. The zinnias are popping, the snapdragons are tall, and that one rogue dahlia finally opened. You bring them inside, buzzing with pride. You grab a vase. You start sticking stems in. And then… it happens.
It looks like a accident. A nice accident, sure, but definitely not the lush, rounded dome you saw on Pinterest. It’s lopsided. It’s sparse on one side. It looks like a bird’s nest that gave up on life. Why does this keep happening? You’re not bad at this. You just haven’t cracked the code of proportion yet. It’s not about having "more" flowers. It’s about how they relate to each other, and to the vessel holding them.
Let’s be real for a second. Most of us grow flowers because we love the chaos of nature. But when we bring that chaos indoors, our brains crave order. We want it to look intentional. The gap between "garden fresh" and "messy" is thinner than you think. It usually comes down to three things: stem length, focal point placement, and negative space. If you can master those, you’re golden.
The Golden Ratio Isn’t Just for Math Class
There’s a reason artists have been obsessing over proportions for centuries. It’s because our eyes naturally seek balance. In the floral world, we often talk about the "Golden Ratio" or simply the rule of thirds. It sounds fancy, but it’s actually super simple. Think of your bouquet as a triangle or a dome. The height of your flowers should generally be about 1.5 times the height of your vase.
If you have a short, squat vase, your flowers shouldn’t tower over it like skyscrapers. They’ll look top-heavy and unstable. Conversely, if you have a tall cylinder vase, tiny posies will look lost at the bottom, like they’re hiding. In 2026, the trend is shifting slightly towards more organic, asymmetrical shapes, but the underlying math remains the same. The visual weight needs to feel grounded.
Try this next time you arrange. Measure your vase. Multiply that height by 1.5. That’s your maximum height for the tallest stem. Cut everything else relative to that. It creates a natural hierarchy. Your eye travels up the arrangement and then settles back down. It feels complete. Without this anchor, your bouquet just looks like a handful of stems stuck in water.
The Focal Point Problem
Every good story has a main character. Your bouquet needs one too. This is your focal point. It’s usually the largest bloom, the most unusual shape, or the brightest color. In a homegrown mix, this might be that giant sunflower head or a complex peony. The mistake most people make is hiding the hero.
We tend to bunch all the big flowers together in the center, then stuff the smaller stuff around it. This creates a dense, heavy middle with no breathing room. It looks cluttered. Instead, try placing your focal point slightly off-center. Lower it down into the vase, closer to the rim. This grounds the arrangement. It lets the bigger blooms do their job without shouting over the quieter flowers.
Think of it like a conversation. The focal point is the person speaking. The filler flowers are the listeners nodding along. If everyone talks at once, it’s noise. If the speaker is buried in the crowd, no one hears them. Give your biggest blooms space to shine. Let them sit lower and heavier in the design. It instantly adds sophistication.
Stem Length and the Illusion of Depth
Here is a harsh truth: uniform stem lengths kill bouquets. If you cut every single stem to exactly 10 inches, you get a flat, two-dimensional circle. It looks like a store-bought bundle that hasn’t been fluffed. Nature isn’t flat. It has layers. It has depth. To mimic that, you need variation.
Start with your shortest stems. These go near the rim of the vase, pointing outward. They create the base width. Then, add your medium stems. These fill out the body of the bouquet. Finally, your tallest stems go in the center or slightly back, adding height. This layering technique creates a 3D effect. It makes the bouquet look fuller than it actually is.
I call this the "onion method." You build it in layers. Don’t just stick them in vertically. Angle some stems out. Let some droop slightly. This movement is key. In recent years, florists have moved away from rigid, symmetrical balls of flowers. They prefer arrangements that look like they were just gathered. But "just gathered" still requires strategic cutting. Vary those lengths by at least 3-4 inches between layers.
The Trap of Overstuffing
We love our gardens. So when we cut, we want to use everything. We grab the lavender, the mint, the three types of roses, the cosmos, and that weird grass thing. We shove it all into one vase. The result? A visual headache. There’s too much going on. The eye doesn’t know where to rest.
Restraint is the hardest skill to learn. It feels wasteful to leave beautiful flowers on the counter. But less is often more. Pick a palette. Maybe just two main colors and one accent. Or pick one texture focus, like all fluffy things, and pair it with one spiky thing. By limiting your ingredients, you allow each element to be seen.
In 2026, sustainability is huge. We don’t want to waste. But remember, you can make two smaller bouquets instead of one messy giant one. Split your haul. Put the bold dahlias in one vase with simple greenery. Put the delicate cosmos in another with some trailing vines. Both will look intentional. The combined mess will not. Quality over quantity, always.
Greenery is the Glue, Not the Afterthought
Many home growers treat greenery as an afterthought. They arrange the flowers, realize there are gaps, and then jam in a sprig of mint or basil. This looks tacked on. It doesn’t integrate. Greenery should be the foundation. It’s the glue that holds the composition together.
Start with your greens. Create a loose structure with them. Let them establish the shape and the spread. Then, insert your flowers into that framework. The greens hide the mechanics (the stems crossing inside the vase) and provide a soft backdrop that makes the petals pop. Without enough greenery, flowers can look isolated and stiff.
Also, consider the type of green. Soft, leafy greens like lamb’s ear or dusty miller add volume and soften edges. Spiky greens like ferns or ornamental grasses add line and movement. Mix them. Use the soft ones to fill holes and the spiky ones to break the silhouette. This contrast is what makes a bouquet look professional rather than accidental. It ties the disparate elements into a cohesive whole.
You’ve built the structure. You’ve placed your focal point. You’ve varied your heights. Now, step back. Look at it from across the room. Does it lean? Is one side heavier? This is the moment for the "fluff." Gently pull individual stems outward. Rotate the vase. Check for bald spots.
Often, a bouquet looks messy because the stems are all facing the same way. Turn some flowers to face forward, some to the side, and some slightly down. This creates intimacy. It invites the viewer to look closer. Don’t be afraid to remove a stem that just isn’t working. Sometimes, taking one thing out fixes the whole vibe.
Finally, check your water line. Strip any leaves that will sit below the water. Rotting leaves breed bacteria, which kills your flowers faster. Clear water keeps them crisp longer. And hey, if it still looks a bit wonky? That’s okay. It’s homegrown. It’s supposed to have personality. Perfection is boring. Aim for balanced, not perfect. Enjoy the process.
So, the next time you bring in armfuls of garden gold, pause before you cut. Think about the vase. Think about the hero flower. Vary those lengths. Don’t cram it all in. Let the greenery do its work. With these small shifts in thinking, your bouquets will stop looking like accidents and start looking like art. It’s not magic. It’s just proportion. And you’ve got this.