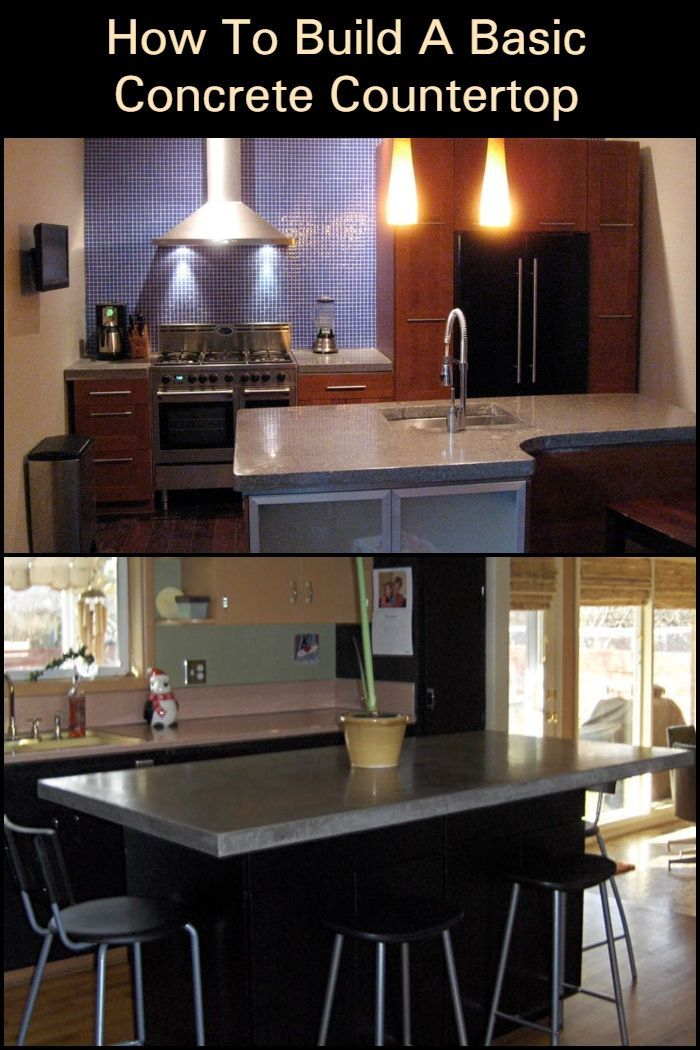
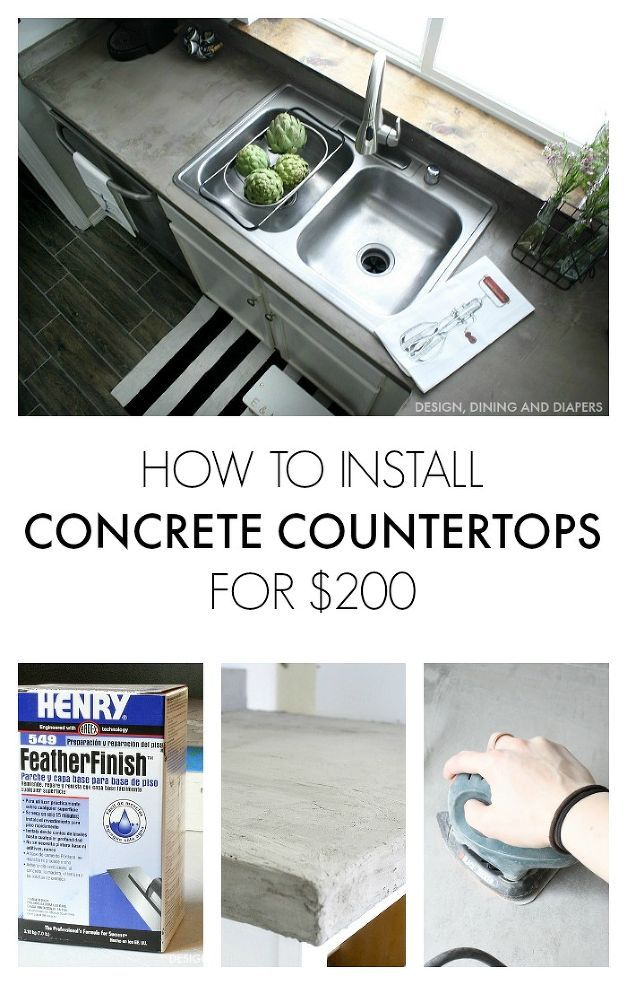
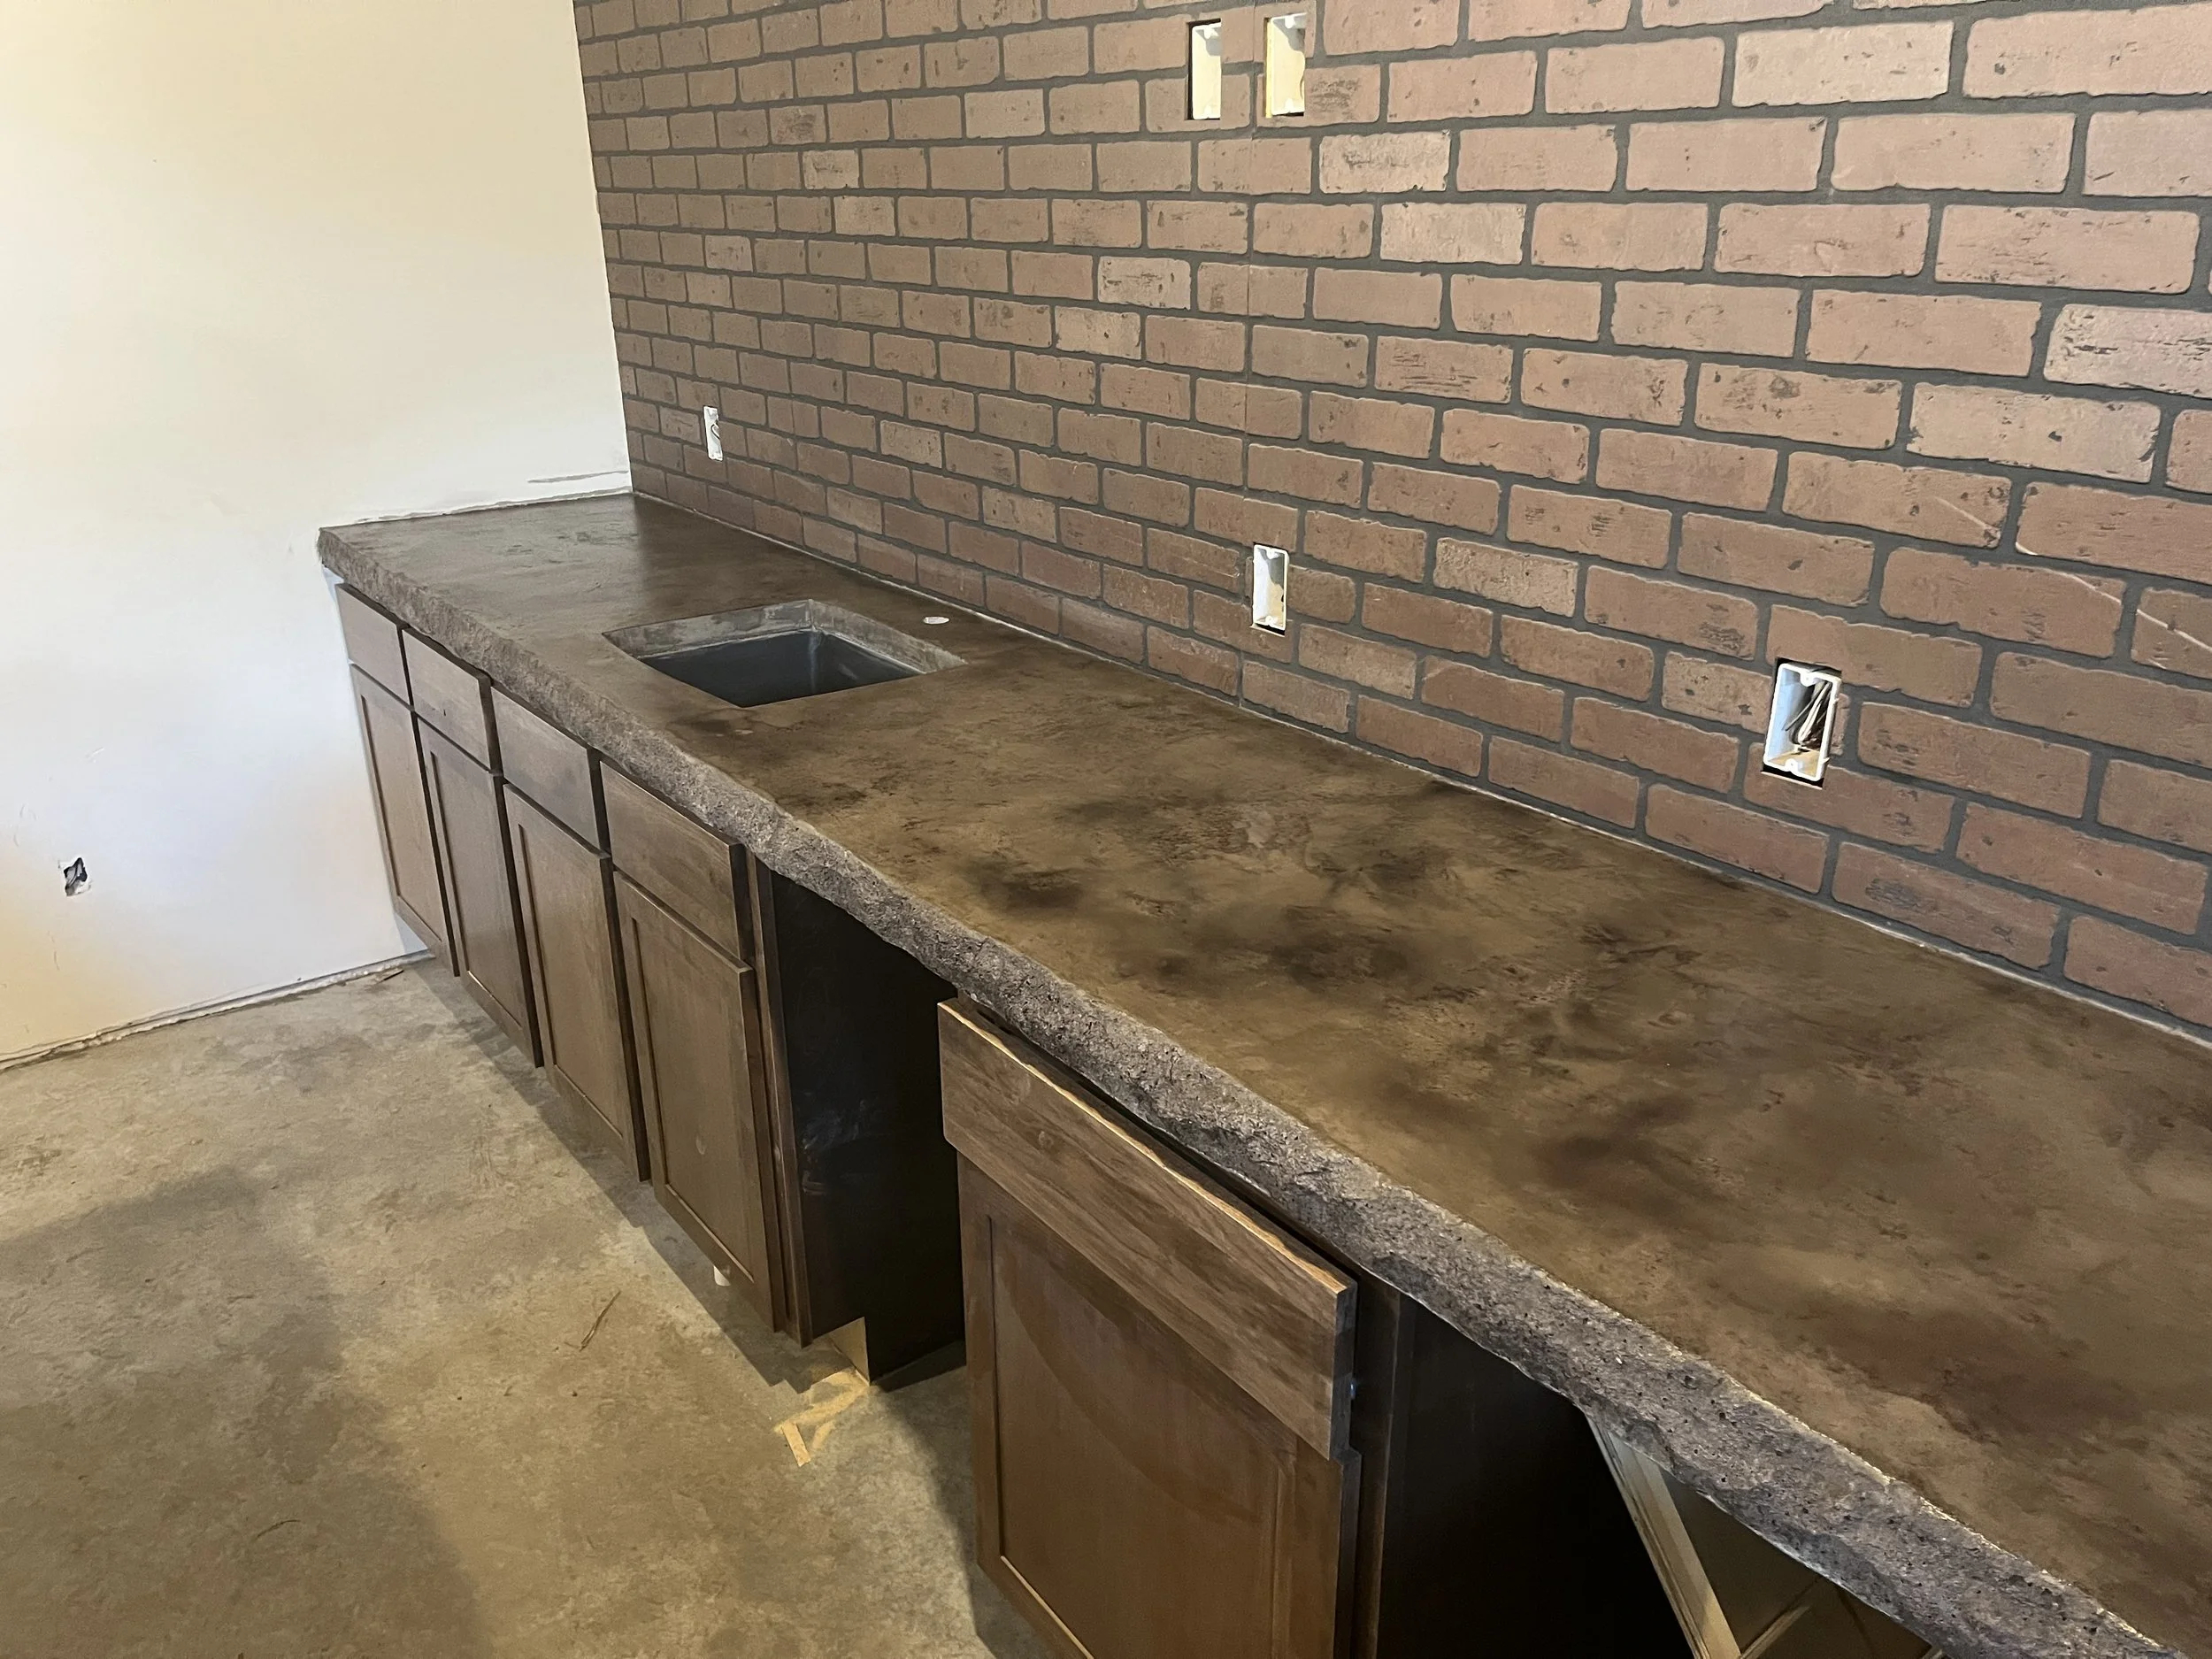
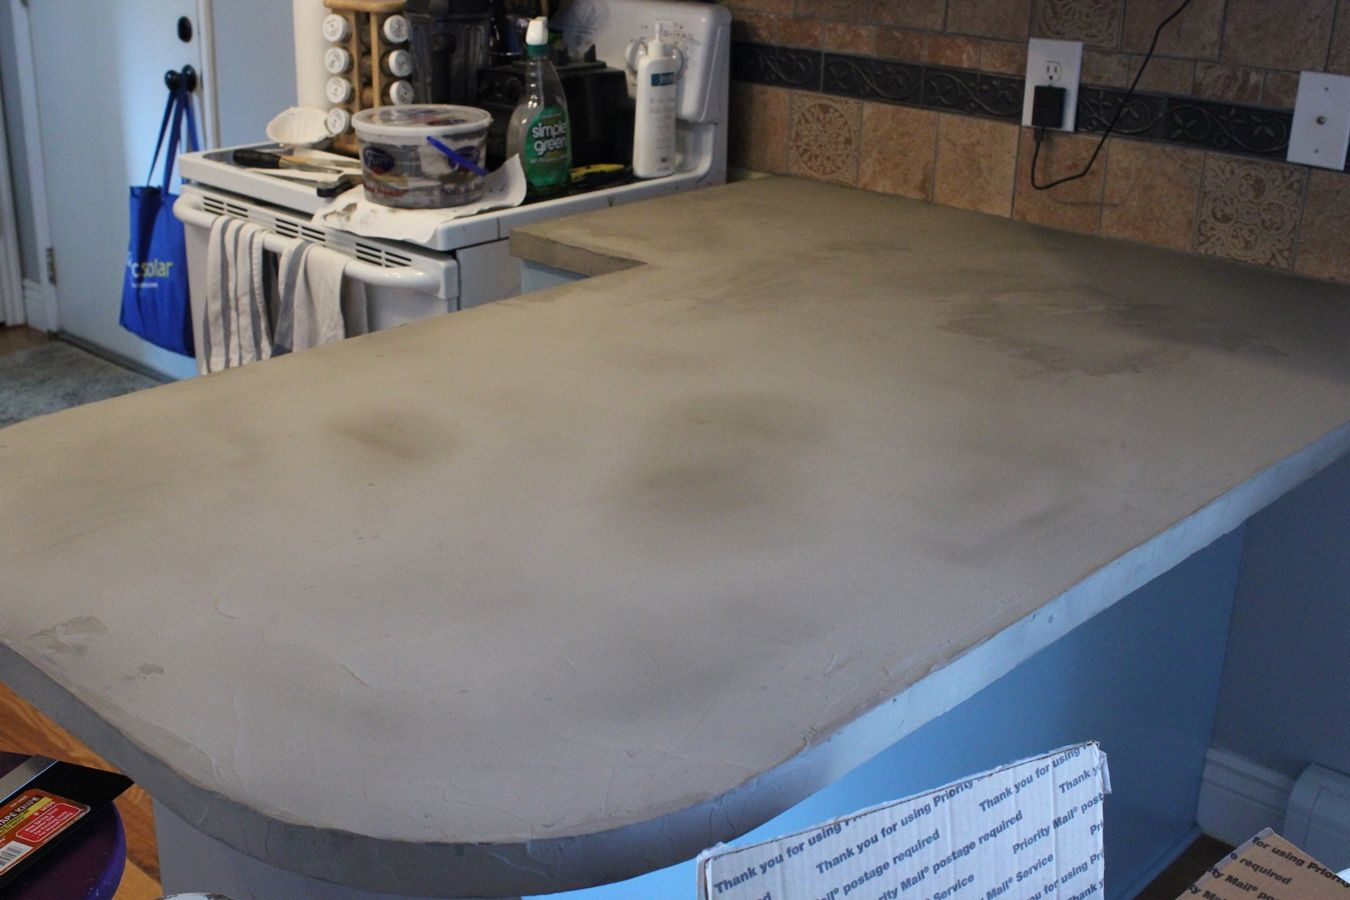
You’ve seen the photos. Smooth, slate-grey surfaces with subtle aggregate peeking through, looking like they cost ten thousand dollars but were made for a few hundred. It’s tempting, isn’t it? You buy the bags of mix, watch a couple of YouTube tutorials, and think, "I can do this." It’s just rock and water, right?
Wrong.
Concrete is deceptive. It looks simple until it doesn’t cure right, or it cracks when you lift it, or it stains the first time you spill coffee. By 2026, we’ve seen thousands of DIYers jump into this project with high hopes and low prep. The result? A lot of wasted money and a kitchen that looks unfinished. But it doesn’t have to be that way. If you know where the traps are, you can walk right past them.
Let’s talk about what actually goes wrong. Not the theory, but the messy, frustrating reality of pouring concrete in your garage. These are the errors that turn a dream project into a demo-day disaster.
Ignoring the Reinforcement Reality
Here’s the thing about concrete: it’s strong when you push on it, but terrible when you pull it. That’s called tensile strength, and concrete has almost none of it. If you just pour a slab of mix into a mold and wait, it will crack. It’s not a matter of if, but when. Maybe it happens when you move it. Maybe it happens when you set down a heavy pot.
The biggest mistake DIYers make in 2026 is still using chicken wire or rebar chunks haphazardly thrown in. That’s old-school thinking for driveways, not delicate countertops. You need proper reinforcement. Glass fiber reinforced concrete (GFRC) is popular for a reason—it’s lighter and stronger. But if you’re doing traditional cast-in-place, you need alkali-resistant glass fibers mixed directly into the batch. And you still need steel.
Think of it like baking a cake. You wouldn’t skip the eggs, right? Reinforcement is the eggs. Without it, you have a crumbly mess. Use welded wire mesh cut to size, or better yet, carbon fiber grids. They’re thin, strong, and don’t rust. Place them in the bottom third of the form, not floating in the middle. If you skip this step, don’t be surprised when your beautiful grey slab snaps in half during installation. It’s heartbreaking, and entirely preventable.
The Mix Design Gamble
Walk into any hardware store, and you’ll see bags labeled "Countertop Mix." They’re convenient, sure. But here’s the secret: they’re often just standard concrete with some extra sand. That might work for a patio, but for a smooth, dense countertop? It’s risky. The aggregate size is too big, leading to those ugly pinholes everyone hates.
Pinholes are tiny air bubbles trapped on the surface. They look like insect bites. And they happen because the mix is too stiff or the aggregate is too coarse. Pros use a specific ratio of cement to sand to fine aggregate. They also use superplasticizers. That’s a fancy word for a liquid that makes the flowy without adding more water. More water means weaker concrete. It’s a balancing act.
If you’re mixing your own, sift your sand. Remove the large rocks. Use a high-range water reducer. This lets you get a creamy, peanut-butter-like consistency that packs tight against the mold walls. If your mix looks like dry cottage cheese, you’re asking for trouble. You’ll spend hours grinding down peaks and filling voids later. Save yourself the elbow grease. Get the mix right from the start. It’s cheaper than buying a new grinder.
Mold Prep and the Leak Nightmare
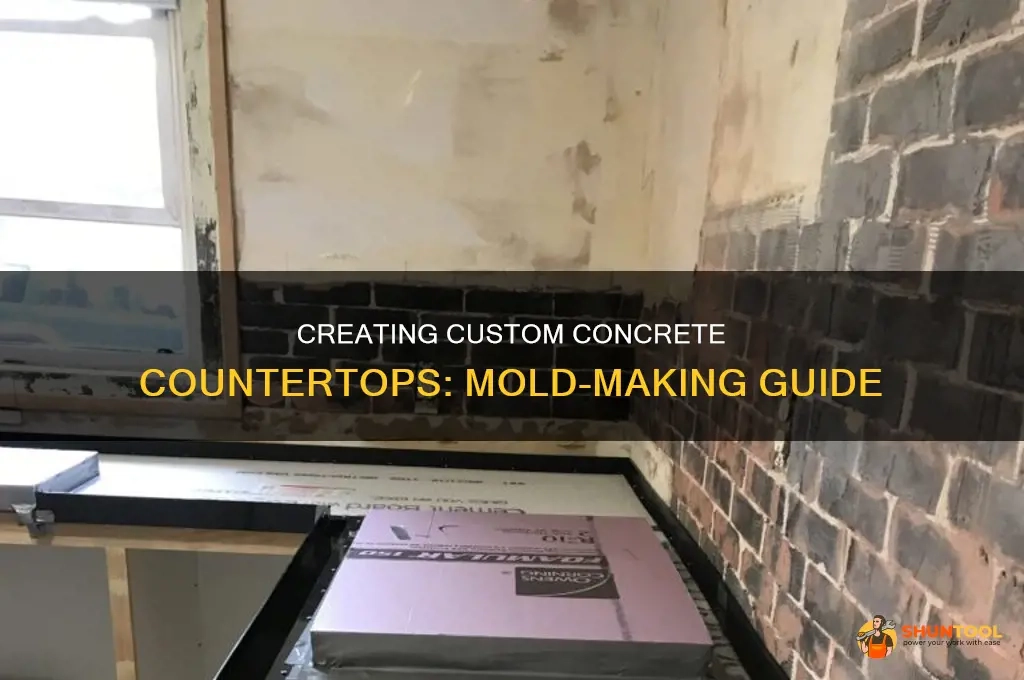
You can have the perfect mix and the best reinforcement, but if your mold leaks, you’re done. Concrete slurry is basically liquid rock. It will find every tiny gap, every screw hole, and every imperfect seam. And when it leaks, it creates "fins"—thin, sharp edges of concrete that are a pain to remove. Worse, it changes the shape of your edge profile.
In 2026, melamine boards are still the gold standard for molds. They’re smooth, cheap, and easy to cut. But you have to seal them. Use a good quality caulk or silicone at every joint. Don’t skimp here. Some people use hot glue guns, which works in a pinch, but silicone is more reliable. Check every corner. Run your finger along the seams. If you feel a gap, fill it.
Also, think about release agents. You need to coat the mold so the concrete doesn’t stick. But don’t use cooking spray. It leaves a residue that can mess with your sealer later. Use a dedicated concrete release agent or a light coat of paste wax. Apply it evenly. Too much, and you get blotchy spots on the finished surface. Too little, and you’ll tear the face of the concrete when you demold. It’s a Goldilocks situation. Just right is key.
Curing Is Not Drying
This is where most people lose their minds. They pour the concrete, wait two days, and pull it out of the mold. Then they wonder why it’s dusty, weak, or cracked. Concrete doesn’t "dry." It cures. That’s a chemical reaction called hydration. It needs water to keep happening. If the water evaporates too fast, the reaction stops. The concrete stays weak.
You need to keep that slab wet. For at least seven days. Yes, a week. Cover it with plastic sheeting immediately after pouring. Tape the edges down. Keep it out of direct sunlight and wind. If it’s hot, mist it with water occasionally. Some pros use curing blankets or even submerge small pieces in water tanks.
Rushing this step is fatal. If you demold too early, the concrete is still soft. You’ll chip the edges. If you let it dry out, the surface will craze—those tiny spiderweb cracks that look awful. Patience is free. Time is cheap compared to replacing a countertop. Let it sit. Let it do its chemistry thing. It’s boring, I know. But it’s the difference between a rock and a dust pile.
The Grinding Grind
Okay, so you’ve cured it. You pop it out of the mold. It looks… okay. But it’s not smooth. It’s got bug eyes (pinholes) and rough spots. Now comes the work. Grinding. This is the part that makes people quit. It’s loud, dusty, and tedious.
The mistake here is using the wrong grit sequence. You can’t jump from 50 grit to 400. You’ll leave deep scratches that never come out. Start coarse, maybe 50 or 100 grit, to flatten the surface. Then move to 200, then 400, then 800. Wet grinding is better. It keeps the dust down and helps the diamonds cut cleaner. Dry grinding creates a silica dust cloud that is bad for your lungs. Wear a respirator. Seriously.
Also, don’t press too hard. Let the grinder do the work. If you push, you create dips and uneven spots. Keep the pad flat. Move in consistent patterns. Overlap your passes. It’s like mowing a lawn. Miss a spot, and it shows. This stage takes longer than the pouring. Accept it. Embrace the dust. Because if you rush the grind, your sealer will highlight every imperfection. And there’s no hiding a bad grind job.
You’ve ground it to a silky smooth finish. It looks amazing. Now you need to protect it. Concrete is porous. It drinks liquids like a sponge. Red wine, lemon juice, oil—they all soak in. Without a sealer, your countertop will look dirty within a week.
The error here is choosing the wrong sealer or applying it poorly. In 2026, penetrating sealers are preferred over topical coatings. Topical sealers sit on top and can peel or scratch. Penetrating sealers soak into the pores and repel water and oil from within. Look for fluoropolymer or silane/siloxane based sealers. They breathe, so moisture doesn’t get trapped underneath.
Apply multiple thin coats. Not one thick globs. Wipe on, wait, wipe off. Follow the manufacturer’s instructions exactly. Test it first. Drop water on the surface. If it beads up, you’re good. If it soaks in, add another coat. And remember, sealers aren’t magic. You still need to wipe up spills. But a good sealer gives you time. It turns a panic moment into a casual wipe-down. Don’t cheap out here. This is the shield that keeps your hard work looking new.
So, there you have it. The six big traps. Reinforcement, mix design, mold prep, curing, grinding, and sealing. It sounds like a lot. And it is. Concrete countertops aren’t a weekend hack. They’re a craft. They demand respect and attention to detail.
But when you get it right? It’s incredible. You have a surface that is uniquely yours. No two slabs are identical. The color, the texture, the slight variations—it’s art you can cook on. It feels solid and permanent in a way laminate never will.
If you’re still game, go for it. Just don’t skip the steps. Do the research. Buy the right materials. Take your time. And maybe, just maybe, you’ll end up with that sleek, custom look you saw in the photos. Or you’ll learn a valuable lesson in humility. Either way, you’ll know more about concrete than your neighbors. And that’s something.