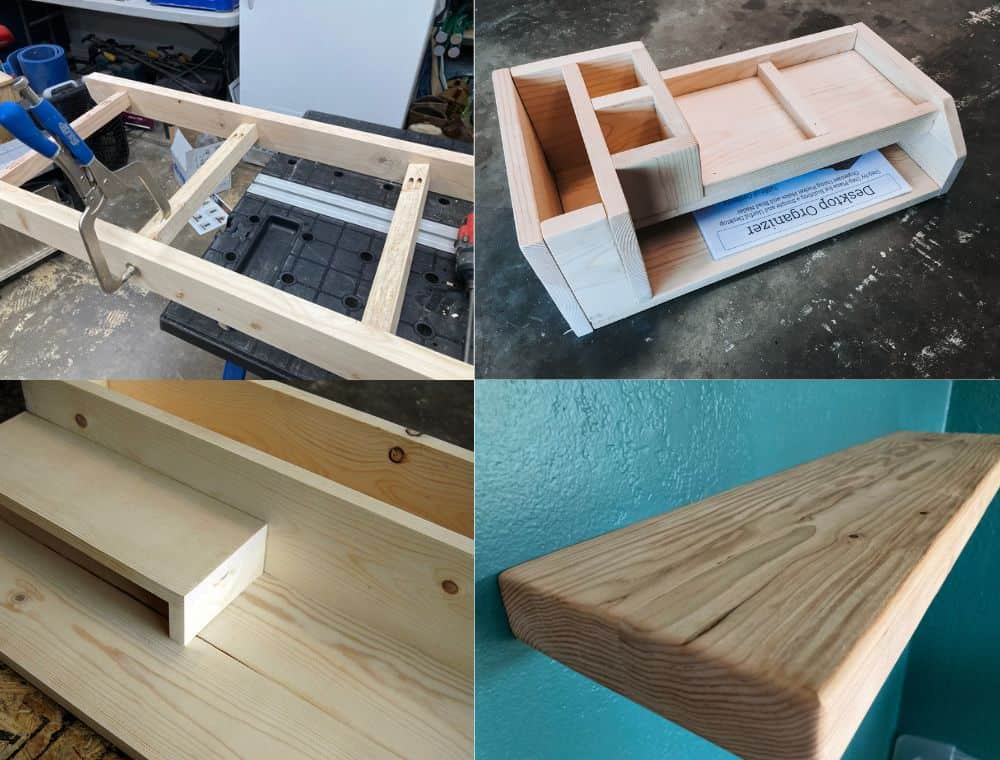
So, you’ve got a hankering to build something. Maybe you saw a cool shelf on Instagram, or perhaps you’re just tired of paying premium prices for flimsy furniture that falls apart in a year. Whatever the spark, you’re here. And honestly? It’s about time. There is something deeply satisfying about turning a rough piece of lumber into something useful with your own two hands. But let’s be real for a second. Starting out can feel overwhelming. The tools, the jargon, the fear of messing up expensive wood—it’s a lot.
You don’t need a massive shop or a bank account full of cash to get started. In fact, some of the best lessons come from the simplest builds. The goal isn’t to craft a heirloom dining table on day one. It’s to learn how to measure twice, cut once, and not lose any fingers in the process. By focusing on small, manageable projects, you build muscle memory and confidence. This guide walks you through the best first projects to master basic skills at home, keeping things simple, safe, and surprisingly fun. Let’s make some sawdust.
The Humble Cutting Board: Your Gateway to Precision
Let’s start with the classic. The cutting board. It sounds boring, right? But hear me out. This project is the ultimate teacher. It forces you to focus on the fundamentals: measuring, marking, and making straight cuts. If your cuts aren’t square, your board won’t look right. It’s immediate feedback. Plus, you can use scrap wood or buy inexpensive hardwoods like maple or walnut. In 2026, sustainable sourcing is huge, so look for locally milled lumber if you can. It adds a story to your piece.
The process is straightforward. You glue up strips of wood, clamp them tight, and then sand it smooth. That’s it. But within those simple steps, you’re learning about grain direction, glue application, and clamping pressure. Too much pressure? You starve the joint. Too little? It falls apart. You’ll learn to read the wood. And when you finish, you have something you can actually use in your kitchen. Every time you chop veggies, you’ll remember that first lesson in precision. It’s practical, it’s forgiving, and it looks great as a gift.
Don’t worry about fancy joinery here. A simple edge-to-edge glue up is perfect. Just make sure your edges are straight. Use a speed square to check your cuts. If you have a planer or thickness sander, great. If not, buy S4S (surfaced four sides) lumber to save yourself a headache. Sanding is where the magic happens. Start with 80 grit and work your way up to 220. Feel the wood change under your fingertips. That smoothness? That’s the reward. Finish it with food-safe mineral oil, and you’re done. Simple. Effective. Beautiful.
A Simple Box: Understanding Joinery Basics
Once you’ve mastered the straight cut, it’s time to think in three dimensions. Enter the simple box. This could be a keepsake box, a planter, or even a basic storage crate. The goal here is to understand how corners come together. You don’t need dovetails yet. Let’s stick to butt joints or maybe simple rabbets if you’re feeling brave. The key skill here is accuracy. If your lengths are off by even an eighth of an inch, the box won’t close square. It’s a puzzle you build yourself.
Start by cutting four sides and a bottom. Measure carefully. Mark your lines with a sharp pencil or a knife for better precision. When you assemble it, use clamps to hold everything in place while the glue dries. This teaches you patience. You can’t rush glue. While it’s drying, clean up the squeeze-out with a damp rag. It saves hours of sanding later. See? Little tricks like that matter. You’re not just building a box; you’re building habits. Good habits lead to good furniture.
Why a box? Because it reveals mistakes. A cutting board can hide a slightly uneven edge with some aggressive sanding. A box cannot. If the corners aren’t square, the lid won’t fit. It’s harsh but fair. This project pushes you to check your tool settings. Is your saw blade truly at 90 degrees? Is your fence parallel? These are questions every woodworker must answer. And answering them early saves grief later. Plus, a finished box is a tangible win. Put some pens in it. Plant a succulent. Show it off. You built that.
Floating Shelves: Mastering Level and Anchor
Now let’s hang something on the wall. Floating shelves are everywhere in modern homes, and for good reason. They look sleek and minimalist. But behind that simplicity lies a critical lesson: level and anchor. If your shelf isn’t level, everything you put on it will slide off. If it’s not anchored properly, it’ll fall down. Safety first, always. This project introduces you to working with your home’s structure, which is a different beast than working with loose lumber.
You’ll need to find studs in your wall. Use a stud finder. Don’t guess. Drill pilot holes into the studs. Then, attach a cleat—a hidden support piece—to the wall. Make sure it’s perfectly level. Use a good quality level. Not the cheap one from the dollar store. Invest in a decent tool; it pays off. Once the cleat is secure, you build the shelf box to slide over it. This requires precise internal measurements. The hole in the back of the shelf must match the cleat exactly. It’s like a key fitting a lock.
This project also teaches you about finishing in place. You might need to caulk the edges where the shelf meets the wall for a seamless look. It’s a detail that separates amateur hour from pro work. And don’t forget the weight limit. Understand what your anchors can hold. In 2026, lightweight materials are popular, but don’t skimp on the hardware. Use strong screws. Test the shelf with some weight before loading it with your prized book collection. It’s a practical skill that applies to almost any home improvement task. Hanging art, installing TVs, mounting cabinets—it all starts with understanding level and anchor.
A Step Stool: Strength and Stability
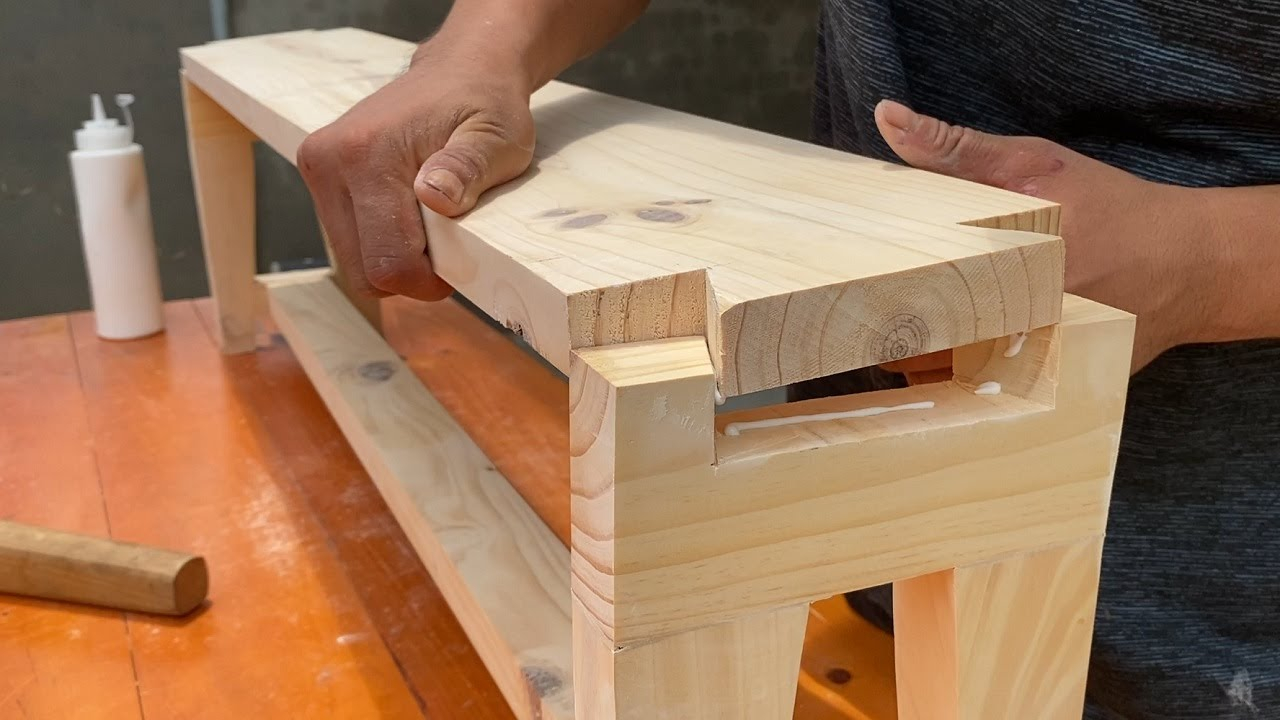
Time to build something you can stand on. A step stool. This isn’t just about height; it’s about strength and stability. When you build a chair or a stool, you’re dealing with dynamic loads. People move. They shift weight. The joints need to hold up. This project introduces you to stronger joinery methods. Maybe you try pocket holes here. They’re easy, strong, and hidden. Kreg jigs made this accessible for everyone. Or maybe you try mortise and tenon if you’re feeling ambitious. Either way, the goal is rigidity.
Start with sturdy wood. Pine works, but hardwoods like oak or maple are better for longevity. Cut your legs, aprons, and top. The aprons are the pieces connecting the legs under the seat. They provide lateral stability. Without them, the stool wobbles. Wobbly furniture is dangerous furniture. So, take your time fitting these pieces. Dry fit everything first. Assemble it without glue to check the fit. Adjust as needed. Then, glue and clamp. Use corner clamps if you have them to keep things square.
Sand the edges round. Sharp corners on a stool are unpleasant. Round them over with sandpaper or a router if you have one. It feels nicer to the touch. Finish it with a durable polyurethane or paint. It needs to withstand scuffs and kicks. This project teaches you to think about ergonomics and safety. How high should the steps be? How wide? These are design decisions that impact usability. You’re not just following plans; you’re solving problems. And when you stand on it to change a lightbulb, you’ll trust it because you built it right.
A Picture Frame: Miters and Delicacy
Let’s shrink it down again. A picture frame. This seems tiny, but it’s deceptively tricky. The main skill here is the miter cut. Cutting two pieces at 45 degrees so they form a perfect 90-degree corner. It sounds easy. It is not. Your saw needs to be spot on. Even a half-degree error leaves a gap. And gaps in frames are ugly. This project teaches you precision on a small scale. It requires a steady hand and a keen eye.
Use thin stock for frames. It’s easier to handle. Cut your miters. Check the fit. If there’s a gap, adjust your saw. Try again. Don’t force it. Woodworkers often use splines or biscuits to reinforce miter joints, but for a first try, simple glue and nails might suffice. Use pin nails. They leave tiny holes that are easy to fill. Clamp the corners tightly. Use framing clamps if you can. They apply even pressure to all four corners at once. It’s a game changer.
This project also introduces you to the back of the frame. Adding a backing board and points to hold the glass and photo in place. It’s a system. Everything has a purpose. The rabbet on the inside holds the glass. The points hold the backing. It’s engineering in miniature. And when you hang that first photo in your handmade frame, it feels special. It’s not just a container; it’s a showcase for your memory and your craft. Plus, frames make incredible gifts. Everyone needs a place for their photos.
Finally, let’s get creative. A birdhouse. This project lets you play with shapes. Curved roofs, circular entry holes. It’s less about rigid precision and more about charm. But don’t let the whimsical nature fool you. It still needs to be well-built. Birds need protection from the elements. So, you’ll learn about weatherproofing. Use exterior-grade plywood or cedar. Avoid treated wood; the chemicals can harm birds. Natural materials are best.
Cut your pieces. The roof should overhang the sides to shed rain. Drill the entry hole with a spade bit or hole saw. Smooth the edges. Don’t add a perch. Predators use perches to catch baby birds. It’s a small detail that shows you care about the inhabitants. Assemble the box. Use stainless steel screws or galvanized nails to prevent rust. Rust stains look bad and weaken the structure over time. Paint the outside with non-toxic, water-based paint. Leave the inside unpainted.
This project teaches you to think about the end user. In this case, the birds. What do they need? Ventilation holes near the top. Drainage holes in the bottom. Easy access for cleaning. It’s functional design. And it connects you to nature. Watching a bird move into a house you built is a pure joy. It’s a reminder that woodworking isn’t just about stuff. It’s about creating spaces. For us, and for other creatures. It’s a sweet note to end your beginner journey on.
So, there you have it. Six projects. Six lessons. From straight cuts to mitered corners, from gluing boards to anchoring walls. Each step builds on the last. You don’t need to rush. Take your time. Make mistakes. Learn from them. That’s the process. In 2026, with so much digital noise, there’s something grounding about working with wood. It’s real. It’s tactile. And it’s yours. Grab some scrap wood, sharpen your pencil, and start building. You’ve got this. Really.