
You know that feeling when you run your hand along a wall and it feels like… well, like a wall? It’s bumpy. It’s textured. Maybe it’s got that old-school popcorn vibe or just years of bad paint jobs layered on top of each other. You want it smooth. Like, really smooth. The kind of smooth that looks like it belongs in a modern magazine spread. But then you remember the alternative: sanding.
Sanding is the worst. It’s dusty, it’s loud, and it gets into places you didn’t even know existed. Your lungs hate it. Your vacuum cleaner hates it. Honestly, you probably hate it too. But here is the good news. You don’t have to do it. Not really. There is a better way. It’s called skim coating, and if you do it right, you can skip the sanding almost entirely. It’s not magic, but it feels like it. By 2026, the tools and compounds available to DIYers have gotten so much better that achieving a Level 5 finish—that’s pro-speak for "perfectly flat"—is actually within reach for anyone with a bit of patience and a steady hand.
Let’s be real though. Most guides tell you to skim coat, let it dry, and then sand it down. That’s the old way. We’re going to talk about the new way. The clean way. The way that leaves your floors spotless and your walls looking like glass. It takes a different mindset. You have to trust the mud more than the sandpaper. It’s scary at first. What if I mess up? What if it dries weird? Those are valid fears. But once you get the rhythm, you’ll wonder why you ever picked up a sanding block in the first place.
The Mindset Shift: Why Sanding Is a Crutch
Here is the truth that most hardware store employees won’t tell you. Sanding is often used to fix mistakes made during application. If you apply the joint compound (we call it mud) unevenly, you sand it down to make it flat. But if you apply it correctly from the start, there is nothing to sand. Think of it like frosting a cake. If you slather the icing on thick and lumpy, you have to scrape it off later. But if you use a bench scraper and smooth it out while it’s still soft, it dries perfect.
The goal of a no-sand skim coat is to leave the surface as smooth as possible while the mud is still wet or just setting up. This requires a shift in how you view the process. You aren’t just covering the wall; you are sculpting it. You are filling the valleys and shaving off the peaks with your knife, not with abrasive paper. This approach saves time in the long run because cleanup is minimal. No plastic sheeting everywhere. No respirator masks itching your face. Just you, the wall, and a bucket of mud.
It also saves your walls. Every time you sand drywall, you risk cutting through the paper face of the drywall or creating uneven spots that show up under paint lights. By avoiding sanding, you keep the integrity of the drywall intact. Plus, joint compound dust is alkaline and nasty. Breathing it in isn’t great for anyone, especially if you have kids or pets running around the house. So, by committing to a no-sand method, you’re making a healthier choice for your home environment. It’s a small change in technique that yields huge benefits for your health and your sanity.
Gear Up: Tools That Make or Break the Finish
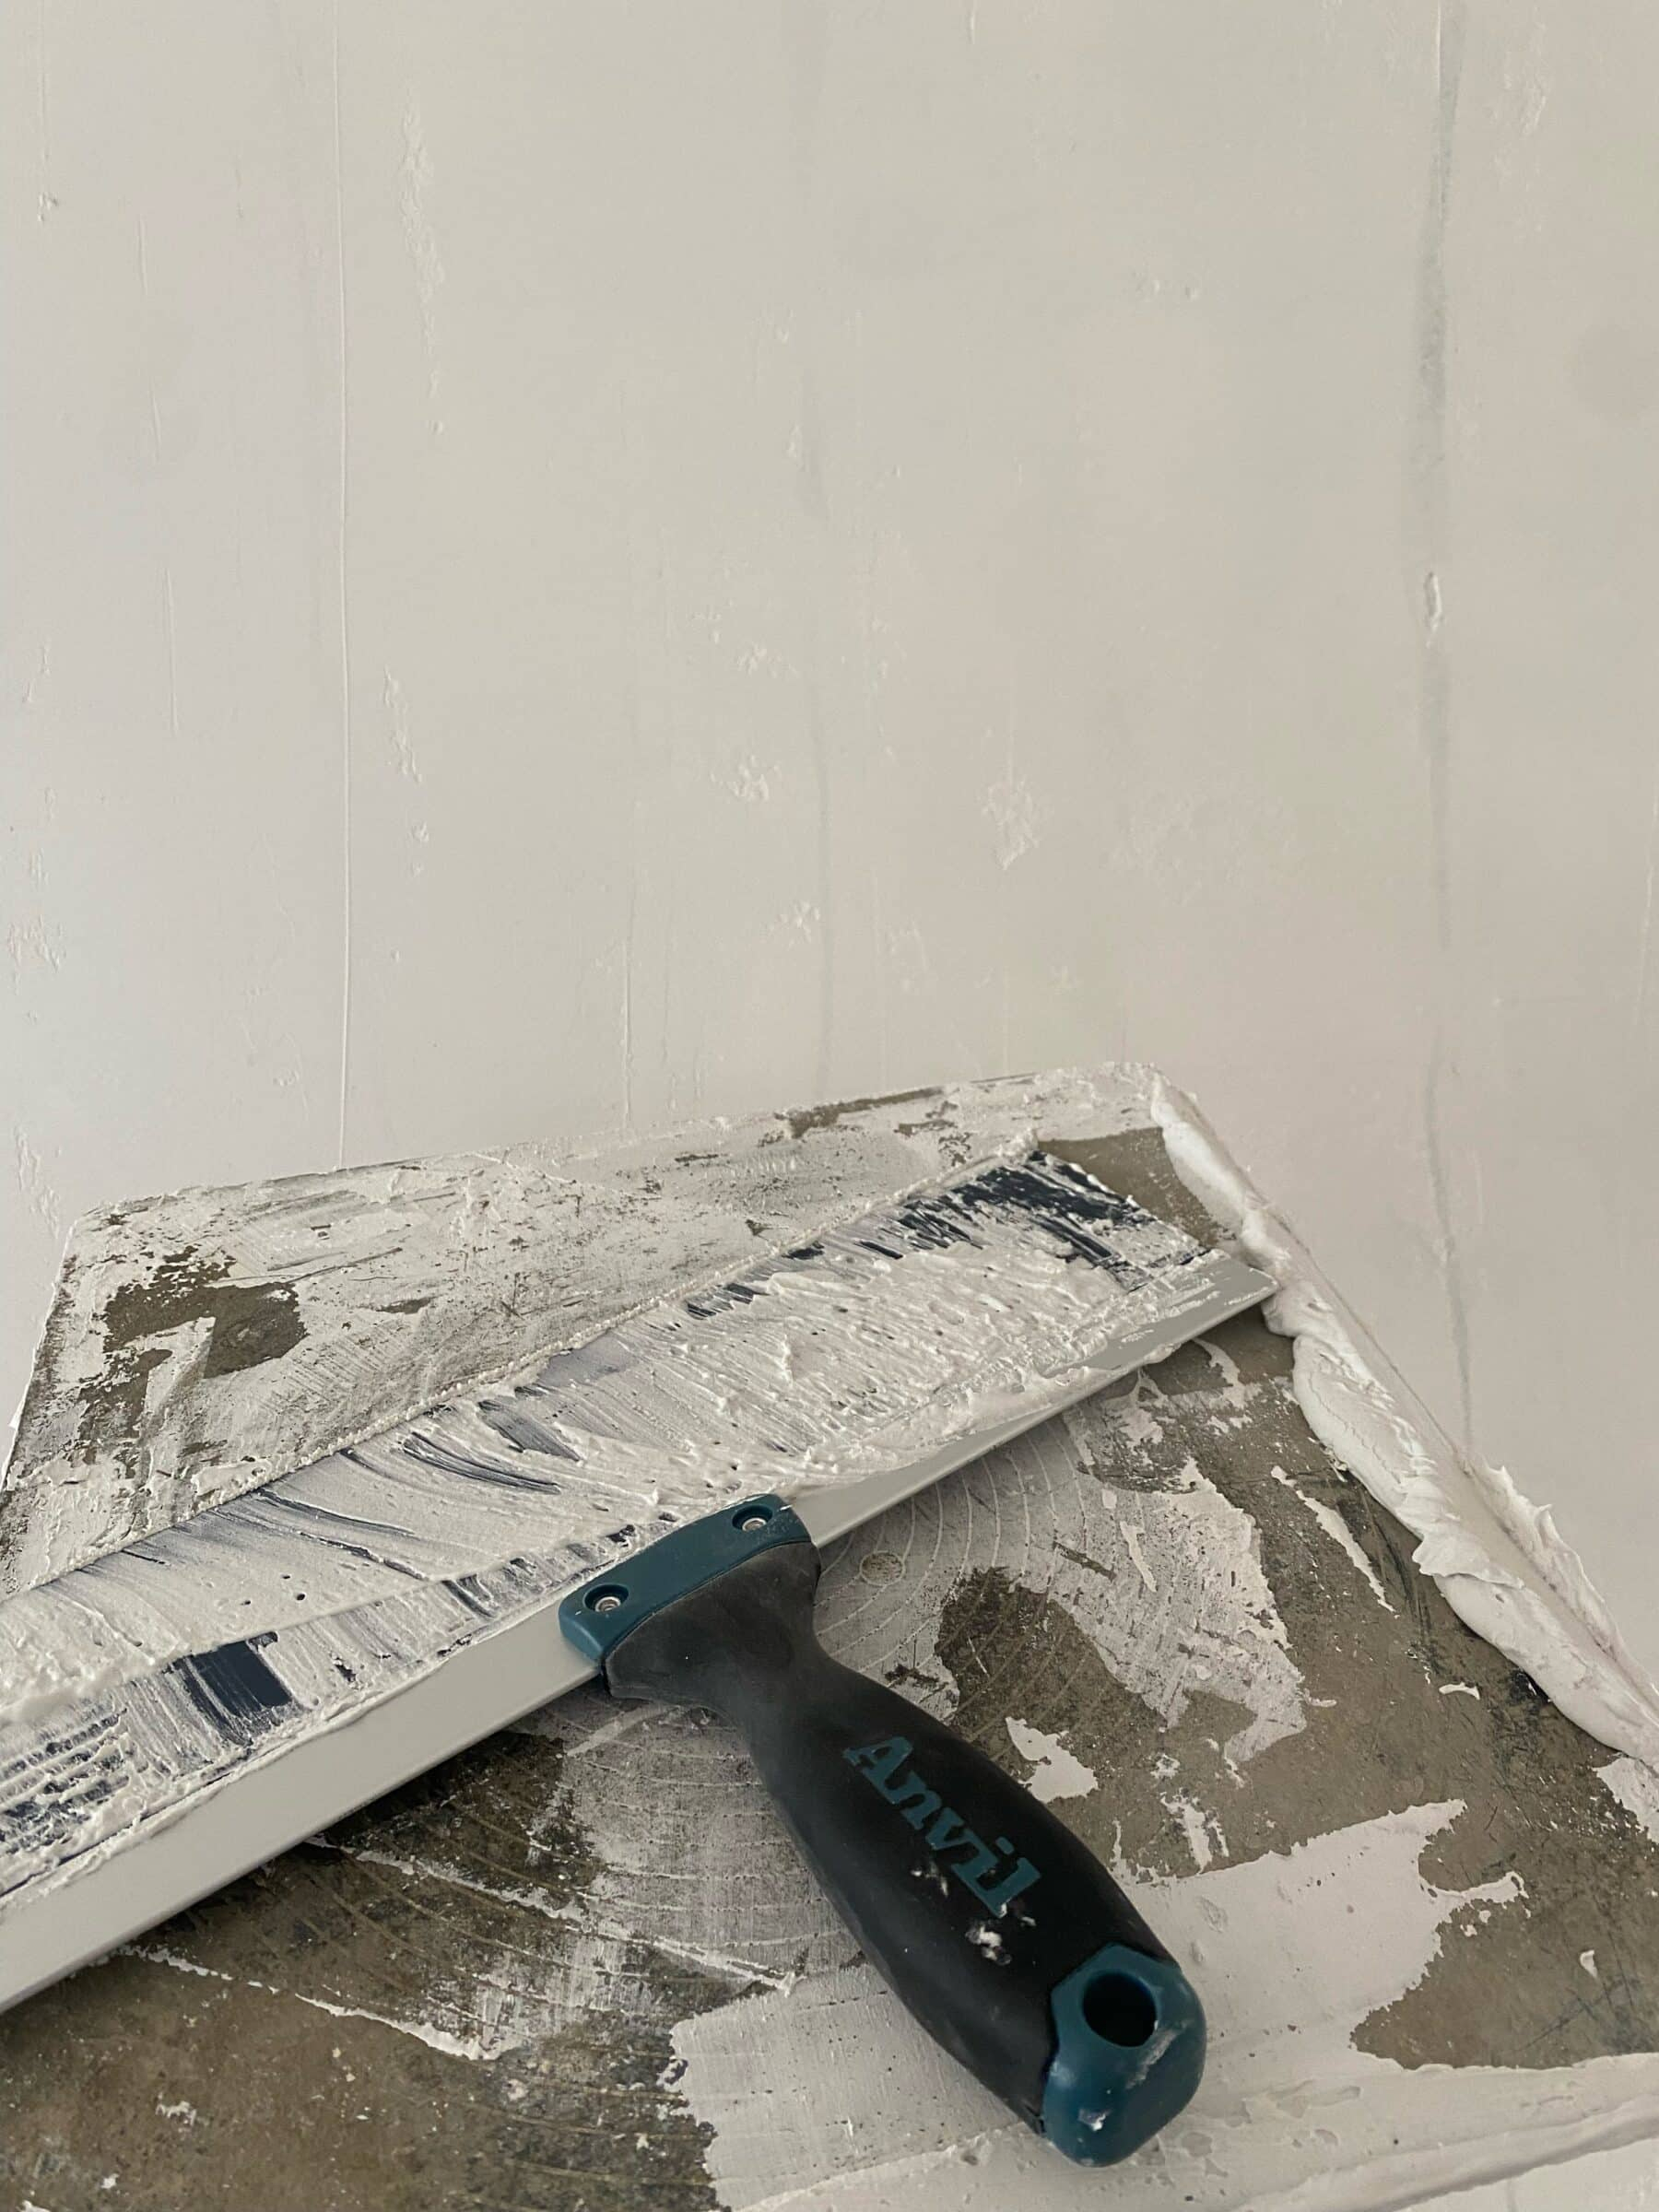
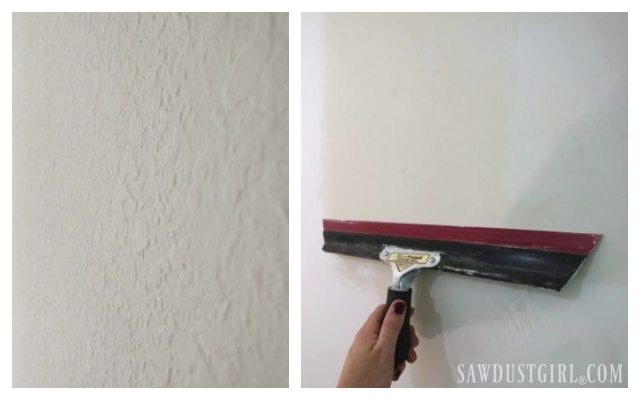
You can’t do this job with a cheap putty knife from a dollar bin. Well, you can, but you’ll hate every minute of it. The secret to a smooth finish without sanding lies in the flexibility and width of your blades. You need a set of taping knives, specifically a 12-inch or 14-inch blade for the main application. Why so wide? Because a wider blade bridges the gaps better. It skips over the high spots and fills the low spots in one pass. A narrow knife just follows the contours of the existing texture, which defeats the purpose.
Look for blades made of blue steel or high-carbon steel. They have just the right amount of flex. You want the blade to bend slightly under pressure, allowing it to conform to the wall while still scraping off excess mud. Also, get a hawk. It’s that square plate with a handle underneath. It holds your mud and lets you work faster because you aren’t constantly dipping back into the bucket. If you’ve never used a hawk, it feels awkward for the first ten minutes. Then, it becomes an extension of your arm. Trust me.
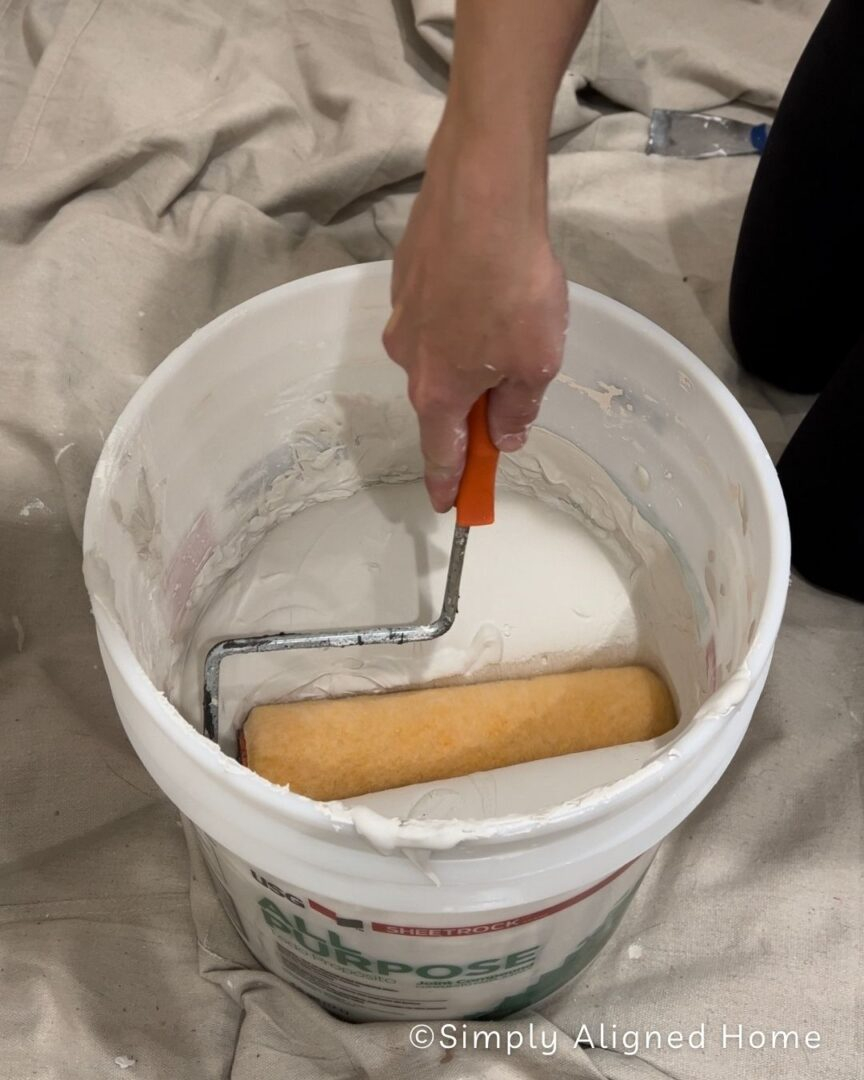
Don’t forget the mixing drill and paddle. Hand-mixing is a workout, but it rarely gets the lump-free consistency you need for a glass-smooth finish. You want the mud to be like thick yogurt or peanut butter. If it’s too stiff, it drags and leaves lines. If it’s too thin, it runs and sags. A good paddle mixer attached to a standard drill will whip air into the mud, making it lighter and easier to spread. And grab a decent pole sander—not for sanding, but for holding your wide blade if you’re doing ceilings or high walls. Actually, scratch that. For high walls, just use a sturdy ladder. Safety first, always.
Prep Work: The Boring Part That Matters Most
I know, I know. You want to start slinging mud. But stop. Preparation is 80% of the job. If you skip prep, your beautiful smooth coat will peel off in six months. First, clean the walls. Dust, grease, and old flaky paint are enemies of adhesion. Use a degreaser or a simple TSP (trisodium phosphate) solution to wipe down the surfaces. Let them dry completely. If the wall is glossy, you might need to lightly scuff it just enough to break the shine, but try to avoid heavy sanding. A liquid deglosser can work wonders here without the dust.
Next, prime the walls. This is non-negotiable. Drywall and old paint suck moisture out of joint compound at different rates. If one part of the wall dries faster than another, the mud will shrink unevenly, causing cracks and ridges. A high-quality primer seals the surface, ensuring uniform absorption. In 2026, there are some great water-based primers that dry fast and have low VOCs. Look for one labeled as a "bonding primer" if you’re dealing with tricky surfaces like previously painted gloss or tile.
Check for any loose tape or big holes. Fix those first. Use a setting-type compound (the kind that comes in powder form and hardens chemically) for deep repairs because it shrinks less and dries harder. Once those patches are done and primed, you’re ready. Tape off your trim and lay down a drop cloth. Even though we aren’t sanding, mud can still drip. It’s easier to wash a canvas drop cloth than to scrub dried mud out of your hardwood floors. Take your time here. Rushing prep is the fastest way to ruin the final result.
Mixing the Perfect Mud Consistency
This is where most people go wrong. They open the bucket, stir it once, and start applying. Don’t do that. Pre-mixed joint compound straight from the bucket is usually too thick for a fine skim coat. You need to thin it down. Add water slowly. I mean, really slowly. A little splash at a time. Mix it thoroughly with your paddle mixer. You’re looking for a consistency that spreads easily but doesn’t run down the wall. Think of it like cake batter. If you lift your mixing paddle, the mud should ribbon off smoothly, not plop off in chunks.
Let the mixed mud sit for about 10 to 15 minutes. This is called "slaking." It allows the chemicals in the mud to fully hydrate and the air bubbles to rise to the surface. After it sits, give it another quick mix. Now, check it again. If it’s too stiff, add a tiny bit more water. If it’s too soupy, you’ve gone too far, and you’ll need to mix in some dry powder or start over. Getting this right is crucial. Thin mud levels itself out better. Thick mud holds tool marks. Since we aren’t sanding, we need the mud to self-level as much as possible.
Also, consider using a "topping" compound rather than an "all-purpose" one. Topping compound is formulated to be smoother and easier to sand (though we won’t be sanding). It has finer aggregates, which means fewer tiny bumps in the dried finish. All-purpose mud has larger particles for strength, which can leave a slightly grainier texture. For that glass-like finish, topping mud is worth the extra few dollars. Just remember, topping mud isn’t as strong for embedding tape, so only use it for the surface layers.
The Application Technique: Wet-on-Wet Mastery
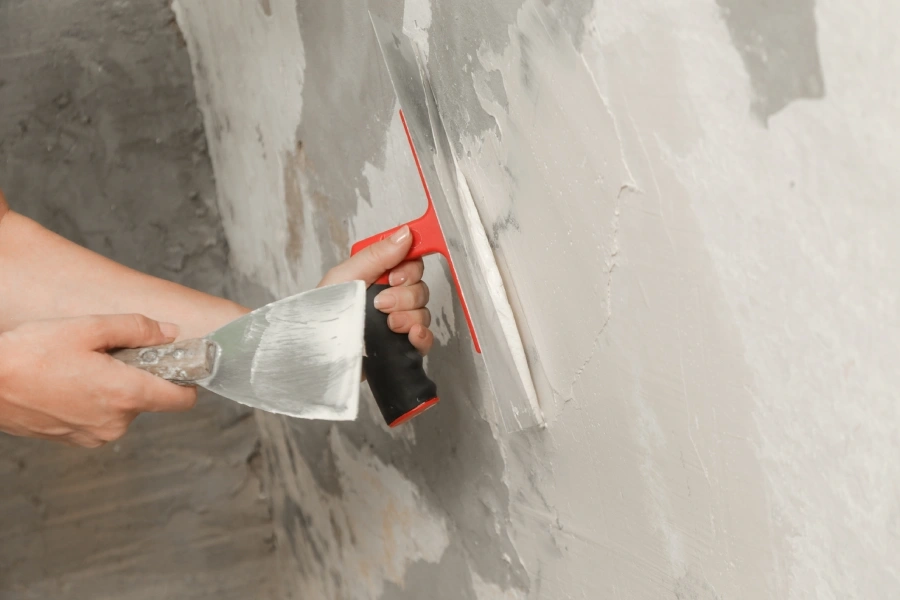
Okay, here we go. The fun part. Load your hawk with a manageable amount of mud. Don’t overload it, or you’ll be dropping globs on your head. Take your 12-inch knife and scoop up a line of mud. Hold the knife at a shallow angle, maybe 15 to 20 degrees relative to the wall. Press firmly but evenly. Pull the knife across the wall in a smooth, continuous motion. You want to leave a thin, even layer. It should be translucent in spots. If you can see the wall color through it, that’s good. We aren’t trying to build thickness; we’re trying to fill texture.
Work in small sections, about 3 to 4 feet wide. Apply the mud, then immediately come back over it with a slightly wider knife (like a 14-inch) to smooth out any ridges left by the first pass. This is the "wet-on-wet" technique. You’re refining the surface while it’s still pliable. Don’t let it dry between passes. If you wait too long, the mud starts to set, and you’ll tear it up instead of smoothing it. Keep a spray bottle of water handy. If the mud starts to drag or stick to your knife, mist the wall lightly. Water acts as a lubricant, helping the blade glide over the surface.
Overlap your strokes slightly. Feather the edges so there are no hard lines between sections. This takes practice. Your first wall might look a bit streaky. That’s okay. It’s better than sandy dust everywhere. As you move across the room, try to maintain a consistent rhythm. Left to right, or top to bottom. Pick a direction and stick with it. Lighting is your friend here. Set up a work light at an angle to the wall. It will highlight any ridges or missed spots while the mud is still wet, allowing you to fix them immediately. Don’t rely on overhead lights; they hide defects until it’s too late.
Once you’ve covered the wall, step back. Admire your work. But don’t touch it. Let it dry. Natural drying is best. Open windows if the weather permits, but avoid direct drafts that might cause uneven drying. Fans can help, but point them away from the wall, not directly at it. Rapid drying can cause cracking. In humid climates, this might take 24 hours or more. Be patient. Rushing this stage is tempting, but it’s a trap.
When it’s fully dry, inspect the wall. With a good application, it should be remarkably smooth. Run your hand over it. Feel for any minor imperfections. Are there tiny pinholes? Maybe a slight ridge where two strokes overlapped? Here is the trick for the no-sand finish: use a damp sponge or a specialized wet-sanding sponge. Gently rub the area. The water reactivates the surface of the mud, allowing you to smooth out minor flaws without creating dust. It’s subtle. You’re not removing material; you’re blending it.
If there are deeper imperfections, don’t panic. Mix up a small batch of thinned-down mud and spot-prime those areas. Apply a very thin layer with a wide knife, feathering it out extensively. Let it dry, then damp-sponge again. Repeat if necessary. Usually, one or two rounds of this are enough. Finally, prime the entire wall again before painting. This seals the skim coat and ensures uniform paint absorption. Use a high-build primer if you want extra insurance against any remaining minor textures. Then, paint with a high-quality roller cover designed for smooth surfaces. Step back and look at that glass-smooth finish. You did that. No dust. No mess. Just smooth, beautiful walls.
![Advantages And Disadvantages Of Skim Coat [4 Reasons To Apply] intended for Skim Coat Wall Smooth Finish](https://cdn.royslade.com/2026/05/advantages-and-disadvantages-of-skim-coat-4-reasons-to-apply-intended-for-skim-coat-wall-smooth-finish.jpg)

![Advantages And Disadvantages Of Skim Coat [4 Reasons To Apply] intended for Skim Coat Wall Smooth Finish](https://cdn.royslade.com/2026/05/advantages-and-disadvantages-of-skim-coat-4-reasons-to-apply-intended-for-skim-coat-wall-smooth-finish.jpg?width=992&f=jpg)


