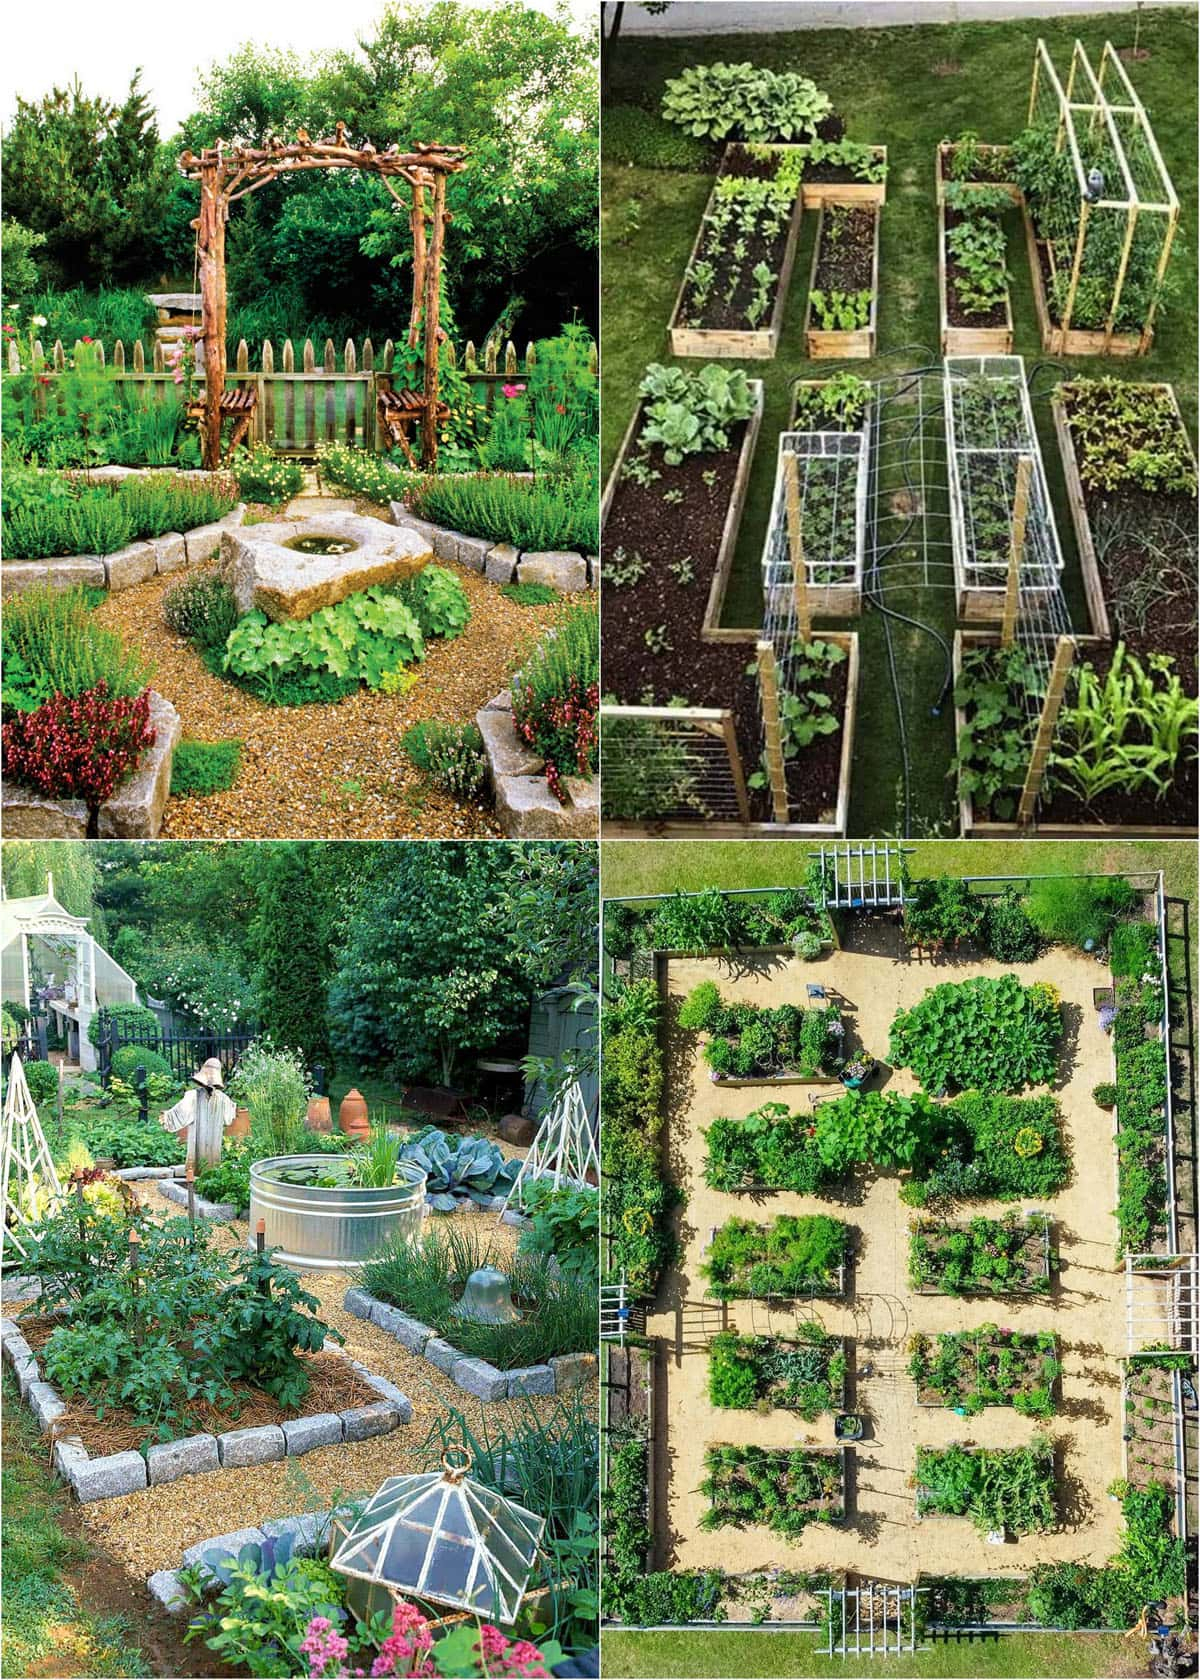
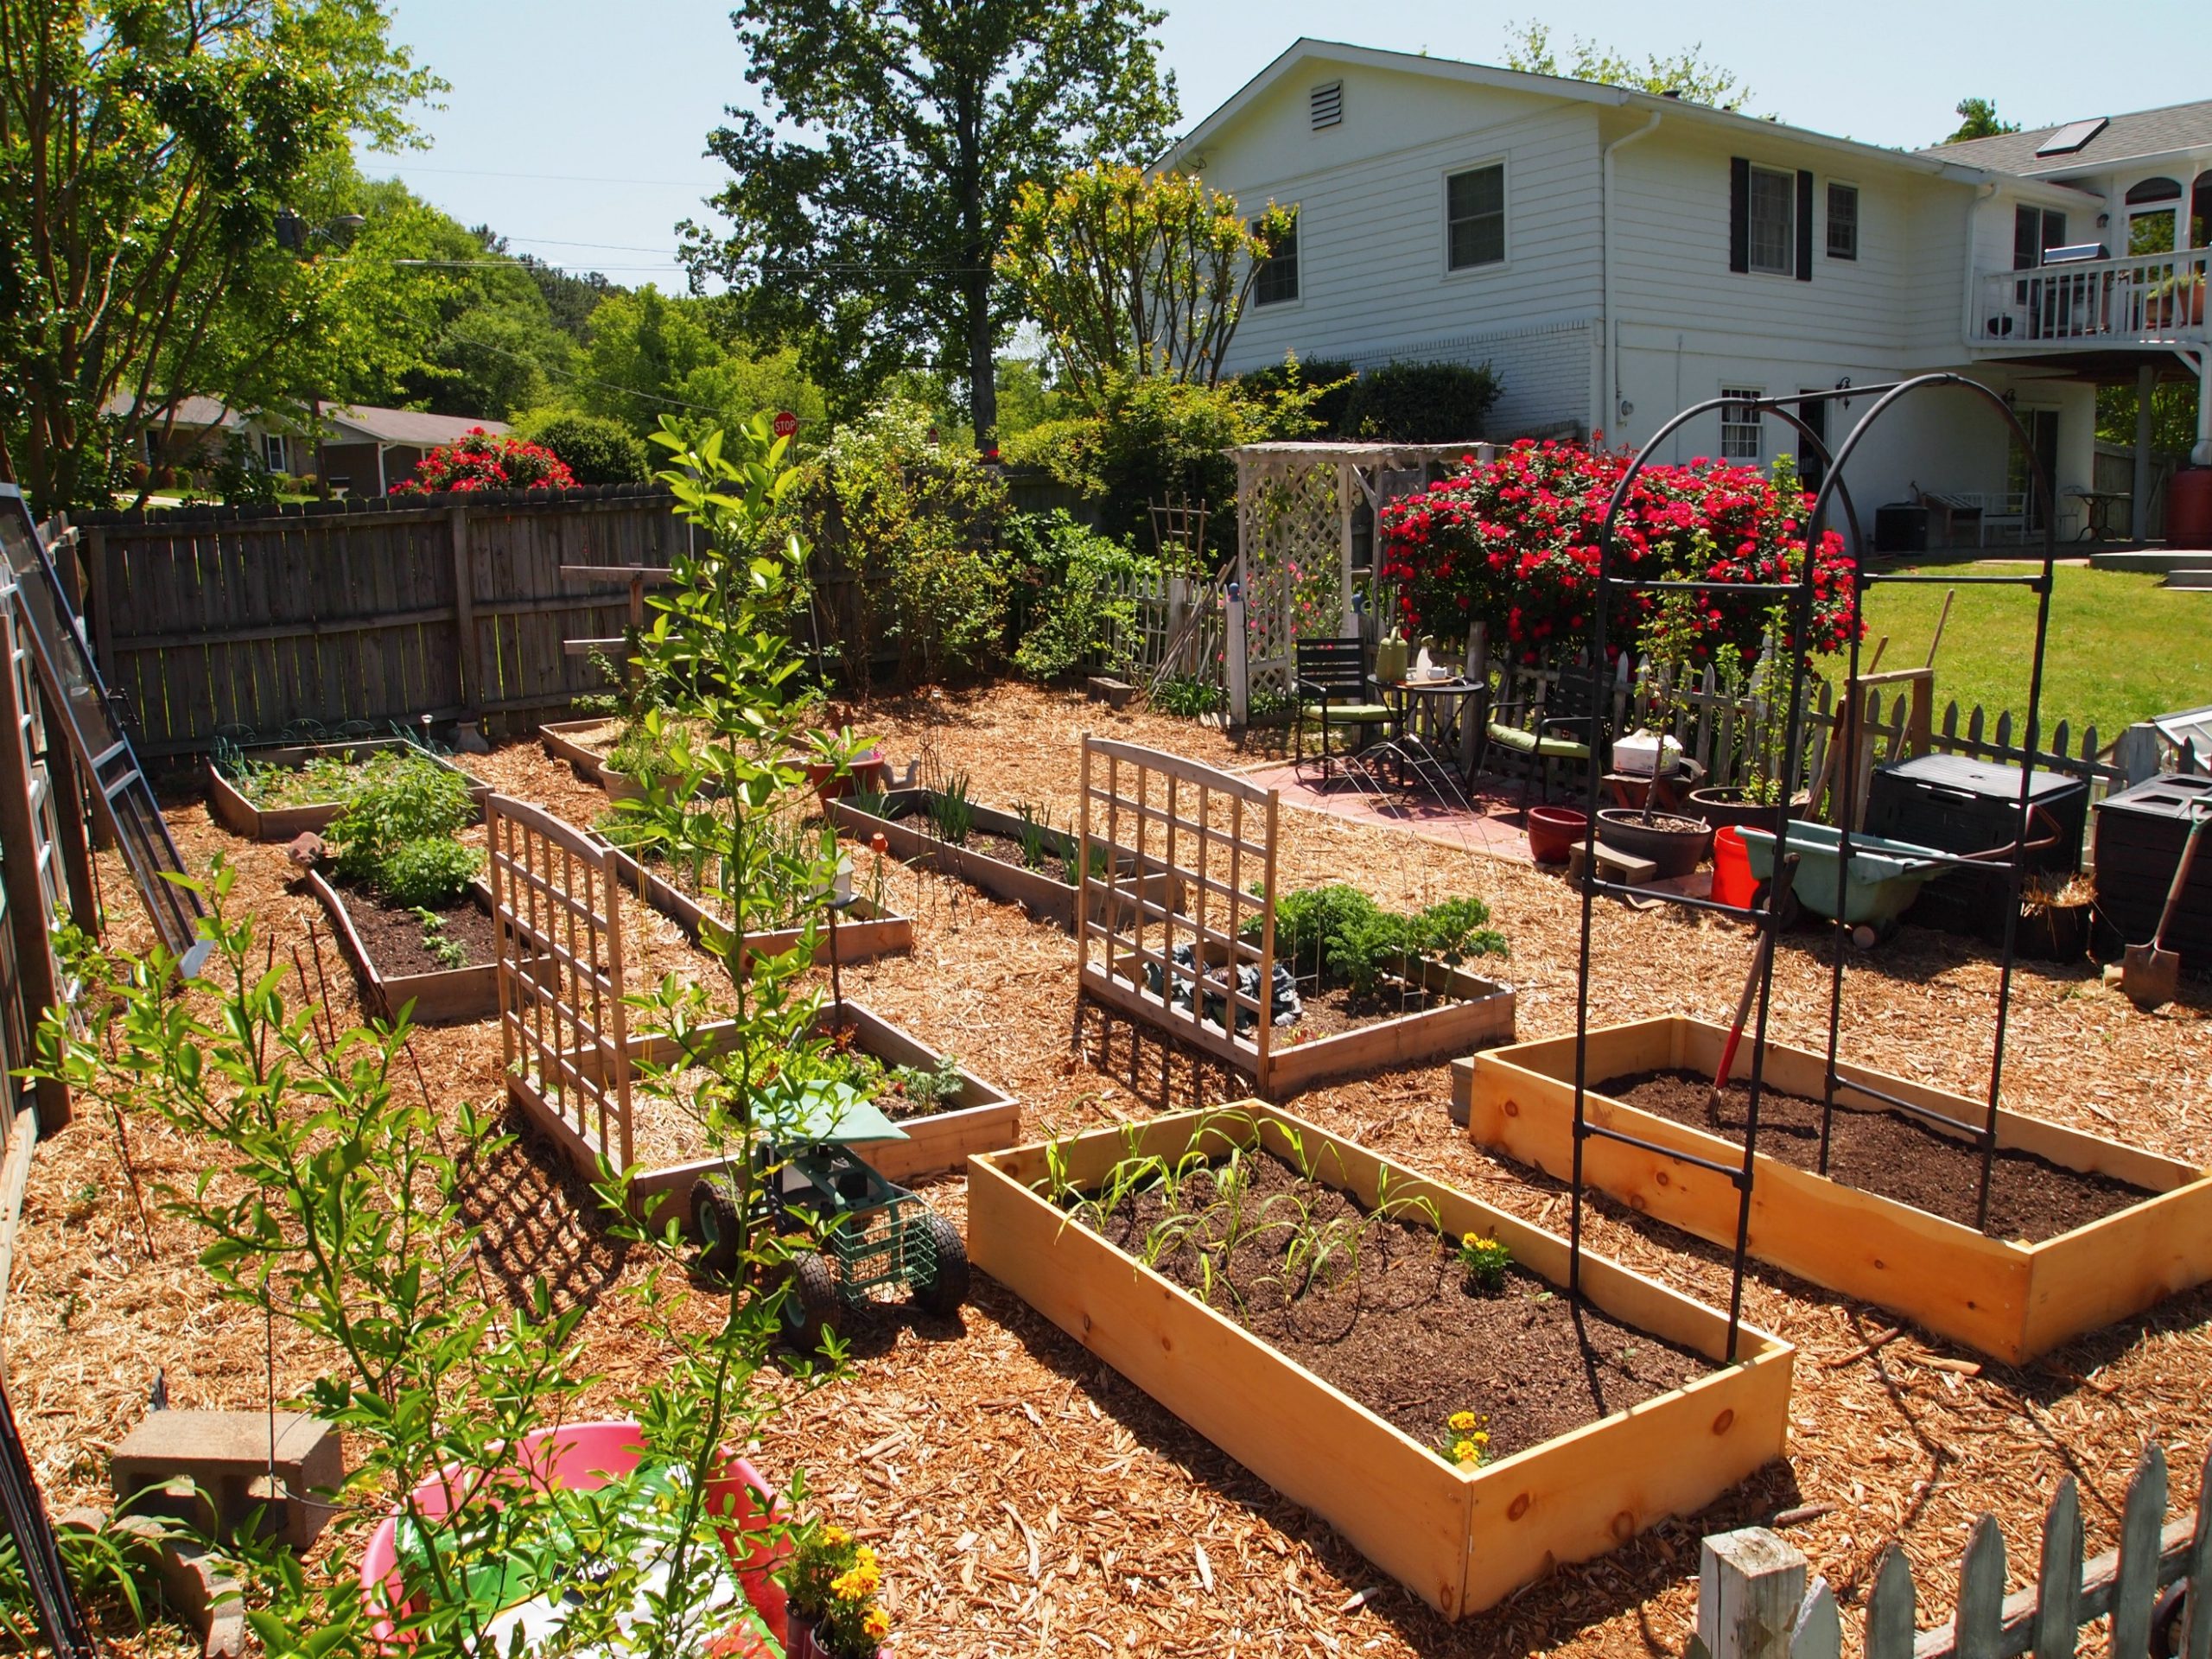
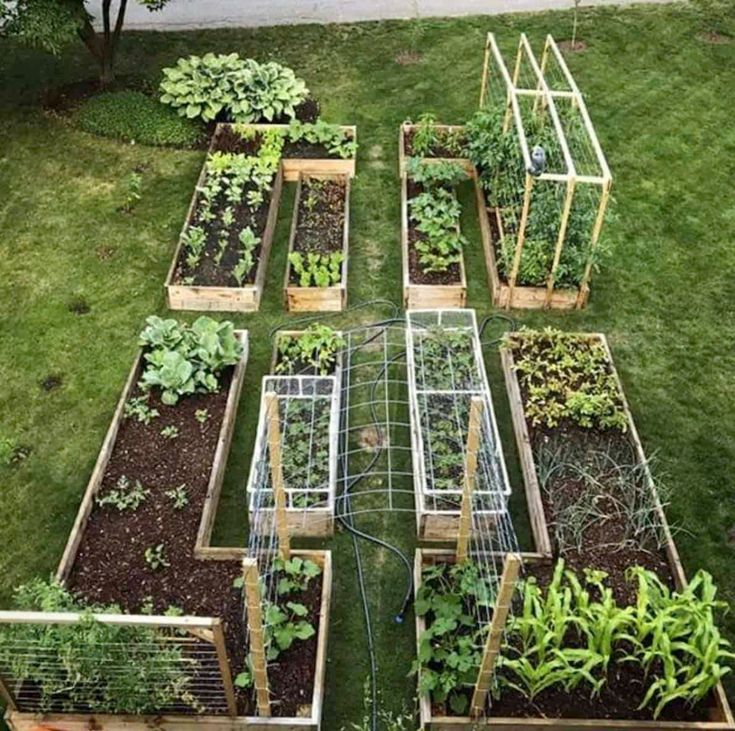
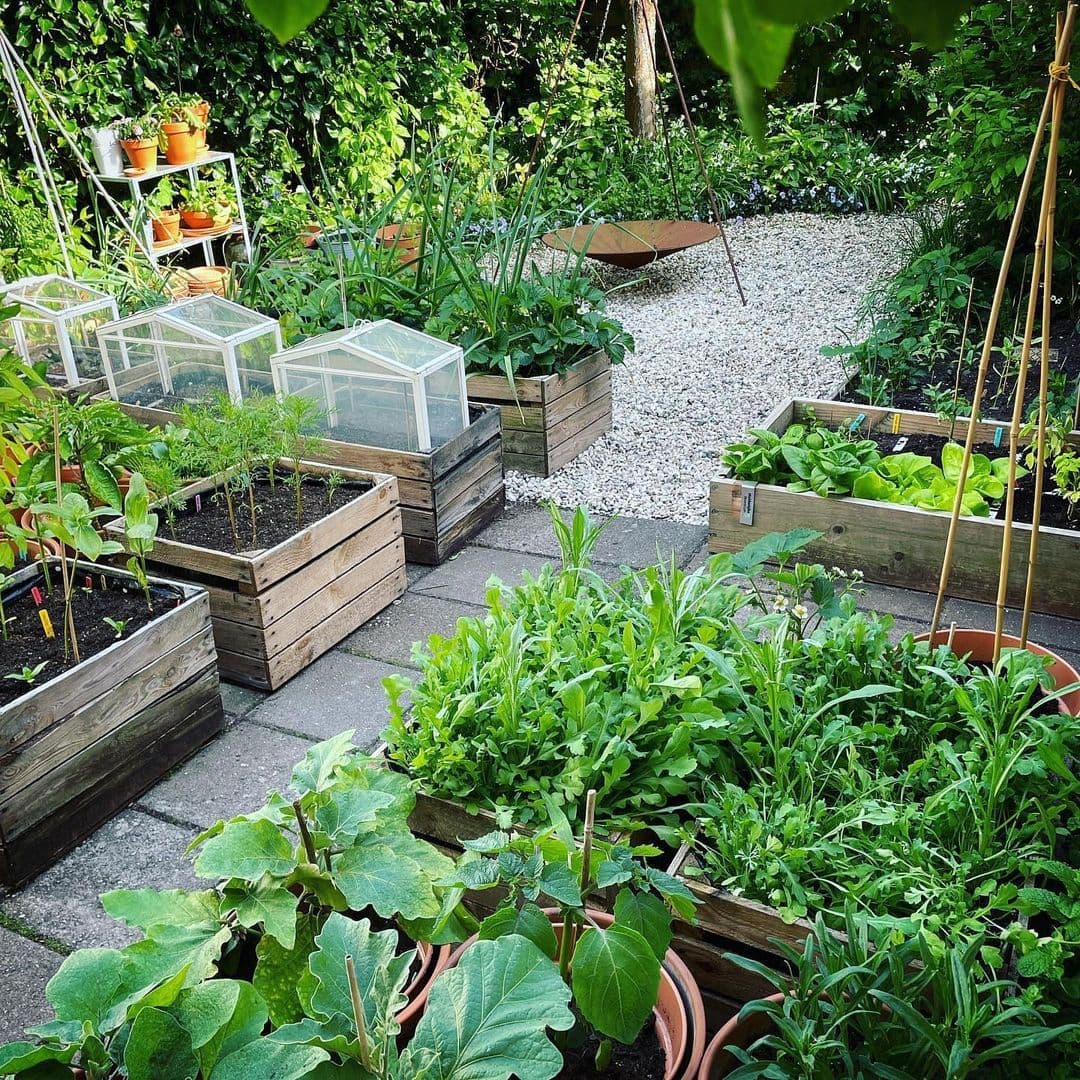
The afternoon sun hits the backyard dirt, and the old familiar ache creeps into your lower back just looking at the hard, unyielding ground. You’ve spent seasons wrestling with compacted clay, pulling stubborn weeds that seem to laugh at your trowel, and watching your prized tomato plants drown in sudden spring downpours. Gardening isn’t supposed to feel like an endurance test. The pivot point for most frustrated backyard growers isn’t buying a more expensive seed packet or a fanciest gadget; it is changing the vertical architecture of where things grow.
Stepping up from traditional in-ground tilling to a structured timber frame changes everything about how you interact with the earth. By lifting your growing medium into defined containers, you regain control over soil chemistry, eliminate the endless ritual of surface weeding, and turn a muddy weekend chore into an ergonomic weekend craft project. The barrier to entry has never been lower, especially with professional-grade blueprints now available completely free to anyone with a tape measure, a circular saw, and a couple of free days.
Across suburbs and urban plots alike, a quiet movement toward self-sufficiency has taken root. People want to know where their food comes from, and they want the satisfaction of building something lasting with their own hands. Woodworking meets horticulture when you spend a Saturday morning framing out fragrant cedar boards and filling them with rich, living compost. By Sunday evening, your patio or yard shifts from an underutilized patch of turf into a productive, beautiful sanctuary.
The history of elevated growing dates back centuries, though modern practitioners have refined the craft into a science of efficiency. Ancient agriculturalists realized that mounding earth improved drainage and root expansion. Today, DIY builders use dimensional lumber, standardized fasteners, and modern engineering logic to create modular systems that withstand harsh winters and scorching summers alike. When you utilize a proven layout, you bypass the guesswork of sizing, eliminate wasted lumber cuts, and avoid the structural failures that plague amateur builds.
The Anatomy of a Successful Weekend Woodworking Project
Building a robust garden container requires more than simply screwing four planks together and crossing your fingers. Structural integrity matters immensely because wet soil exerts outward pressure that can easily warp cheap wood or snap weak fasteners. The foundation of any reliable weekend build relies heavily on material selection. Western red cedar and redwood reign supreme due to their natural resistance to rot and insect damage without requiring toxic chemical treatments. If budget constraints point you toward construction-grade Douglas fir or dimensional pine, treating the interior walls with a safe, food-grade linseed oil or utilizing heavy-duty plastic liners will significantly extend their operational lifespan.
Dimensions dictate both your physical comfort and the biological health of your plants. A standard width of four feet is the golden rule across the DIY community because it allows an adult to reach comfortably into the exact center from either side without stepping inside and compacting the custom soil blend. Length is entirely modular, with eight feet being the traditional sweet spot that maximizes standard lumber dimensions found at any local home improvement warehouse. Depth matters just as much as surface area; shallow six-inch beds dry out rapidly in July heat, while twelve to eighteen inches of soil depth provides the ideal root zone for heavy feeders like slicing tomatoes, root vegetables, and sprawling squash varieties.
Hardware choice separates a bed that collapses under a heavy winter snowpack from one that lasts a decade. Standard drywall screws lack the shear strength required for outdoor carpentry. Opt instead for exterior-grade structural wood screws with protective coatings, or stainless steel fasteners that resist the corrosive acids found in decomposing organic compost. Corner joinery can range from simple butt joints reinforced with interior 4×4 posts to sophisticated miter cuts and half-lap joints for clean, architectural lines. Reinforcing the corners from the inside ensures your walls remain perfectly square, keeping your garden looking sharp and intentional year after year.
Site selection often determines whether your weekend labor yields a bumper crop or a disappointing harvest. Before you drive your first screw, spend an afternoon observing how sunlight moves across your property. Most culinary vegetables, herbs, and flowering fruit plants demand a minimum of six to eight hours of direct daily sunlight. Avoid placing your new frames directly beneath heavy canopy trees where root competition and shade will stunt your yields. Proximity to a water source is another critical logistical factor; dragging a heavy hose fifty yards across the lawn every single evening gets old very quickly, so building near a spigot or planning a simple drip irrigation layout saves countless hours of labor down the road.
Engineering Soil Profiles for Maximum Yield and Moisture Retention
The greatest lumber frame in the world is essentially useless if you fill it with dead dirt scooped up from a neglected corner of the yard. Raised bed gardening succeeds because you control the subterranean ecosystem completely. The most effective approach utilized by seasoned growers is the classic "lasagna layering" method, or an intentionally engineered soil recipe consisting of a precise ratio of components. Aim for a balanced medium composed of sixty percent high-grade organic compost, thirty percent coarse-textured topsoil or coco coir, and ten percent aeration amendments like perlite or vermiculite. This exact formulation guarantees optimal porosity, preventing the soil from choking roots while retaining just enough moisture to sustain plant life during dry spells.
Compost acts as the primary engine room of your garden bed. Sourcing rich, finished compost from a local landscape yard or combining your own kitchen scraps with yard waste provides a dense buffet of macro and micronutrients. Unlike bagged potting soil which can quickly compact and lose its nutritional punch, a living compost base introduces beneficial earthworms, mycorrhizal fungi, and billions of microscopic bacteria that break down organic matter into bio-available food for plant roots. Avoid using uncomposted manure or heavy backyard clay, both of which introduce weed seeds, create impenetrable concrete-like slabs, and suffocate developing root systems.
Moisture management within an elevated bed differs significantly from traditional in-ground plots because elevated soil drains much faster due to gravity and air exposure around the perimeter. Incorporating organic moisture retention agents like peat moss or sustainable coconut coir fiber prevents the root zone from dehydrating during intense summer heatwaves. Additionally, applying a thick three-inch layer of organic mulch—such as shredded hardwood bark, clean straw, or untreated grass clippings—across the top surface drastically cuts down water evaporation and suppresses aggressive weed seedlings before they can establish a foothold.
Nutrient replenishment is an ongoing cycle rather than a one-time event. Because raised beds are hyper-productive systems that push plants to grow faster and denser than wild environments, they consume soil nutrients at an accelerated rate. Top-dressing your beds each spring and autumn with a fresh two-inch layer of vermicompost or organic slow-release amendments like blood meal, bone meal, and greensand ensures that the soil food web remains active and robust. This proactive maintenance eliminates the need for harsh synthetic liquid fertilizers and keeps your homegrown vegetables packed with vitamins and minerals season after season.
Step-by-Step Blueprint for Constructing Your First Cedar Bed
Building a classic, professional-looking four-by-eight-foot cedar raised bed in a single weekend is entirely achievable when you follow a structured, methodical workflow. Clear your schedule for Saturday morning, grab your safety glasses, and let’s turn raw timber into a thriving garden ecosystem.
- Step 1 (Material Gathering & Lumber Cuts): Purchase four 2×10 or 2×12 cedar boards measuring eight feet in length, and one 4×4 cedar post to use for corner bracing. Cut two of the eight-foot boards in half so you end up with two exact four-foot sections, leaving you with two 8-foot boards and two 4-foot boards for your perimeter. Cut four 12-inch lengths from your 4×4 post to serve as internal corner anchors.
- Step 2 (Laying Out and Squaring the Frame): Lay your boards on a flat surface in a rectangular configuration with the four-foot ends nested inside the eight-foot lengths. Insert your 12-inch 4×4 posts vertically into each of the four inside corners. Use a carpenter’s square to check that every corner forms a precise 90-degree angle, which prevents the final structure from looking crooked or unstable.
- Step 3 (Fastening the Walls Securely): Pre-drill pilot holes through the exterior cedar planks into the interior 4×4 posts to prevent the wood from splitting. Drive three exterior-grade 3-inch structural wood screws per board end in a staggered W-pattern. Repeat this process for all four corners until your wooden rectangle is completely rigid and self-supporting.
- Step 4 (Site Prep and Pest Barrier Installation): Move your newly assembled frame to your chosen sunlit garden location. Clear away existing turf, rocks, and perennial weeds from the footprint. Staple a layer of heavy-duty hardware cloth or galvanized wire mesh across the entire bottom opening of the frame to keep burrowing rodents like voles and gophers from tunneling up into your soil.
- Step 5 (Filling and Activating the Bed): Position your lined bed precisely where you want it, checking for level using a standard bubble spirit level. Fill the structure using your engineered soil blend of compost, topsoil, and perlite, stopping about two inches below the top rim. Rake the soil smooth, water it thoroughly to settle the contents, and you are officially ready to plant your first seeds or transplants.
Avoiding Common Structural and Biological Missteps
Even enthusiastic beginners frequently stumble into predictable traps that can compromise their hard work or sabotage their harvest. Recognizing these common pitfalls before picking up a hammer saves you time, frustration, and wasted money.
- Pitfall 1 (Building Beds Too Wide): Constructing beds wider than four feet makes routine tasks like harvesting, pruning, and weeding an absolute nightmare. When you are forced to step onto the soft soil to reach the middle, you instantly destroy soil aeration and crush beneficial earthworm networks. Workaround: Stick strictly to a maximum width of four feet so you can comfortably reach the middle from either side of the barrier.
- Pitfall 2 (Skipping the Leveling Phase): Placing a wooden frame on sloping or uneven ground creates asymmetrical stress points that will eventually warp the lumber and cause fasteners to snap under soil weight. Workaround: Take twenty extra minutes to dig out high spots and pack down low areas using a shovel and a long spirit level before filling the box with earth.
- Pitfall 3 (Using Untreated Non-Resistant Wood): Selecting cheap pine or scrap plywood without rot resistance means your garden bed will literally rot away and collapse into a muddy heap within two to three seasons. Workaround: Invest in naturally rot-resistant timber like cedar or redwood, or properly seal dimensional lumber with a non-toxic, eco-friendly wood preservative.
- Pitfall 4 (Neglecting Sub-Soil Pest Barriers): Forgetting to install hardware cloth underneath your frame invites underground pests like moles, voles, and gophers right into an all-you-can-eat buffet of tender plant roots. Workaround: Always staple 1/4-inch galvanized steel hardware cloth to the base of the frame before adding soil to create an impenetrable underground fortress.
- Pitfall 5 (Overpacking or Under-Amending Soil): Dumping raw, unamended backyard clay or heavy topsoil straight into the container creates a dense brick that suffocates plant roots and prevents proper drainage. Workaround: Always mix in high volumes of organic compost, peat, and aeration materials to maintain a fluffy, sponge-like soil consistency.
The Broader Impact of Growing Your Own Food Locally
Cultivating a backyard garden extends far beyond the immediate thrill of picking a ripe tomato or harvesting crisp salad greens. In an era dominated by hyper-processed convenience and complex global supply chains, taking control of your immediate food ecosystem fosters a profound sense of self-reliance and environmental mindfulness. When you build your own garden beds, you participate in a localized regenerative economy. You stop relying on industrial agriculture that relies on fossil-fuel-heavy transportation, synthetic chemical pesticides, and wasteful packaging. Instead, you create a microscopic sanctuary of biodiversity right outside your back door where pollinators, beneficial insects, and native flora can thrive in harmony.
Economically, the initial investment in lumber and soil amendments pays dividends by lowering your household grocery bills during peak harvest seasons. A single four-by-eight-foot cedar bed can easily produce dozens of pounds of high-value crops like heirloom tomatoes, bell peppers, leafy greens, and culinary herbs that would cost a small fortune at the supermarket. More importantly, the psychological and physical benefits of tending living plants provide an irreplaceable sanctuary from the relentless hum of modern digital life. Getting your hands dirty, breathing fresh outdoor air, and engaging in purposeful physical labor lowers cortisol levels and grounds your daily routine in the natural rhythms of the seasons.
Sustainability also plays a major role in how modern gardeners approach their craft. Repurposing scrap materials, collecting rainwater in barrels to feed your raised beds, and composting household kitchen waste turns a backyard plot into a closed-loop zero-waste system. You begin to look at organic waste not as trash to be thrown away, but as black gold waiting to be transformed into next season’s harvest. This shift in perspective ripples outward, influencing how you consume energy, manage household waste, and interact with the natural world around you.
The community aspect of gardening shouldn’t be overlooked either. Shared garden projects foster deep connections among neighbors, friends, and family members. Trading surplus seedlings, comparing notes on pest management strategies, and sharing a harvest dinner creates social bonds that strengthen local neighborhoods. When you invest a weekend into building raised beds, you aren’t just constructing wooden boxes for dirt—you are planting the seeds for a more resilient, connected, and grounded lifestyle.
Essential Frameworks for Long-Term Garden Success
Transitioning from a weekend project builder to a confident, long-term gardener requires adopting a few core management frameworks that keep your plots productive year after year.
Rotation of crops is one of the most powerful biological strategies you can implement. Planting the exact same vegetable family in the exact same spot season after season depletes specific soil nutrients and invites specialized soil-borne pests and diseases to multiply unchecked. Establish a simple three-year rotation schedule where heavy feeders like tomatoes and brassicas occupy a bed one year, followed by nitrogen-fixing legumes like beans and peas the next, followed by light feeders like root vegetables in the third year. This rotation keeps your soil biology balanced and naturally suppresses disease cycles without requiring chemical interventions.
Companion planting is another timeless framework that maximizes space and deters pests through natural botanical partnerships. Instead of planting vast monocultures that attract destructive insects, intersperse your vegetables with aromatic herbs, marigolds, and flowering native plants. Basil planted beside tomatoes improves flavor and deters hornworms, while flowering dill and cilantro attract predatory beneficial wasps that hunt garden pests. This multi-layered approach turns your raised bed into a self-regulating ecosystem where nature does much of the heavy lifting for you.
Water conservation technology has also advanced to the point where modern backyard growers can automate their irrigation with minimal fuss. Running a simple drip-tape or soaker hose network along the base of your plants, connected to a cheap battery-operated digital timer on your spigot, ensures your beds receive deep, targeted watering every morning before the sun comes up. This eliminates water waste through evaporation, keeps foliage dry to prevent fungal blights, and frees you up from the daily chore of dragging hoses around the yard.
Winterizing your beds correctly ensures that your soil remains healthy and ready for action when the following spring arrives. As the autumn harvest winds down, clear out dead plant debris to prevent overwintering pests, and cover your soil with a protective blanket of chopped leaves, straw, or a heavy silage tarp. This cover crop or mulch blanket protects your precious soil microbiome from freezing winds, prevents soil erosion from winter rains, and keeps the earth soft and teeming with life when the warm weather returns.
The sun is dipping below the fence line, casting long shadows across your newly assembled and soil-filled wooden frames. The scent of fresh cedar hangs heavy in the evening air, mixing with the rich, earthy aroma of living compost. Your back might feel a familiar, satisfying tiredness, but your mind is clear and entirely focused on the green future taking shape right in front of you. You didn’t just build a weekend woodworking project; you carved out a sanctuary of self-reliance, a place where patience meets physical labor and yields something profoundly nourishing.
As you wash the dirt from your hands and put your tools away, remember that gardening is a journey of continuous learning rather than an exam to be passed. Some crops will flourish beyond your wildest expectations, while others might struggle against unexpected weather or persistent pests. That is all part of the natural rhythm. Every season teaches you something new about your microclimate, your soil, and your own resilience.
Take a moment to step back, admire your handiwork, and picture those empty beds overflowing with vibrant greens, cascading vines, and heavy fruit in the months to come. You have the plans, you have the materials, and you have the knowledge. All that remains is to drop those first seeds into the dark, welcoming earth and let nature do what she does best. Your weekend project is complete, but your garden adventure is only just beginning.