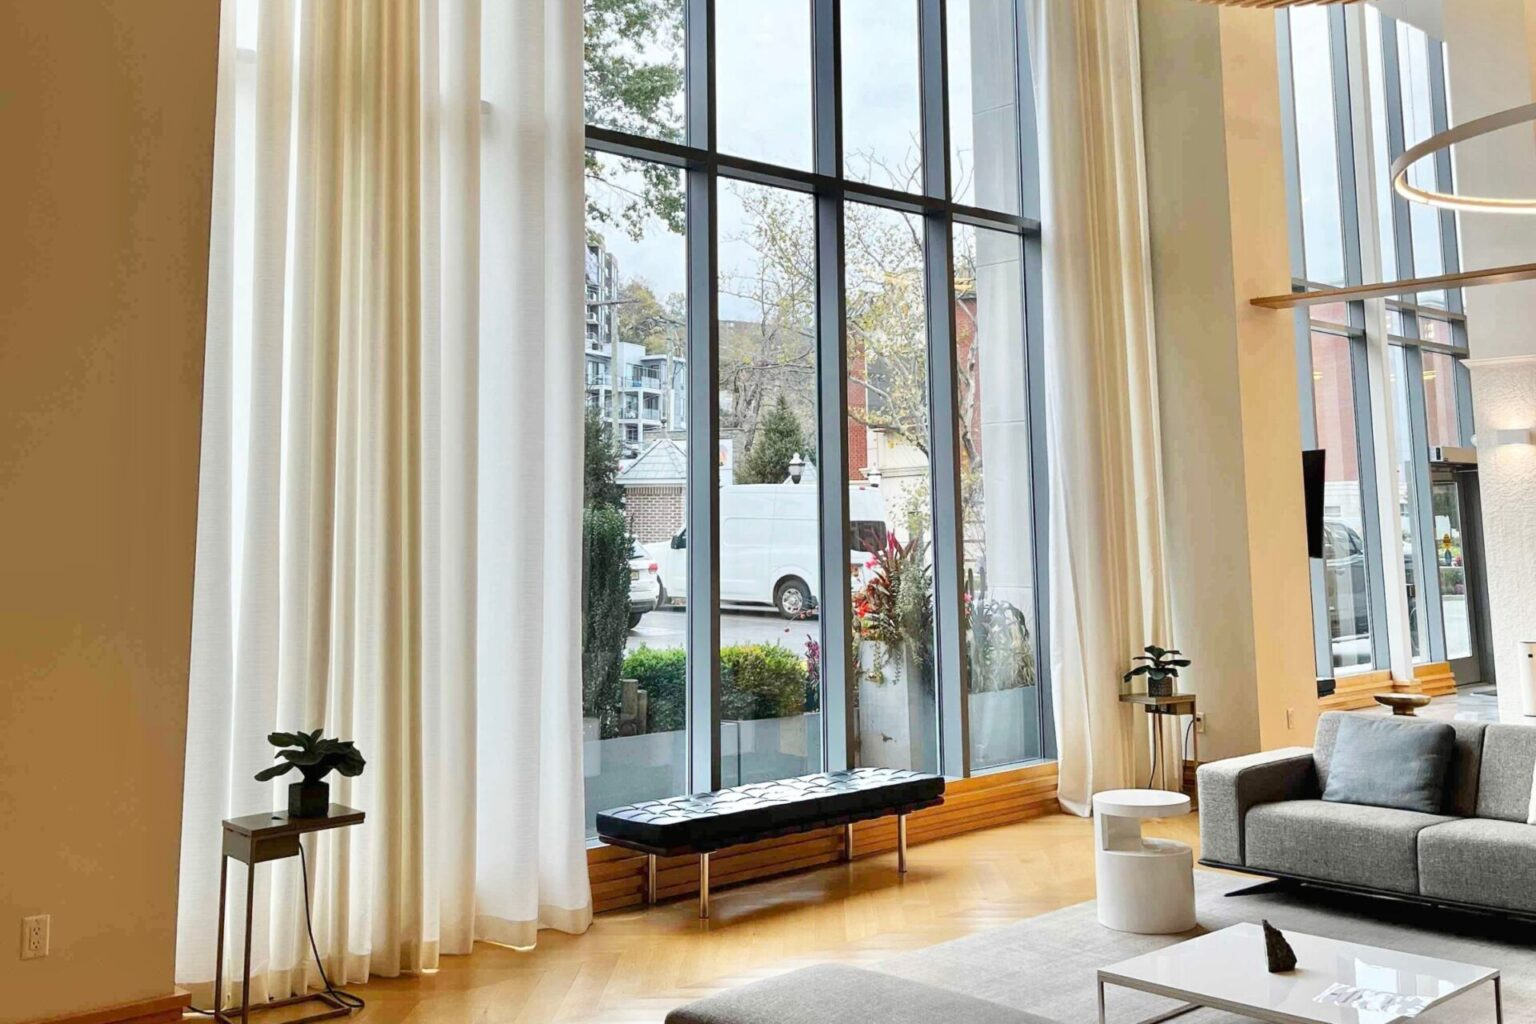
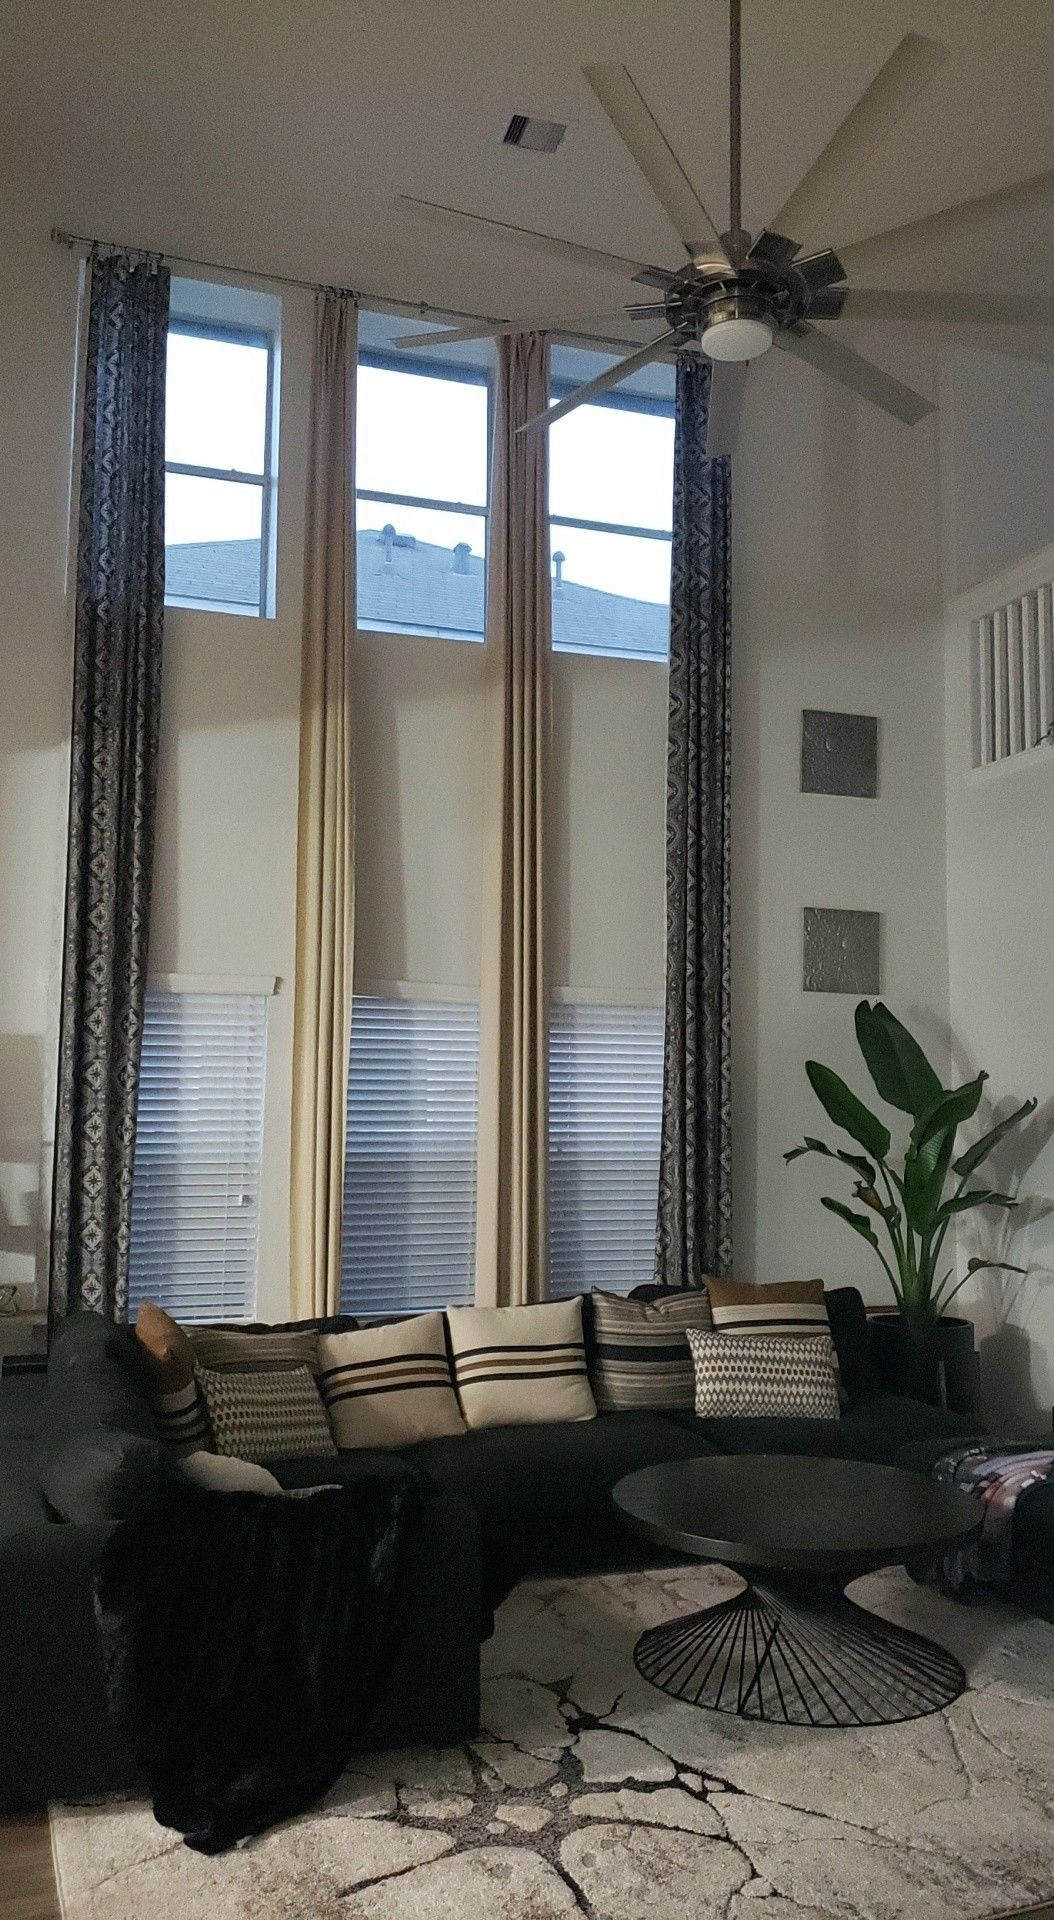
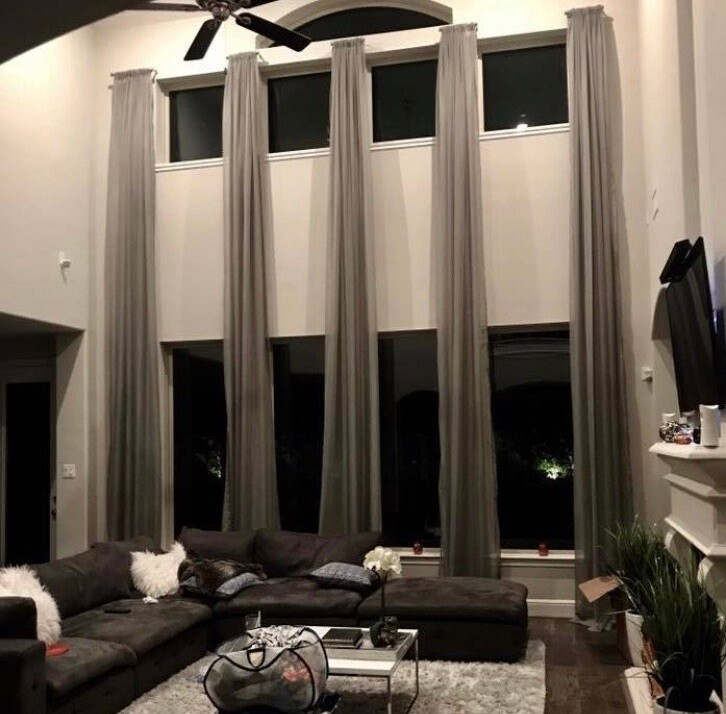
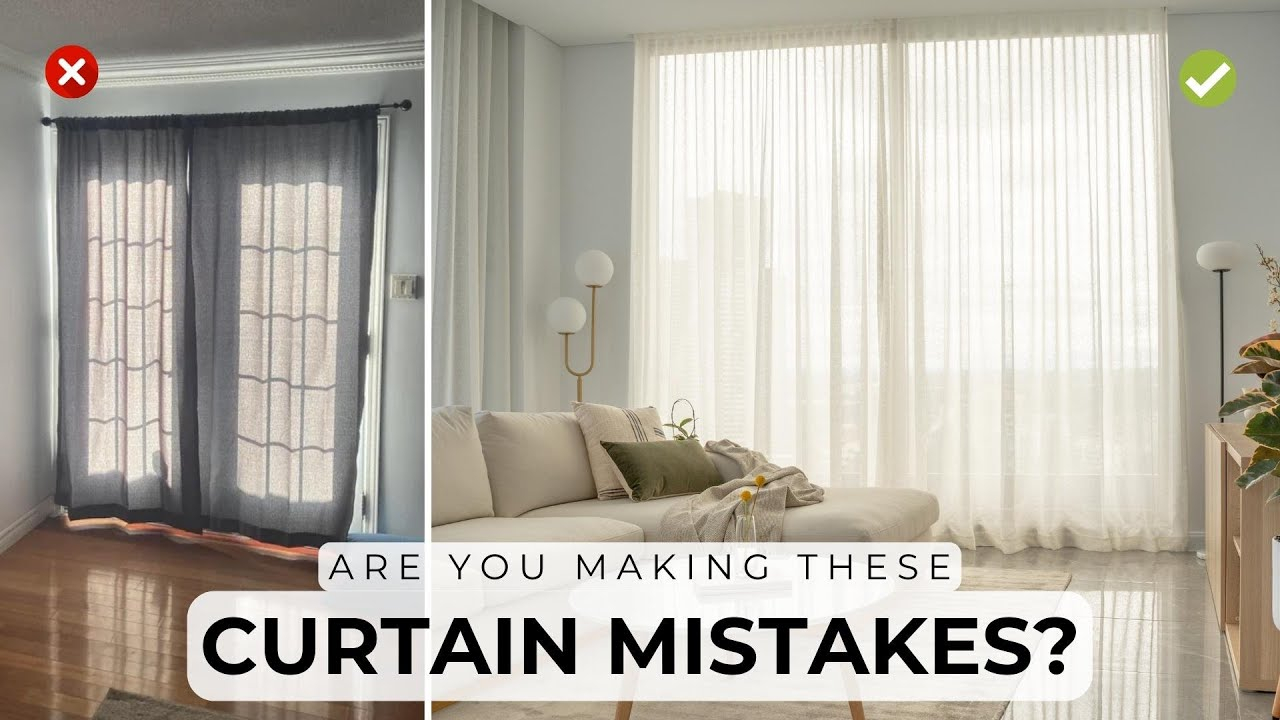
Let’s be honest. Those floor-to-ceiling, two-story windows are stunning. They flood your living room with light and make the space feel open and airy. But have you ever tried to dress them? It feels like a dare. You look up at that twenty-foot expanse of glass and think, "How on earth do I measure that without falling?" The traditional advice always involves a sturdy ladder, a helper, and a lot of nervous sweating. But what if you didn’t need any of that? What if you could get professional-looking results while keeping both feet firmly planted on the ground?
It sounds too good to be true, right? Like some interior design myth. But in 2026, we have better tools and smarter tricks than just balancing on a wobbly step stool. The fear of heights is real, and so is the fear of damaging your expensive hardwood floors with a slipping ladder. You don’t have to choose between safety and style. You can have both. This guide isn’t about cutting corners; it’s about working smarter. We are going to break down exactly how to measure, buy, and hang those massive drapes without ever leaving the ground.
Grab a coffee. Put away the ladder. Let’s tackle this together.
The Mindset Shift: Measure from the Bottom Up
Most people get intimidated by two-story windows because they think they need to measure from the top down. They imagine stretching a tape measure sixteen feet into the air, trying to keep it straight while squinting against the glare. That is a recipe for disaster. And inaccurate measurements. The secret? You rarely need to touch the top of the window frame to get a perfect fit. Instead, we use reference points and simple math.
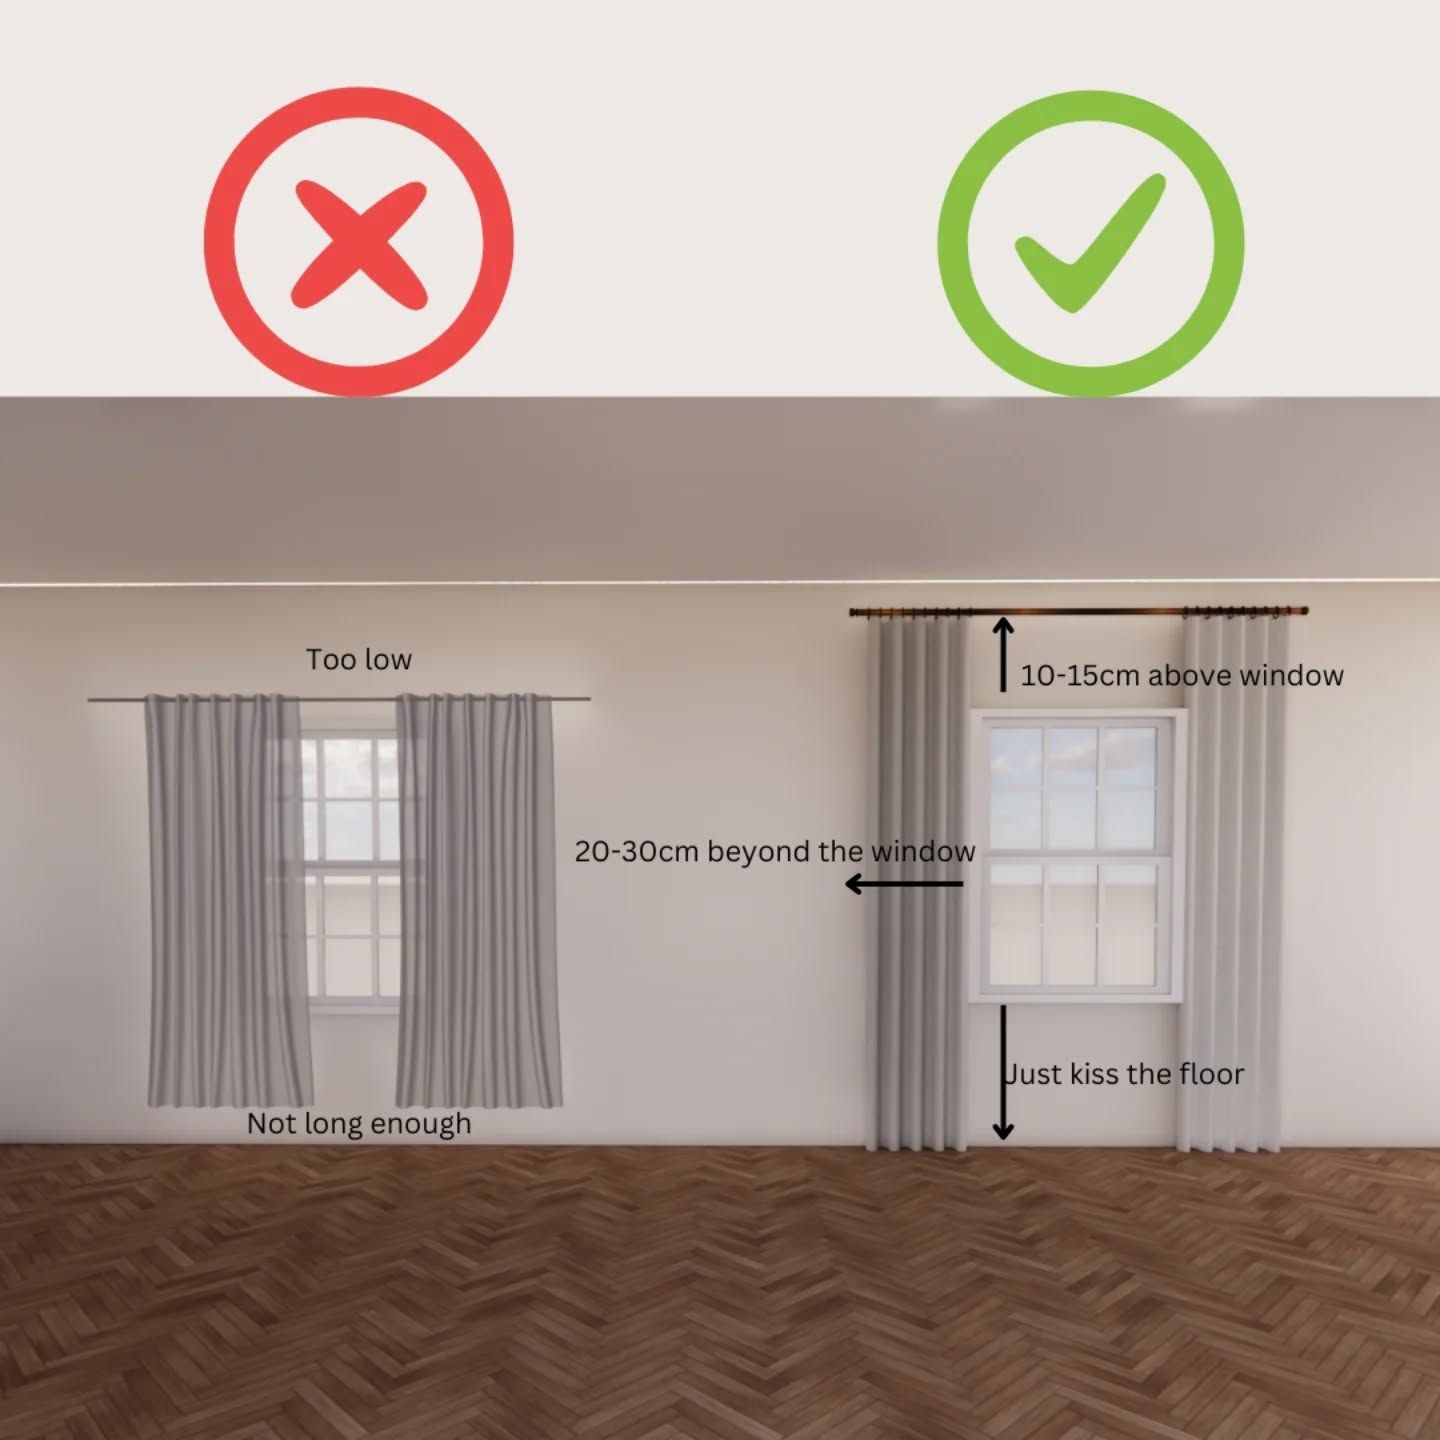
Start by deciding where your rod will go. Designers usually recommend mounting the rod four to six inches above the window frame, or even closer to the ceiling to create an illusion of height. But here is the trick: you don’t measure from the ceiling down. You measure from the floor up. Use a laser distance measurer if you have one—they are cheap and incredibly accurate now. If not, a standard metal tape measure works fine, but you’ll need a helper to hold the end at the floor. Mark your desired rod height on the wall with a pencil. Maybe it’s ten feet up. Maybe it’s twelve. It doesn’t matter how high it is, as long as you can reach that spot with a long pole or by standing on a secure chair (not a ladder).
Once you have that mark, you have your "drop" measurement. You simply measure from that pencil mark down to the floor. Subtract half an inch if you want the curtains to "kiss" the floor, or subtract three inches if you prefer them to puddle slightly (though puddling is less popular in 2026 for practical reasons). By working from the ground up, you eliminate the danger of leaning over a ladder. You also get a more consistent measurement because gravity is on your side. The tape hangs straight down, not at an awkward angle. It’s simple physics, really. And it saves your neck from craning upward for twenty minutes.
Width Matters More Than Height
Here is a common mistake. People obsess over the length of the curtain and forget the width. For two-story windows, width is actually more critical for the visual impact. If your curtains are too narrow, they look stingy. They look like afterthoughts. You want that luxurious, full look that frames the window properly. So, how do you figure out how wide your panels need to be without climbing up to measure the rod span?
You measure the window frame itself. Stand back and measure the width of the glass or the trim. Let’s say your window is seven feet wide. To get that designer look, you need to extend the rod beyond the frame. Experts suggest extending it six to ten inches on each side. This allows the curtains to stack completely off the glass when open, maximizing your light. So, if your window is 84 inches wide, and you add 10 inches on each side, your rod needs to be 104 inches long. Simple addition. No ladder required.
Now for the fabric. You don’t just buy curtains that are 104 inches wide. That would look flat and sad. You need fullness. The general rule is to multiply your rod width by 1.5 to 3 times. For a modern, tailored look, aim for 2 times. For a lush, romantic vibe, go for 2.5 or 3 times. Using our example, if your rod is 104 inches, you need curtains that total between 156 and 312 inches in width. Since most panels come in standard widths (like 50 or 54 inches), you do the math to see how many panels you need. Usually, for a two-story window, you’ll need multiple panels per side to get enough fabric weight. This ensures they hang straight and don’t look flimsy. Write these numbers down. Double-check them. It’s easier to fix a math error on paper than to return heavy drapes later.
Tools of the Trade: Ditching the Step Stool
Okay, so you have your measurements. Now you need to install the hardware. This is the part that usually sends people running for the ladder. Drilling holes sixteen feet in the air? No thanks. But in recent years, tool technology has caught up with our laziness—and our safety concerns. You don’t need a ladder if you have the right extensions.
First, invest in a drill extension pole. These are affordable attachments that connect your power drill to a long, telescoping pole. They allow you to drill pilot holes and drive screws from the ground. It takes a bit of practice to keep it steady, but it’s infinitely safer than balancing on a rung. You can find these at any hardware store or online. Make sure you get one that extends to at least twelve or fifteen feet. Pair this with a laser level. A self-leveling laser line projector can cast a perfectly horizontal line across your wall at the exact height you marked earlier. This ensures your brackets are level without you having to hold a bubble level against the wall while standing on a chair.
If a drill pole feels too intimidating, there is another option: tension rods or ceiling-mounted tracks. Ceiling tracks are fantastic for two-story windows because they distribute the weight evenly and can be installed using extended poles as well. Some modern track systems even come with adhesive options for lighter fabrics, though for heavy two-story drapes, screwing into studs or using anchors is still the gold standard. Another clever hack? Use a long piece of wood or a broom handle to temporarily hold the bracket in place while you mark the holes. It acts as a third hand. Just make sure you have a stud finder that works at a distance, or use a strong magnet to locate the screws in the drywall studs. Accuracy here is key. One crooked bracket and your beautiful curtains will look skewed forever.
The Fabric Choice: Weight and Length
Not all fabrics are created equal, especially when you’re dealing with vertical expanse. Two-story windows require heavier fabrics. Why? Because lightweight fabrics tend to billow in the breeze and look messy. They don’t have the gravity to pull themselves straight. You want materials like velvet, heavy linen, or wool blends. These fabrics have a natural drape that looks elegant and intentional. They also help with insulation, which is a nice bonus for such large glass surfaces.
When ordering, pay attention to the "finished length." Most ready-made curtains max out at 96 or 108 inches. That’s not enough for a two-story window. You have two choices: custom-made or DIY hemming. Custom is easier but pricier. If you’re handy with a sewing machine, you can buy extra-long panels (some brands offer 120-inch lengths) and hem them to your exact measurement. Remember that measurement you took from the floor up? Use it here. If you’re unsure, order them slightly longer. You can always hem them up, but you can’t let them down. In 2026, many retailers offer "made-to-measure" services online where you input your floor-to-rod height, and they sew it for you. It’s worth the extra wait time for a perfect fit.
Also, consider the lining. Blackout linings add weight and protect the fabric from sun damage. Given the size of these windows, UV protection is crucial to prevent fading. Plus, a lined curtain hangs better. It has substance. When you pull it closed, it feels substantial. It blocks noise and light effectively. Don’t skimp on the lining. It’s the unsung hero of good drapery. And if you want a layered look, consider using a sheer panel underneath. You can hang both on the same rod using double rings or piggyback hooks, which saves you from installing a second rod. This keeps the look clean and minimizes the hardware needed.
Installation Day: Safety and Precision
It’s finally time to hang them. You’ve measured, you’ve bought, and you’ve prepped. Now, let’s get those brackets up. Start by marking your stud locations clearly. Use painter’s tape to mark the exact spots for your screws. This prevents mistakes and gives you a visual guide. If you’re using the drill extension pole, test it on a lower wall first. Get a feel for the torque and the angle. It’s a bit like learning to write with your non-dominant hand. Awkward at first, but manageable.
Have a friend nearby. Not necessarily to hold the ladder (since we aren’t using one), but to hand you tools and catch any falling screws. Dropping a screw from twelve feet is annoying; dropping a drill is dangerous. Keep your workspace clear. Lay out the curtains on the floor to inspect them for any defects before you hang them. Once the brackets are secure, slide the rings or hooks onto the rod. Then, lift the rod into place. This is the only part where you might need a small step stool, but not a tall ladder. If the rod is heavy, ask for help lifting it. There are also rod-lifting tools available that use a pulley system to hoist the rod into the brackets from the ground. They’re niche, but they exist and are a game-changer for solo installers.
Check the level again. Step back. Look at the symmetry. Do the curtains hang straight? Do they clear the floor evenly? Adjust as needed. If one side is higher, tweak the bracket. It’s much easier to fix now than after you’ve stepped back to admire your work. Take your time. Rushing leads to crooked rods and frustration. Breathe. Enjoy the process. You’re transforming your space, and you’re doing it safely. That’s a win in itself.
The curtains are up. You’re done, right? Not quite. The final ten percent of the effort delivers ninety percent of the look. How you style the curtains makes a huge difference. First, train them. New curtains often look stiff and boxy. To fix this, gently fold the fabric inwards and tie them loosely with a ribbon or string for a few days. This encourages them to hold a soft, natural fold. It’s an old tailor’s trick that works wonders.
Next, consider the hardware finish. For two-story windows, the rod is a major visual element. Choose a finish that complements your room. Matte black is popular in 2026 for its modern, understated look. Brass adds warmth and elegance. Make sure the finials (the decorative ends) are proportional to the scale of the window. Tiny finials on a massive rod look silly. Go bold. Or, if you prefer a minimalist look, skip the finials entirely and use a sleek, continuous track.
Finally, think about how you use them. Do you keep them open during the day to showcase the view? Or do you close them for privacy? Install a motorized opener if your budget allows. Reaching a twenty-foot curtain to open it manually is a pain. Motorization lets you control them with a remote or voice command. It’s luxurious and practical. If motors aren’t in the budget, use a long draw rod. It’s a simple tool that hooks onto the curtain ring and lets you pull them open from the ground. It’s a small detail, but it makes living with tall curtains much more enjoyable. Add a heavy holdback if you want to keep them swept back elegantly. These small touches elevate the look from "installed" to "designed."
Hanging curtains on two-story windows doesn’t have to be a terrifying ordeal. By shifting your perspective—measuring from the ground up, using the right extension tools, and choosing heavy, high-quality fabrics—you can achieve a stunning result without ever risking a fall. It’s about preparation and patience. Take the time to measure twice. Invest in the right tools. And don’t be afraid to ask for help when lifting the rod.
Your home should be a sanctuary, not a source of stress. Those tall windows are a gift. They connect you to the outside world and bring in light. Dressing them properly enhances that connection. It frames the view and adds warmth to the room. So, put away the ladder. Trust the process. And enjoy the view from the comfort of your sofa, knowing you did it safely and stylishly. You’ve got this.