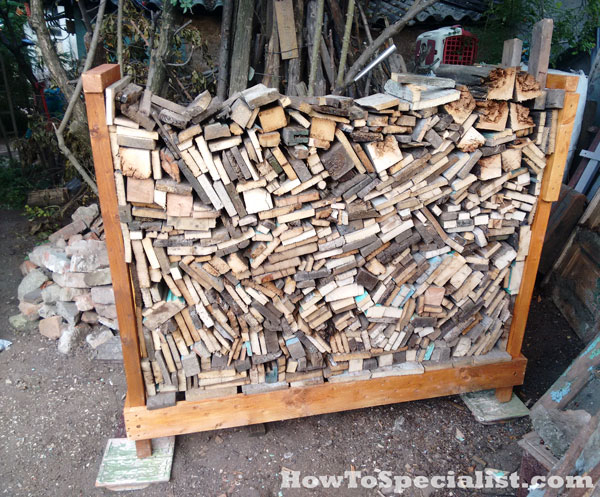
There is something deeply satisfying about the smell of split oak drying in the sun. It’s the scent of preparation. Of winter coming, sure, but also of warmth waiting in the wings. Yet, too often, that precious fuel ends up in a soggy, muddy pile on the ground. We’ve all been there. You rush out to grab an armful for the stove, only to find the bottom logs are dark with rot and crawling with pill bugs. It’s frustrating. And entirely avoidable.
You don’t need a workshop full of whirring power tools to fix this. In fact, some of the sturdiest racks I’ve seen were built with nothing more than a handsaw, a hammer, and a little bit of patience. In 2026, where sustainability and self-reliance are making a huge comeback, building your own storage solution isn’t just about saving a few bucks. It’s about connecting with the process. It’s about knowing exactly how your wood is stored and why it stays dry. Let’s strip away the complexity. No electricity required. Just you, some lumber, and the simple joy of making something useful.
Why Ground Contact is the Enemy of Good Heat
Let’s get one thing straight immediately: dirt is wet. Even on a sunny day, the ground holds moisture. When you stack firewood directly on the earth, those bottom logs act like sponges. They soak up that dampness through capillary action. Before you know it, you have a layer of rotten wood that won’t burn, smells musty, and attracts pests like termites or carpenter ants. Nobody wants that near their home.
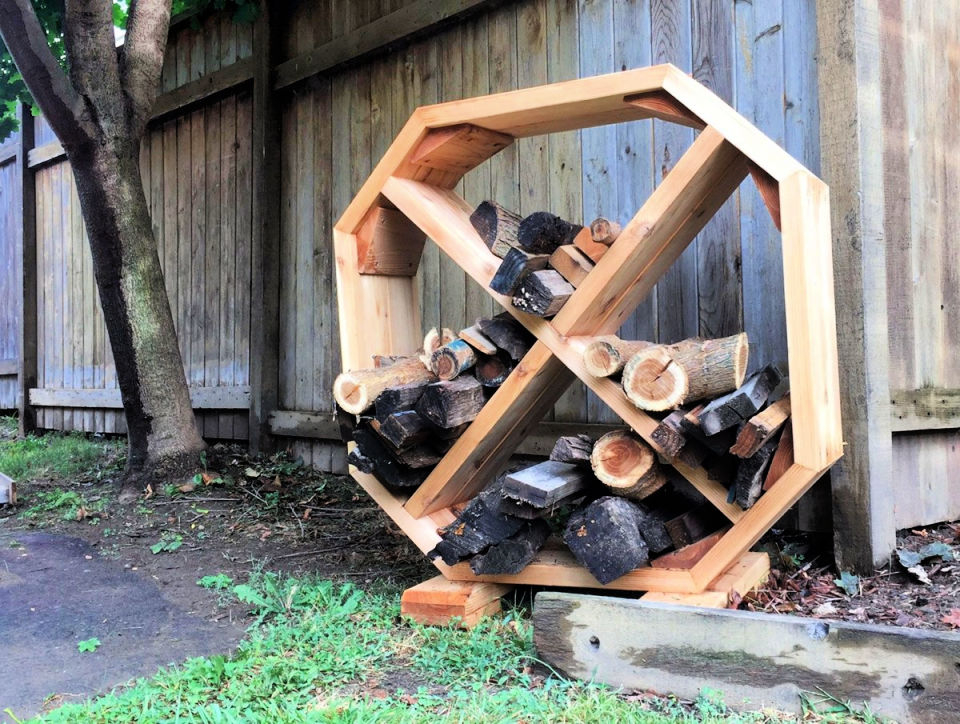
A proper rack lifts the wood off the ground. This does two critical things. First, it stops the wicking of moisture from the soil. Second, and maybe more importantly, it allows air to circulate underneath the pile. Airflow is the secret ingredient to seasoned wood. Without it, even wood that was cut two years ago can stay damp and heavy. By elevating your stack, even just six inches, you create a microclimate that encourages drying. It’s simple physics, really. Warm air rises, cool air sinks, and the wind moves through the gaps. Your wood breathes. And when wood breathes, it burns hot and clean.
Think about the last time you tried to start a fire with damp kindling. It’s a struggle. You use more paper, more starter cubes, and more patience than you’d like. A rack prevents this heartache. It keeps your inventory organized, too. You can see at a glance how much wood you have left. No more guessing games in the middle of a snowstorm. It turns a chaotic pile into a tidy, functional resource. And honestly? It looks better. A neat stack against the side of the house or under a shelter adds a rustic charm that a mud-pile never could.
Gathering Your Materials Without Breaking the Bank
You might think you need fancy, pressure-treated lumber for this project. While that stuff lasts a long time, it’s expensive and often contains chemicals you might not want sitting next to your burning wood (even if it’s technically safe, many people prefer to avoid it). The good news is that you probably have what you need already. Scrap 2x4s are perfect. Old pallets can be dismantled for slats. Even fallen branches from sturdy trees like oak or hickory can serve as the frame if you’re feeling truly rustic.
For a standard, reliable rack, aim for four main pieces of 2×4 lumber for the base and sides. You’ll also need some shorter pieces for cross-supports. If you’re scavenging, look for wood that is straight and free of major cracks. Rotting or twisted wood will make your life difficult. As for fasteners, galvanized nails are your best friend here. They resist rust better than standard steel, which is crucial since your rack will live outdoors. If you have old deck screws lying around, those work too, but driving them by hand takes a bit more elbow grease.
Don’t forget the finish. You don’t need to paint it. In fact, painting can trap moisture inside the wood if not done perfectly. A simple coat of linseed oil or a natural wood preservative can help extend the life of your rack without introducing harsh chemicals. Or, just let it weather naturally. Gray wood looks fine. It blends in. The goal is function, not perfection. Keep it simple. The less you spend, the more satisfied you’ll be with the result. After all, it’s just a rack. It doesn’t need to win any beauty contests. It just needs to hold wood.
The Essential Toolkit: Less is More
Here is the liberating part: you don’t need a table saw. You don’t need a drill driver. You don’t even need a speed square if you’re careful. The core toolkit for this project is incredibly basic. First, a handsaw. A crosscut saw is ideal for cutting across the grain of the 2x4s. It might take a minute or two per cut, but it’s quiet and precise. If you have a backsaw, that’s even better for cleaner edges, but a standard garden saw works fine.
Second, a hammer. A 16-ounce claw hammer is the standard for a reason. It has enough weight to drive nails efficiently but isn’t so heavy that it tires your arm out after ten minutes. Make sure the face is clean and not pitted, so you don’t mar the wood unnecessarily. Third, a tape measure. Accuracy matters, but it doesn’t have to be microscopic. Being within a quarter-inch is usually plenty good enough for a firewood rack.
Finally, a pencil and a combination square or a simple try square. Marking your cuts clearly prevents mistakes. And if you don’t have a square? Use a piece of paper. The corner of a standard sheet of printer paper is a perfect 90-degree angle. It’s a classic trick that works every time. Some people might suggest a level, but for a rack sitting on uneven ground, you’ll likely be shimming it anyway. So, skip it. Keep your tool belt light. The simplicity of the tools forces you to slow down and pay attention to the wood. There’s a rhythm to hand-sawing that’s almost meditative. Embrace it.
Designing Your Custom Dimensions
Before you make a single cut, you need to decide how big your rack should be. This depends on two things: how much wood you burn and how much space you have. A common mistake is building a rack that’s too deep. If it’s wider than the length of your average log, the wood will stick out awkwardly or fall over. Standard firewood is cut to 16 or 18 inches. So, your rack’s depth should be slightly less than that, say 15 inches, to keep everything contained.
Length is flexible. A four-foot rack holds a decent amount for a weekend. An eight-foot rack is great for weekly stocking. But remember, the longer the rack, the more support it needs in the middle to prevent sagging. If you’re going longer than six feet, plan to add a central leg or extra bracing. Height is another consideration. You don’t want to bend over too far to reach the back logs. A height of three to four feet is usually comfortable for most people. It’s high enough to keep the wood dry but low enough to stack safely without it becoming top-heavy.
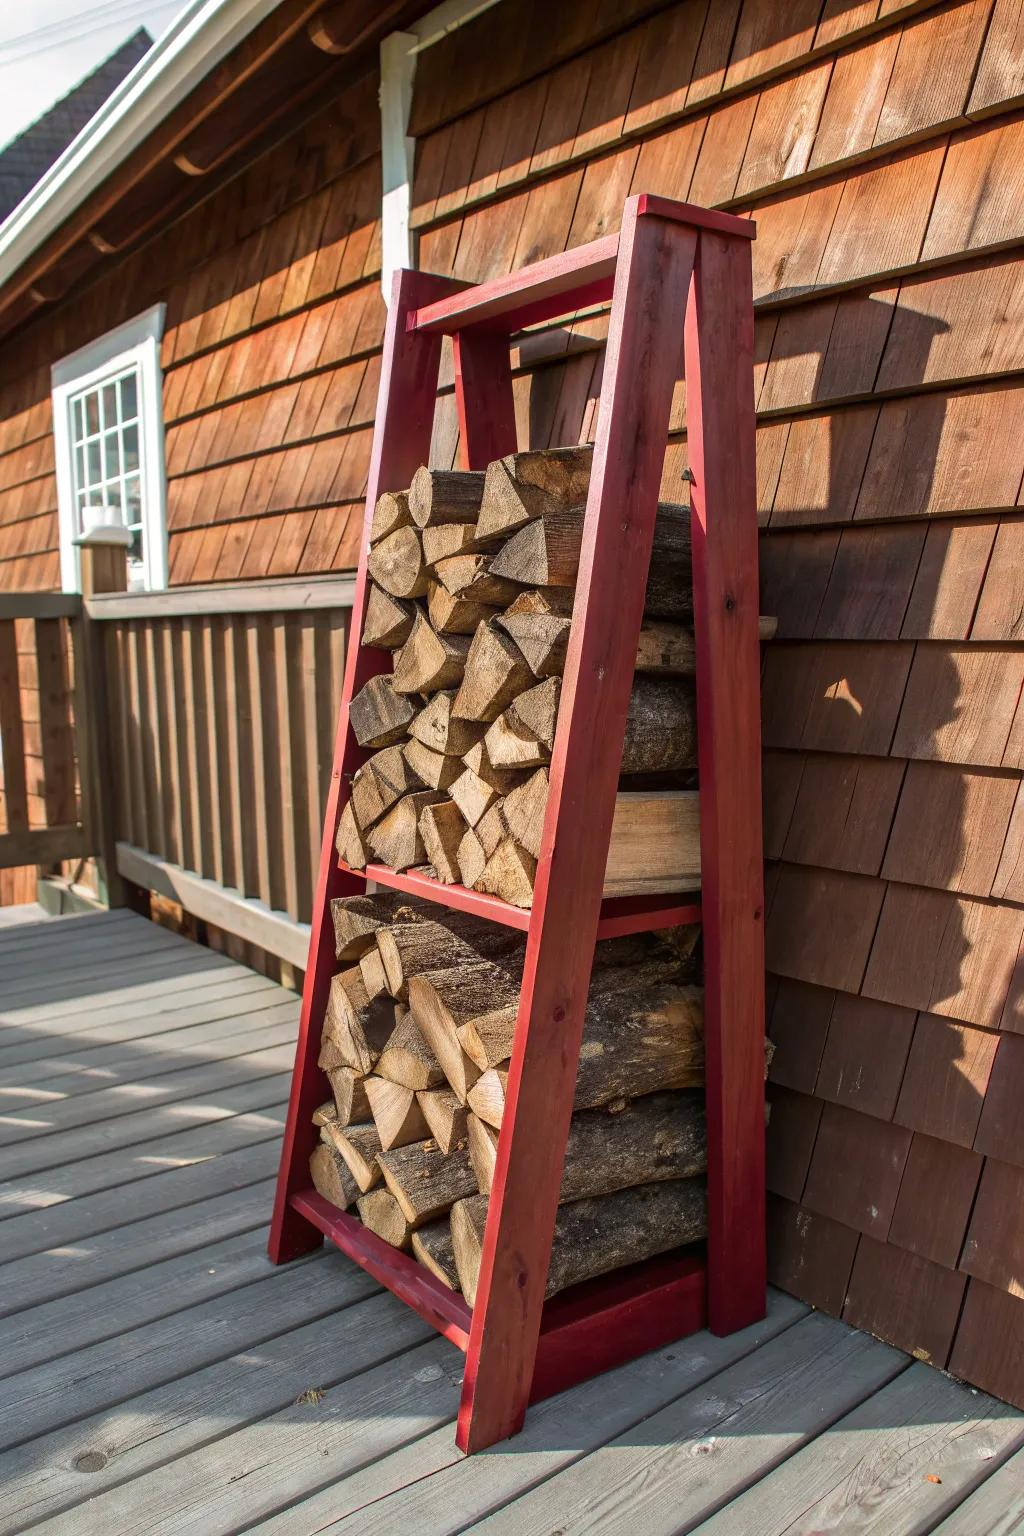
Sketch it out on a piece of cardboard or scrap paper. Draw the side view first. You’ll likely want an A-frame design or a simple rectangular box with slats. The A-frame is inherently stable and sheds rain well if you add a roof, but it uses more wood. The rectangular box is simpler to build and fits flush against a wall. For a hand-tool build, the rectangular box with angled side supports is often the easiest. It requires fewer complex angles. Just four vertical posts, two horizontal rails, and some slats. Keep the geometry simple. Complex joinery is for furniture. This is for firewood.
Step-by-Step Construction Without Power
Start with the base. Cut your two long 2x4s to the desired length. Then cut your shorter end pieces. Lay them out on a flat surface. If you’re doing a simple box frame, butt the ends together. Mark your nail locations. Pre-drilling holes with a hand brace and bit isn’t strictly necessary for softwoods, but it helps prevent splitting, especially near the ends of the boards. If you don’t have a brace, just hammer slowly. Tap the nail in a little, check your alignment, then drive it home. It takes longer, but it’s quieter.
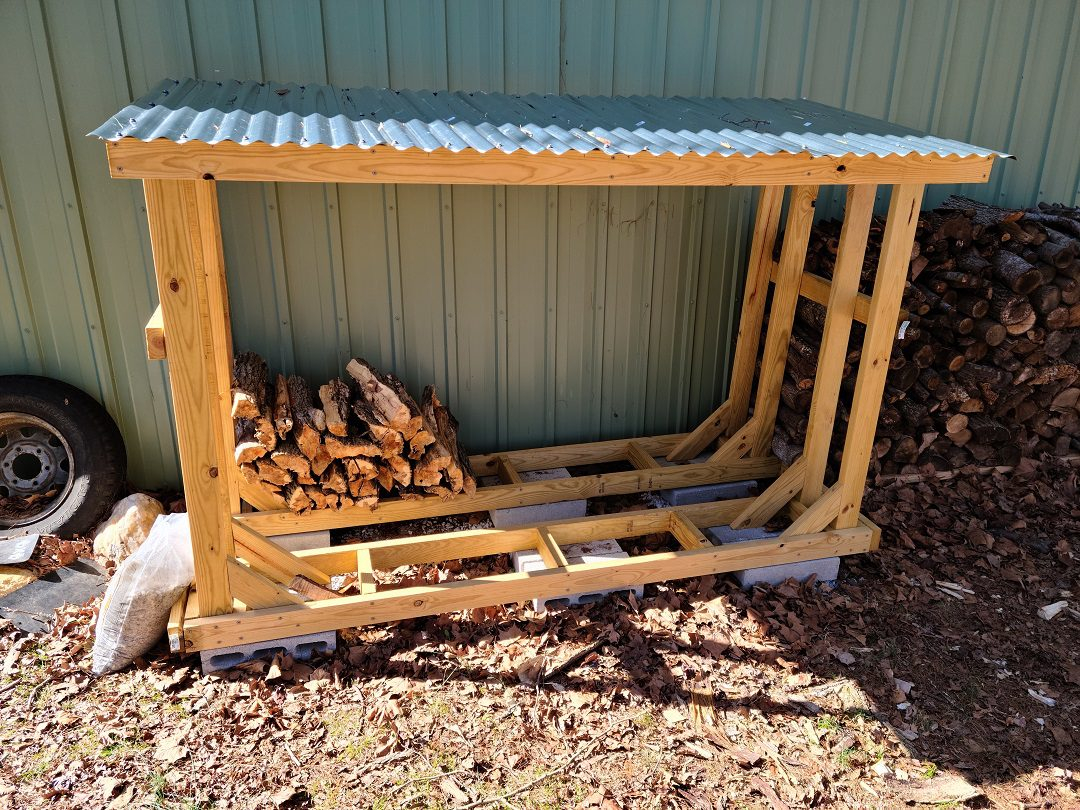
Once the base frame is assembled, attach the uprights. These are the vertical posts that will hold the sides. If you’re building a rack that sits on the ground, these posts form the legs. Make sure they are perpendicular to the base. You can use your paper-corner trick here to check the angle. Nail them securely. Two nails per joint is usually enough if the wood is dry. If it’s green or damp, use three. Next, attach the horizontal rails that will support the wood slats. These run parallel to the ground, connecting the uprights.
Now for the slats. These are the pieces the wood actually rests on. You can use 1x4s or even thinner strips if you have them. Space them about two to three inches apart. This gap is crucial for airflow. Don’t skimp on the spacing. Nail each slat to the horizontal rails. It’s repetitive work, but it goes quickly. Once the main structure is done, add diagonal braces if you feel it’s wobbly. A simple triangle of wood nailed into the corners adds immense rigidity. Check your work. Give it a shake. If it creaks, add another nail. If it feels solid, you’re done. Sand down any sharp splinters so you don’t tear your gloves.
Where you put your rack is almost as important as how you build it. Ideally, place it in a spot that gets good sunlight and breeze. Avoid dark, damp corners under dense trees where leaves will accumulate and trap moisture. If you have a south-facing wall, that’s prime real estate. The sun will help dry the wood throughout the day. However, don’t push it flush against the house. Leave at least a few inches of gap between the rack and the wall. This prevents moisture from getting trapped behind the wood and potentially damaging your siding or inviting pests into your home’s exterior.
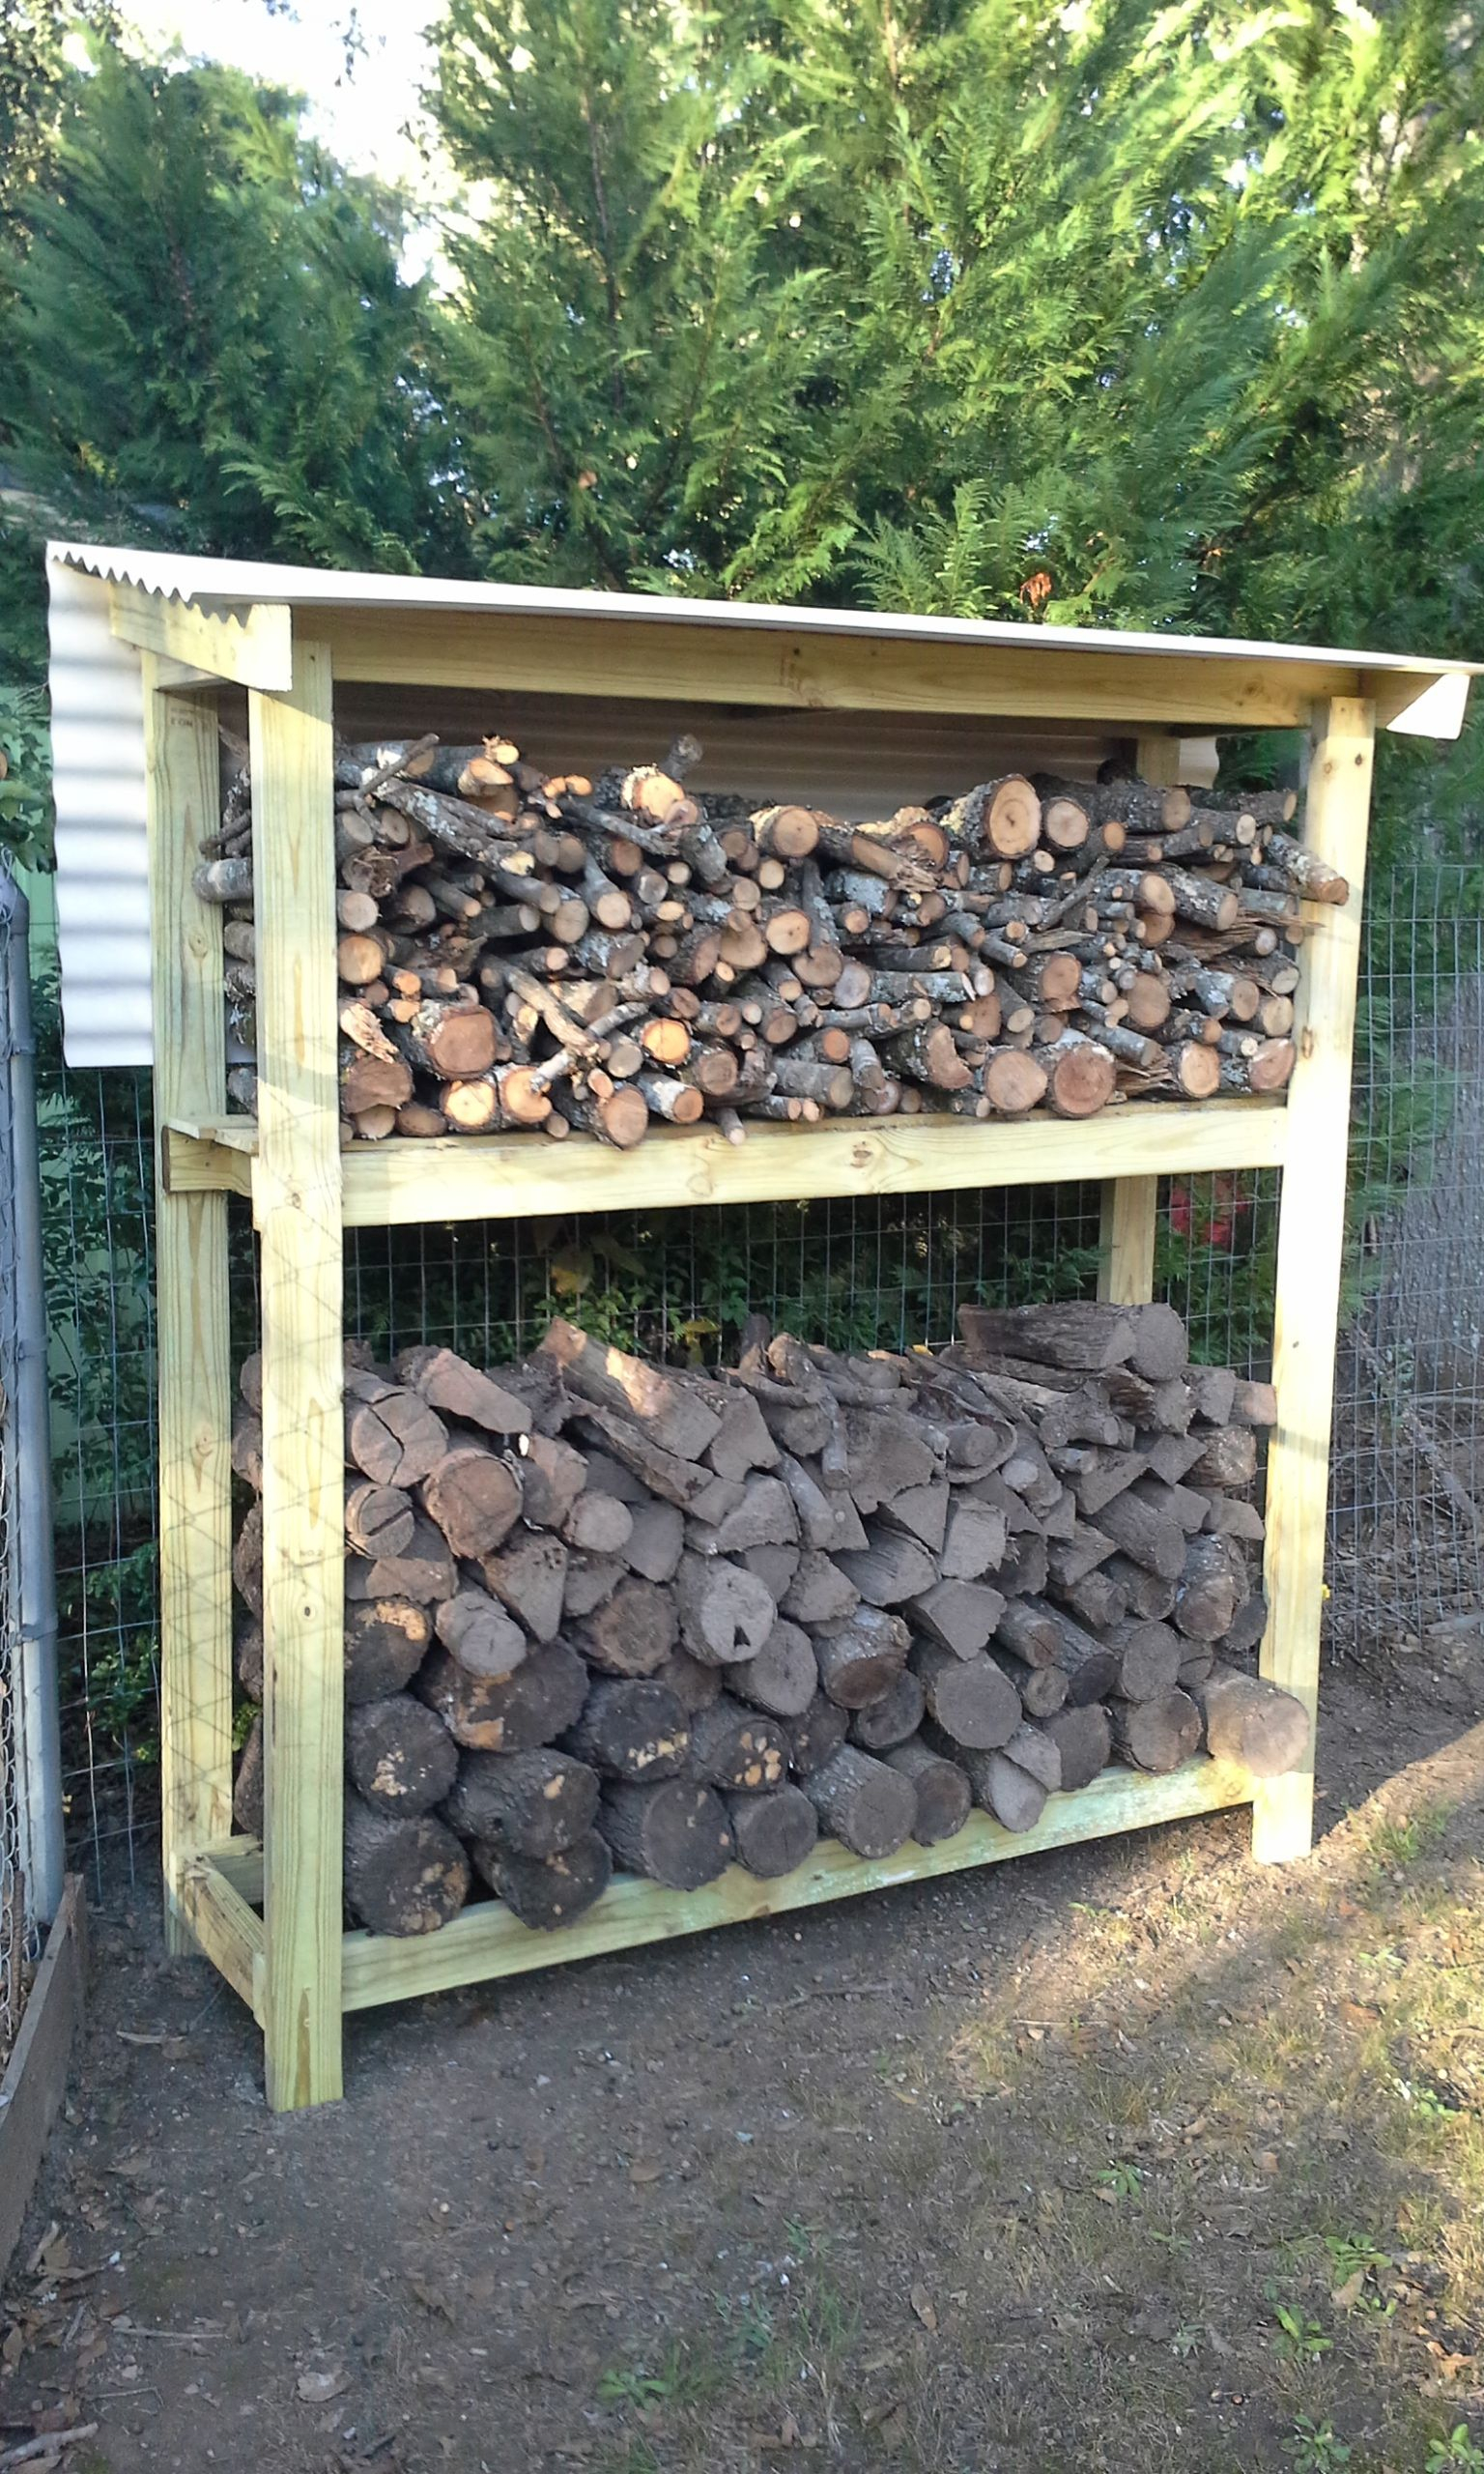
If you live in an area with heavy rain or snow, consider adding a simple roof. It doesn’t have to be fancy. A piece of corrugated metal or even a tarp stretched over a few battens works wonders. The key is to cover the top of the wood pile while leaving the sides open. Covering the sides traps humidity and slows down the seasoning process. You want the wind to hit the stack. So, roof yes, sides no. This balance keeps the rain off while letting the air do its job.
Maintenance is minimal. Once a year, give the rack a quick inspection. Look for loose nails. Hammer them back in or pull them out and replace them if they’re bent. Check for signs of rot on the legs, especially if they touch the ground. If you notice soft spots, you might need to replace that piece. But if you built it with decent wood and kept it off the bare earth (maybe set it on a few paving stones), it should last for many years. Sweep out the debris underneath occasionally. Leaves and twigs can hold moisture and encourage decay. Keep it clean, keep it airy, and your rack will serve you well.
Building this rack isn’t just about storing wood. It’s a small act of care. It’s preparing for the cold months with intention. In a world that moves so fast, taking an afternoon to saw, hammer, and build something with your hands feels grounding. It’s tangible. You can see the progress. You can feel the weight of the hammer. And when winter comes, and you pull a dry, crisp log from your custom rack, you’ll know exactly why it burns so well. Because you built the home it rested in. Simple tools. Simple steps. Solid results.