
Let’s be honest. Nobody wakes up excited to crawl under their kitchen sink. It’s dark, it’s cramped, and usually, there’s a mysterious puddle of something you don’t want to identify. But here’s the thing: installing your own water filter is one of those small wins that pays off every single day. You get crisp, clean water without the hassle of plastic bottles or waiting for a pitcher to drip through.
In 2026, the tech has gotten way better, but the basic plumbing hasn’t changed much. That’s good news for us DIYers. You don’t need a degree in engineering or a toolbox full of expensive gadgets. You just need a little patience, the right parts, and the willingness to get your hands a bit wet. If you’ve been putting this off because you’re worried about leaks or messing up your pipes, take a breath. We’re going to walk through this together, step by messy step.
Is Your Kitchen Ready for a Filter?
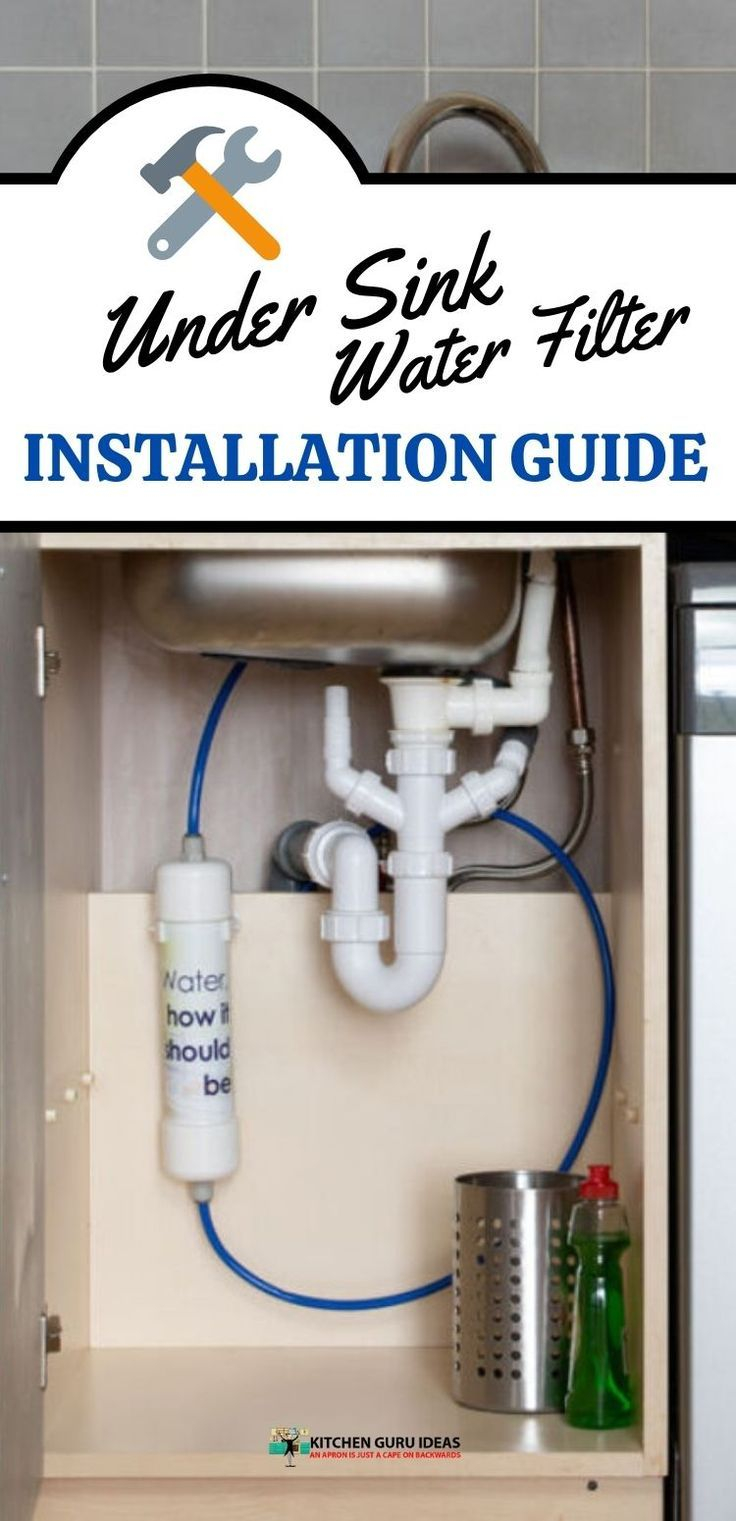
Before you buy anything, you gotta look at what you’re working with. Not every cabinet under the sink is created equal. Some are packed tight with cleaning supplies, garbage disposals, and old paint cans. Others are spacious enough to host a small party. Grab a flashlight and peek inside. You need enough room for the filter housing itself, which can be bulky, plus some wiggle room so you can actually change the cartridges later. If it’s too tight, you might need to clear out some clutter or consider a slimmer model.
Next, check your cold water line. Most modern kitchens have a standard 1/2-inch or 3/8-inch supply line coming from the wall or floor. You’ll need to tap into this. Look for an existing shut-off valve. If you don’t have one, or if the current one is rusty and stuck, you’ll need to replace it. This is crucial. You do not want to be dealing with a burst pipe because an old valve gave up the ghost while you were installing a filter. Also, check if your faucet has a pre-drilled hole for a separate dispenser. If not, you might need to drill one, which sounds scarier than it is, or opt for a system that uses your existing faucet if it’s compatible.
Don’t forget about water pressure. While most under-sink filters work fine with standard city pressure, if you live in an area with really low pressure, adding a filter might make your stream feel like a sad dribble. Some newer systems in 2026 come with built-in pressure boosters or are designed to minimize flow restriction. Check the specs on the box. If you’re on well water, you might need a pre-filter for sediment, because clogging up your nice new carbon filter with sand is a quick way to ruin your day.
Gathering Your Gear Without Overspending
You don’t need to run to the hardware store and buy everything in sight. Most quality filter kits come with the essential mounting hardware, tubing, and the faucet (if needed). However, there are a few tools you’ll definitely want on hand. An adjustable wrench is your best friend here. Actually, two adjustable wrenches are even better, because holding one nut steady while turning another is a classic plumbing move. A bucket or large towel is non-negotiable. There will be water. It’s inevitable. Accept it now, and you won’t panic later.
Teflon tape, also known as plumber’s tape, is another must-have. It’s cheap, it’s white, and it saves lives (or at least, saves your cabinets from water damage). Wrap it around threaded connections to ensure a watertight seal. Don’t skimp on this. Also, grab a tube cutter if your kit doesn’t include one. While you can use a sharp utility knife to cut the plastic tubing, a tube cutter gives you a clean, square edge that prevents leaks and fits better into the push-to-connect fittings. Ragged edges are the enemy of a good seal.
One thing people often overlook is a drill with a hole saw bit, specifically sized for your faucet base. If you’re installing a dedicated filtered water faucet, you’ll likely need to drill a hole in your sink deck or countertop. Measure twice, drill once. If you’re nervous about drilling into granite or stainless steel, practice on a scrap piece of wood first to get the feel of the tool. And hey, if your sink already has a spare hole from an old soap dispenser or side sprayer, you’ve just saved yourself an hour of work. Use it!
The Shut-Off and Prep Phase
Okay, it’s go time. But first, turn off the water. Locate the main shut-off valve for your house or the specific valve under the sink. Turn it clockwise until it stops. Then, open your cold water faucet to drain any remaining pressure and water left in the lines. You’ll hear a sputter and then silence. That’s your cue. Place your bucket under the connection point where you’ll be working. Even with the water off, there’s always a little residual drip. It’s better to catch it in a bucket than on your shirt.
Disconnect the existing cold water supply line from the faucet tailpiece. Have your towel ready to wipe up any spills. Now, you’re going to install the adapter valve. This is the piece that splits the water flow: some goes to your regular faucet, and some gets diverted to your new filter. Wrap the threads of the adapter with Teflon tape—about three wraps clockwise. Screw it onto the cold water inlet pipe. Hand-tighten it first, then give it a quarter turn with your wrench. Don’t overtighten. Plastic threads can crack if you go Hulk mode on them.
Reconnect your original cold water line to the other side of the adapter valve. Again, use Teflon tape on the threads. Make sure all connections are snug. At this point, you haven’t connected the filter yet, just the valve. This is a good moment to double-check your work. Is everything aligned? Are the rubber washers in place? These little black rings are what actually stop the leaks, not just the tightness of the nut. If a washer is missing or crooked, you’re gonna have a bad time. Take a second to inspect.
Mounting the Filter and Running Lines
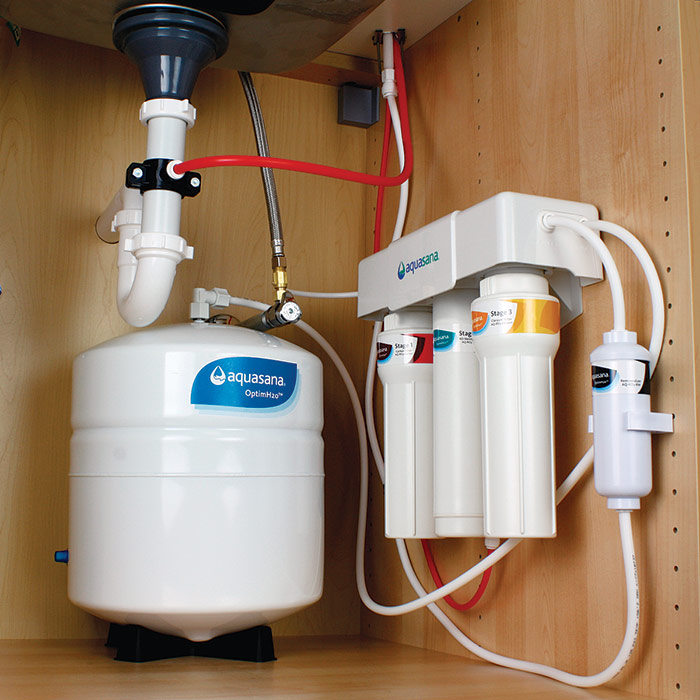
Now for the main event: the filter housing. Decide where it’s going to sit. Ideally, it should be upright and accessible. You don’t want to have to disassemble your entire cabinet just to swap a cartridge every six months. Many systems come with a mounting bracket. Hold it up against the back or side wall of the cabinet and mark the screw holes. Drill pilot holes if you’re going into wood, or use heavy-duty adhesive strips if you’re renting and can’t drill (though screws are more secure). Attach the bracket, then slide the filter housing into place.
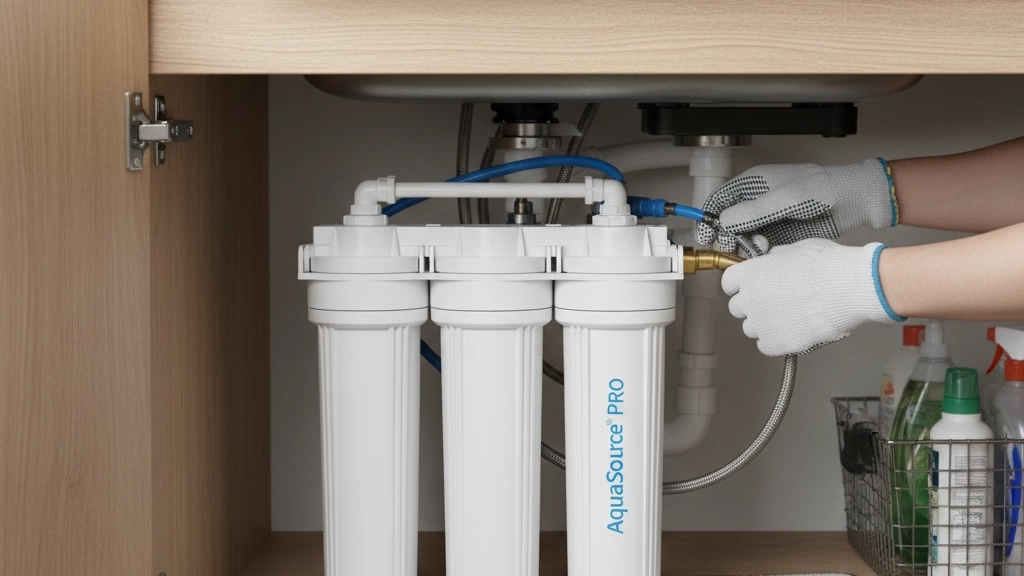
Next, you need to run the tubing. You’ll have two lines: one from the adapter valve to the filter "in" port, and one from the filter "out" port to your new faucet. Measure the distance carefully, adding a few extra inches for loops. It’s better to have a little slack than to have the tube pulled tight, which can stress the connections over time. Cut the tubing with your tube cutter. Push the ends firmly into the push-to-connect fittings on the valve and filter. You should feel it click or seat fully. Give a gentle tug to make sure it’s locked in.
If your system uses a dedicated faucet, insert it into the hole you drilled or the existing spare hole. From underneath, secure it with the provided nut and washer. Tighten it down, but again, be gentle with plastic components. Connect the output tubing from the filter to the bottom of this new faucet. Keep the lines organized. Use zip ties or clips to secure them to the cabinet walls so they don’t dangle into your cleaning supplies or get caught when you’re reaching for bleach. A tidy install is a leak-free install.
Flushing and Testing for Leaks
This is the part where you hold your breath. Slowly turn the cold water supply back on. Don’t just crank it open; ease it open. Listen for hissing. Watch for drips. Keep your flashlight handy and scan every connection you made. The adapter valve, the filter head, the faucet base. If you see a drip, tighten the connection slightly. If it’s still leaking, turn the water off, disconnect, check the washer, re-wrap with Teflon tape, and try again. It’s normal to have to tweak things once or twice. Don’t panic.
Once you’re confident there are no leaks at the connections, turn on your new filtered water faucet. At first, the water might sputter and spit air. That’s normal. Let it run for at least five to ten minutes. This flushes out any carbon fines (black dust) from the new filter cartridge and clears the air from the lines. The water might look gray or cloudy at first. Keep letting it run until it’s crystal clear. Check the manufacturer’s instructions, as some high-capacity filters might need even longer flushing times.
While the water runs, take a close look at the filter housing itself. Sometimes the pressure of the water can reveal a weak spot in the O-ring seal of the canister. If you see water weeping from the seam of the filter body, turn it off immediately. You’ll need to reseal that canister, ensuring the O-ring is lubricated (a tiny bit of silicone grease helps) and seated correctly. Once the water runs clear and everything is dry to the touch, you’re in the clear. Congratulations. You did it.
Installation is just the beginning. To keep your water tasting great and your system running smoothly, you need a maintenance routine. Mark your calendar. Most carbon filters need changing every six months, though this varies based on your water usage and quality. If you have a large family, you might need to change them more often. Ignoring this leads to clogged filters, reduced flow, and eventually, bacteria growth inside the cartridge. Nobody wants that. Set a reminder on your phone right now.
Check for leaks periodically. Maybe once a month, toss a dry paper towel under the sink and leave it there for an hour. If it comes up damp, you’ve got a slow leak somewhere. Catching these early prevents mold and cabinet rot. Also, wipe down the exterior of the filter housing occasionally. Dust and grime accumulate under the sink just like everywhere else. Keeping it clean makes it easier to spot issues.
If you notice the water flow slowing down significantly before your scheduled change date, it might be time for an early swap. Or, it could mean your sediment pre-filter (if you have one) is clogged. In 2026, many systems have indicator lights or smart apps that track usage, but don’t rely solely on tech. Trust your senses. If the water tastes funny or smells off, change the filter. It’s cheap insurance for your health. And if you ever move, taking this system with you is easy. Just reverse the steps, cap the lines, and pack it up. It’s a portable upgrade for your next home too.
So, was it worth it? Absolutely. You’ve saved money on bottled water, reduced plastic waste, and gained a skill that makes you feel a bit more capable in your own home. Sure, you might have cursed a little when the wrench slipped, or spent twenty minutes searching for that one washer that rolled under the fridge. But now, every time you fill a glass, you know exactly where that water came from and how it got there. That’s a pretty cool feeling. Keep it simple, stay consistent with changes, and enjoy the clean water. You earned it.
![Under Sink Water Filter Installation ([Year] Video Guide) - Kitchen ... throughout Install Water Filter Under Sink](https://cdn.royslade.com/2026/05/under-sink-water-filter-installation-year-video-guide-kitchen-throughout-install-water-filter-under-sink.jpg)


![Under Sink Water Filter Installation ([Year] Video Guide) - Kitchen ... throughout Install Water Filter Under Sink](https://cdn.royslade.com/2026/05/under-sink-water-filter-installation-year-video-guide-kitchen-throughout-install-water-filter-under-sink.jpg?width=992&f=jpg)


