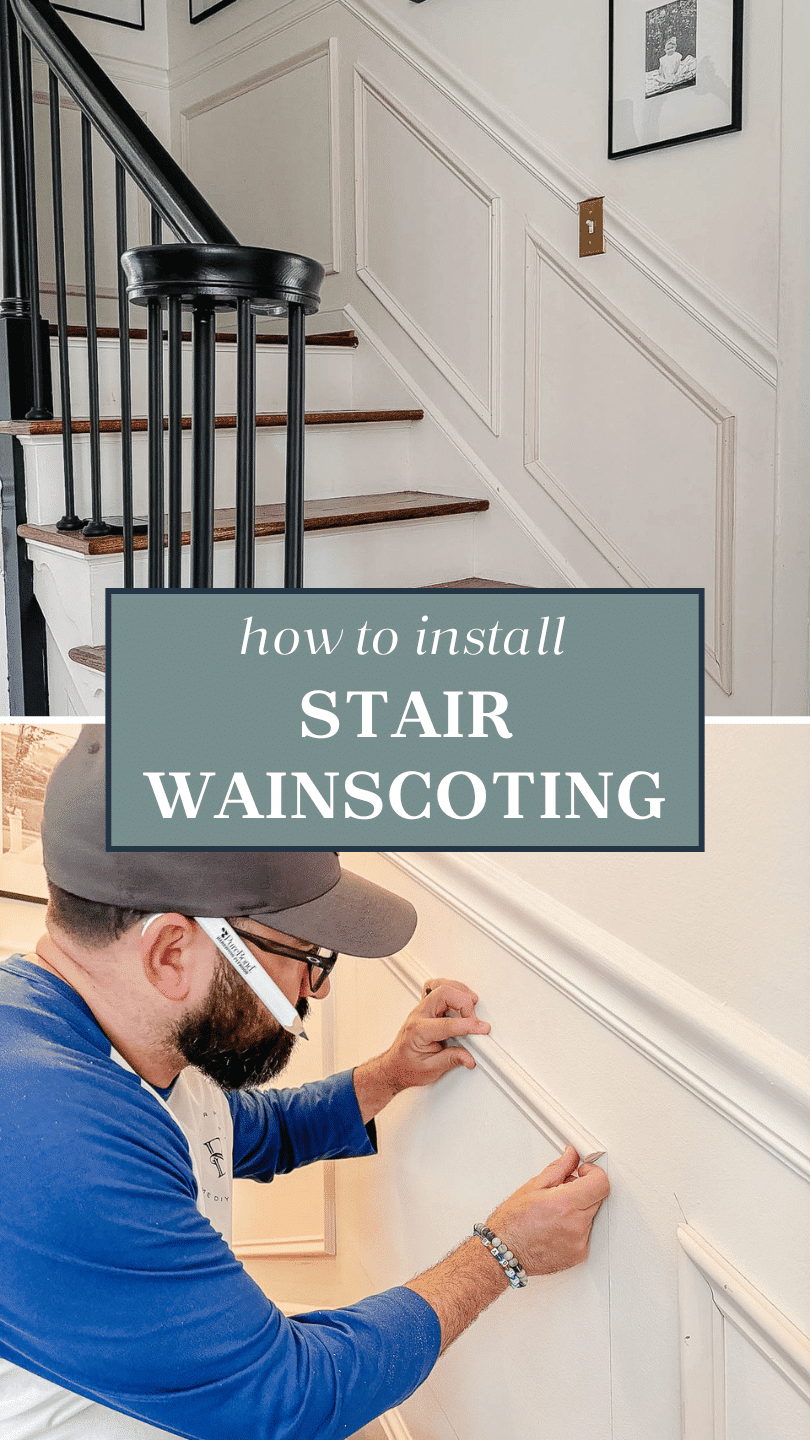
Have you ever walked into a room and felt instantly calmer? Maybe it was the soft light, or perhaps it was the way the walls seemed to hug the space. That’s the magic of wainscoting. It’s not just wood on a wall. It’s character. It’s warmth. For years, people thought you needed to be a master carpenter to pull this off. They were wrong. In 2026, with the right materials and a bit of patience, anyone can do it. Really.
You might be staring at your blank, boring walls right now, wondering where to even start. It feels big, doesn’t it? The idea of cutting wood and measuring twice (or thrice) can be intimidating. But here is the secret: it’s mostly just straight lines and glue. If you can use a level, you can install wainscoting. Let’s strip away the fear and get down to the actual work. By the end of this, you’ll see your walls not as a chore, but as a canvas.
Choosing the Right Materials for Your Space
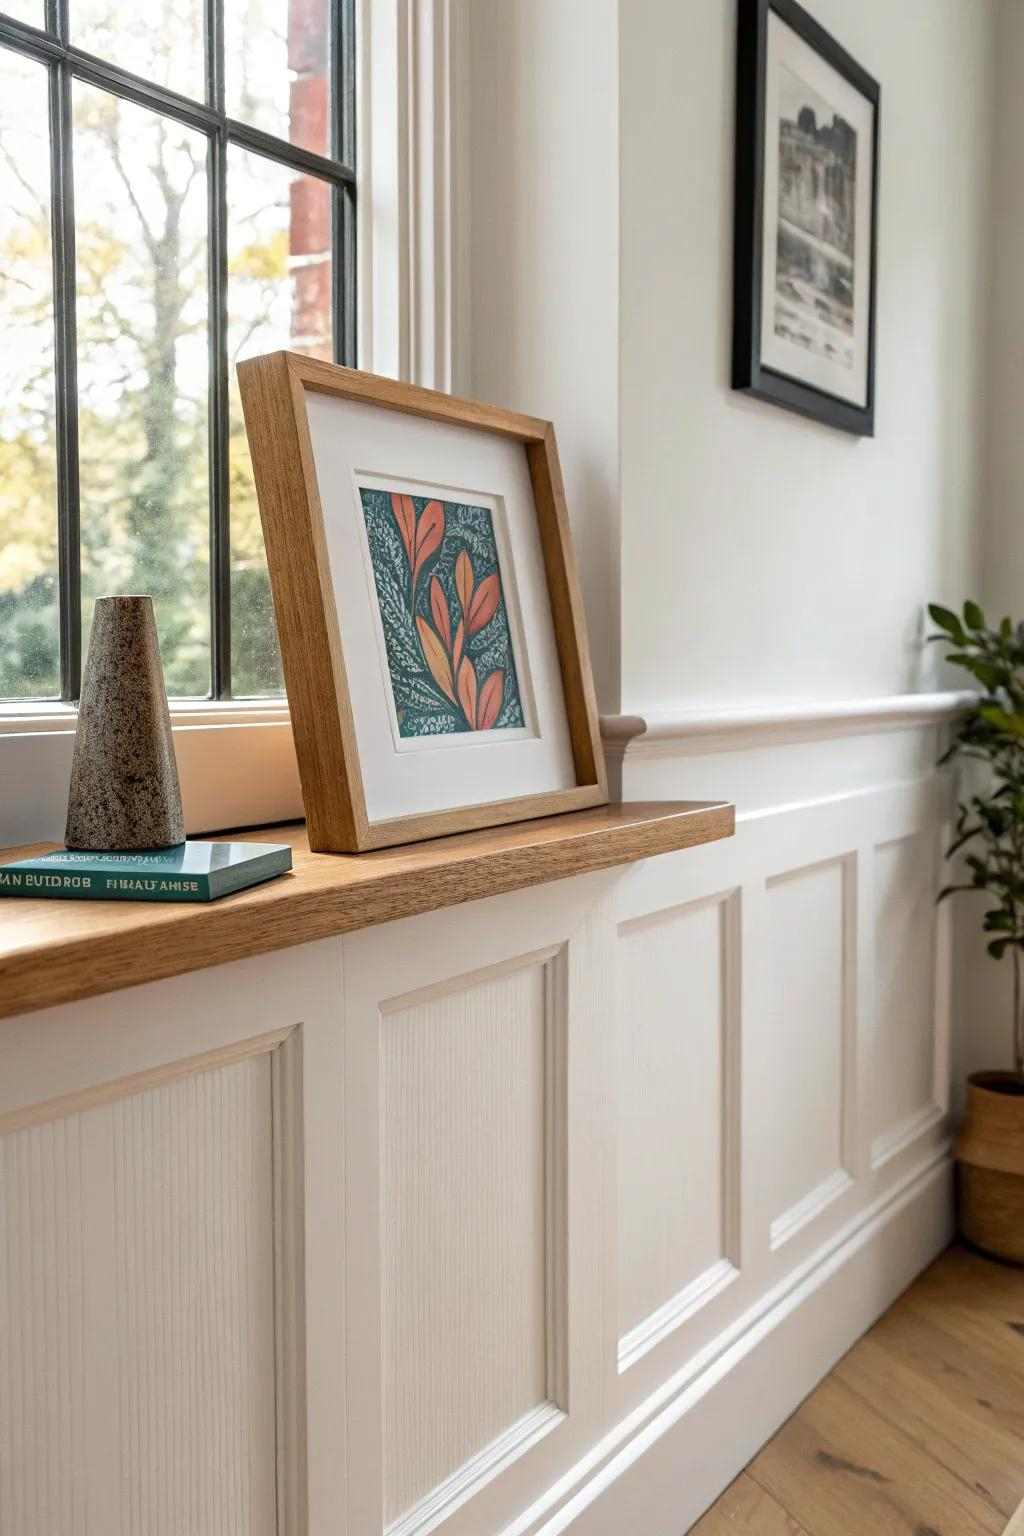
Before you buy anything, you need to decide what kind of look you’re going for. Not all wood is created equal. Solid wood is beautiful, sure, but it breathes. It expands and shrinks with the humidity. In 2026, many homeowners are opting for MDF (Medium Density Fiberboard) or PVC panels instead. Why? Because they are stable. They don’t warp when the heater kicks on in winter. They are also cheaper, which means you can splurge on better paint or trim later.
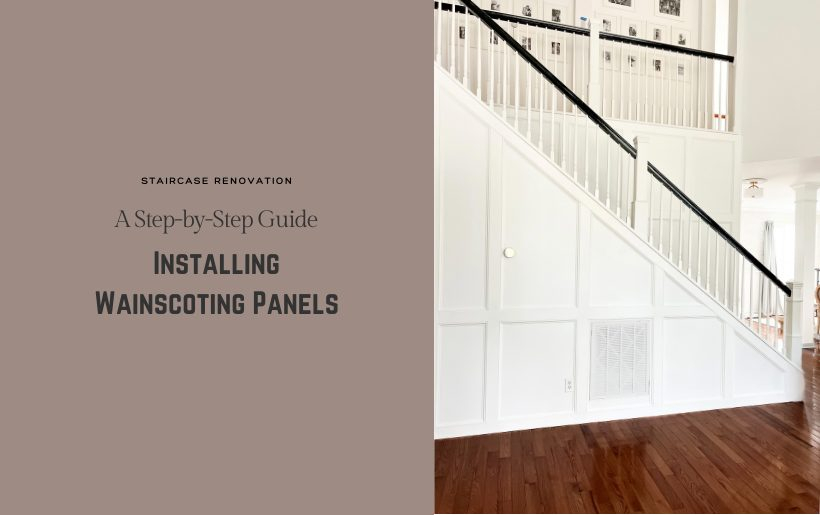
Check the size of your panels before you leave the store. Standard sheets are often 4×8 feet, but wainscoting panels come in pre-cut sizes too. If you have a small bathroom, vinyl or PVC might be your best friend because it handles moisture like a champ. For a dining room, though, nothing beats the feel of real wood or high-quality MDF that takes paint beautifully. Don’t forget the trim. You’ll need chair rails, baseboards, and maybe some corner molding. Pick a style that matches your home’s age. A modern farmhouse needs different trim than a Victorian revival.
Also, think about the height. Traditional wainscoting sits at about 32 to 36 inches. But rules are made to be broken. If you have high ceilings, go higher. Maybe 48 inches. It makes the room feel grander. Just remember, the higher you go, the more material you need. Measure your wall length and height carefully. Write it down. Then write it down again. There is nothing worse than getting home and realizing you bought two feet too short of chair rail. It happens to the best of us.
Preparing Your Walls and Gathering Tools
You can’t build a house on a swamp, and you can’t stick panels to a dusty, bumpy wall. Prep is everything. Start by clearing the room. Move the furniture out. Take down the pictures. You need space to move. Now, look at your walls. Are there holes? Nail pops? Fill them with spackle and sand them smooth. If the wall is textured, you might need to skim coat it or use a stronger adhesive. Clean the walls with a damp cloth to remove any grease or dirt. Adhesive hates dirt. It just won’t stick.
Gather your tools. You don’t need a workshop full of expensive gear. Here is the essentials list: a tape measure, a level (a 4-foot level is ideal), a pencil, a miter saw (or a hand saw and a miter box if you’re feeling old school), a nail gun (brad nailer works great), construction adhesive, caulk, and wood filler. Oh, and safety glasses. Always wear them. Sawdust in the eye is no fun. If you don’t have a nail gun, you can use finish nails and a hammer, but your thumb will thank you if you rent or borrow a pneumatic one.
Find your studs. This is crucial. Use a stud finder to mark the vertical beams behind your drywall. Mark them lightly with a pencil from floor to ceiling. You want to nail into these studs whenever possible. It holds the weight much better than just drywall anchors. If you miss a stud, that’s okay, but you’ll need to use heavier adhesive or special anchors. Knowing where your studs are before you start cutting saves so much headache later. Trust me on this one.
Measuring and Cutting Your Panels
Now comes the fun part. Math. But don’t panic. It’s simple addition and subtraction. Measure the width of each wall. Decide how wide you want your panels to be. A common width is between 12 to 18 inches. Wider panels look more modern; narrower ones look more traditional. Divide your wall width by your desired panel width to see how many panels fit. You’ll likely have a leftover fraction. That’s fine. Just make sure the end panels are roughly the same size. Symmetry is key to a professional look.
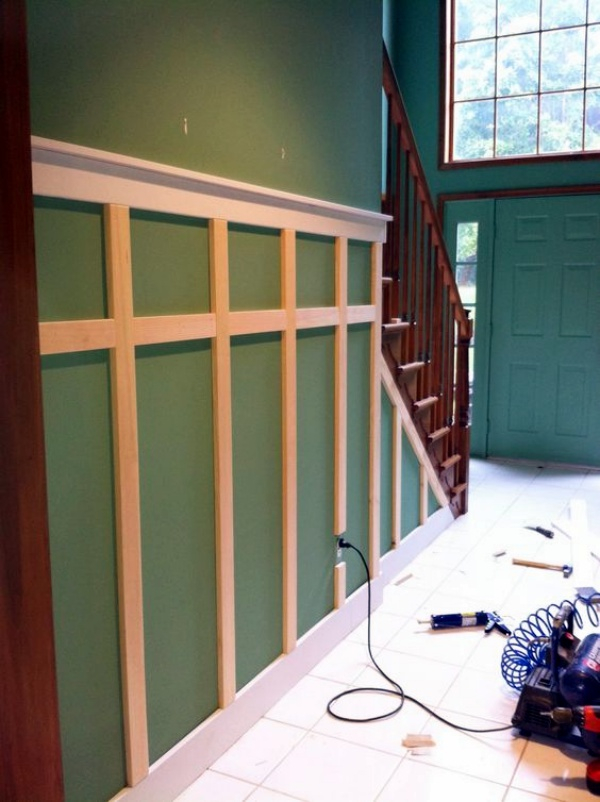
Mark your vertical lines on the wall using your level. These lines show where the vertical stiles (the thin strips of wood between panels) will go. Double-check that these lines are perfectly plumb. If they lean even a little, your whole installation will look crooked. It’s like dominoes. One bad line ruins the row. Take your time here. Rushing this step is the number one reason DIY projects look amateurish. Breathe. Check it again.
Cut your wood. If you’re using pre-made panels, you might just need to cut them to height. If you’re building from scratch, cut your vertical stiles and horizontal rails. Use a miter saw for clean cuts. For corners, you’ll need 45-degree angles. Practice on scrap pieces first. Get a feel for the saw. Make sure your cuts are tight. Gaps are your enemy. They mean more caulk later, and caulk can only hide so many sins. If you have inside corners, you might need to cope the joints, but for beginners, simple miter cuts with a bit of filler usually work fine.
Installing the Framework and Panels
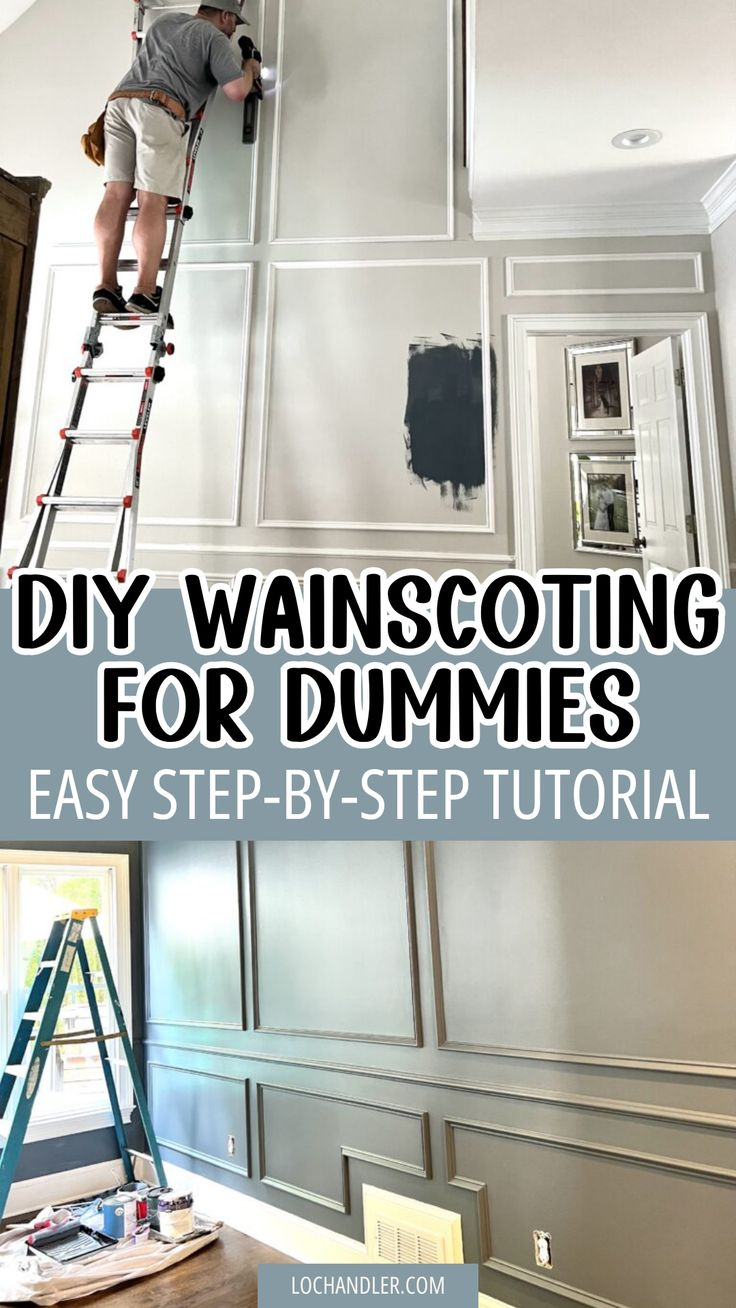
Start from the bottom up. Install your baseboard first if it isn’t already there. Then, attach your vertical stiles along the pencil lines you drew earlier. Put a bead of construction adhesive on the back of each stile. Press it firmly against the wall. Then, nail it into the studs. Use two nails per stud location. This combo of glue and nails is called "mechanical fastening," and it’s rock solid. If a stile falls between studs, use extra adhesive and maybe a few drywall anchors, but try to align with studs whenever you can.
Once the verticals are up, install the chair rail at the top. This is the cap that finishes the look. Measure carefully. Cut your miters for the corners. Apply adhesive and nail it into the studs above the verticals. Make sure it’s level. If the floor is uneven (and most floors are), you might need to scribe the bottom of your verticals to match the floor contour. This sounds fancy, but it just means tracing the floor’s curve onto the wood and cutting it so it sits flush. No ugly gaps at the bottom.
Now, slide your panels in. If you’re using sheet goods, cut them to fit between the stiles and under the chair rail. Apply adhesive to the back and press them into place. Nail them gently around the edges. Don’t go crazy with the nails. You just need enough to hold it while the glue dries. If you’re using individual raised panels, the process is similar but requires more precision. Ensure each panel sits flat. Tap it gently with a rubber mallet if needed. Step back and look. Does it look straight? Good. Move to the next section.
Filling Gaps and Sanding Smoothly
So, you’ve got the wood up. It looks pretty good. But look closer. See those tiny gaps at the corners? Or the nail holes? That’s normal. Wood isn’t perfect. Walls aren’t perfect. This is where the magic of finishing happens. Grab your wood filler. Use a putty knife to press filler into every nail hole and gap. Don’t be shy. Overfill slightly because the filler shrinks as it dries. Let it dry completely. This might take an hour or two, depending on the brand and humidity.
Once it’s dry, grab your sandpaper. Start with 120-grit to knock down the high spots, then move to 220-grit for a smooth finish. Sand the filler until it’s flush with the wood. Run your hand over it. You shouldn’t feel any bumps. If you do, add more filler and sand again. This step is tedious, I know. But it makes the difference between a "DIY job" and a "pro job." Smooth surfaces reflect light evenly. Rough spots catch shadows and look messy.
Don’t forget to caulk. Use a paintable latex caulk for the seams where the wood meets the wall, and where the trim pieces meet each other. Run a steady bead along the joint. Then, wet your finger with water and smooth it out. This creates a seamless transition. It hides imperfections and prevents dust from settling in cracks. Wipe away any excess immediately. Caulk dries fast. If you mess up, wipe it off and try again. Patience pays off here.
You’re almost done. The hard work is behind you. Now, let’s make it shine. Prime the wood first. Especially if you used MDF or raw wood. Primer seals the surface and helps the paint adhere. It also prevents the wood grain from showing through the paint. Use a high-quality bonding primer. Let it dry according to the can’s instructions. Usually, this is about an hour. Don’t rush it. Wet primer smells bad and doesn’t paint well.
Choose your paint. Semi-gloss or satin finishes are best for wainscoting. They are durable and easy to wipe down. White is classic. It brightens the room and matches everything. But don’t be afraid of color. A deep navy or charcoal gray can look stunning in a dining room. Use a brush for the corners and edges, and a small roller for the flat areas. This gives you a smooth, factory-like finish. Two coats are usually necessary. Let the first coat dry completely before applying the second.
Step back and admire your work. Look at the lines. The shadows. The way the light hits the curves. You did that. With your own hands. Add some final touches. Maybe reinstall your outlet covers. Hang that art you took down earlier. Notice how the room feels different? More grounded. More elegant. It’s not just a wall anymore. It’s a feature. And the best part? You saved hundreds of dollars by doing it yourself. Plus, you gained a skill you can use anywhere.
Installing wainscoting isn’t about perfection. It’s about effort. It’s about taking a space and making it yours. Sure, you might have a few small gaps. Maybe one cut wasn’t perfectly square. That’s okay. It adds character. It shows it was made by a human, not a machine. In a world of mass-produced everything, there is something deeply satisfying about creating something tangible. Something that lasts.
So, don’t let the fear of mistakes stop you. Grab your tape measure. Head to the hardware store. Pick out some wood that speaks to you. Remember, every expert was once a beginner who refused to give up. Your walls are waiting. They’re ready for a change. And honestly? You’re ready too. Just take it one step at a time. Measure, cut, glue, nail, paint. Before you know it, you’ll be hosting dinner parties just to show off your new walls. Go get started.