
You open that little paper packet, the one you bought with such hope last spring, and shake it. Nothing but dust. Or maybe a few shriveled, sad-looking specs that definitely aren’t going to turn into the heirloom tomatoes you dreamed of. It’s frustrating, isn’t it? You did everything right. You planted them at the right time. You watered them. But nature didn’t cooperate because the seed itself was already done for.
We’ve all been there. That sinking feeling when you realize your garden plan is doomed before it even starts. But here’s the thing: seeds aren’t just static objects. They’re alive. Tiny, dormant life forms waiting for the right cue to wake up. And like any living thing, they age. They get tired. They can get sick, or rather, they can deteriorate if treated poorly. Understanding this changes everything. It turns gardening from a game of chance into a science of preservation.
Most folks think seeds last forever if you just toss them in a drawer. Spoiler alert: they don’t. Heat, moisture, and time are the enemies. But you don’t need a high-tech lab to fight back. You just need to know what makes a seed tick, and how to put it to sleep properly. Let’s dive into the hidden world of seed viability, and how you can keep your garden thriving year after year, without wasting money on packets that never deliver.
The Hidden Life Inside a Dormant Seed
It’s easy to look at a dry bean or a tiny speck of lettuce seed and see nothing but potential. But inside that hard shell, there’s a complex biological machine running on low battery. A seed contains an embryo, a food supply, and a protective coat. When conditions are right—warmth, moisture, oxygen—that embryo wakes up and starts growing. But when conditions are wrong, or when the seed gets old, that internal machinery starts to break down.
Think of it like a car sitting in a garage. If you leave it there for ten years without starting it, the battery dies, the tires rot, and the engine seizes up. Seeds are similar. Over time, the fats and proteins inside the seed begin to oxidize. This is a fancy word for "going rancid." Just like old cooking oil smells bad and loses its nutritional value, old seeds lose their energy reserves. Without that energy, the sprout can’t push through the soil. It tries, maybe, but then it gives up.
Research from 2026 highlights that this deterioration isn’t random. It’s driven by chemical reactions that speed up when the seed is stressed. The initial quality of the seed matters hugely. If a seed was harvested too early, or dried improperly, it’s already damaged before you even buy it. That’s why buying from reputable sources is key. But even the best seed will eventually fail if stored poorly. The goal isn’t to stop aging completely—that’s impossible—but to slow it down so much that the seed stays viable for years instead of months.
The Twin Enemies: Heat and Humidity
If you remember one thing from this article, let it be this: heat and humidity are the killers. They work together like a tag team wrestler, beating the life out of your seeds. Moisture is the biggest culprit. Seeds are hygroscopic, which means they absorb water from the air. When a seed takes on moisture, its metabolic rate increases. It starts "breathing" faster, using up its stored energy. If it uses up all its energy before it’s planted, it’s dead.
Temperature acts as an accelerator. For every 10 degrees Fahrenheit increase in temperature, the rate of seed deterioration roughly doubles. That’s a scary stat. Imagine storing your seeds in a hot shed in July. It’s basically a death sentence for them. Conversely, cool temperatures slow down those chemical reactions. This is why professional seed banks store seeds in cold rooms, sometimes even freezing them for long-term preservation.
But you don’t need a walk-in freezer. You just need consistency. Fluctuating temperatures are almost as bad as high temperatures. When it gets hot, the seed expands; when it cools, it contracts. This constant movement can damage the delicate cell structures inside. Same with humidity. If the air gets damp, the seed absorbs water. If it dries out again, it shrinks. This cycle of swelling and shrinking cracks the seed coat and damages the embryo. Keep it cool, keep it dry, and keep it steady. That’s the golden rule.
Knowing Your Seed’s Shelf Life
Not all seeds are created equal. Some are tough cookies, lasting five years or more. Others are fragile divas that lose their punch after just one season. Knowing which is which saves you from heartbreak. Generally, seeds fall into three categories: short-lived, medium-lived, and long-lived.
Short-lived seeds include onions, leeks, parsnips, and corn. These guys barely make it past a year. If you have leftover onion seeds from last year, don’t count on them. Test them first, or just buy fresh. Medium-lived seeds are things like carrots, peas, beans, and peppers. These can often last two to three years if stored well. Long-lived champions include tomatoes, cucumbers, melons, and most brassicas like kale and cabbage. These can easily go four to five years, sometimes longer, without losing much vigor.
Why the difference? It comes down to the seed’s structure and chemistry. Harder seed coats protect better. Higher oil content can lead to faster rancidity. But don’t take my word for it. Keep a log. Write down when you bought the seed, when you planted it, and how well it germinated. Over time, you’ll learn what works in your specific climate. A seed that lasts five years in a dry Arizona basement might only last two in a humid Florida garage. Context matters.
The Right Container for the Job
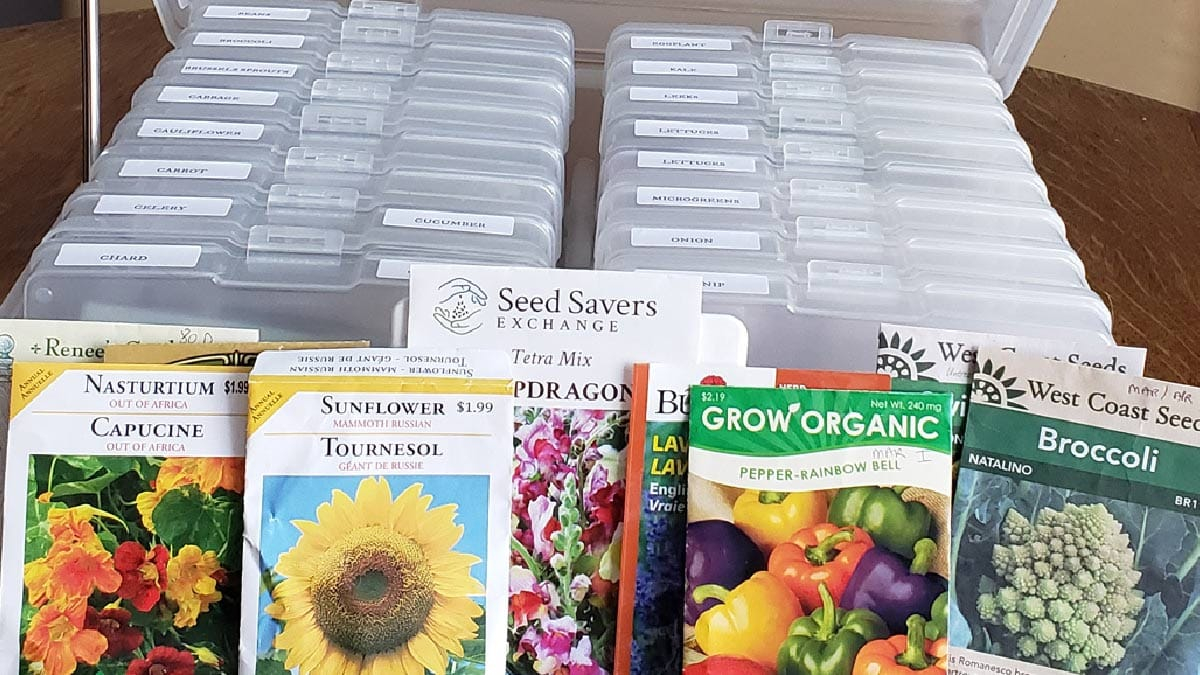
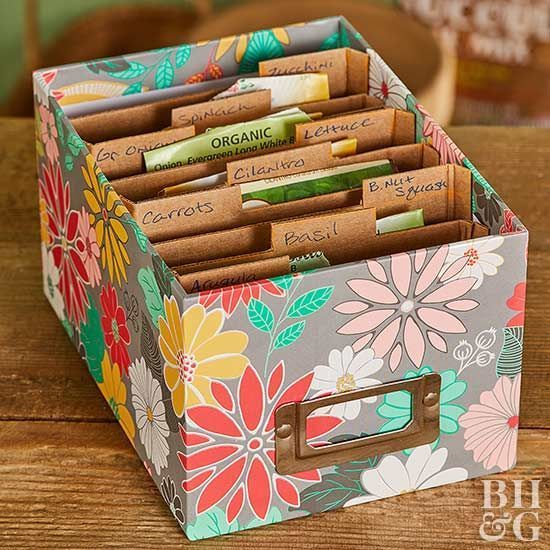
You’ve got your cool, dry spot. You’ve got your seeds. Now, where do you put them? The container matters more than you think. Paper envelopes are great for short-term storage because they breathe. But for long-term viability, you need to block out moisture. That means airtight containers. Glass jars with rubber seals are fantastic. Mason jars work perfectly. Plastic containers with tight lids are good too, as long as they’re truly airtight.
Here’s a pro tip: add a desiccant. You know those little silica gel packets that come in shoe boxes? Save them. Toss one or two into your seed jar. They’ll suck up any remaining moisture in the air inside the jar, keeping your seeds bone dry. You can also use powdered milk wrapped in a tissue, or even uncooked rice, though silica gel is the most effective. Just make sure the seeds are already dry before you seal them up. If you trap moisture inside with wet seeds, you’re creating a mold party.
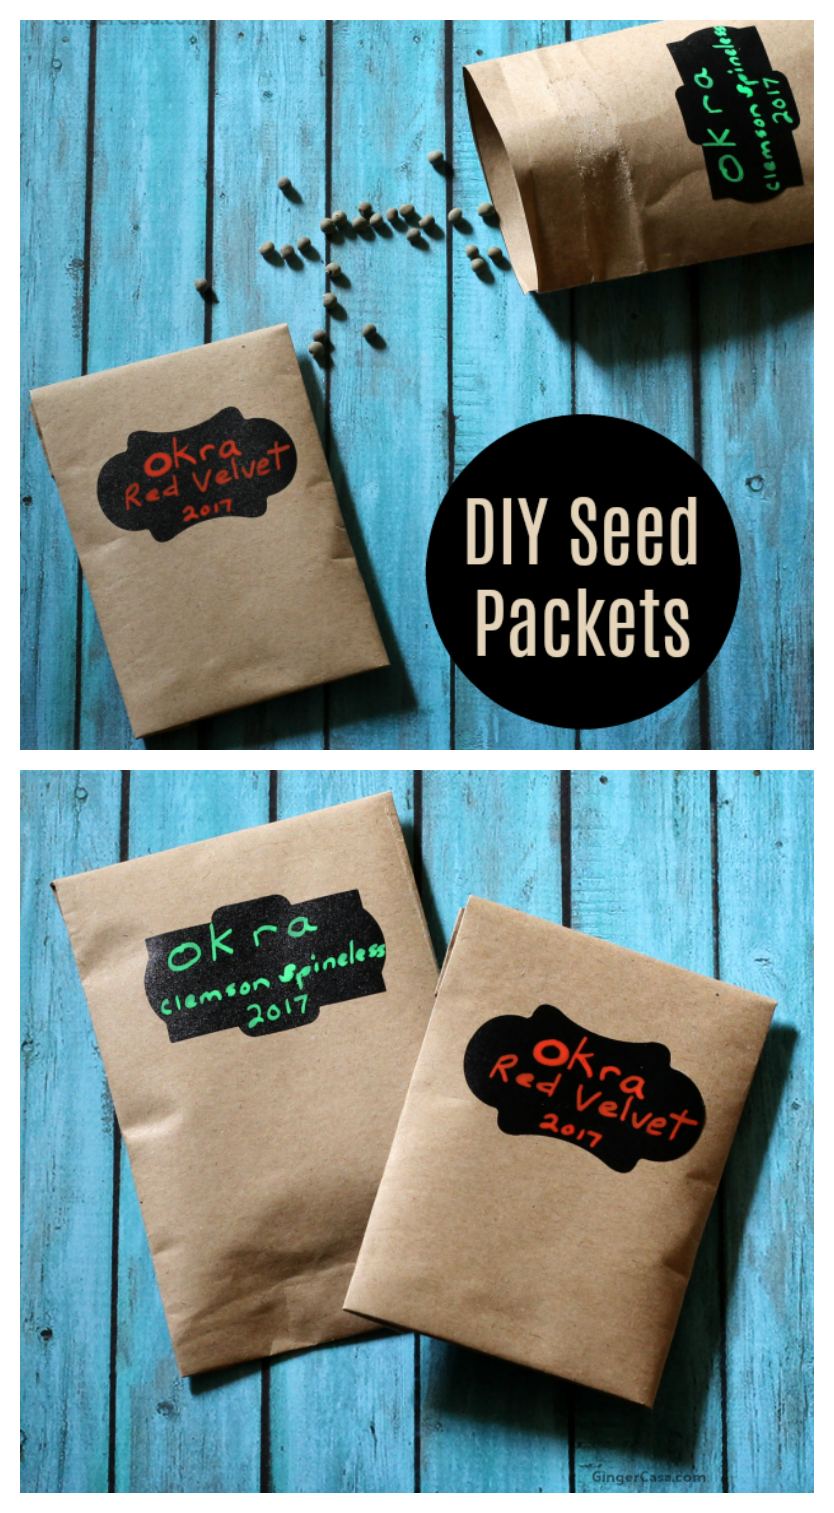
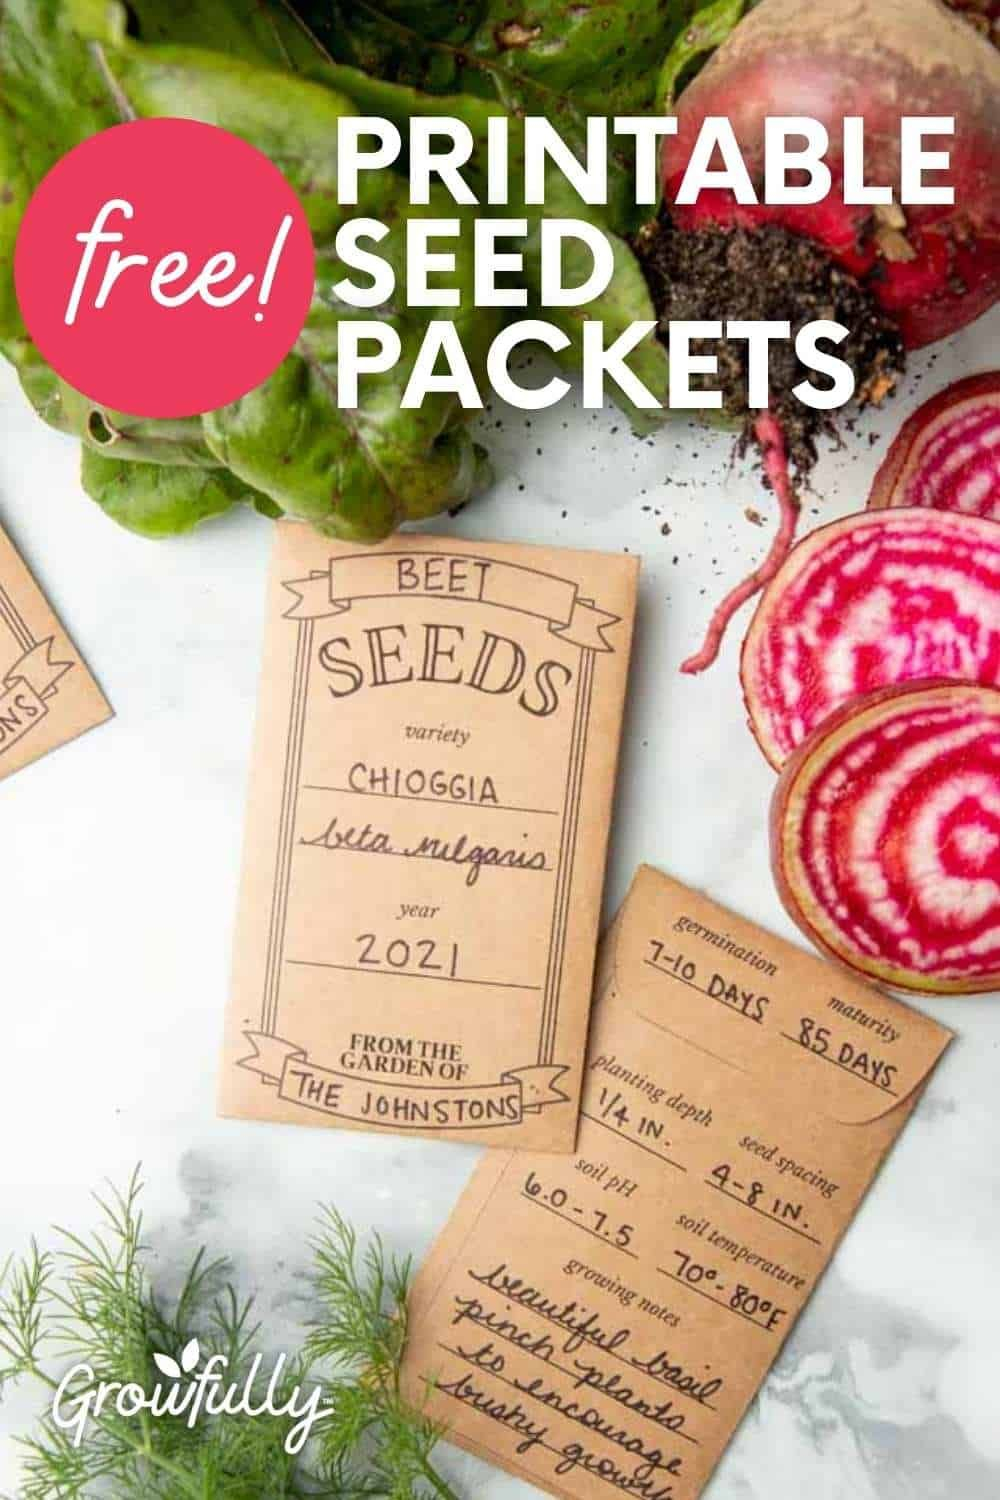
Labeling is crucial too. Don’t just write "Tomato." Write "Brandywine Tomato, harvested 2025." Include the date you stored them. It’s easy to forget when you put them away, and without a date, you’re guessing. Use a waterproof marker. Ink fades, especially in humid conditions. Keep your jars in a dark place. Light can also degrade seeds over time, though it’s less of a factor than heat and moisture. A cupboard or a drawer is perfect.
Testing Viability Before You Plant
Don’t wait until planting day to find out if your seeds are duds. Test them ahead of time. It’s simple, cheap, and saves you from empty rows. The paper towel method is the gold standard. Take ten seeds. Dampen a paper towel—don’t soak it, just make it moist. Place the seeds on one half, fold the other half over, and roll it up gently. Put the roll in a plastic bag, leave it slightly open for air, and set it in a warm spot.
Check it after a few days. Most seeds will sprout within a week. Count how many sprout. If eight out of ten sprout, you have 80% viability. That’s great. Plant them normally. If only three sprout, you have 30% viability. You can still plant them, but you need to sow them thicker. Plant three seeds where you’d usually plant one. If none sprout, toss them. Compost them. Don’t waste your garden space on ghosts.
This test works for almost all vegetable seeds. Some, like carrots, take longer. Be patient. Give them two weeks if needed. The key is consistency. Keep the towel moist, not wet. If it dries out, the seeds die. If it’s soggy, they rot. It’s a balancing act, but it’s worth it. Knowing your germination rate lets you plan your garden with confidence. No more guessing. No more disappointment. Just solid data to guide your hands.
Even with the best intentions, we mess up. We’re human. But some mistakes are more common than others, and avoiding them can double your seed lifespan. First, storing seeds in the fridge without proper protection. Fridges are humid. If you put a paper packet in the fridge, it will absorb moisture and mold. Always use airtight containers if you go the fridge route. And let the container come to room temperature before opening it, to prevent condensation from forming on the cold seeds.
Second, saving seeds from hybrid plants. Hybrids (marked F1) don’t grow true to type. The next generation might look nothing like the parent. Save seeds from heirlooms or open-pollinated varieties if you want consistency. Third, harvesting seeds too early. If the seed isn’t fully mature, it won’t store well. It needs to be hard, dry, and fully colored. Green seeds are usually not ready. Let them dry on the plant as long as possible.
Lastly, ignoring pests. Moths and beetles love seeds. If you see webbing or holes in your stored seeds, you have an infestation. Freeze the seeds for 48 hours to kill any eggs or larvae before storing them long-term. It’s a simple step that saves your entire collection. Also, don’t store seeds near chemicals or strong smells. Seeds can absorb odors, which might affect their flavor or growth. Keep them pure. Keep them clean. And keep them safe.
So, there you have it. Seeds are resilient, but they’re not invincible. They need our help to survive the off-season. By controlling heat, moisture, and time, we can keep them viable for years. It’s not about perfection. It’s about awareness. Pay attention to how you store them. Test them before you plant. Learn from your mistakes. Gardening is a journey of learning, and seed storage is just one more step on that path.
Next time you hold a seed, remember the life inside it. Treat it with respect. Give it the cool, dry, dark home it deserves. And when spring comes, and those green shoots push through the soil, you’ll know you played a part in that miracle. You saved the harvest before it even began. That’s the power of knowledge. That’s the joy of gardening. Now, go check your seed stash. You might be surprised at what’s still waiting to grow.
![Seed Packets Printable [2025] with regard to Seed Packet Organization](https://cdn.royslade.com/2026/05/seed-packets-printable-2025-with-regard-to-seed-packet-organization.png)
![Seed Packets Printable [2025] with regard to Seed Packet Organization](https://cdn.royslade.com/2026/05/seed-packets-printable-2025-with-regard-to-seed-packet-organization.png?width=992&f=jpg)


