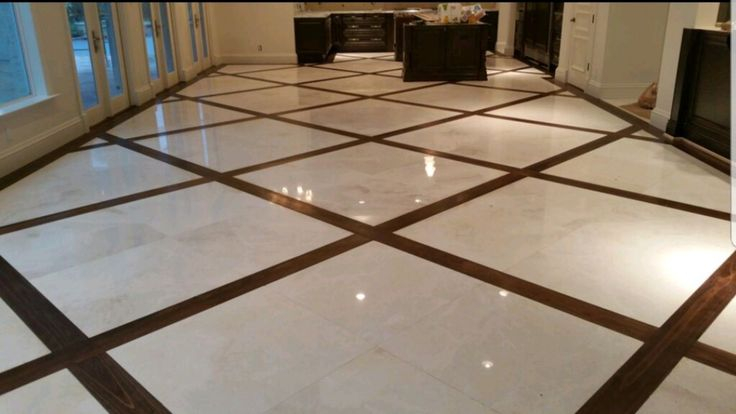
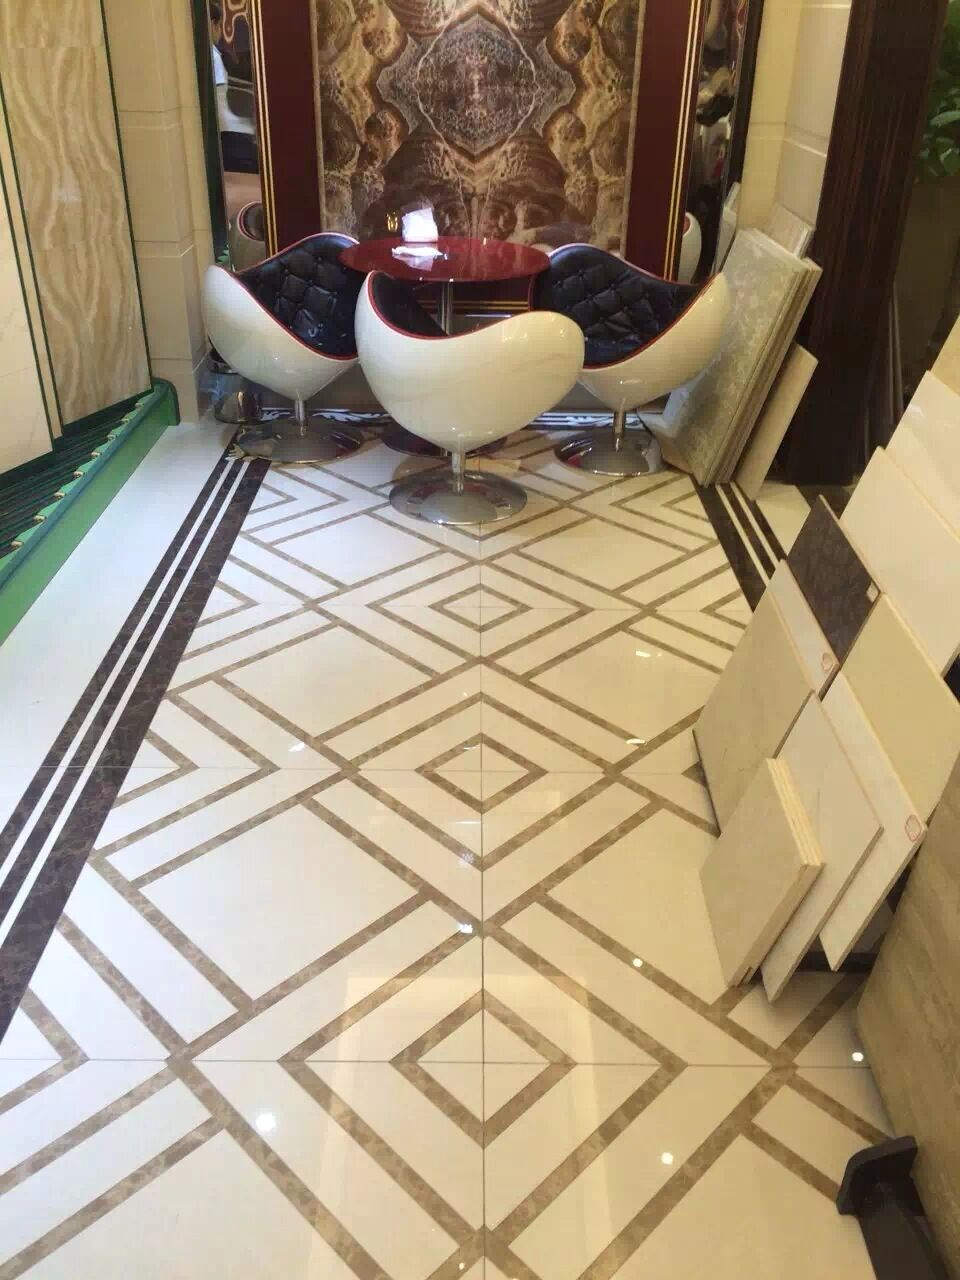
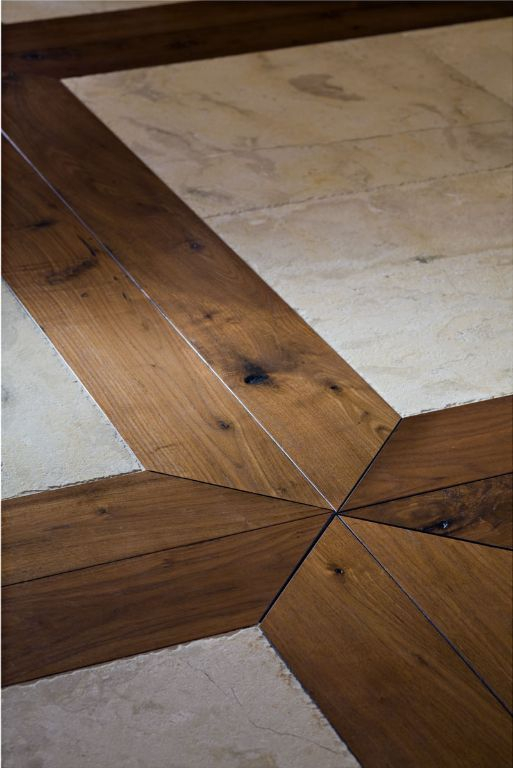
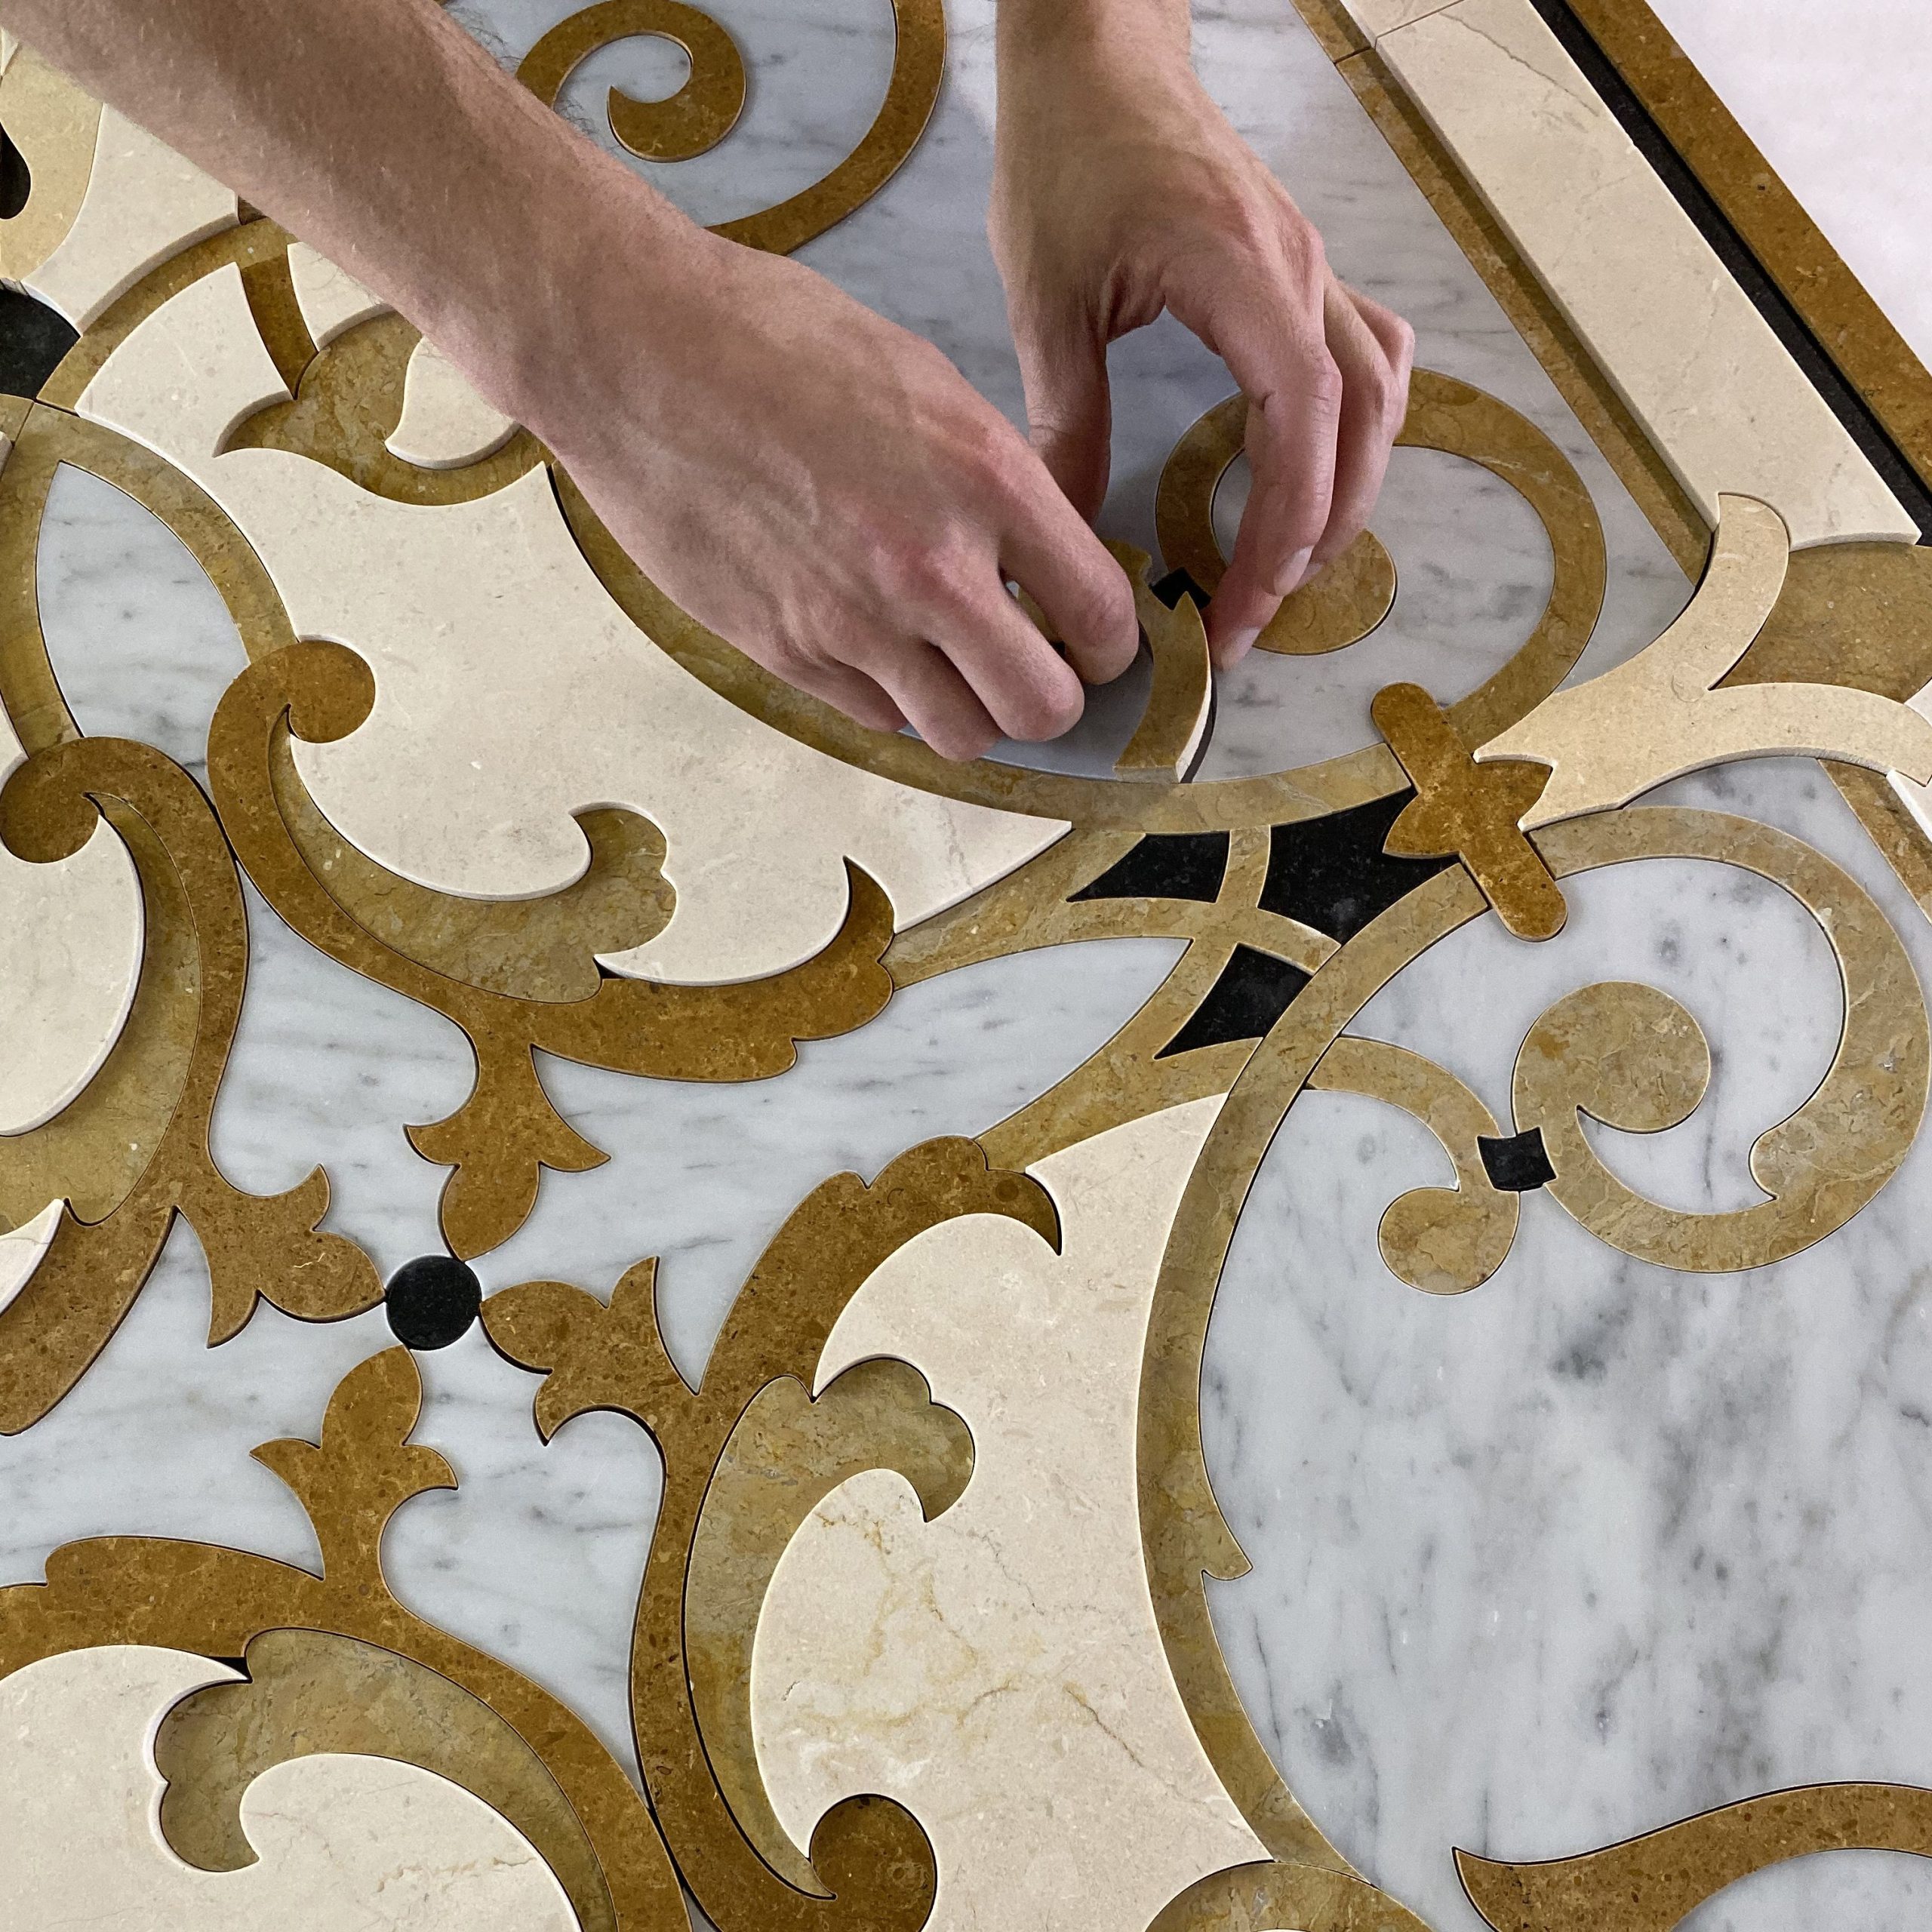
Ever walked into a room and felt your eyes drawn immediately to the floor? Not just because it was clean, but because there was something special there. A border that framed the space perfectly. A medallion that acted like a rug made of timber. That’s the magic of inlays. They aren’t just decoration; they’re jewelry for your home. But here’s the thing—picking the wrong wood can turn that jewelry into a headache. You don’t want your beautiful design to warp, fade, or scratch after a year of normal living.
It’s 2026, and we have more options than ever before. From reclaimed barn wood to exotic imports that traveled halfway around the world, the choices can feel overwhelming. You might be standing in a showroom, staring at twenty different shades of brown, wondering if that dark walnut will play nice with your lighter oak main floor. Or maybe you’re worried about hardness. Will it dent when you drop your keys? These are valid concerns. Getting it right means understanding not just how the wood looks, but how it behaves.
Let’s dive into the nitty-gritty. We’ll talk about hardness, color stability, and why some woods are just better suited for the spotlight than others. Whether you’re working with a pro installer or tackling a DIY passion project, knowing your timber is half the battle. It’s about creating something that doesn’t just look good on day one, but tells a story for decades. So, grab a coffee. Let’s figure out which wood deserves a spot in your home.
Understanding the Janka Hardness Scale and Why It Matters
When we talk about durability, the first thing that usually comes up is the Janka hardness test. You’ve probably heard of it. It’s the industry standard for measuring how resistant wood is to denting and wear. Basically, they shoot a steel ball into the wood and see how much force it takes to embed it halfway. The higher the number, the harder the wood. For inlays, this is crucial. Why? Because inlays are often cut into thinner strips or intricate shapes. If the wood is too soft, those delicate edges can crumble or dent easily under foot traffic.
Think about it this way. If your main floor is Red Oak (which has a Janka rating of about 1290), and you choose a super soft wood like Pine (around 380) for your inlay, you’re setting yourself up for trouble. The pine will wear down much faster than the oak. Over time, your beautiful geometric pattern might start to look uneven, with the inlay sitting slightly lower than the surrounding floor. It’s not just about aesthetics; it’s about structural integrity. You want the inlay and the field floor to age at roughly the same pace. That’s why matching hardness levels, or at least getting close, is a smart move.
But don’t get too hung up on the numbers alone. Hardness isn’t everything. Some incredibly hard woods are brittle and can crack when cut into thin inlay strips. Others are so dense they’re a nightmare to work with, requiring specialized tools. The goal is balance. For high-traffic areas like hallways or kitchens, aim for woods with a Janka rating above 1000. For a bedroom inlay that sees less action, you have more flexibility. Just remember, the inlay is taking a beating every time someone walks over it. Treat it with respect by choosing a species that can handle the heat.
Color Contrast and Visual Harmony
Let’s be honest. The main reason we install inlays is for the wow factor. And that wow factor comes from contrast. You need the inlay to stand out against the main floor. If you put a light Maple inlay into a light Ash floor, it’s going to look muddy. Nobody will notice the effort you put in. On the flip side, if the contrast is too stark, it can look jarring. Think of it like pairing a tie with a shirt. You want complementery colors, not a clash that hurts the eyes.
Dark woods like Walnut, Wenge, or Ebony are popular choices for inlays because they provide strong definition against lighter floors like Oak or Maple. They create a crisp, clean line that draws the eye. But here’s a twist: wood changes color over time. This is called photodegradation. Most woods darken with age, but some, like Cherry, darken significantly, while others, like Purpleheart, can turn a deep brownish-purple. If you pick two woods that react differently to sunlight, your carefully chosen contrast might disappear in five years. Or worse, it might become too extreme.
So, how do you plan for this? Look at samples that have been aged, not just fresh-cut ones. Ask your supplier about the UV stability of the species. Some exotic woods are notoriously unstable in color. Also, consider the finish. Oil-based finishes tend to amber over time, warming up the whole floor. Water-based finishes stay clearer. If you’re using a warm-toned wood like Hickory for your main floor, a cool-toned inlay like White Oak might lose its contrast as the yellow tones take over. Test your combinations in the actual room where they’ll be installed. Natural light varies wildly from house to house, and what looks great in the showroom might look totally different in your living room.
Stability and Movement: The Hidden Enemy
Wood is alive. Well, it was. Even after it’s milled and dried, it still reacts to humidity and temperature. It expands when it’s moist and shrinks when it’s dry. This movement is the number one enemy of inlays. If your inlay wood moves at a different rate than your main floor, you’re going to see gaps. Or worse, the inlay might buckle and pop out. It’s a disaster that’s hard to fix without ripping up the whole section. This is why stability is just as important as hardness.
Some woods are naturally more stable than others. Quarter-sawn White Oak, for example, is incredibly stable because of the way it’s cut. It resists cupping and twisting. Exotic woods like Teak and Ipe are also known for their dimensional stability, which is why they’re used on boat decks. They handle moisture changes like champs. On the other hand, woods like Beech or some maples can be quite reactive. If you live in a climate with big seasonal swings—hot, humid summers and dry, cold winters—you need to be extra careful.
Acclimation is key here. Both the main floor and the inlay wood need to sit in the room for at least a week, preferably two, before installation. They need to reach equilibrium with the home’s humidity. But even with perfect acclimation, mismatched movement rates can cause issues. That’s why many pros recommend using woods from the same family or with similar density profiles. If you’re mixing very different species, consider using a flexible adhesive that allows for a tiny bit of movement. And always, always maintain a consistent indoor humidity level. A good humidifier in winter and dehumidifier in summer can save your inlay from becoming a seasonal casualty.
Domestic vs. Exotic: Weighing the Options
For years, domestic hardwoods like Oak, Maple, and Cherry were the go-to choices. They’re readily available, relatively affordable, and we know how they behave. But in recent years, exotics have surged in popularity. Woods like Brazilian Cherry, Tigerwood, and Koa offer colors and grain patterns you just can’t get domestically. They’re exotic for a reason—they look unique. But they come with baggage. Cost is one factor. Exotics are often two or three times the price of domestic woods. But there’s also the sustainability angle.
In 2026, consumers are more conscious than ever about where their wood comes from. Illegal logging is a real issue, and buying uncertified exotic wood can support harmful practices. Always look for FSC (Forest Stewardship Council) certification. It ensures the wood was harvested responsibly. If you can’t find certified exotics, stick to domestics. There’s no shame in using local wood. In fact, reclaimed domestic wood is having a huge moment. Old barn oak or heart pine has character and history that new wood can’t match. Plus, it’s eco-friendly since you’re reusing existing material.
Another thing to consider is availability. Exotic woods can be hard to source in small quantities. If you’re doing a small inlay project, finding enough matching exotic wood might be tough. And if you need to repair it later, good luck finding the same batch. Domestic woods are everywhere. You can walk into any lumberyard and find Red Oak. This makes repairs and future expansions much easier. So, while exotics are tempting for their beauty, ask yourself if the logistical headaches are worth it. Sometimes, the simple, reliable choice is the best one.
Grain Direction and Cutting Techniques
Here’s a technical bit that matters more than you’d think. The way the wood is cut affects how it looks and how it performs. Plain-sawn wood has a cathedral grain pattern. It’s common and cheaper. Quarter-sawn wood has a straighter, more uniform grain with those cool ray flecks you see in White Oak. Rift-sawn is even straighter. For inlays, quarter-sawn or rift-sawn is often preferred. Why? Because the straight grain is more stable and less likely to warp. It also creates a cleaner, more modern look that fits well in geometric patterns.
But grain direction also affects how the wood absorbs stain and finish. Plain-sawn wood can look blotchy if you’re not careful. Quarter-sawn takes finish more evenly. If you’re planning to stain your inlay to match a specific color, keep this in mind. You might need to use a pre-stain conditioner to prevent blotching, especially on woods like Maple or Birch. And speaking of cutting, intricate inlays require precision. Laser cutting has become more common in 2026, allowing for incredibly complex designs that were impossible with traditional saws. But even with lasers, the wood’s grain can affect the cut quality. Dense, interlocked grains can tear out if the blade isn’t sharp enough.
Work with your installer to choose the right cut for your design. If you’re doing a herringbone border, quarter-sawn oak looks stunning because the grain runs parallel to the lines. If you’re doing a circular medallion, the grain direction matters less visually, but stability is still key. Don’t be afraid to ask for samples of different cuts. Hold them up to the light. See how the grain reflects. It’s these small details that elevate a good floor to a great one. And remember, mistakes in cutting are hard to hide. Measure twice, cut once, and maybe cut again just to be sure.
You’ve picked the perfect wood. The inlay is installed. It looks amazing. Now what? How do you keep it looking that way? Maintenance starts before the floor is even finished. The type of finish you choose plays a huge role in longevity. Aluminum oxide finishes are tough and durable, great for high-traffic areas. Oil finishes penetrate the wood and enhance the grain, but they need more frequent reapplication. For inlays, which often have more end-grain exposed, a penetrating oil can help seal those porous ends and prevent moisture intrusion.
Cleaning is another big one. Avoid wet mops. Water is the enemy of wood floors. Use a damp microfiber mop with a cleaner specifically designed for hardwood. Never use vinegar or ammonia-based cleaners; they can break down the finish and dull the wood. And watch out for rugs. Rubber-backed rugs can trap moisture and discolor the wood underneath. Use breathable rug pads instead. If you have pets, keep their nails trimmed. Scratches are inevitable, but deep gouges in an inlay are hard to fix because of the complex geometry.
Finally, think about refinishing. Can your inlay be sanded down along with the rest of the floor? It depends on the thickness. Solid wood inlays can usually handle a few refinishes. Engineered inlays, which have a thin veneer on top, might only handle one, or none at all. Check with your manufacturer. If you know you’ll want to refresh the look in ten years, make sure your inlay can handle it. Proper care isn’t just about cleaning; it’s about planning for the future. A well-maintained inlay can last a lifetime. A neglected one can look tired in five years. It’s up to you.
Choosing the right wood for your floor inlay is a mix of science and art. You’ve got to balance hardness, stability, color, and sustainability. It’s not just about picking the prettiest piece of timber. It’s about understanding how that timber will live in your home. Will it handle the humidity? Will it stand up to your dog’s claws? Will it still look good when the sun hits it in the afternoon? These are the questions that separate a regrettable renovation from a cherished feature.
Don’t rush the process. Take your time to look at samples. Talk to experts. Visit showrooms. Feel the wood. Smell it. Imagine it in your space. And remember, there’s no single “best” wood. The best wood is the one that fits your specific needs, your budget, and your style. Whether you go with classic White Oak or exotic Wenge, make sure it’s a choice you’ll love for years to come. After all, this floor is going to be under your feet every single day. It deserves to be special.
So, go ahead. Make that decision. Create that pattern. Add that touch of personality to your home. With the right knowledge and a little bit of patience, you’ll end up with a floor that doesn’t just cover the ground—it elevates the entire room. And honestly, isn’t that what we’re all aiming for? A home that feels right. A home that looks great. And a floor that tells your story, one step at a time.