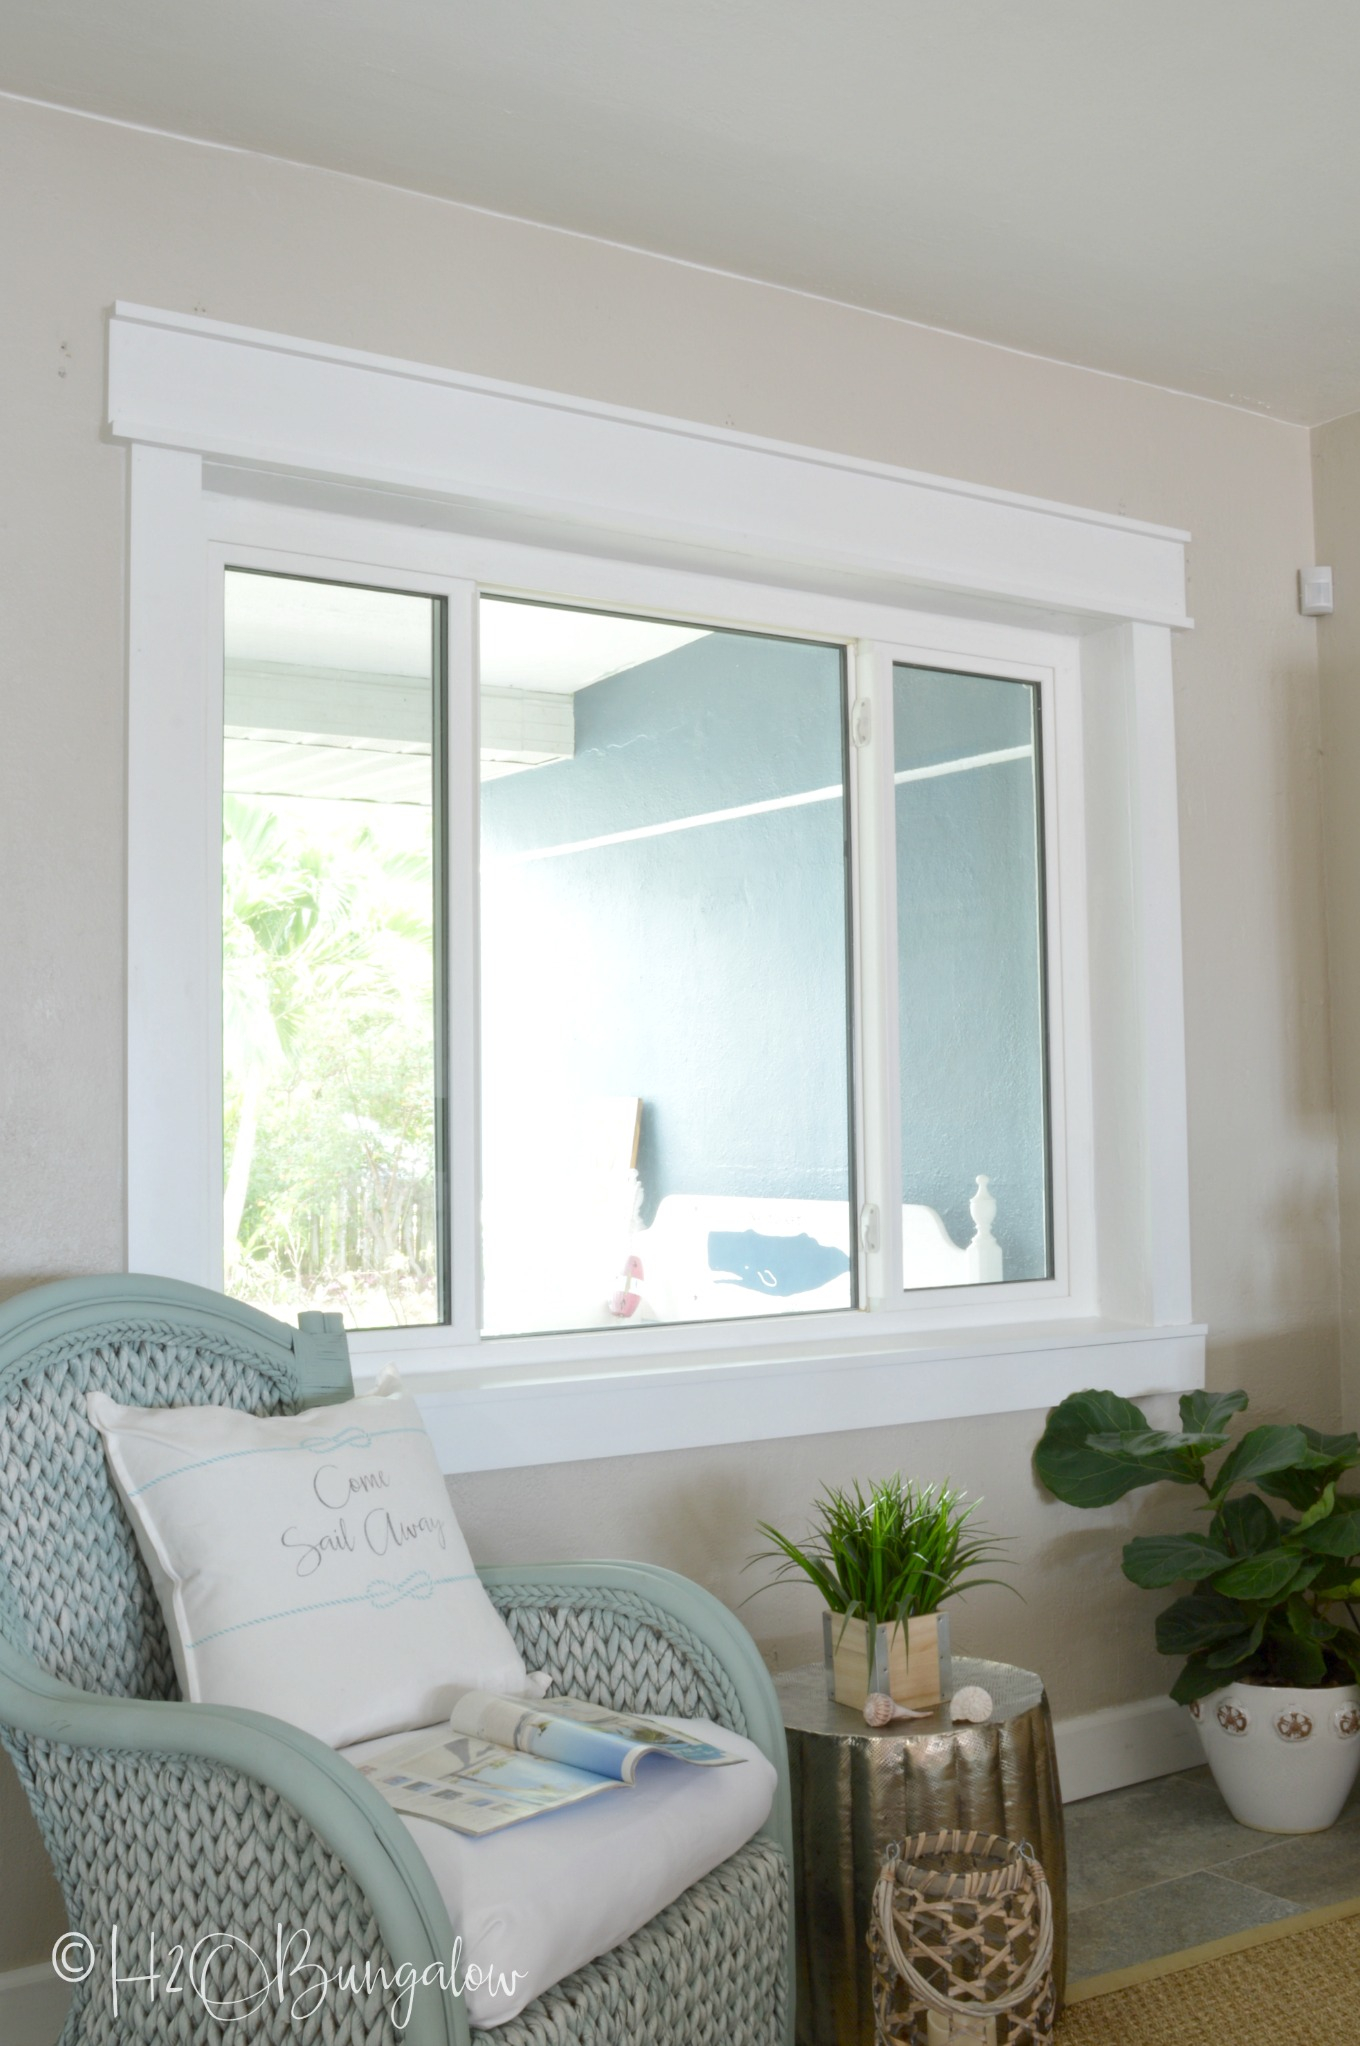
Ever walked into a room and felt like something was just… off? You couldn’t quite put your finger on it. The walls were painted a lovely shade of cream, the furniture was comfortable, but the vibe was disjointed. Chances are, the culprit wasn’t the sofa or the paint. It was the trim. Specifically, the awkward disconnect between the window casing and the baseboards. It’s a detail so many of us overlook until it’s too late, yet it holds the power to make a space feel either chaotic or curated.
We often treat trim as an afterthought. We pick the baseboard because it’s sturdy, and we pick the window casing because it matches the door frame. But here’s the thing: these elements are in conversation with each other. When they argue, the room feels noisy. When they agree, the room sings. In 2026, with home renovations focusing heavily on "quiet luxury" and cohesive minimalism, getting this relationship right is more important than ever. It’s not about buying the most expensive wood; it’s about understanding proportion, profile, and flow.
Let’s be honest, staring at a wall of molding samples at the hardware store can feel overwhelming. There are ogees, coves, back bands, and flat stocks. How do you know which one plays nice with what you already have on the floor? This guide isn’t about rigid rules. It’s about giving you the confidence to trust your eye. We’ll break down the anatomy of trim, explore how scale impacts perception, and look at why material choice matters more now than it did ten years ago. By the end, you won’t just be picking pieces of wood; you’ll be composing a visual symphony.
The Golden Rule of Proportion and Scale
The biggest mistake people make isn’t picking the wrong style; it’s picking the wrong size. Think of your baseboards as the foundation of the room’s visual weight. If you have tall, substantial baseboards—say, five or six inches high—and you pair them with skinny, two-inch window casing, the windows look anemic. They look like they’re shrinking away from the floor. Conversely, if you have tiny, modern baseboards and huge, ornate colonial casings, the windows look like they’re wearing a tuxedo to a beach party. It’s just too much.
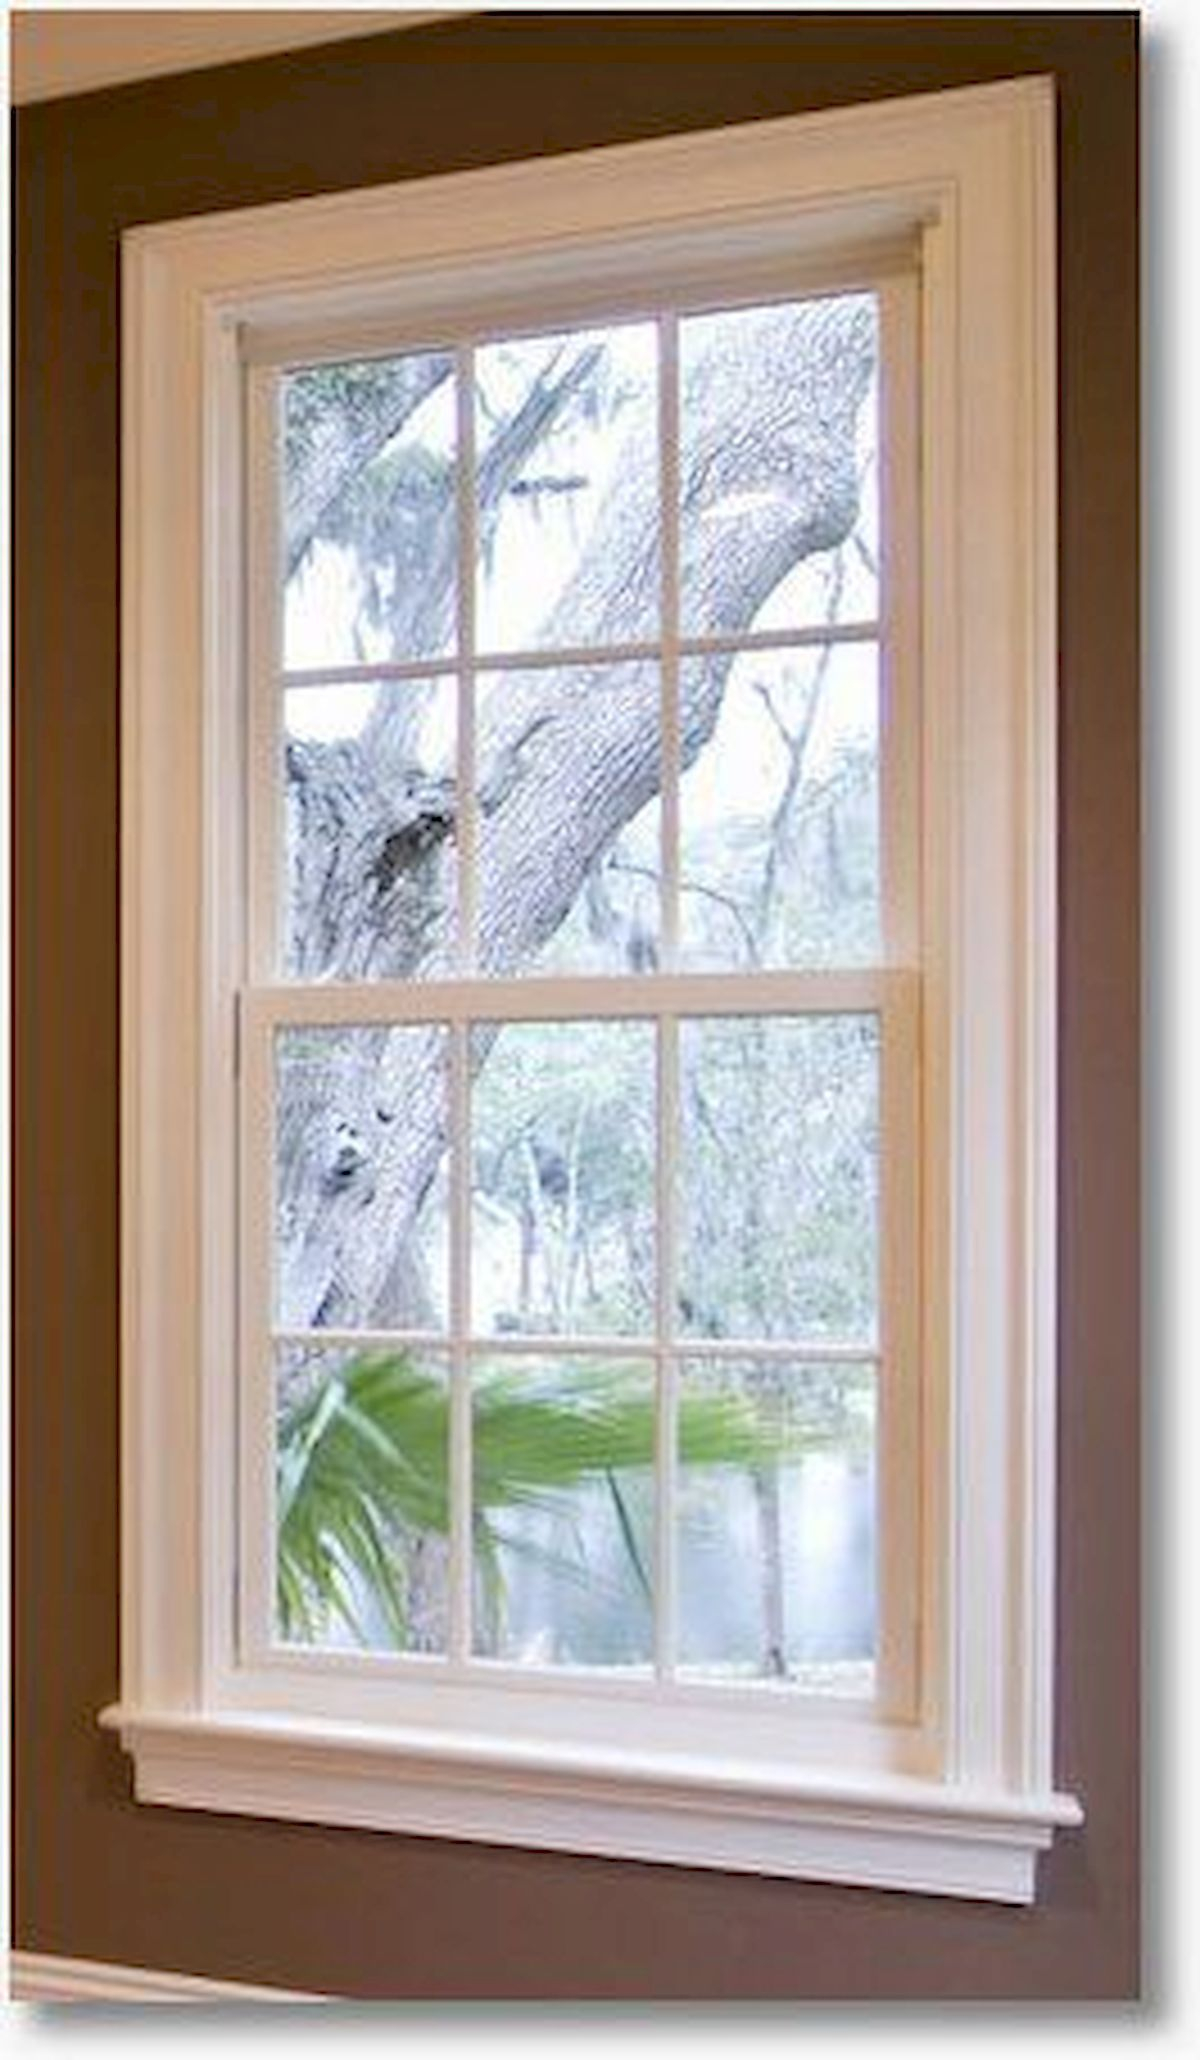
In 2026, the trend is leaning towards balanced proportions. A good rule of thumb is that your window casing should be roughly two-thirds to three-quarters the width of your baseboard height. So, if you have a four-inch baseboard, look for casing that is about 2.5 to 3 inches wide. This creates a visual hierarchy where the baseboard grounds the room, but the window trim still has enough presence to frame the view properly. It’s a subtle math, but our brains register it instantly as "correct."
Don’t forget about the ceiling height, either. In rooms with standard eight-foot ceilings, you want to keep the trim profiles relatively simple and modest to avoid closing in the space. But if you’re lucky enough to have nine or ten-foot ceilings, you can afford to go bolder. Thicker casings and taller baseboards help fill that vertical void, making the room feel intentional rather than empty. It’s all about filling the negative space without cluttering it.
Profile Personality: Matching Shapes and Styles
Every molding profile has a personality. Some are loud and decorative; others are quiet and understated. The key to complementing your baseboards is ensuring the "voice" of the window casing matches. If your baseboards have a complex profile with lots of curves, beads, and steps (often called a "built-up" look), your window casing needs some of that same complexity. A flat, plain casing next to a fancy baseboard looks like a mistake. It looks unfinished.
On the flip side, if you love the clean, crisp lines of modern farmhouse or contemporary design, your baseboards are likely simple—maybe a slight bevel or just a straight square edge. In this case, your window casing should mirror that simplicity. A flat stock casing or a very subtle stepped profile works best. Mixing a highly ornate Victorian casing with a sleek, modern baseboard creates a style clash that confuses the eye. It’s like wearing sneakers with a ballgown. Sometimes it works as a statement, but usually, it just looks messy.
One trick designers use in 2026 is the "shadow line" technique. Instead of matching the exact curve of the baseboard, you match the depth. If your baseboard sticks out from the wall by half an inch, try to keep your window casing at a similar depth. This creates a consistent shadow pattern around the room. When light hits the walls, the shadows fall in a uniform way, which subconsciously makes the space feel calmer and more organized. It’s a small detail, but it makes a huge diference in how polished the room feels.
Material Matters: Wood, PVC, and Hybrids
Gone are the days when wood was the only option. Today, the material you choose affects not just the look, but how well the trim holds up over time. Traditional pine is still popular for its ease of painting and classic feel, but it’s prone to denting and swelling with humidity changes. If you live in a humid climate or have active kids, pine might leave you with dings and gaps within a year. That’s where newer materials come in.
PVC and cellular vinyl have come a long way. In the past, they looked plasticky and cheap. But in 2026, high-quality PVC trim is indistinguishable from wood once painted. The big advantage? It doesn’t rot, swell, or shrink. This means the joints between your window casing and the sill—or where the casing meets the baseboard if they’re close—stay tight. No more caulking cracks every spring. For bathrooms and kitchens, this is a no-brainer. It ensures that the crisp line you created between your base and casing stays crisp.
There’s also the rise of hybrid composites, like Fibrex or engineered wood products. These offer the stability of synthetic materials with the texture of real wood grain. If you plan to stain your trim instead of painting it, you’ll need real wood or a high-end veneer product. But remember, staining requires an even higher level of matching. With paint, you can hide minor imperfections in the profile match. With stain, every grain direction and knot pattern is exposed. If you’re staining, ensure the species of wood for both base and casing is identical to avoid color mismatch.
The Color Connection: To Match or Not to Match?
For decades, the standard was white trim everywhere. White baseboards, white window casings, white doors. It’s safe, it’s bright, and it works. But in recent years, we’ve seen a shift. People are experimenting with contrast. However, if you’re going to break the color rule, you need a strategy. You can’t just paint the baseboards black and leave the windows white without thinking about the flow.
If you choose to match the color, you create a seamless envelope. This is ideal for smaller rooms or spaces with lots of windows, as it reduces visual clutter. The eye glides around the room without stopping. This is the safest bet for achieving that "perfectly complementary" look if you’re unsure. Using the same sheen of paint (usually semi-gloss or satin) on both base and casing further unifies them.
If you want contrast, consider framing the windows in a darker shade to highlight the view, while keeping the baseboards neutral to ground the space. But here’s the catch: the profiles must be distinct enough to justify the color difference. If the profiles are similar, the color change can look accidental, like the painter ran out of white paint halfway through. A bold contrast works best when the window casing is significantly more substantial or detailed than the baseboard, turning the window into a piece of art. Otherwise, stick to monochrome for harmony.
Handling Transitions and Corners
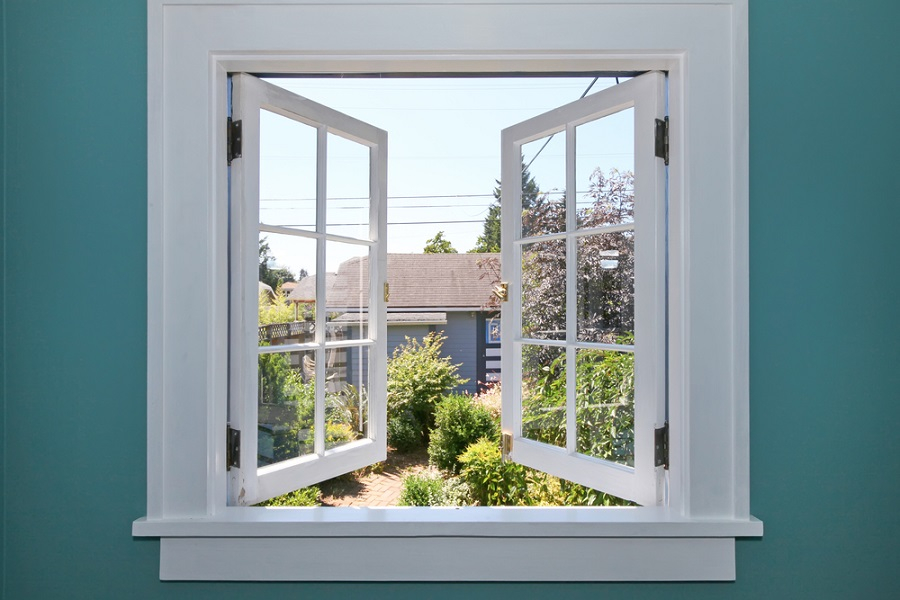
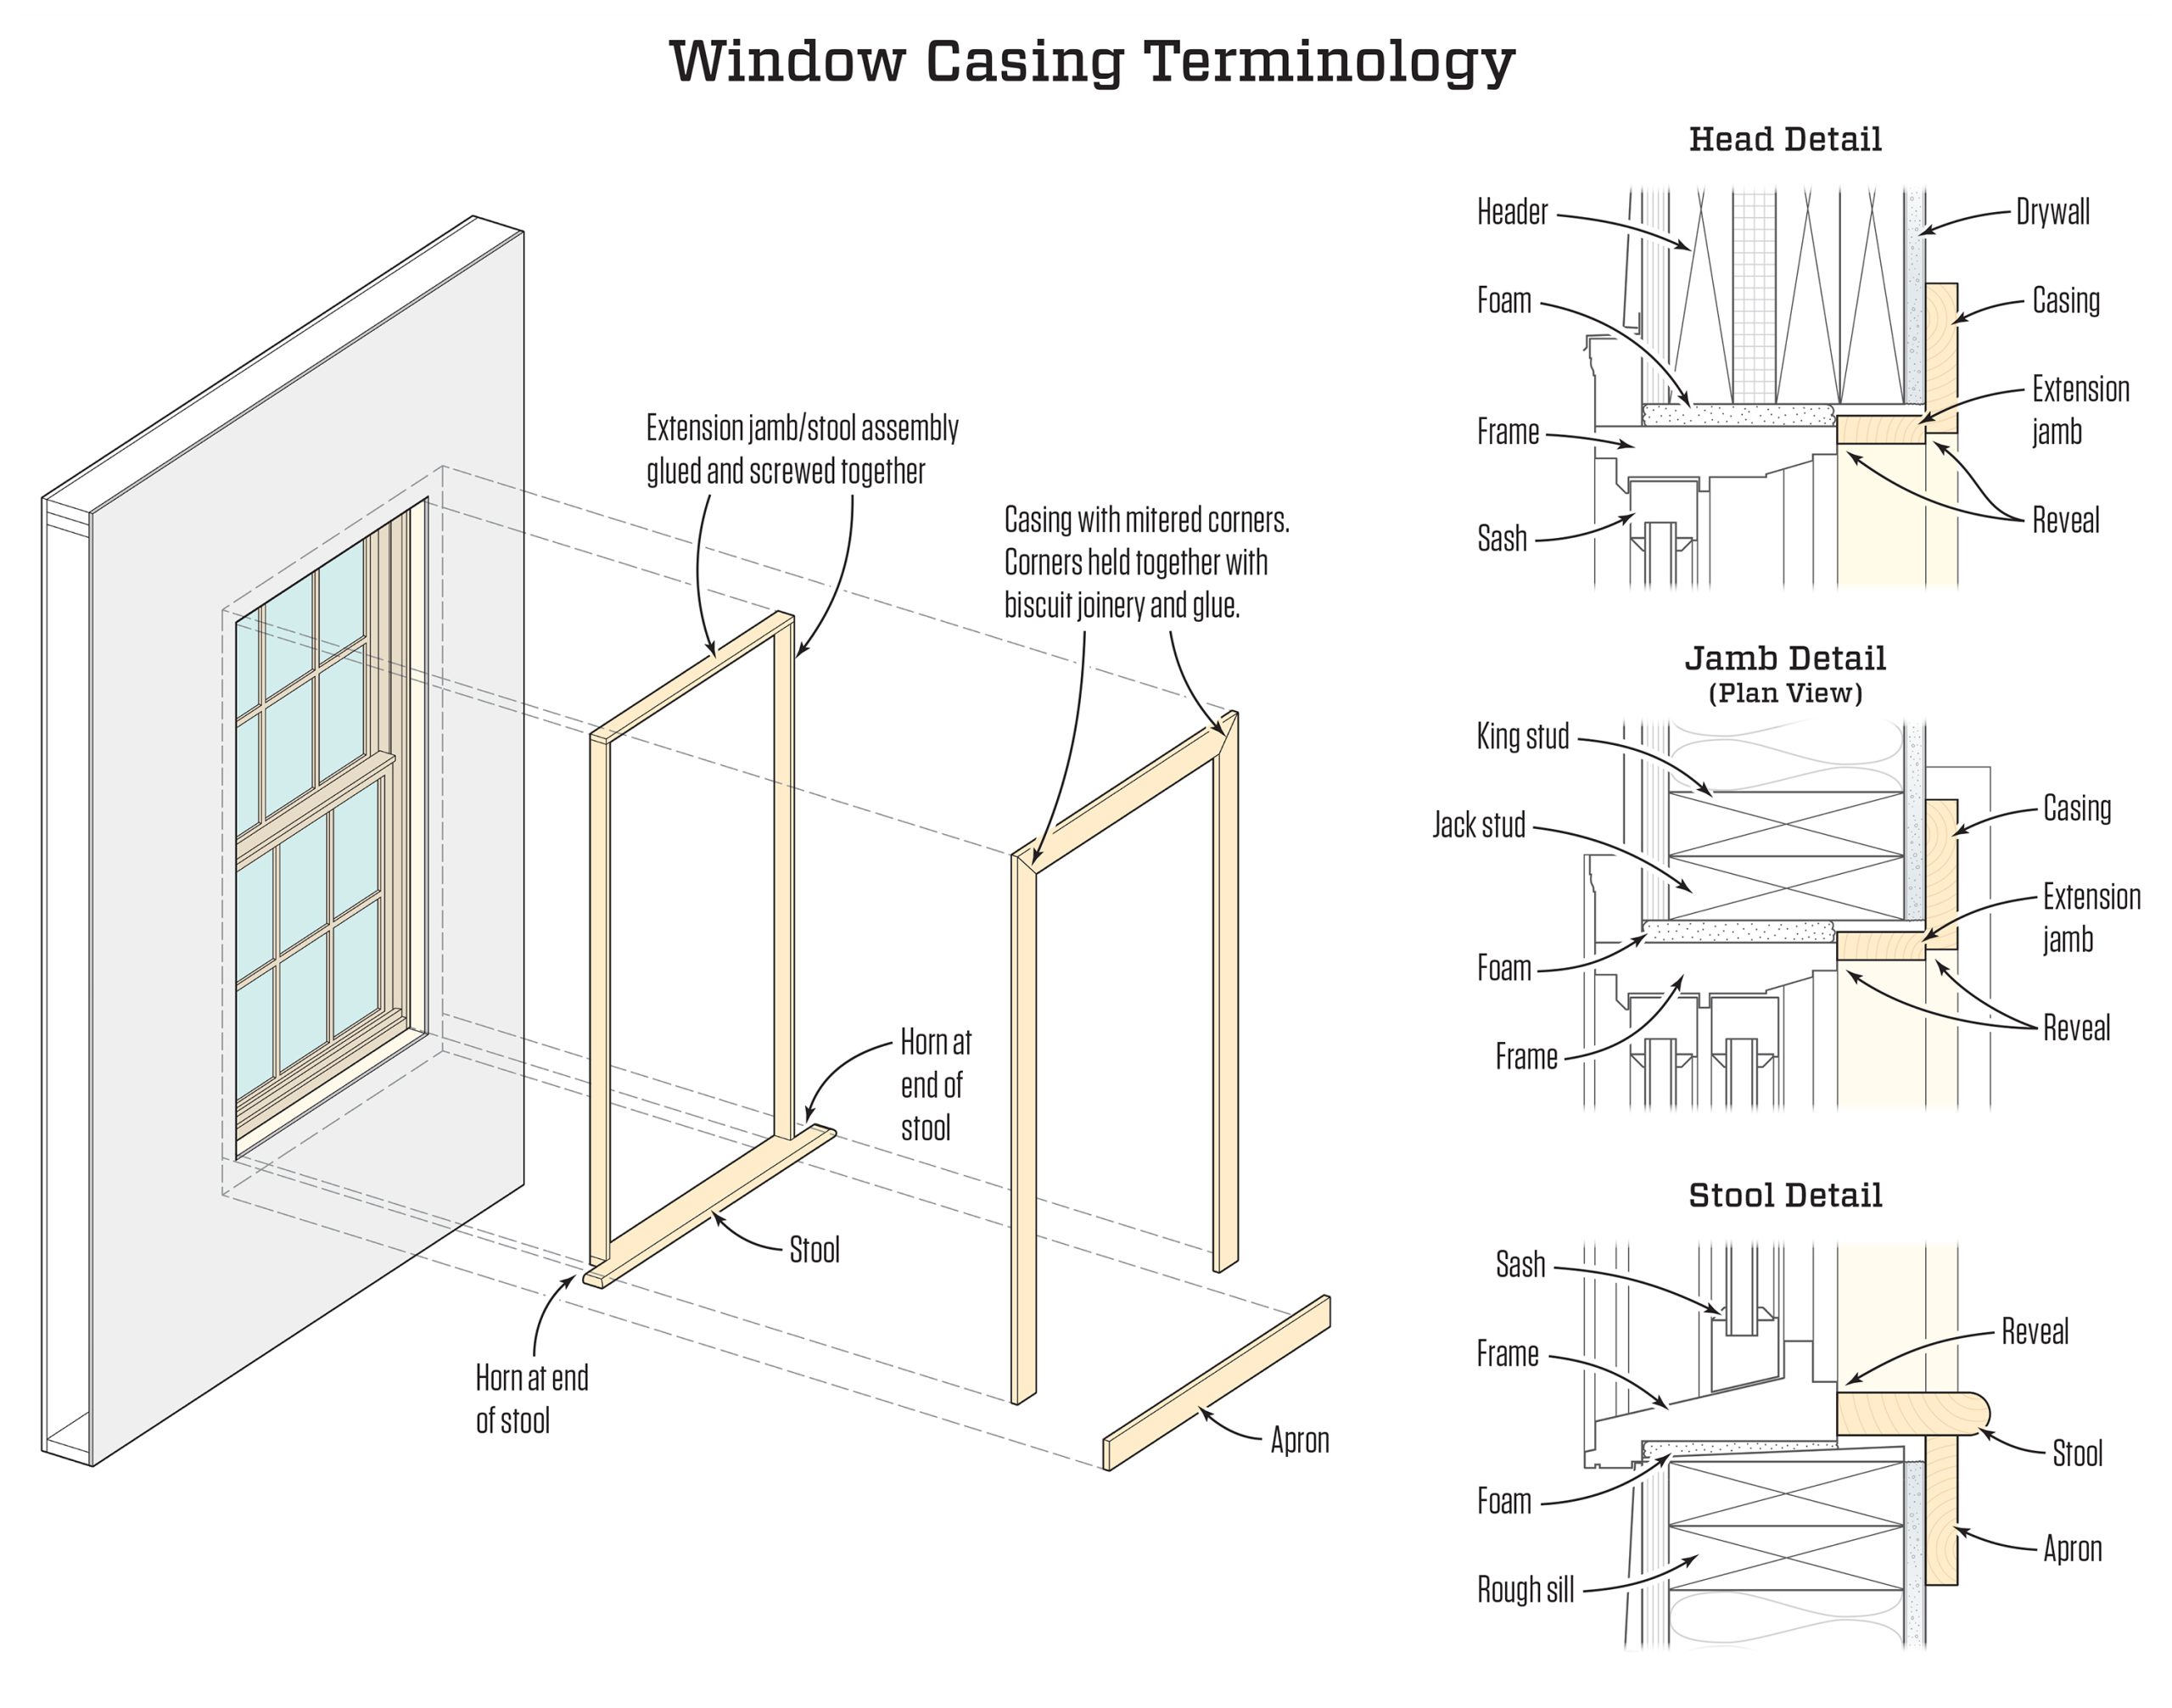
The magic happens in the corners. Literally. Where the window casing meets the wall, and especially where it might interact with other trim elements, is where the craftsmanship shows. One common issue in older homes or DIY projects is the "return." This is the little piece of trim that wraps around the end of the casing to meet the wall. It gives the casing a finished look, like a period at the end of a sentence.
Ensure your window casing returns are consistent with the style of your baseboard ends. If your baseboards butt up tight against door casings with a simple miter, your window returns should be equally sharp and precise. Sloppy returns make even expensive trim look cheap. In 2026, precision cutting tools have made it easier for homeowners to achieve these tight joints, but it still requires patience. A gap filled with caulk is fine, but a gap filled with hope is not.
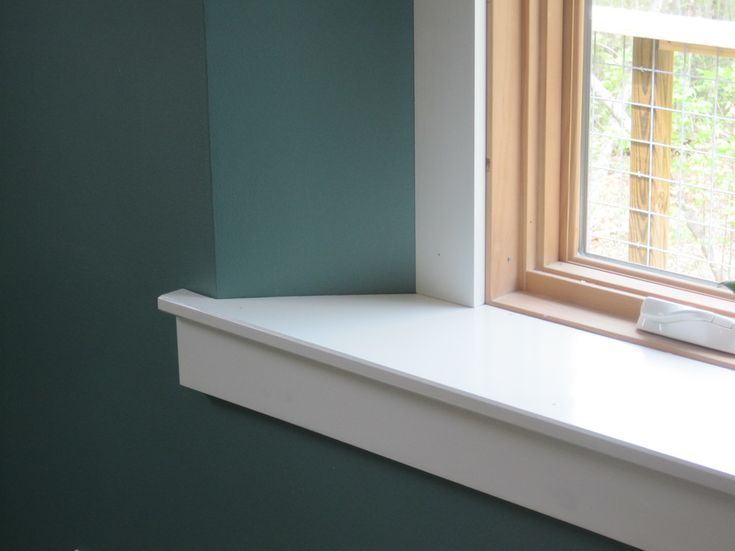
Also, consider the apron—the horizontal piece under the window stool. Does it match the width of the side casings? It should. And does the stool (the shelf part) overhang the apron correctly? These horizontal elements need to align visually with the vertical baseboards in terms of weight. If the apron is too thin, the whole window assembly looks top-heavy. Check the alignment from across the room. Squint your eyes. Do the horizontal lines of the window trim feel balanced with the horizontal line of the baseboard? If not, adjust the widths.
So, you’re renovating an existing home. You love the original baseboards—they’re solid oak, three inches tall, and have a beautiful bead detail. But the new windows you’re installing come with standard, flat, narrow casing. What do you do? Don’t rip out the baseboards. Instead, upgrade the casing. You can buy wider, more detailed casing profiles that mimic the era of your baseboards. Look for "colonial" or "craftsman" styles that feature similar beads or steps.
Another tip: use a "back band." This is a strip of molding that goes behind the main casing. It adds width and depth without changing the entire profile. If your baseboards are wide and your new casing is narrow, adding a back band can bulk up the casing to match the visual weight of the floor trim. It’s a cost-effective hack that saves you from custom milling expenses. It’s a trick pros have used for years, and it’s still relevant in 2026 for anyone trying to blend old and new.
Finally, take photos. Before you buy anything, take a photo of your baseboard. Bring it with you to the store. Hold the sample casing up against the photo. Better yet, buy one small piece of the casing you’re considering and take it home. Tape it up next to the baseboard. Live with it for a day. Look at it in the morning light and the evening lamp light. Trim looks different in different lights. If it still feels right after 24 hours, go for it. Trust your gut, but verify with your eyes.
Getting the window casing to complement your baseboards isn’t about following a strict textbook formula. It’s about balance. It’s about respecting the architecture of your home and the function of the space. Whether you’re building new or refreshing an old favorite, the goal is unity. When the trim flows together, the room feels complete. It feels like it was designed, not just assembled.
Take your time with the selection. Measure twice, cut once, and don’t be afraid to mix materials if it solves a practical problem like humidity. The perfect match is out there. It’s waiting in the aisle of your local supplier, or maybe in a custom order from a millwork shop. Look for the harmony. Listen to the conversation between the floor and the window. When they agree, you’ll know. And your home will feel a little more like a sanctuary, and a little less like a construction site.