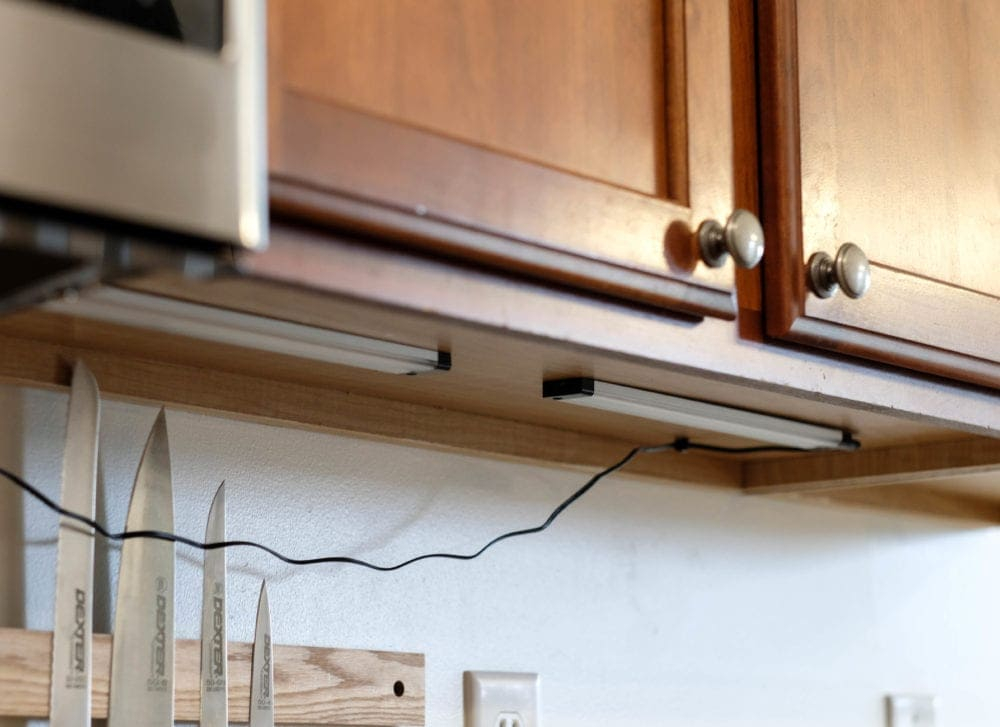
Ever walk into your kitchen at night, reach for a glass, and realize you’re basically chopping vegetables in a cave? It’s frustrating. You’ve got these beautiful cabinets, maybe even spent a pretty penny on countertops, but the lighting is just… meh. Overhead lights cast shadows right where you need to see. That’s why adding under-cabinet lighting feels less like a renovation and more like a rescue mission for your sanity.
It doesn’t have to be a huge ordeal. In 2026, the tech has gotten so good that you don’t need to tear down drywall or fish wires through insulated attics if you don’t want to. Whether you want the focused spotlight effect of pucks or the even wash of light from bars, you can do this yourself. Seriously. I’ve seen people who were scared of a screwdriver pull this off in a weekend. Let’s get your kitchen glowing.
Choosing Your Fighter: Pucks vs. Bars
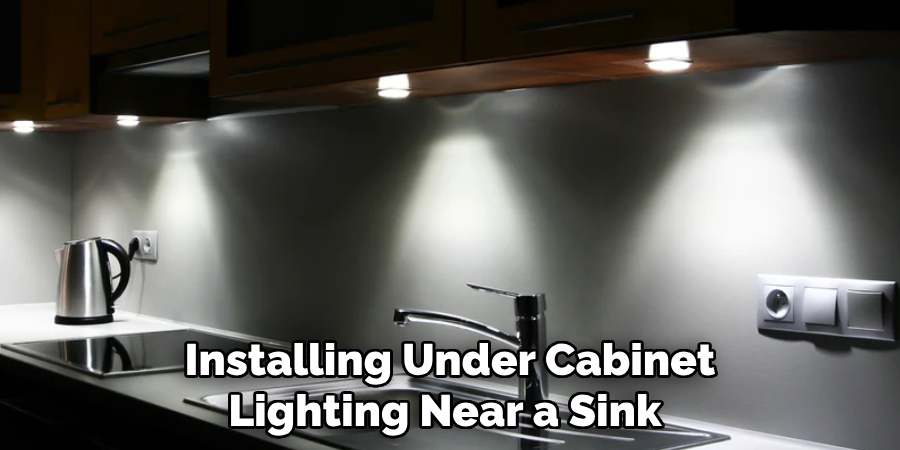
First things first, you gotta pick your style. It’s not just about looks; it’s about how the light hits your counter. Puck lights are those small, round discs. They’re great for creating little pools of light. Think of them like spotlights on a stage. If you have a dark corner or want to highlight a specific decorative item, pucks are your friend. But here’s the catch: if you space them too far apart, you get what pros call the "scalloping" effect. That’s when you see distinct circles of light with dark gaps in between. It can look kinda messy if you aren’t careful.
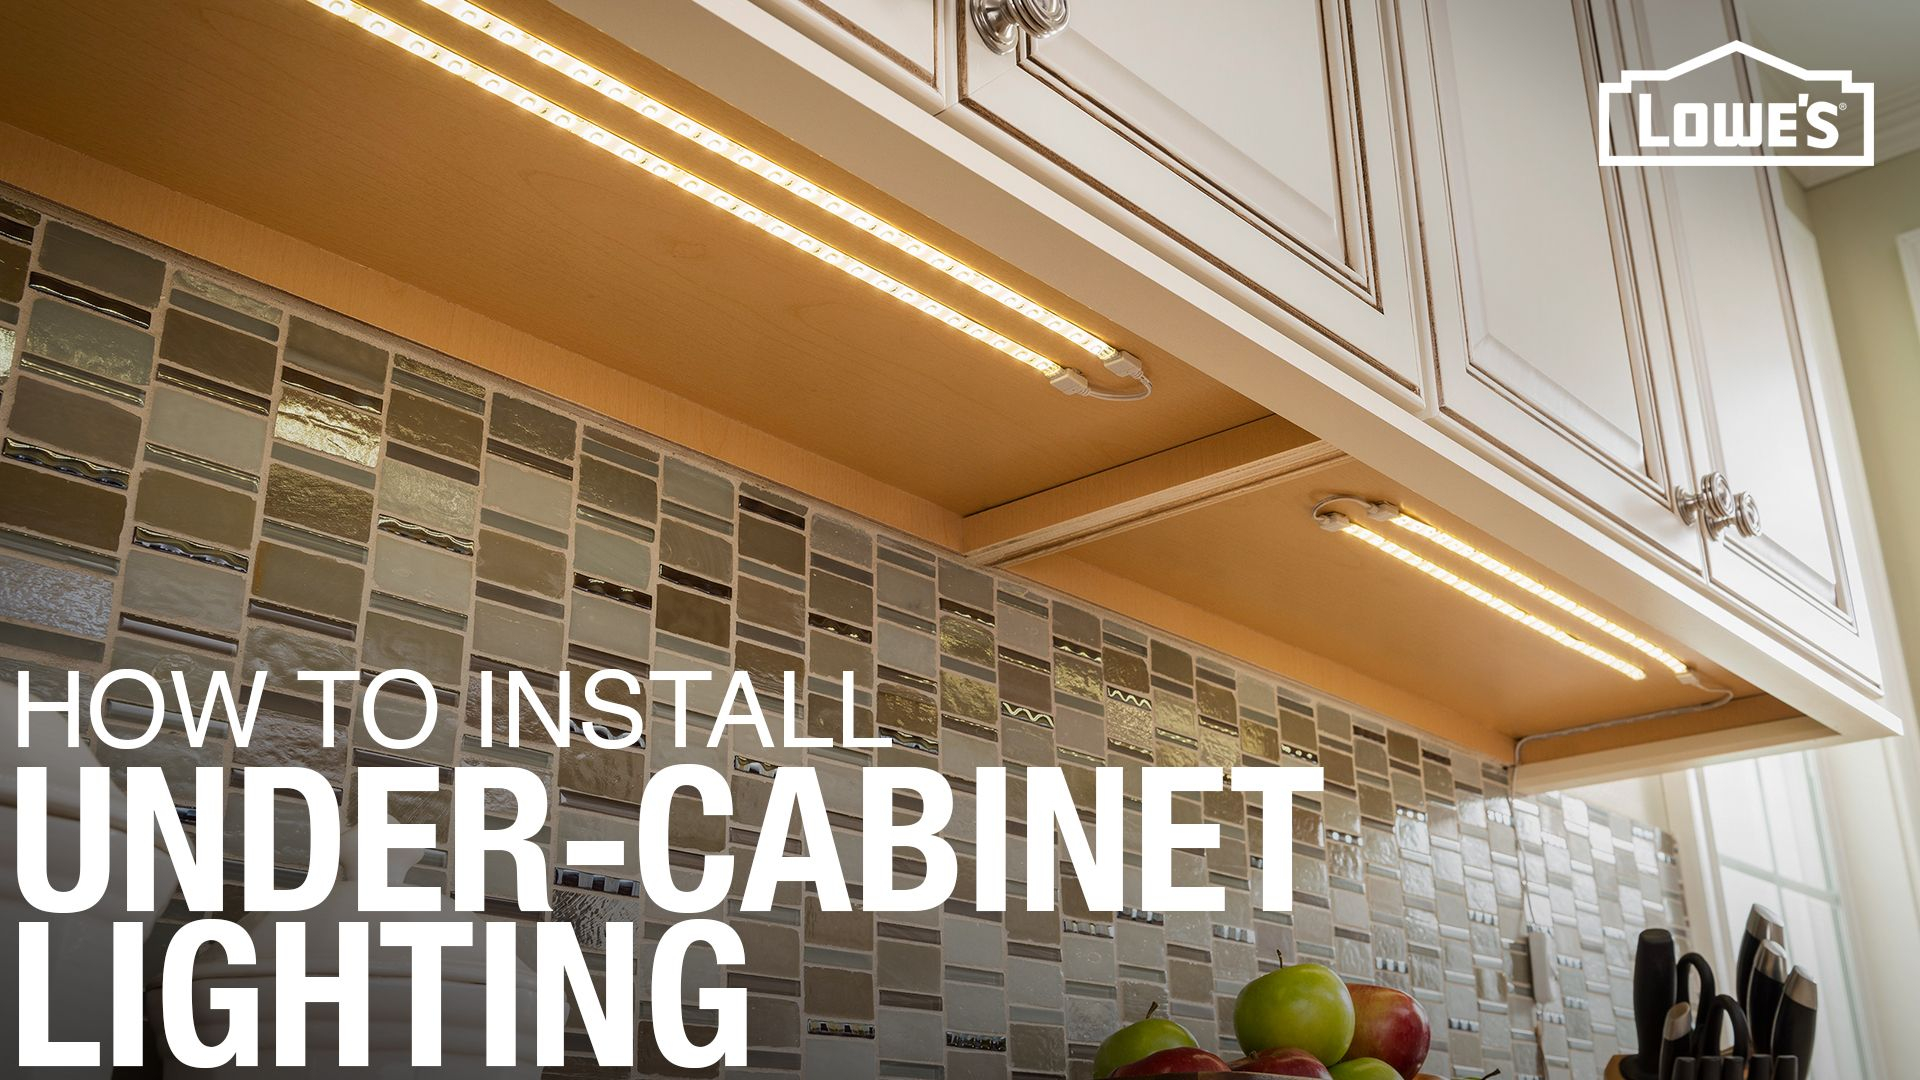
Bar lights, on the other hand, are long and linear. They give you a smooth, continuous beam of light across the whole counter. This is usually better for task lighting, like chopping onions or reading recipes. Because the light source is spread out, you don’t get those harsh shadows or hot spots. For most modern kitchens in 2026, LED bars are the go-to because they’re slim, efficient, and hide easily against the back edge of the cabinet. But if you have a traditional kitchen with face frames (those wooden borders around the cabinet opening), pucks might fit better in the limited space.
So, how do you decide? Look at your counter depth. If you have deep counters, bars often provide better coverage all the way to the front edge. If you have shallow cabinets or lots of obstacles like outlets and switches breaking up the space, individual pucks might be easier to maneuver around. Also, consider the finish. Do you want to see the fixture? Some pucks are designed to be visible and look like jewelry. Most bars are meant to be invisible, tucked away so you only see the glow. There is no wrong answer, just what works for your eyes.
The Power Question: Plug-in or Hardwired?
This is the part that makes most people sweat. Do you need an electrician? Maybe, but probably not. In the past, hardwiring was the only "pro" way to do it. You’d run cables through the walls, connect to a junction box, and hope you didn’t hit a stud. It was messy. Today, plug-in systems are incredibly robust. You can buy high-quality LED strips or bars that come with a transformer and a simple plug. You just tuck the cord down the side of the cabinet, maybe use a tiny channel to hide it, and plug it into an outlet below the counter or inside a nearby cabinet.
Hardwiring is still an option if you’re doing a full remodel or if you absolutely hate seeing any cords. It gives a cleaner look because there are no plugs hanging around. But for existing cabinets, the "no-tear-out" method is king. Family Handyman and other experts note that fishing cables through finished walls is a nightmare best avoided if you can. With plug-in options, you can use a switch-controlled outlet or even a smart plug to turn the lights on and off without touching a wire. It’s safer for DIYers and way less stressful.
If you do choose to hardwire, please, for the love of safety, turn off the breaker. And if you’re unsure, just hire a pro for the final connection. There’s no shame in that. But for 90% of homeowners looking to upgrade their existing setup in 2026, a plug-and-play system with a hidden transformer tucked inside a top cabinet is the sweet spot. It’s clean, it’s easy, and it works. Just make sure you have an outlet nearby. If you don’t, you might need to use a battery-operated option, though those require recharging which can be a hassle.
Mapping Out the Magic
Before you drill a single hole, you need a plan. Grab a tape measure and some painter’s tape. This step saves you from regretting everything later. Start by deciding where the lights will go. The general rule is to mount them toward the front of the cabinet, but not too close to the edge. You want the light to hit the counter, not your eyes. A good starting point is about 2 to 3 inches from the front edge of the cabinet bottom. If you mount them too far back, the front of your counter stays dark. Too far forward, and you’ll see the actual bulb or LED strip, which is glaring and ugly.
For puck lights, spacing is critical. You don’t want gaps. A common mistake is putting them too far apart. As a rule of thumb, space pucks no more than 12 to 18 inches apart, depending on the brightness and beam angle. If you have a 3-foot section of cabinet, two pucks might leave a dark spot in the middle. Three would be better. Use your painter’s tape to mark the center of each puck. Step back. Look at it. Does it look balanced? Adjust the tape until it feels right.
For bar lights, it’s simpler. You usually run one continuous bar per cabinet section. If you have a wide cabinet, you might need two bars linked together. Measure the width of the cabinet interior (inside the face frame if you have one). Subtract about an inch on each side to allow for wiring clearance and to keep the ends hidden. Mark your mounting points. Most bars come with clips or brackets. Hold them up to your marks. Check for level. It doesn’t have to be perfect to the millimeter, but if it’s crooked, the light distribution will look weird. Take your time here. Rushing the layout is the number one reason DIY projects look amateur.
Gathering Your Gear
You don’t need a warehouse full of tools, but having the right stuff makes life easier. Here’s the basic kit you’ll need for most installations. First, your lights. Make sure you bought enough! It’s better to have one extra puck or bar than to run short mid-project. Check the voltage. Most LED systems are 12V or 24V low voltage, which means they need a transformer (power supply). Don’t plug a 12V light directly into a 120V outlet. You’ll fry it instantly.
Next, tools. You’ll need a drill with a small bit for pilot holes. A screwdriver (Phillips head usually) is essential. If you’re going the plug-in route, get some clear cable clips or adhesive cable channels to hide the wires running down the side of the cabinets. These are cheap and make a huge difference in the final look. You’ll also need double-sided mounting tape if your lights support it, but screws are always more secure. Don’t trust tape alone for heavy bars.
Other handy items include a stud finder (just in case you hit something weird in the wall behind the cabinet), a level (a small torpedo level works fine), and wire strippers if you’re doing any custom cutting of LED strips. Oh, and a pencil. You’ll mark things. Lots of things. Keep a rag handy to wipe away pencil marks later. If you’re connecting multiple lights, you might need connector wires. Many kits come with these, but check the box. If you’re short, buy extra. Nothing stops progress like realizing you’re missing a 6-inch connector wire at 9 PM on a Saturday.
The Install: Drilling and Mounting
Okay, deep breath. It’s time to put them up. Start with the power off if you’re dealing with any existing wiring, but for plug-ins, you’re safe. Let’s talk about pucks first. If your pucks use screws, hold the bracket against your marked spot. Drill a tiny pilot hole first. This prevents the wood from splitting, especially if you’re near the edge of the cabinet. Screw the bracket in. Then, snap or screw the puck light into the bracket. Connect the wires. Most puck systems use simple plug connectors that click together. Make sure they’re snug.
For bar lights, it’s similar but longer. Hold the bar up to your marks. If it uses screws, drill your pilot holes and secure the mounting clips. Slide the bar into the clips. If it uses adhesive backing, clean the cabinet bottom thoroughly with alcohol first. Dust and grease are the enemies of sticky tape. Peel the backing and press firmly for 30 seconds. I still recommend adding a screw at each end for peace of mind. Cabinets vibrate when you slam doors. You don’t want your light falling on your head while you’re making coffee.
Wiring management is key here. As you connect each light to the next, tuck the wires neatly. Use the cable clips you bought earlier to run the main power cord down the side of the cabinet. Try to run it along the back edge or inside the face frame where it’s less visible. If you have a gap between cabinets, you can sometimes run the wire through that space. Keep it tidy. A messy wire job looks bad and can get caught on things. Once everything is mounted and connected, double-check all your connections. Give them a gentle tug. If they hold, you’re good.
The moment of truth. Plug it in. Flip the switch. Did it light up? If yes, awesome. Stand back and look at the glow. Is it even? Are there dark spots? If you see scalloping with pucks, you might need to add another puck in the gap. If the light is too bright, check if your system has a dimmer. Most modern LED drivers in 2026 are dimmable, but you need the right switch. A standard incandescent dimmer won’t work with LEDs; it’ll cause flickering. Make sure you have an LED-compatible dimmer if you want that adjustable mood lighting.
If it doesn’t light up, don’t panic. Check the obvious first. Is the outlet working? Plug a lamp in to test. Is the transformer plugged in? Are all the connectors clicked in fully? Sometimes a wire isn’t seated all the way. Disconnect and reconnect them. Check for polarity if you’re using stripped wires (positive to positive, negative to negative). If you’re using a remote control or smart app, make sure the batteries are fresh or the device is paired.
Common issues include flickering, which usually means a loose connection or an incompatible dimmer. Another issue is uneven brightness, which can happen if you’ve daisy-chained too many lights on one power supply. Check the wattage limit on your transformer. If you’ve exceeded it, the lights will be dim or flicker. You might need a second power supply. Once you’ve ironed out the bugs, enjoy your new space. Clean the lenses with a soft cloth to remove any fingerprints from installation. Now, go make a sandwich and admire your handiwork. It looks pro, right?
Adding puck and bar lights to existing cabinets is one of those projects that punches way above its weight class. It changes how your kitchen feels. It makes it warmer, more inviting, and actually usable at night. You don’t need to be an electrician. You just need a little patience, a drill, and the willingness to measure twice. Whether you chose the focused drama of pucks or the smooth utility of bars, you’ve upgraded your home without tearing down a single wall. And honestly? That’s a win worth celebrating.