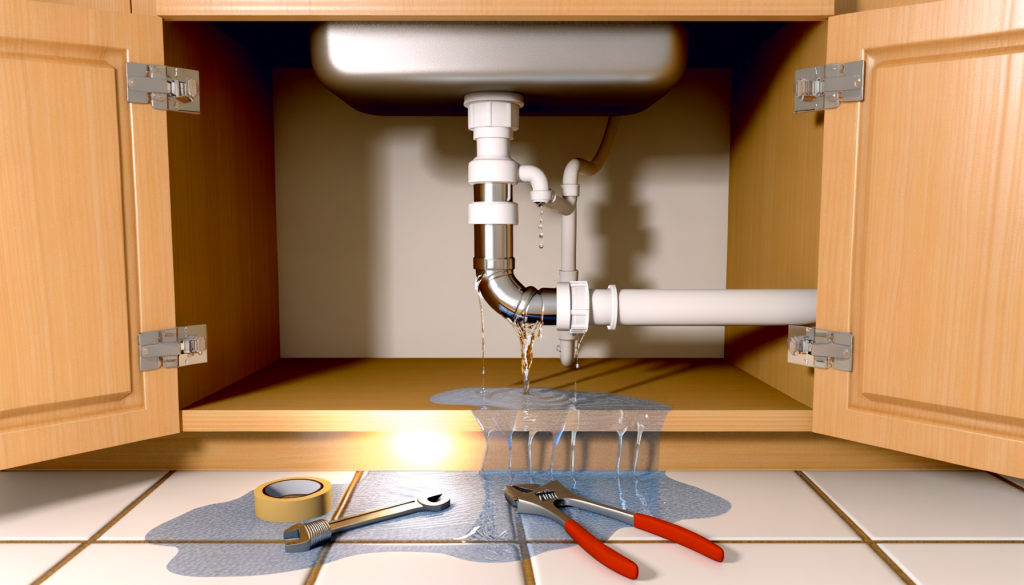
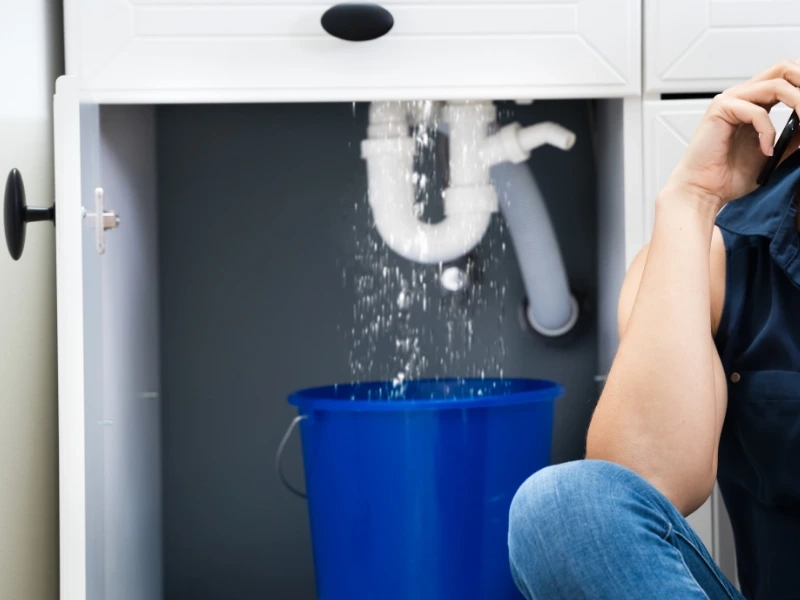
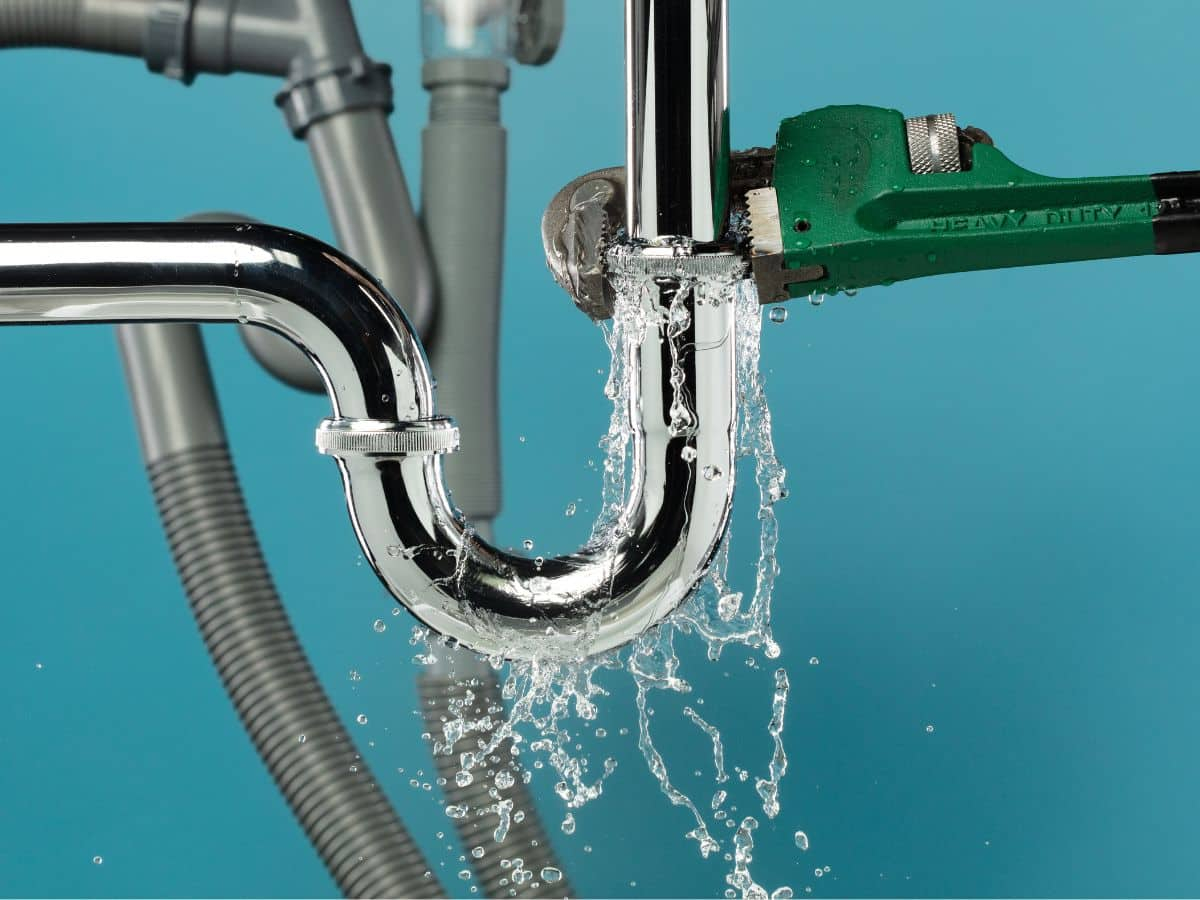
Have you ever opened your bathroom or kitchen cabinet only to touch a soggy cardboard box or step in a random puddle. It is that classic, dreaded drip-drip sound that makes your stomach drop a little bit. You might immediately worry about expensive plumber bills or major water damage. Luckily, the curved pipe section right beneath your basin—known as the P-trap—is usually the main culprit, and tracking down the issue is totally doable.
That curved pipe plays a huge role in your home plumbing setup. Without it, nasty sewer gases and unpleasant odors would easily float right up into your living spaces. It holds a small pool of water at the bottom to block those fumes. But because it handles constant water flow, the fittings and joints can wear down over time.
Getting Ready For The Hunt
Before you start poking around, you need to clear out everything stored under that basin. Empty bottles of cleaner, old sponges, and spare trash bags love to hide damp spots. Grab a dry old towel and wipe everything down so you can see fresh moisture clearly.
Sometimes the leak is sneaky and only shows up when water is actively running down the drain. Turn on the faucet and let a steady stream pour down while you watch closely with a flashlight. Running a bit of colored water or just using your bare hand can help you feel where the cold drops land. Never force anything or yank on the pipes too hard because old plastic can snap easily.
Spotting Loose Slip Joint Nuts
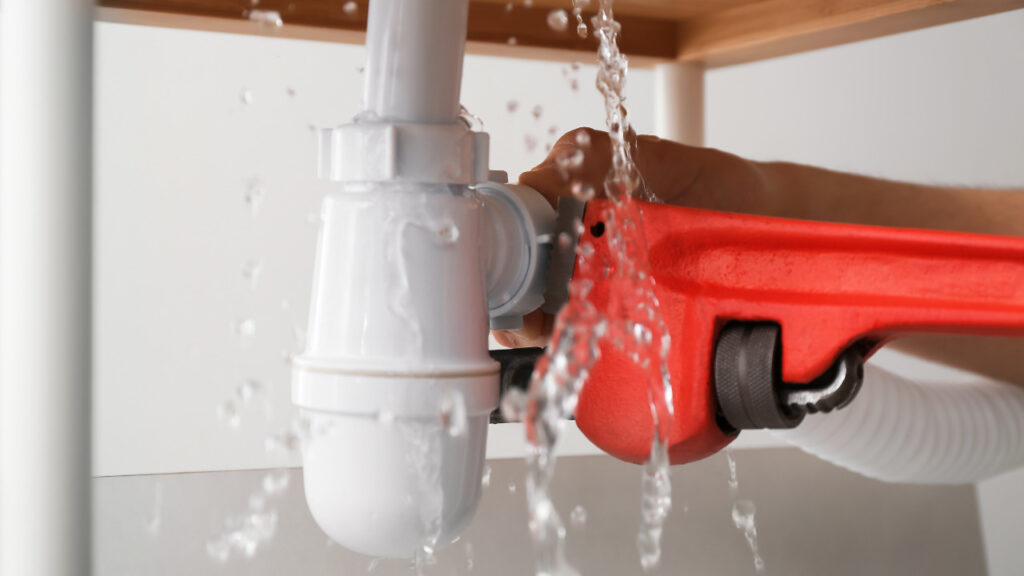
Most of the time, the trouble comes from the plastic nuts that connect the curved trap to the vertical tailpiece coming from the sink basin. These slip-joint connections loosen up over time due to normal vibrations and thermal expansion from hot water usage. When they get slightly loose, water finds a tiny gap to sneak out whenever you wash dishes or brush your teeth.
You can often fix this simply by reaching down and giving those plastic nuts a gentle twist with your hand. Do not crank them down with giant wrench tools right away because over-tightening can crack the delicate plastic threads. Just snug them up firmly by hand and wipe the area completely dry to see if the dripping stops.
Checking For Cracks And Wear
If tightening the nuts does not solve the mystery, your P-trap might have a physical crack or a worn-out washer inside. Plastic fittings degrade after years of exposure to harsh cleaning chemicals and hot water flows. Take a close look along the bottom curve of the U-shaped pipe to see if there are hairline fractures.
Inside those slip-joint connections, there are small rubber or plastic washers called slip-joint washers that create a watertight seal. If a washer is warped, flattened, or pinched backward, water will bypass it every single time. Replacing these cheap little washers or swapping out the entire P-trap assembly costs just a few dollars at any hardware store.
The Paper Towel Trick
If the leak is so slow that you cannot actually see where the drops are forming, call on the trusty paper towel method. Take a dry paper towel and wrap it tightly around different sections of the pipe network. Start right under the sink drain basket, move down the vertical tailpiece, and wrap another towel around the P-trap itself.
Turn the water on for thirty seconds and then check which paper towel gets damp first. Water always travels downward thanks to gravity, meaning the wettest spot at the very top of the damp chain is your exact starting point. This simple trick takes away all the guesswork and saves you from replacing parts you do not even need to touch.
When Supply Lines Play Tricks
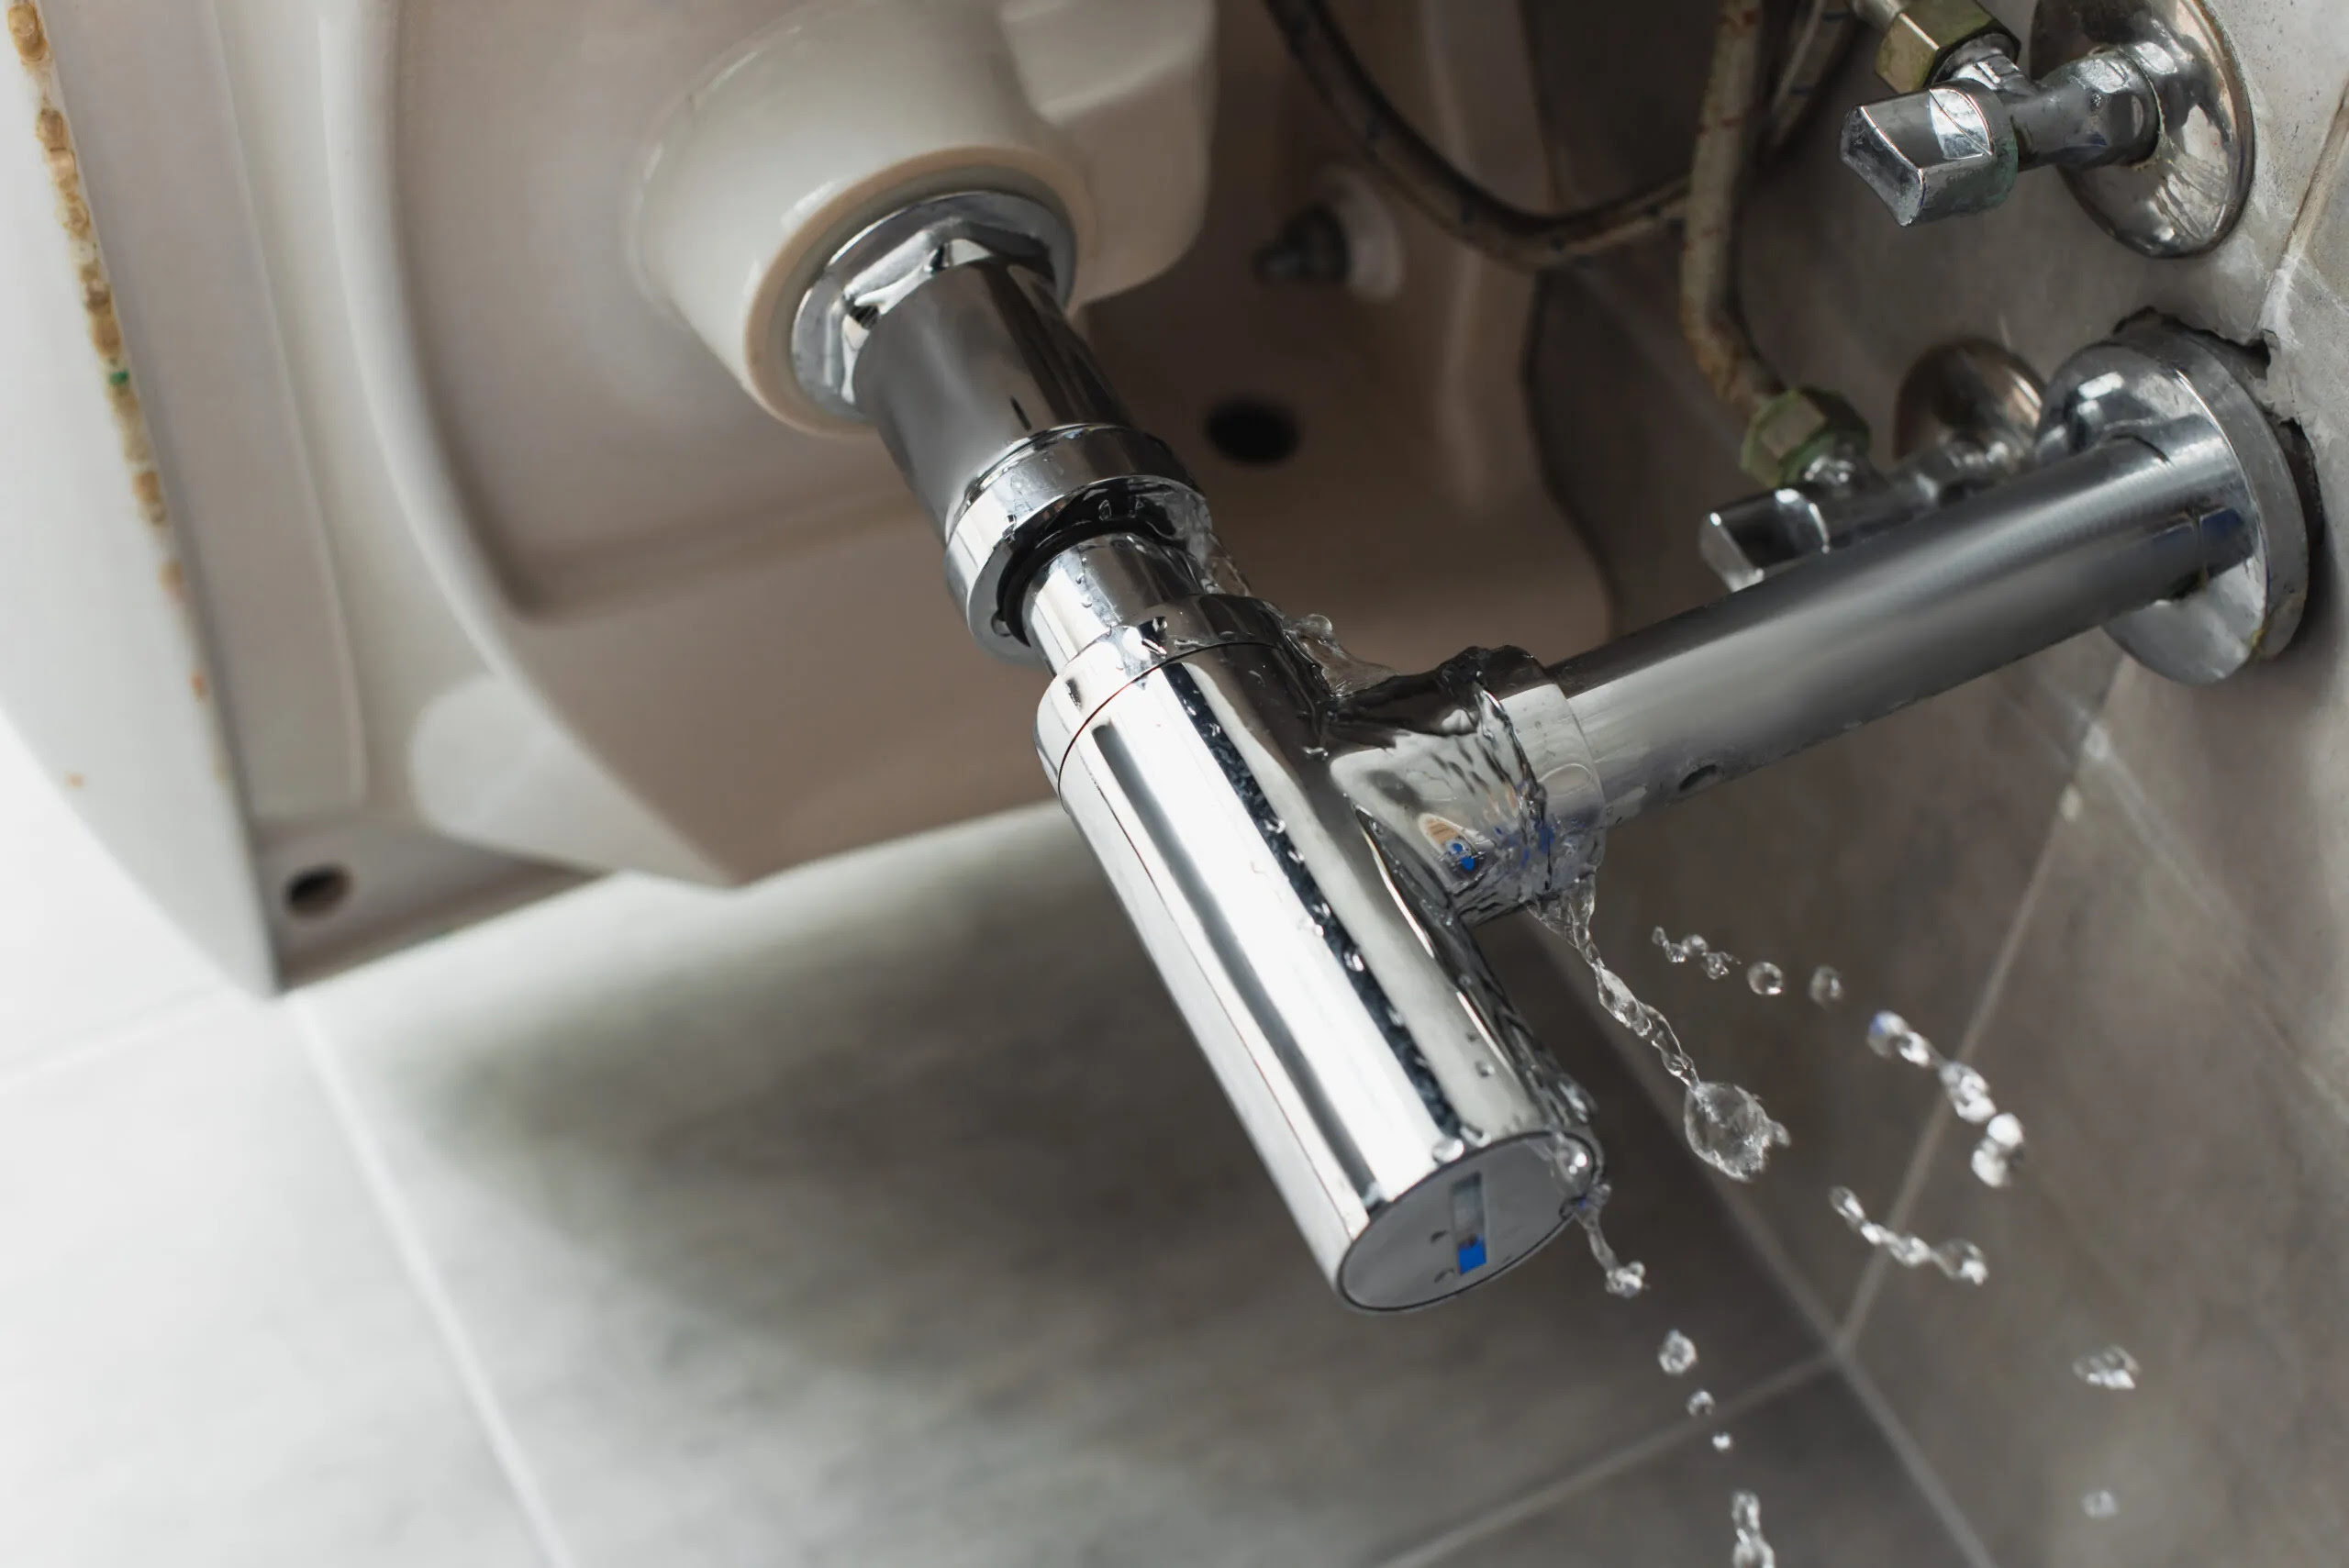
Sometimes you are completely convinced your P-trap is leaking, but the culprit is actually hiding just a few inches higher up. The water supply lines—those flexible braided hoses or rigid metal tubes connecting your faucet to the wall valves—often sweat or develop pinhole leaks. A drop running down a supply line can easily land on the P-trap and trick you into thinking the trap is broken.
Feel all the way up to where the supply lines connect to the bottom of the faucet handles. If those areas feel slick or damp, you might be dealing with a worn faucet cartridge or a loose supply nut instead of a trap issue. Always check your entire under-sink ecosystem before running off to buy drainage replacement parts.
Most P-trap fixes take less than twenty minutes and require zero special plumbing background. However, if your house is quite old and features corroded metal pipes welded together with rust, DIY repairs can quickly turn into a messy nightmare. Stripping old galvanized threads or twisting a brittle metal pipe until it snaps means it is time to phone a licensed professional.
There is zero shame in handing off a stubborn plumbing headache to an expert if things start looking overly complicated. Protecting your home from major water damage matters way more than stubborn pride. But for standard plastic P-traps, a little bit of patience and careful observation will usually get your sink back in working order.
Tackling a dripping sink trap can feel intimidating if you have never done it before, but taking it step by step makes it totally manageable. By clearing out the cabinet, testing the joints, and using simple tricks like paper towels, you can track down the exact source of trouble without breaking a sweat.
Next time you hear that unexpected drip under the basin, you will know exactly how to handle it like a pro. Keep your workspace dry, check those slip joints, and enjoy the satisfaction of fixing a home repair all by yourself.