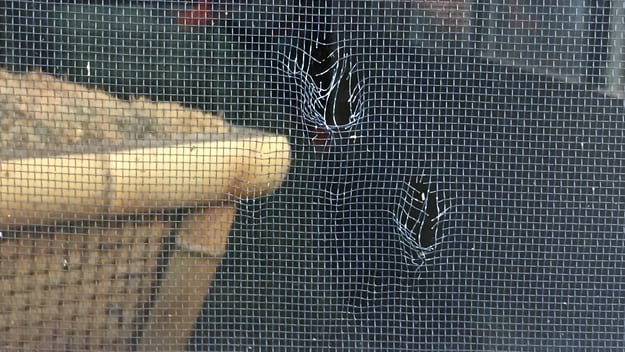
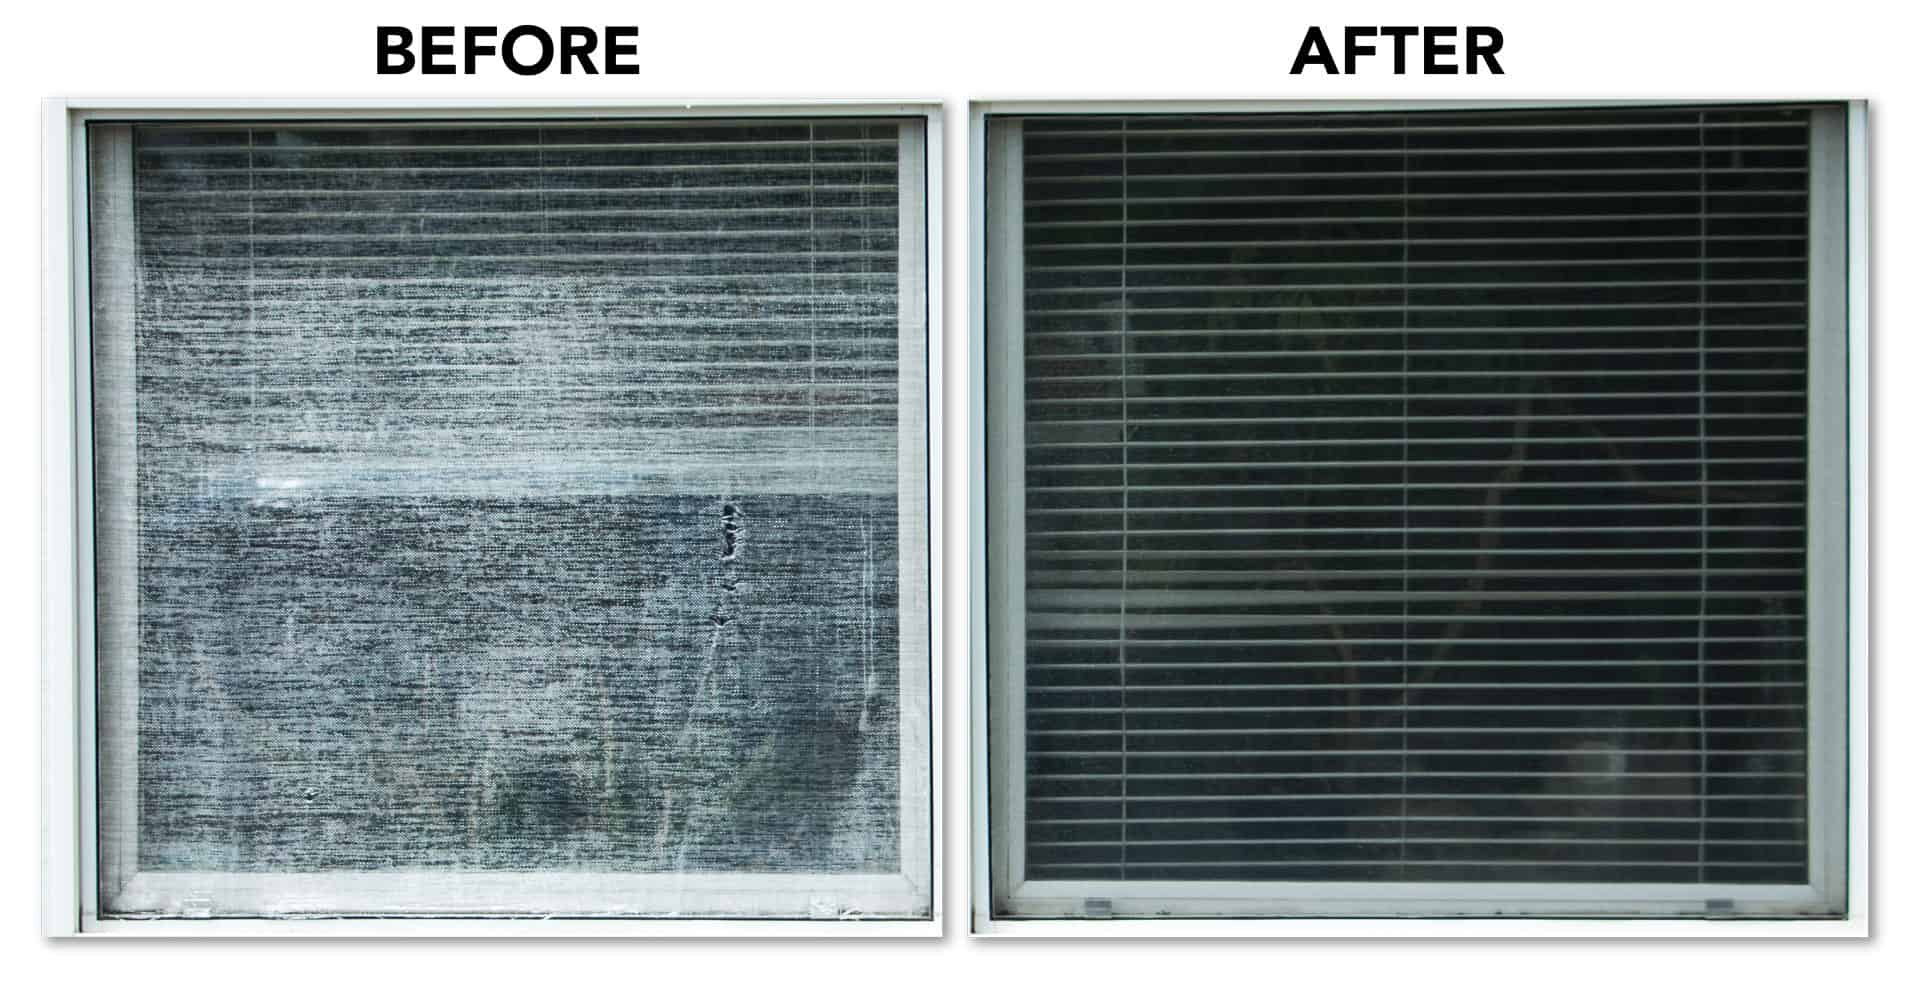
You know that feeling. You’re sitting there, maybe with a cold drink, enjoying the breeze, when you spot it. That tiny, jagged hole in your window screen. It starts small. A pinprick. But then, seemingly overnight, it’s a gaping maw inviting every mosquito, fly, and gnat in the neighborhood to come party in your living room. It’s annoying. It’s frustrating. And if you’re like most people, you’ve probably been ignoring it for months because calling a pro feels like overkill, and buying special tools seems like a waste of money for a five-minute job.
But here’s the secret nobody tells you: you don’t need special tools. You don’t need a degree in engineering. You don’t even need to take the whole window out sometimes. In 2026, with inflation still making us all pinch pennies, fixing things yourself isn’t just a hobby—it’s a necessity. And the best part? You can fix this eyesore in under fifteen minutes. Seriously. Set a timer. I’ll wait. By the time you’re done reading this, you’ll have the confidence to tackle it, and by the time you put down your phone, it’ll be done. Let’s get into it.
Gathering Your Arsenal (It’s Probably Already in Your Kitchen)
First things first. Stop what you’re doing and look around. Do you have a butter knife? A credit card? Maybe an old gift card gathering dust in a drawer? Perfect. That’s your "special tool." Most people think they need a spline roller, those little wheel things hardware stores try to sell you for ten bucks. Sure, they’re nice. But are they necessary? Absolutely not. A blunt edge works just fine, and it’s gentler on the new screen material too. You won’t accidentally tear the fresh mesh with a plastic card like you might with a metal tool if you’re clumsy.
Next, you need the screen itself. Head to your local hardware store or big-box retailer. Don’t overthink this. Grab a roll of fiberglass screen. It’s cheap, it’s easy to work with, and it doesn’t kink like aluminum does. Aluminum is stiff and fights back. Fiberglass is forgiving. It’s like the difference between working with wet clay versus dry wood. For a standard window, you’ll only need a foot or two, but since rolls are inexpensive, buy the whole thing. You’ll use it again. Trust me. Once you start fixing screens, you’ll notice them everywhere.
Oh, and check the spline. That’s the rubbery cord that holds the screen in the frame. If yours is cracked, brittle, or stretched out, grab a new pack. They cost pennies. Measure the old one if you can, but most residential windows use a standard size, usually around .125 or .160 inches. If you’re unsure, bring a piece of the old stuff to the store. The folks there can help you match it. It’s better to have it and not need it than to be stuck halfway through with the wrong size. Keep it simple. Don’t let the aisles overwhelm you. Just grab the basics and head home.
The Great Escape: Removing the Old Screen
Alright, let’s get dirty. Well, not really. But we need to get that old, torn mess out of there. First, lay your window frame flat on a sturdy surface. A table works great. If you can’t take the frame out, prop it up securely so it doesn’t wobble. Stability is key. You don’t want the frame sliding around while you’re prying things loose. Take a moment to breathe. Look at the frame. See that rubber cord tucked into the groove? That’s the spline. It’s the only thing holding your screen hostage.
Grab your butter knife or that old credit card. Gently lift one end of the spline. Don’t stab at it; coax it up. Once you have a little bit lifted, grab it with your fingers and pull. It should come out in one long, continuous strip. If it breaks, no worries. Just lift another section and keep going. As you pull the spline out, the old screen will loosen. Peel it away from the frame. It might be stuck a bit with dirt or old adhesive, but a little tug usually does the trick. Throw the old screen in the recycling bin if it’s fiberglass, or the trash if it’s aluminum. Be ruthless. That thing is history.
Now, look at the groove where the spline sat. Is it full of gunk? Dead bugs? Dirt? Clean it out. Use a dry toothbrush or a compressed air can if you have one. A clean groove ensures the new spline sits flush and holds tight. If you skip this step, your new screen might bulge or look uneven. It’s a small detail, but it makes a huge difference in the final look. Think of it like flossing before the dentist comes. Nobody sees it, but you’ll feel better knowing it’s done right. Take your time here. Rushing the cleanup leads to a sloppy install.
Cutting and Prepping the New Mesh
Now for the fun part. Unroll your new fiberglass screen on a flat surface. Lay the empty window frame on top of it. You want the screen to overlap the frame by at least two inches on all sides. This gives you plenty of material to grip and pull taut. Don’t cut it yet. Leave it big. It’s easier to trim excess than to deal with a piece that’s too short. If you cut it too small, you’re starting over. And nobody has time for that.
Check the weave of the screen. Fiberglass has a slight directionality, though it’s less critical than with aluminum. Try to keep the lines straight relative to the frame. It just looks nicer. If the screen is wrinkled, smooth it out with your hands. You want it flat and relaxed before you start installing. Wrinkles now become permanent bumps later. Once the frame is positioned, you can use a pair of scissors to roughly cut around the outside, leaving that two-inch border. Don’t worry about being precise. We’ll trim the edges perfectly once the screen is locked in place.
Here’s a pro tip that saves headaches: if the screen is curling up at the edges, let it sit flat for a few minutes. Fiberglass has memory. It wants to stay in the roll. Giving it a moment to relax makes it much more manageable. While you wait, double-check your spline length. Cut a new piece of spline that’s about an inch longer than the perimeter of your window. Why longer? Because you’ll need a little extra to tuck in at the end. It’s better to snip off the tail than to come up short. Preparation is half the battle, right? Or at least, it feels like it when you’re standing there with a knife.
The Tucking Technique: No Roller Required
This is the moment of truth. The part where most people panic. But don’t. You’ve got this. Start at one corner. Pick a side, any side. Press the screen into the groove with your thumb just to hold it in place. Then, take your spline and press it into the groove on top of the screen. Use your credit card or butter knife to push the spline down. You’re not hammering it; you’re guiding it. Push down firmly but evenly. You want the spline to seat deep into the channel, sandwiching the screen between the spline and the frame wall.
Work your way along that first side. Keep the screen taut, but don’t stretch it like a rubber band. Fiberglass stretches, but if you pull too hard, it will warp the frame or tear later. Just keep it snug. Imagine you’re tucking a bedsheet. Tight enough to be smooth, loose enough to breathe. As you push the spline in, use your free hand to smooth the screen outward from the groove. This prevents wrinkles from forming in the middle of the window. If you see a wrinkle, stop. Lift the spline slightly, adjust the screen, and try again. Patience pays off here.
When you reach the corner, don’t cut the spline. Just bend it gently around the corner and continue down the next side. Keeping the spline continuous adds strength to the corners, which are the weak points. Work your way around the entire frame. Side by side. Corner by corner. It’s rhythmic. Push, smooth, push, smooth. You’ll find a groove (pun intended). If the spline gets stuck, don’t force it. Back up a bit and try again. Sometimes twisting the spline slightly helps it slide into the channel. It’s a tactile process. Feel it. Don’t just look at it.
Trimming the Excess Like a Pro
Once the spline is fully seated all the way around, you’re almost done. Look at those floppy edges of screen hanging off the side. They look messy, right? Time to clean them up. Take a sharp utility knife or a razor blade. Be careful. These things are sharper than they look. Hold the blade flat against the outer edge of the frame. Not angled down into the groove, but flat against the metal or vinyl lip. Glide the knife along the edge, slicing off the excess screen.
The key here is a steady hand. Don’t saw at it. One smooth pass is ideal. If you hesitate, you might fray the edge. If you cut too deep, you might slice the spline. Practice on a scrap piece if you’re nervous. But honestly, it’s harder to mess up than you think. The frame acts as a guide. Just follow the line. Rotate the frame and do all four sides. You’ll be left with a clean, crisp edge that looks like it came from a factory. It’s satisfying. Really satisfying.
Inspect your work. Are there any loose threads? Snip them. Is the screen drum-tight? Give it a gentle tap. It should sound like a dull thud, not a flappy slap. If it’s loose in spots, you might need to re-seat the spline in that area. Use your card to push it deeper. If it’s too tight and bowing the frame, you pulled too hard. Unfortunately, that means starting over. But if you followed the advice about keeping it snug, not stretched, you’ll be fine. Most first-timers err on the side of too loose, which is easy to fix. Too tight is the real enemy.
Pop the screen back into the window. Does it fit? Good. Close the window. Look at it from the inside and the outside. Does it look straight? If it’s a bit wavy, don’t panic. Fiberglass settles. Over the next few days, the tension will equalize, and minor waves often disappear. If there’s a big bubble, you might have trapped air or dirt under the spline. You can carefully lift that section of spline, clean it, and re-press it. It’s not surgery, but it’s close.
What if the spline keeps popping out? This usually means the groove is dirty, or the spline is too small. Try a slightly larger diameter spline. Or, clean the groove again with more vigor. Sometimes, a little bit of silicone lubricant on the spline helps it slide in and stay put, but use it sparingly. Too much attracts dirt. What if you tore the screen while cutting? If it’s a small tear near the edge, you can tuck it under the spline. If it’s in the middle, well, that’s why we bought a whole roll. Start over. It’ll go faster the second time. I promise.
Keep the leftover screen and spline. Store them in a dry place. You’ll be the hero of the block when your neighbor’s cat shreds their patio door screen next summer. You’ll have the materials and the skills. And remember, perfection is the enemy of done. Your screen doesn’t need to be museum-quality. It just needs to keep the bugs out. If it functions and looks decent from three feet away, you’ve succeeded. Give yourself a pat on the back. You just saved fifty bucks and learned a life skill. Not bad for a Saturday afternoon.
So, there you have it. A new screen, installed in under fifteen minutes, with nothing but a butter knife and some determination. It’s not magic. It’s just mechanics. Simple, straightforward, and accessible to anyone willing to try. Next time you see a tear, don’t sigh. Smile. You know exactly what to do. And hey, if you mess up the first time? So what. Try again. It’s just a screen. It’s not brain surgery. But it sure feels good to get it right. Now, go enjoy that breeze. You’ve earned it.