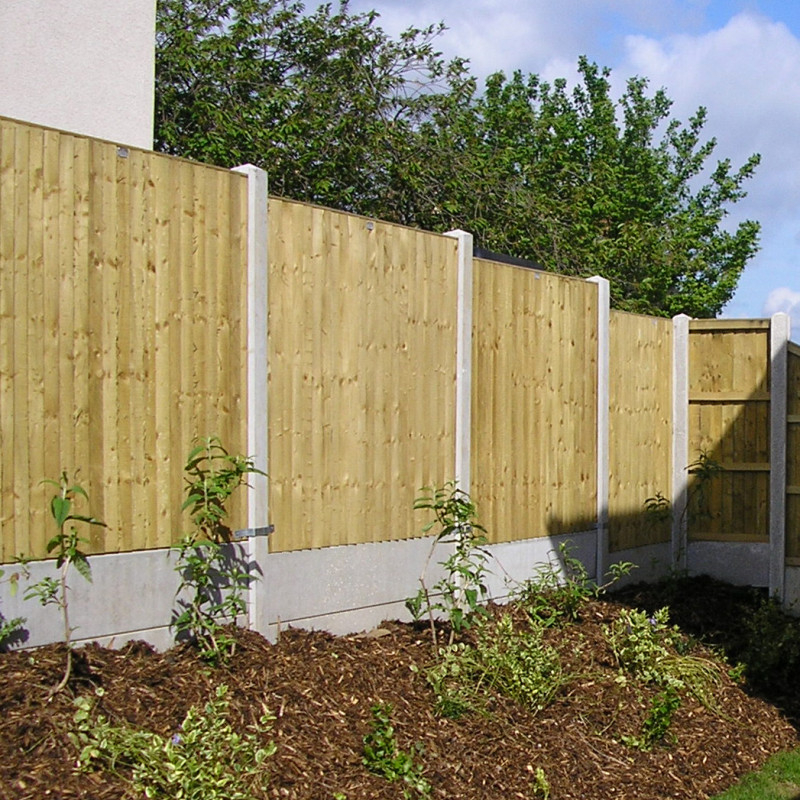
You know that sinking feeling. You walk out to check the mail, glance over at the backyard, and see it. That one post. It’s not just leaning; it’s practically waving at you. Maybe the wood is soft and spongy near the ground, or maybe the whole section of fencing looks like it had a rough night and forgot to stand up straight. It’s annoying. It’s ugly. And frankly, it feels like a waste of money.
We’ve all been there. You spend a weekend installing a nice privacy fence, thinking you’re done with it for ten years. Then, two winters later, things start to shift. Why does this happen? Is it bad luck? Bad wood? Or is there something fundamental we’re missing about how we put these things in the ground?
The truth is, a leaning or rotting post isn’t usually an accident. It’s a symptom. It tells you that water, soil, or gravity won the battle against your construction. But here is the good news: you don’t have to accept it. There is a way to build fences that stay upright and solid, year after year. It’s not about buying the most expensive timber. It’s about understanding what happens underground. Let’s dig into the real secret to fence posts that never lean or rot.
The Hidden Enemy: Water and Soil Movement
Most people think a fence post fails because the wood is weak. They blame the lumber yard. But in 2026, even with treated wood options being better than ever, the primary culprit remains the same as it was fifty years ago: water. Specifically, water trapped around the base of the post. When water sits against wood, even pressure-treated wood, it eventually finds a way in. Once inside, it causes rot. Rot makes the wood soft. Soft wood can’t hold the weight of the fence. The post leans.
But water isn’t the only villain. Soil movement plays a huge role too. If you live in an area with clay soil, you know it expands when wet and shrinks when dry. This constant heaving pushes posts out of alignment. Sandy soil drains well but doesn’t hold tight, allowing posts to wiggle loose over time. Professionals know that leaning posts are rarely just about the post itself. They are about the environment surrounding it. Shallow footings exacerbate this. If the hole isn’t deep enough, frost heave in colder climates will lift the post right out of the ground, tilting it like a drunk sailor.
So, the first step to a permanent fix isn’t buying stronger wood. It’s managing the water and the soil. You have to create a barrier between the moisture in the earth and the structural integrity of your post. Ignoring this is like building a house on a swamp and wondering why the floorboards warp. It’s inevitable. By recognizing that the ground is active and hostile, you can start planning defenses that actually work.
Depth Matters More Than You Think
Let’s talk about holes. Not the kind you dig for gardening, but the specific geometry of a post hole. A common mistake DIYers make is digging a hole that is too shallow or too narrow. They toss in a bag of concrete, stick the post in, and call it a day. This is a recipe for disaster. The general rule of thumb has always been to bury one-third of the post’s length. For a six-foot above-ground fence, that means two feet underground. But in many regions, especially where frost lines are deep, two feet isn’t enough.
If the bottom of your post is above the frost line, the freezing ground will push it up every winter. When it thaws, it doesn’t settle back perfectly. Over a few years, this ratcheting effect lifts and tilts the post. In 2026, building codes in many northern states require footings to go deeper, often four feet or more. Check your local regulations. But beyond code, think about stability. A deeper hole provides more surface area for the concrete or gravel to grip the earth. It anchors the post against wind loads and lateral pressure from the fence panels.
Also, consider the width. A narrow hole filled with concrete creates a "concrete cookie" at the bottom. If the soil shifts, that cookie can tilt. A wider hole, or one with a bell-bottom shape (wider at the base), resists this tipping motion. It’s like the difference between standing on your toes versus planting your feet wide apart. The wider base distributes the load and keeps things steady. Don’t skimp on the digging. It’s the hardest part of the job, but it’s also the most important. Your back might hate you today, but your fence will thank you in five years.
The Concrete Debate and Gravel Alternatives
Here is where things get controversial. For decades, the standard advice was to encase the entire bottom of the post in concrete. It seems logical, right? Concrete is hard. Hard things don’t move. But there’s a flaw in this logic. Concrete traps water. If you pour concrete around a wooden post, water can seep down the sides of the post and pool at the bottom of the concrete cup. Since concrete doesn’t drain, that water sits there, rotting the post from the inside out. Eventually, the post rots through, leaving a hollow shell in a block of concrete. The fence falls over, and you’re stuck chipping out old concrete to fix it.
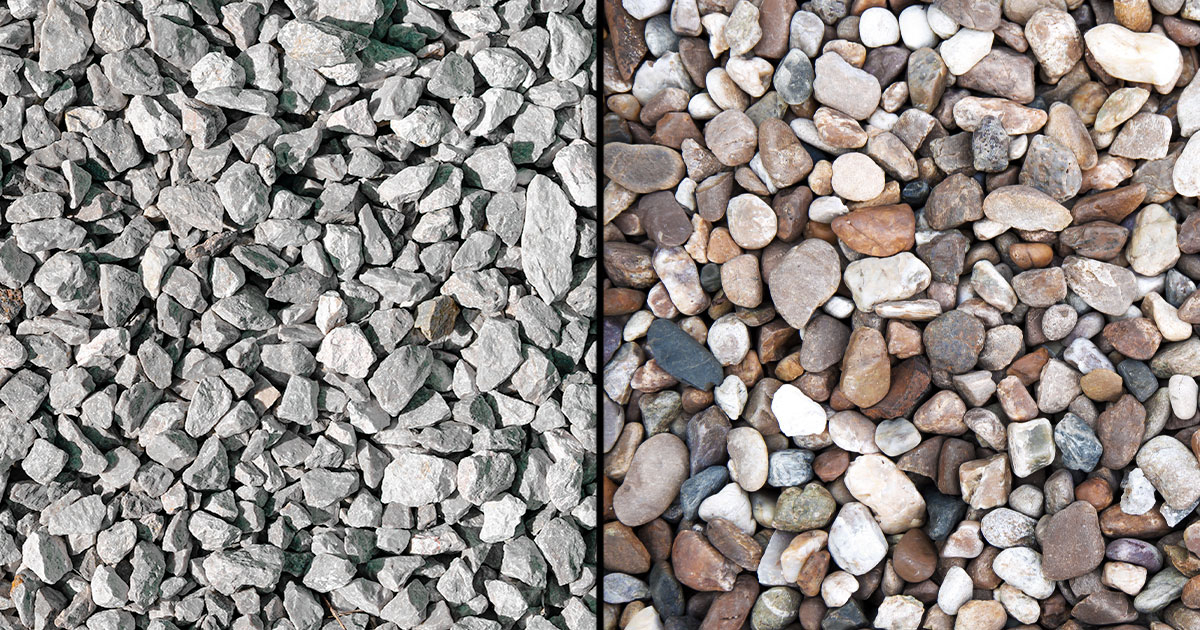
Many experts now recommend a different approach: using gravel or crushed stone instead of concrete for the base. You dig the hole, add six inches of gravel for drainage, set the post, and then fill the rest with more gravel, tamping it down tightly. This allows water to drain away from the wood. No standing water means no rot. Plus, gravel is flexible. It moves slightly with the soil, reducing the stress on the post during freeze-thaw cycles. It’s easier to remove if you ever need to replace the post, too.
However, concrete still has its place. If you’re building a heavy gate or a fence in very loose, sandy soil, gravel might not provide enough lateral stability. In those cases, use concrete, but do it right. Don’t fill the hole to the top. Leave a gap of a few inches below the grass line. Fill that gap with gravel or slope the concrete away from the post so water runs off, not toward the wood. Some pros even use a concrete collar at the surface while keeping the bottom of the post surrounded by drainage stone. It’s about hybrid solutions. Use the right material for the right job, and always prioritize drainage.
Material Selection: Beyond Standard Pine
Not all wood is created equal. If you’re buying standard white pine and expecting it to last twenty years in the ground, you’re setting yourself up for failure. Pressure-treated lumber is the minimum standard. Look for tags that say "Ground Contact" or "UC4B." These woods are infused with chemicals that resist decay and insects. But even treated wood has limits. The cut ends of the posts are vulnerable. When you cut a post to size, you expose fresh wood that hasn’t been treated. If you stick that raw end in the ground, it will rot quickly.
To prevent this, apply a copper naphthenate brush-on preservative to any cut ends before installation. It’s a simple step that adds years to the life of your post. Also, consider the species. Cedar and redwood have natural oils that resist rot, making them excellent choices for fence posts, though they are more expensive. In recent years, composite and vinyl posts have gained popularity. They don’t rot, period. They are impervious to water and insects. The downside? They can be brittle in extreme cold and may not have the same structural strength as thick wooden posts for heavy fences.
Another option gaining traction in 2026 is steel post anchors. Instead of putting wood in the ground, you drive a metal spike into the earth and bolt the wooden post to it. The wood stays above ground, completely dry. No rot. No leaning caused by underground decay. These systems are incredibly durable and easy to install. They cost more upfront, but when you factor in the zero maintenance and infinite lifespan, they often pay for themselves. It’s worth considering if you hate the idea of digging huge holes or dealing with concrete.
Installation Techniques That Lock Posts in Place
How you put the post in the hole matters just as much as what you put in the hole. One critical technique is ensuring the post is perfectly plumb (vertical) before the filling material sets. Use a level on two adjacent sides. Have a helper hold it steady, or brace it with temporary 2x4s screwed into the post and staked into the ground. If the post is even slightly off-kilter when the concrete cures or the gravel is tamped, the fence will lean from day one. Gravity is patient; it will pull that slight angle into a major slump over time.
Another pro tip is to cap the top of the post. Water enters wood from the top just as easily as from the bottom. Rain sits on the flat cut end, soaks in, and travels down the grain. Install a metal post cap or a sloped wooden cap to shed water. It’s a small detail, but it prevents the top of the post from splitting and rotting, which can weaken the connection to the fence rails. Also, ensure there is a gap between the bottom of the fence pickets and the ground. If the boards touch the dirt, they wick moisture up into the posts and rot quickly. Keep them at least two inches off the ground.
For extra stability, especially in windy areas, consider adding bracing. Diagonal braces from the post to a deadman anchor (a buried block of concrete or wood) can prevent leaning under high wind loads. This is common for corner posts and gate posts, which take the most stress. Don’t rely solely on the vertical strength of the post. Distribute the force. Think of it like a tent; the poles stay up because of the tension and support lines, not just because they are stiff. Apply that same logic to your fence structure.
Even the best-installed fence needs a little love. Maintenance isn’t about fixing broken things; it’s about preventing them from breaking. Once a year, walk the perimeter of your fence. Look for signs of trouble. Are there gaps between the post and the ground? Has the soil eroded away from the base? Is the wood looking gray and dry? Catching these issues early saves huge headaches later. If you see soil erosion, add more dirt or mulch to redirect water away from the post base. If the wood is drying out, apply a water-repellent stain or sealant.
Pay special attention to gate posts. Gates swing open and shut hundreds of times a year. This constant motion loosens hardware and stresses the post. Check the hinges and latches. Tighten any loose screws. If a gate starts to sag, it’s pulling the post with it. Adjust the hinges or install an anti-sag kit immediately. Don’t wait for the post to lean. Also, keep vegetation clear around the posts. Vines and bushes trap moisture against the wood, creating a humid microclimate that accelerates rot. Trim back plants to allow air circulation.
In 2026, smart home tech even offers solutions for fence monitoring, though that might be overkill for most. Simple visual checks are usually enough. The goal is to stay ahead of the damage. A small patch of rot can be scraped out and treated with epoxy wood filler if caught early. A slight lean can be corrected with a come-along tool and some new gravel before it becomes a structural failure. Treat your fence like a living part of your home. It protects your space, your pets, and your privacy. Giving it a little attention ensures it keeps doing its job without leaning or rotting away.
So, there you have it. The secret isn’t a magic product or a single trick. It’s a combination of smart design, proper materials, and respect for the forces of nature. Dig deep. Drain well. Choose the right wood. And keep an eye on things. By addressing the root causes—water, soil, and depth—you can build a fence that stands tall for decades. No more wonky posts. No more spongy wood. Just a sturdy, straight fence that makes your yard look great and gives you peace of mind. It takes a bit more effort upfront, but isn’t that better than spending every other summer fixing the same old problems? I think so.