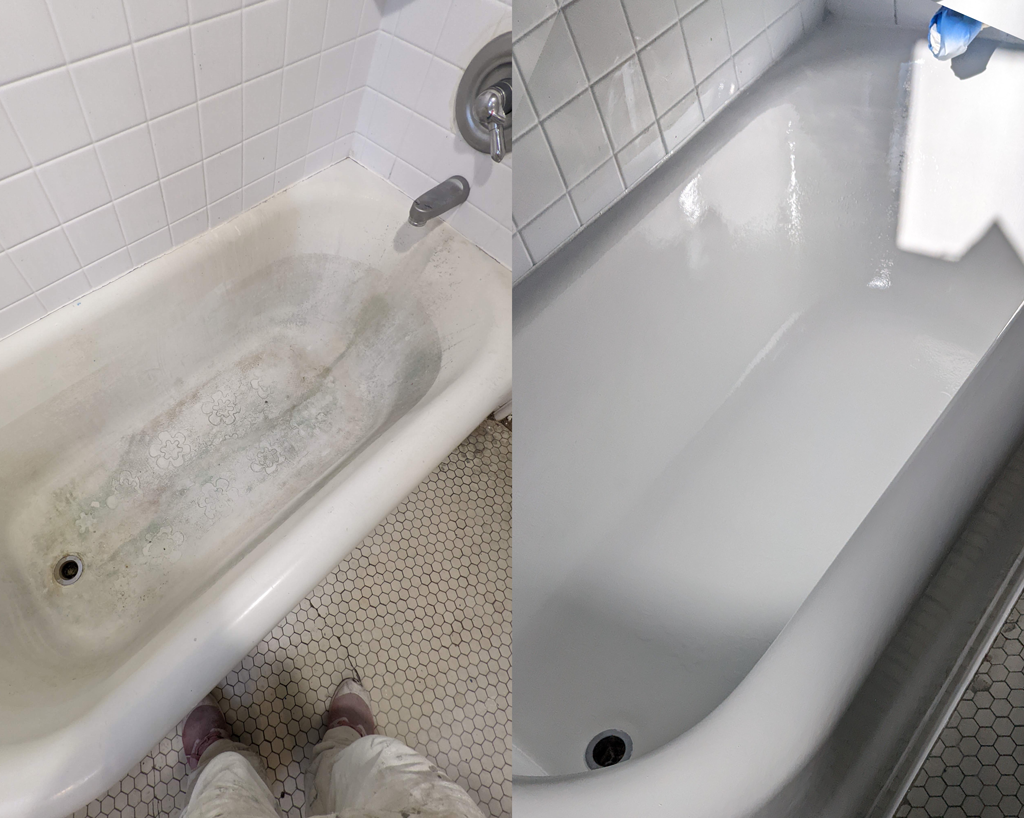
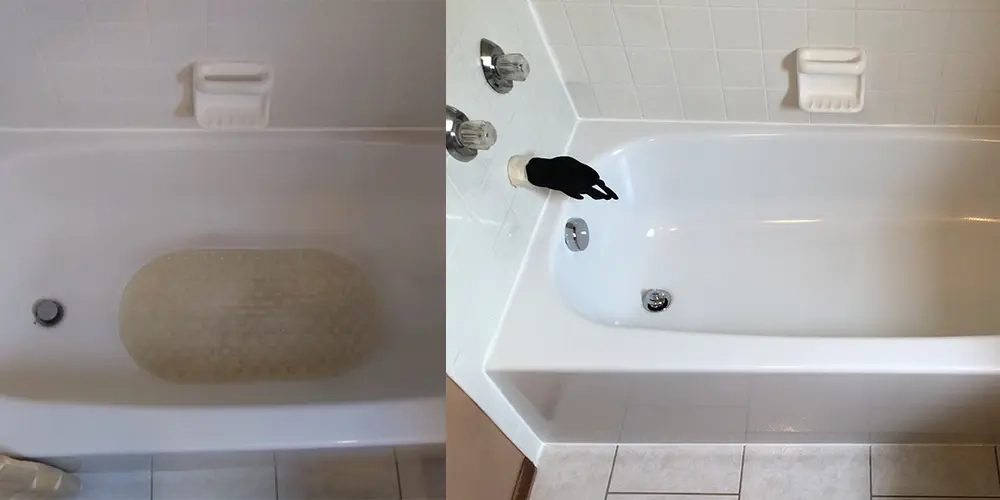
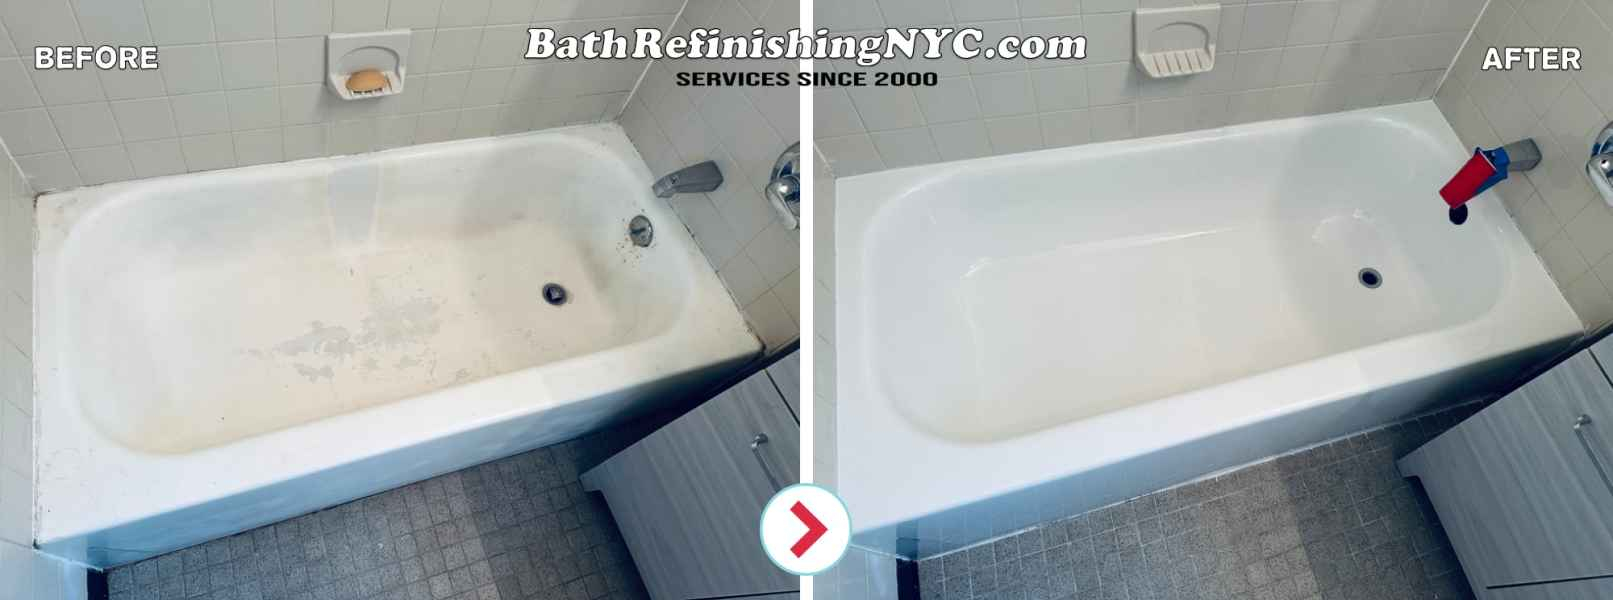
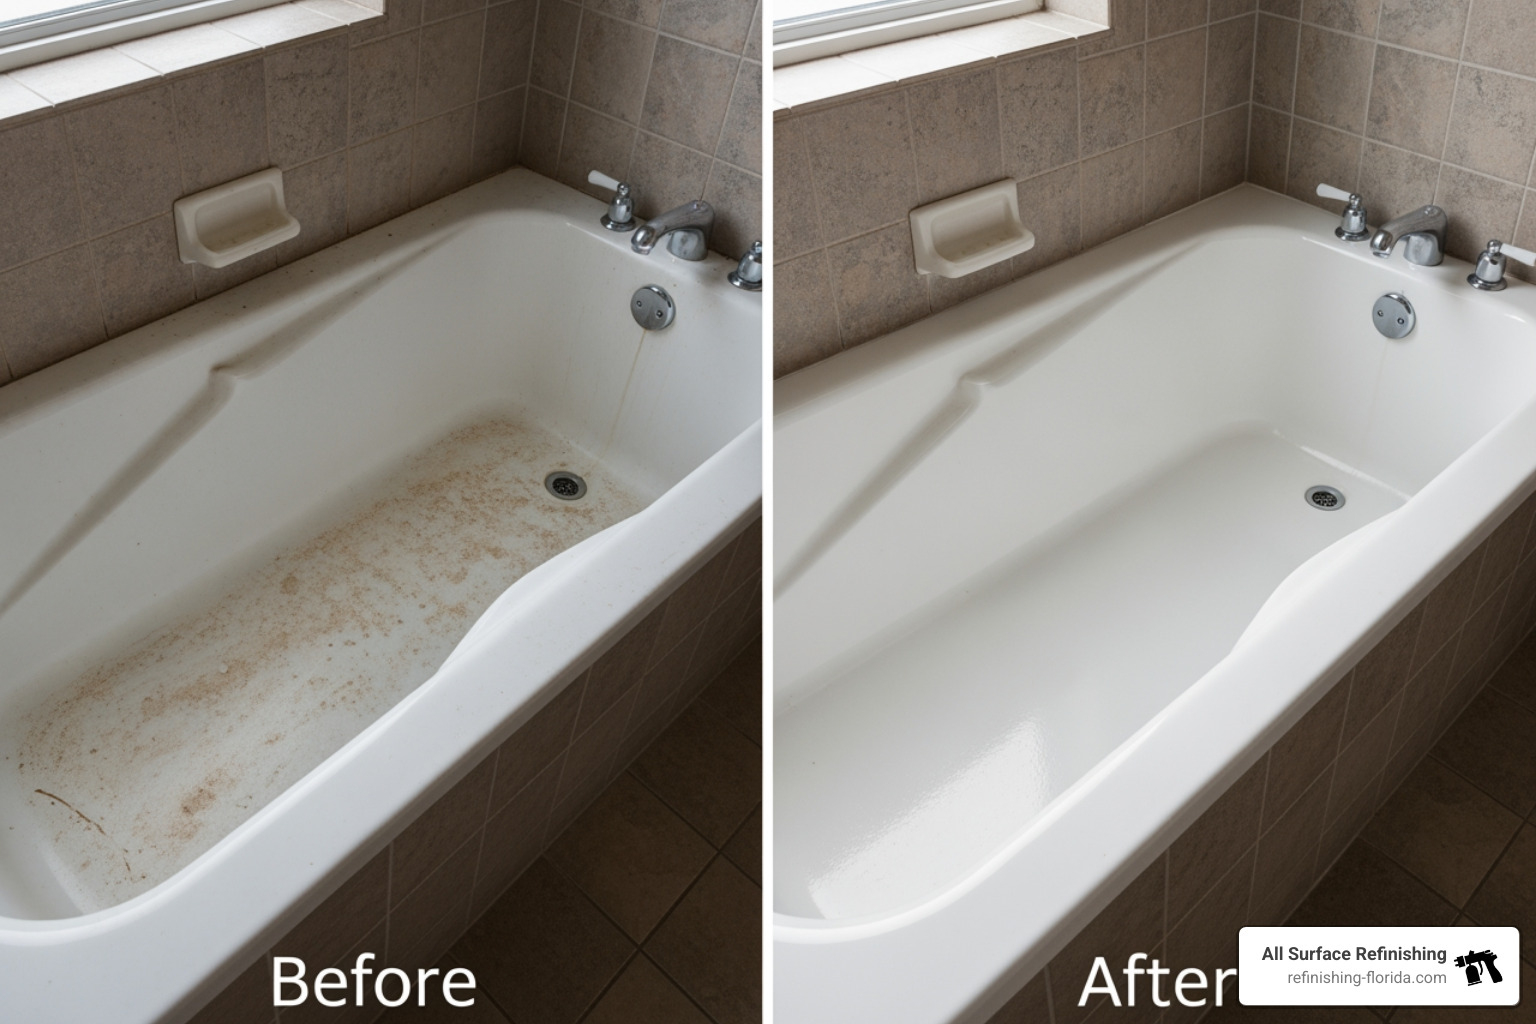
So, you’ve got a bathtub that’s seen better days. Maybe it’s chipped, stained, or just an eyesore from the 90s. You look at the price tag for a new tub installation and wince. Then you see those DIY epoxy kits online. They promise a brand-new look for a fraction of the cost. It sounds like a dream, right? But before you crack open that can of resin, we need to have a serious chat about safety. Because while the result can be stunning, the process involves some seriously potent chemicals.
I’m not here to scare you off. Honestly, refinishing a tub is a great project if you’re prepared. But "prepared" means more than just buying the kit. It means understanding what you’re breathing in and what you’re touching. In 2026, we know more than ever about the risks of volatile organic compounds (VOCs) and skin absorption. Ignoring these isn’t just risky; it’s dangerous. Let’s walk through how to do this right, so you end up with a beautiful tub and healthy lungs.
The Invisible Danger: Understanding Chemical Fumes
Let’s get real for a second. Those fumes aren’t just "paint smell." Most DIY bathtub refinishing kits use two-part epoxy or urethane systems. When you mix them, they release hazardous vapors. We’re talking about chemicals that can irritate your eyes, nose, and throat immediately. But the scary part is the long-term stuff. Prolonged exposure without proper protection can lead to respiratory issues, headaches, and even neurological problems. It’s not something to take lightly.
You might think, "It’s just one bathroom." But bathrooms are often small, enclosed spaces with poor air circulation. That means those fumes concentrate quickly. According to recent insights from industry pros, the concentration of these chemicals can reach unsafe levels in minutes if you aren’t careful. It’s not just about feeling dizzy; it’s about protecting your body from absorbing toxins. So, step one is respecting the chemistry. These aren’t water-based latex paints. They’re industrial-strength coatings that demand industrial-strength respect.
Don’t let the marketing on the box fool you into thinking it’s as simple as painting a wall. The stakes are higher. If you skip the safety steps, you’re gambling with your health. And honestly? It’s not worth it. Taking the time to understand what’s in that kit is the first step toward a safe project. Read the label. Seriously. Read every word. It tells you exactly what you’re dealing with.
Ventilation Is Not Optional, It’s Survival
Okay, so we know the fumes are bad. How do we keep them from killing us? Ventilation. This is the single most important part of the entire process. If you only do one thing right, make sure it’s this. You need to create a cross-breeze that pulls fresh air in and pushes toxic air out. Opening a window isn’t enough if it’s the only one. You need flow.
Set up a box fan in the window blowing out. Yes, out. You want to suck the fumes out of the room. Then, open the door to the bathroom and another window or door in the house to let fresh air in. This creates a path for the air to travel. Keep that fan running the entire time you’re working, and leave it on for at least 24 hours after you’re done. Some experts even recommend keeping it going for 48 hours to be safe. Better safe than sorry, right?
If you don’t have a window in your bathroom, stop. Just stop. Do not attempt this project unless you can set up a ducted exhaust system that vents directly outside. Recirculating fans or bathroom exhaust vents that just push air into the attic or walls are useless here. They’ll just spread the chemicals throughout your home. In 2026, with tighter home insulation standards, trapping fumes inside is easier than ever. Don’t let your house become a gas chamber. If the airflow isn’t strong, wait for a breezier day or reconsider the project.
Gear Up: Your Personal Protective Equipment Checklist
Now let’s talk about what goes on your body. You wouldn’t jump into a pool of chemicals, so don’t let them touch your skin. Many DIYers underestimate how easily these substances absorb through the skin. It’s not just about getting it on your hands; it’s about splashes, drips, and even vapor contact. You need a full suit of armor. And I mean real gear, not just old clothes.
Start with a respirator. Not a dust mask. Not a surgical mask. A NIOSH-approved organic vapor respirator with cartridges rated for VOCs. Look for the pink or black cartridges, depending on the brand. Make sure it fits snugly against your face. If you have facial hair, it won’t seal properly, and you’re basically breathing unprotected. Next, gloves. Nitrile gloves are good, but for extended exposure, you want heavy-duty chemical-resistant gloves. Tape the cuffs of your gloves to your sleeves so nothing gets up your arms.
Don’t forget your eyes. Splash goggles are a must. Regular glasses won’t cut it. And wear disposable coveralls or old clothes you’re willing to throw away. Epoxy doesn’t wash out. Once it’s on, it’s on. Also, consider a head covering. Hair traps fumes and dust. By the end of the job, you want to be able to peel off everything contaminated and shower immediately. It feels extreme, but trust me, your skin will thank you. Tub refinishers avoid cheap kits partly because they know the risk of skin contact is high without proper suits. Don’t be the person who learns this the hard way.
Prep Work: Cleaning Without Creating Hazards
Before you even think about mixing epoxy, you have to prep the surface. This usually involves heavy-duty cleaners, acids, or abrasives to strip away soap scum and etch the surface. Here’s the catch: mixing cleaning chemicals with epoxy fumes is a recipe for disaster. Never mix bleach with ammonia or other cleaners. Stick to the recommended prep products in your kit, and use them one at a time. Rinse thoroughly between steps.
Sanding is another big part of prep. Sanding creates dust. Dust from old tubs can contain mold, mildew, or even lead if your home is older. Wear your respirator during sanding too. Use wet sanding methods if possible to keep the dust down. Wipe the tub clean with a tack cloth afterward to remove every speck. Any leftover dust will ruin the finish, but inhaling it is worse.
Also, clear the area. Remove towels, rugs, shampoo bottles, and anything else that can absorb fumes. Cover the floor with drop cloths, but tape them down so you don’t trip. Tripping while holding a can of toxic goo is a nightmare scenario. Take your time here. Rushing prep leads to mistakes, and mistakes lead to rework, which means more exposure to chemicals. Slow and steady wins the race, especially when health is on the line.
Mixing and Application: Precision Prevents Accidents
When it’s finally time to mix the epoxy, pay attention. Most kits are two-part systems: resin and hardener. You have to mix them thoroughly, but gently. Whipping air into the mixture creates bubbles, which look terrible. But more importantly, follow the timing instructions exactly. Once mixed, the clock starts ticking. You have a limited "pot life" before the epoxy starts to harden in the bucket.
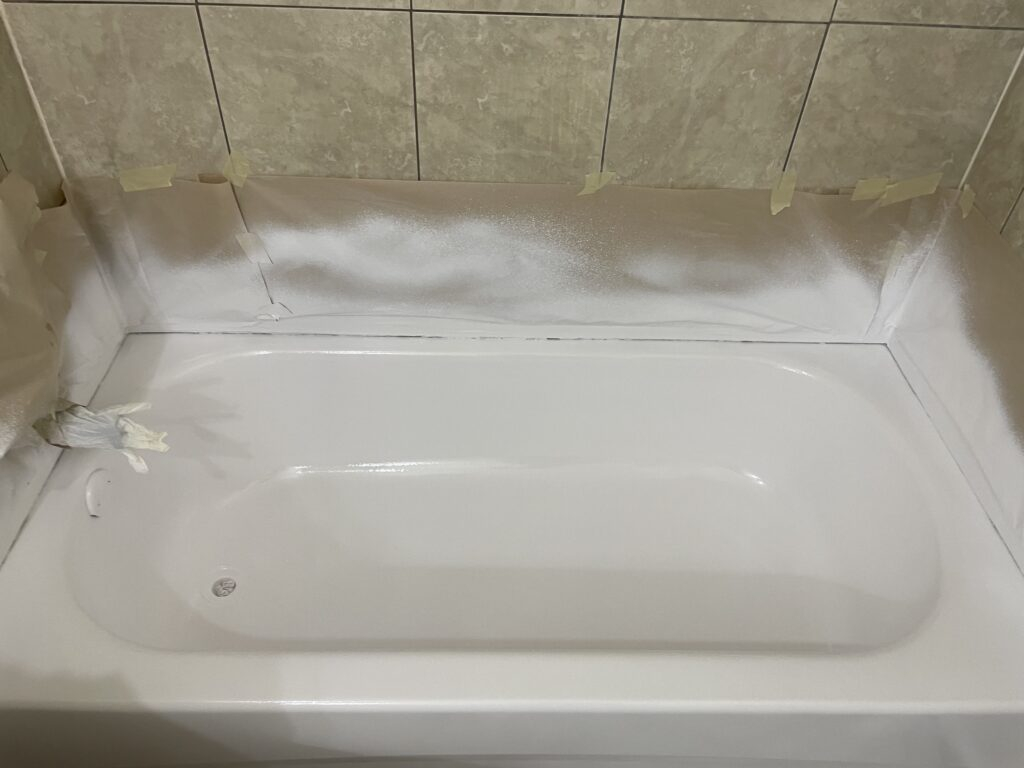
Work in small sections if you can. Don’t try to coat the whole tub at once if you’re a beginner. Apply thin, even coats. Thick coats run, drip, and cure improperly. They also release more fumes as they cure. Use a foam roller or a sprayer designed for epoxies. If you’re spraying, be extra careful about overspray. It gets everywhere. Mask off walls, fixtures, and floors with plastic sheeting and painter’s tape.
Keep a rag and some acetone or the recommended solvent nearby for immediate cleanup of spills. But use solvents sparingly and with extreme caution. They are flammable and add more VOCs to the air. If you spill a lot, ventilate even more aggressively. And never eat, drink, or smoke in the work area. It sounds obvious, but when you’re tired and focused, you might forget. Keep water and snacks outside the bathroom. Your hands might look clean, but microscopic chemicals linger.
You’ve applied the last coat. You’re exhausted. You want to collapse. But you’re not done. Cleanup is critical. Dispose of used rollers, brushes, and gloves in a sealed plastic bag. Check your local regulations for hazardous waste disposal. Don’t just toss them in the regular trash if the label says otherwise. Clean your tools with the recommended solvent, again, in a well-ventilated area.
Now, the waiting game. The tub needs to cure. This isn’t just drying; it’s a chemical reaction. During this time, it’s still off-gassing. Keep the bathroom door closed and the fan running. Keep kids and pets out of the house if possible, or at least far away from the bathroom. The smell might fade after a day, but the chemicals are still active. Most kits require 24 to 72 hours before you can use the tub. Respect this timeline. Using it too soon ruins the finish and exposes you to uncured chemicals.
After the cure time, wash the tub gently with mild soap and water before your first real bath. This removes any residual surface contaminants. Open all the windows in the house to flush out any lingering odors. It might take a few days for the smell to completely disappear. That’s normal. But if it smells strong or gives you a headache, keep ventilating. Your health is more important than a quick shower.
So, there you have it. Refinishing your bathtub with epoxy is doable, but it demands respect. It’s not a casual weekend hobby; it’s a chemical handling operation. By prioritizing ventilation, wearing the right gear, and following the steps meticulously, you can transform your bathroom safely. Don’t cut corners. Don’t skip the respirator. And don’t rush. A beautiful tub is great, but a healthy you is better. Take it slow, stay safe, and enjoy your refreshed space.