You know that feeling when you step out of a hot shower and the mirror is completely fogged up? It’s annoying, sure. But have you ever noticed that the fog stays there for an hour? Or maybe you’ve spotted a weird black spot creeping along the ceiling corner near the fan. That’s not just dirt. That’s your home trying to tell you something is wrong. And usually, it’s screaming about moisture.
We tend to think of bathroom fans as those noisy boxes in the ceiling that we ignore until they rattle like a dying engine. But in 2026, with homes being built tighter than ever to save energy, those little fans are the lungs of your house. If they aren’t breathing right, your home gets sick. Mold doesn’t care about your decor. It eats drywall for breakfast. So, let’s talk about how to fix it. Not with complex engineering jargon, but with real talk about air, ducts, and getting that steam where it belongs: outside.
The Myth of the Lazy Duct Run
Here is the biggest lie in home improvement: "It doesn’t matter how the duct runs, as long as it goes outside." Wrong. It matters a huge amount. Think of air like water flowing through a hose. If you kink the hose, the water stops. If you twist it into a pretzel, the pressure drops. Air is the same way. Every bend, every elbow, and every foot of flexible vinyl tubing kills the power of your fan.
Most people buy a decent fan—maybe one rated for 80 or 100 CFM (cubic feet per minute)—and then choke it with a 15-foot snake of crinkly silver ductwork full of sharp turns. By the time the air reaches the outside, the fan is moving maybe 20 CFM. It’s barely whispering. It’s not pulling moisture. It’s just making noise. This is why your bathroom still feels swampy after a shower. The air isn’t leaving; it’s just circulating around the attic or getting stuck in the bends.
The goal is simplicity. A straight shot is the gold standard. If you can run the duct directly out the back wall or straight up through the roof with minimal turns, do it. Every 90-degree turn you add is like adding 20 feet of straight duct in terms of resistance. So, if you have a choice between a longer straight path and a shorter path with two elbows, pick the straight path. Your fan will thank you, and so will your lungs.
Why Attics Are Not Ventilation Destinations
Let’s get this out of the way immediately because it is the most common mistake seen in homes built before 2020 and still happening today. You cannot vent your bathroom fan into the attic. Period. Full stop. I don’t care if you have "good attic ventilation" with soffit vents and ridge caps. Dumping warm, moist bathroom air into a cold attic space is a recipe for disaster.
When that warm, humid air hits the cold underside of your roof deck, it condenses. Just like water droplets on a cold soda can. This water drips onto your insulation, making it wet and useless. It rots the wood rafters. It creates the perfect buffet for mold spores. I’ve seen attics where the plywood sheathing was black with mold because someone thought dumping steam up there was fine. It’s not. It’s structural damage waiting to happen.
The air must go outside the thermal envelope of your house. This means through a side wall, through the roof, or through a gable end. If you see a flexible duct just ending in a pile in the attic, pull it down. Reroute it. It’s not optional. In many places, building codes in 2026 are stricter than ever about this because insurers are tired of paying for rot caused by lazy installation. Keep it outside. Keep your home safe.
Choosing the Right Path: Roof vs. Wall
So, where should the air go? You generally have two main options: up through the roof or out through a side wall. Both work, but they have different quirks. Venting through the roof is classic. It uses the natural tendency of hot air to rise. However, it requires flashing. Flashing is the metal or rubber skirt that seals the hole in your shingles. If that flashing fails—and it often does after 10 or 15 years—you get a leak. Water comes in. Not good.
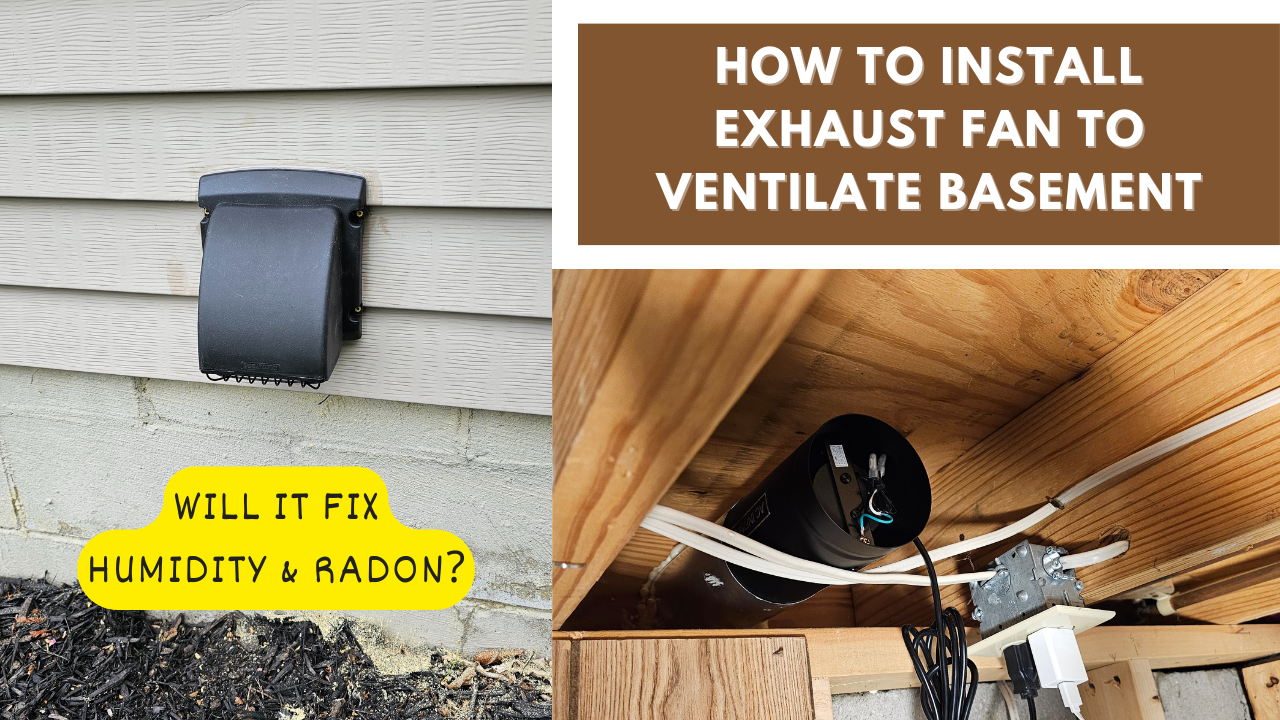
Venting through a side wall is often easier for DIYers and sometimes more efficient. Why? Because the duct run is usually shorter. You punch a hole through the siding, install a wall cap with a backdraft damper, and you’re done. There’s no roof penetration to worry about. The key here is location. Don’t put the vent right under a soffit or near a window. You want the moist air to disperse away from the house, not get sucked back in through an intake vent or an open window.
Also, watch out for the soffit trap. Some people think venting into the soffit (the underside of the eaves) is okay because it’s "outside." It’s not. As noted by experts at K2-Builders, venting into the soffit can lead moisture back into the attic space if the soffit vents are blocked or if the wind pressure pushes air back in. Always use a proper wall cap or roof jack that directs air away from the structure. Keep it clear, keep it direct.
The Hardware: Duct Types Matter More Than You Think
Not all ducts are created equal. In fact, most of what you find at the big box store is terrible for airflow. Stay away from the white plastic flexible vinyl duct. It’s ribbed on the inside. Those ribs create turbulence. Turbulence slows down air. It’s also prone to sagging, which creates low spots where condensation can pool. If that water freezes in winter, it blocks the flow entirely. It’s cheap, but it’s false economy.
Instead, use rigid metal ducting. Galvanized steel or aluminum rigid pipes are smooth on the inside. Air slides through them with very little resistance. They don’t sag. They don’t crush easily. If you absolutely must use flexible duct because you need to navigate a tricky joist bay, use the semi-rigid aluminum type. It’s smoother than the plastic stuff and holds its shape better. But even then, keep it as straight and taut as possible. Pull it tight. Tape the joints with foil tape, not duct tape. Duct tape dries out and falls off in a few years. Foil tape lasts forever.
And check the diameter. Most modern fans require 4-inch ducts, but some high-performance units need 6-inch. Using a 4-inch duct on a fan designed for 6-inch is like trying to breathe through a coffee stirrer. You’ll strain the motor and move very little air. Check the manufacturer’s specs. Match the duct size to the fan outlet. It seems obvious, but you’d be surprised how often this gets messed up during renovations.
Sealing the Deal: Air Tightness and Insulation
In 2026, energy efficiency is huge. We seal our homes tight to keep heat in. But if your bathroom fan duct leaks, you’re losing conditioned air. Imagine your fan pulling air from the bathroom, but half of it escapes through a loose joint in the attic before it gets outside. That’s wasted energy. Worse, if that leaking air is warm and hits cold attic air, you get condensation inside the duct itself.
Seal every single joint. Use UL-listed foil tape or mastic sealant. Wrap the connections where the duct meets the fan housing and where it meets the exterior vent cap. Make it airtight. While you’re up there, look at the duct itself. If it runs through an unconditioned attic in a cold climate, insulate it. You can buy pre-insulated flexible duct, or you can wrap rigid metal duct with fiberglass insulation. This keeps the air inside the duct warm until it exits, preventing condensation from forming inside the pipe.
This step is often skipped. People install the fan, connect the duct, and call it a day. But taking that extra hour to seal and insulate ensures the system works as intended for decades. It prevents ice blocks in winter and keeps the airflow strong. It’s the difference between a fan that works and a fan that just makes noise. Do it right once, and you won’t have to think about it again.
You bought the right fan. You ran straight, rigid ducts. You sealed every joint. You’re done, right? Nope. Fans get dirty. Dust, lint, and hair clog the impeller blades. A clogged fan can lose up to 50% of its efficiency. That means your perfectly installed system is now choking on dust bunnies. In 2026, smart fans with humidity sensors are popular, but they still need cleaning.
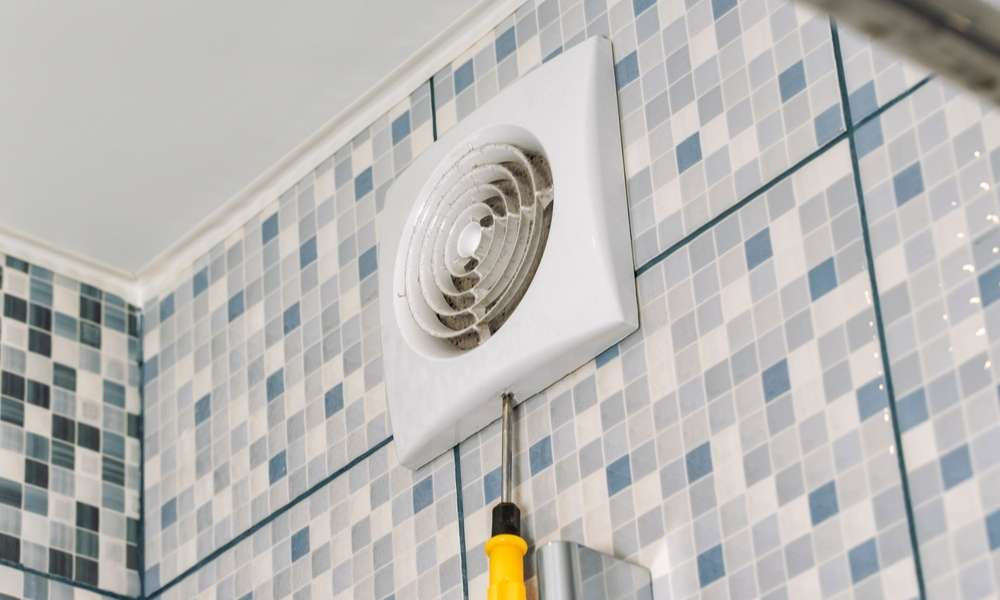
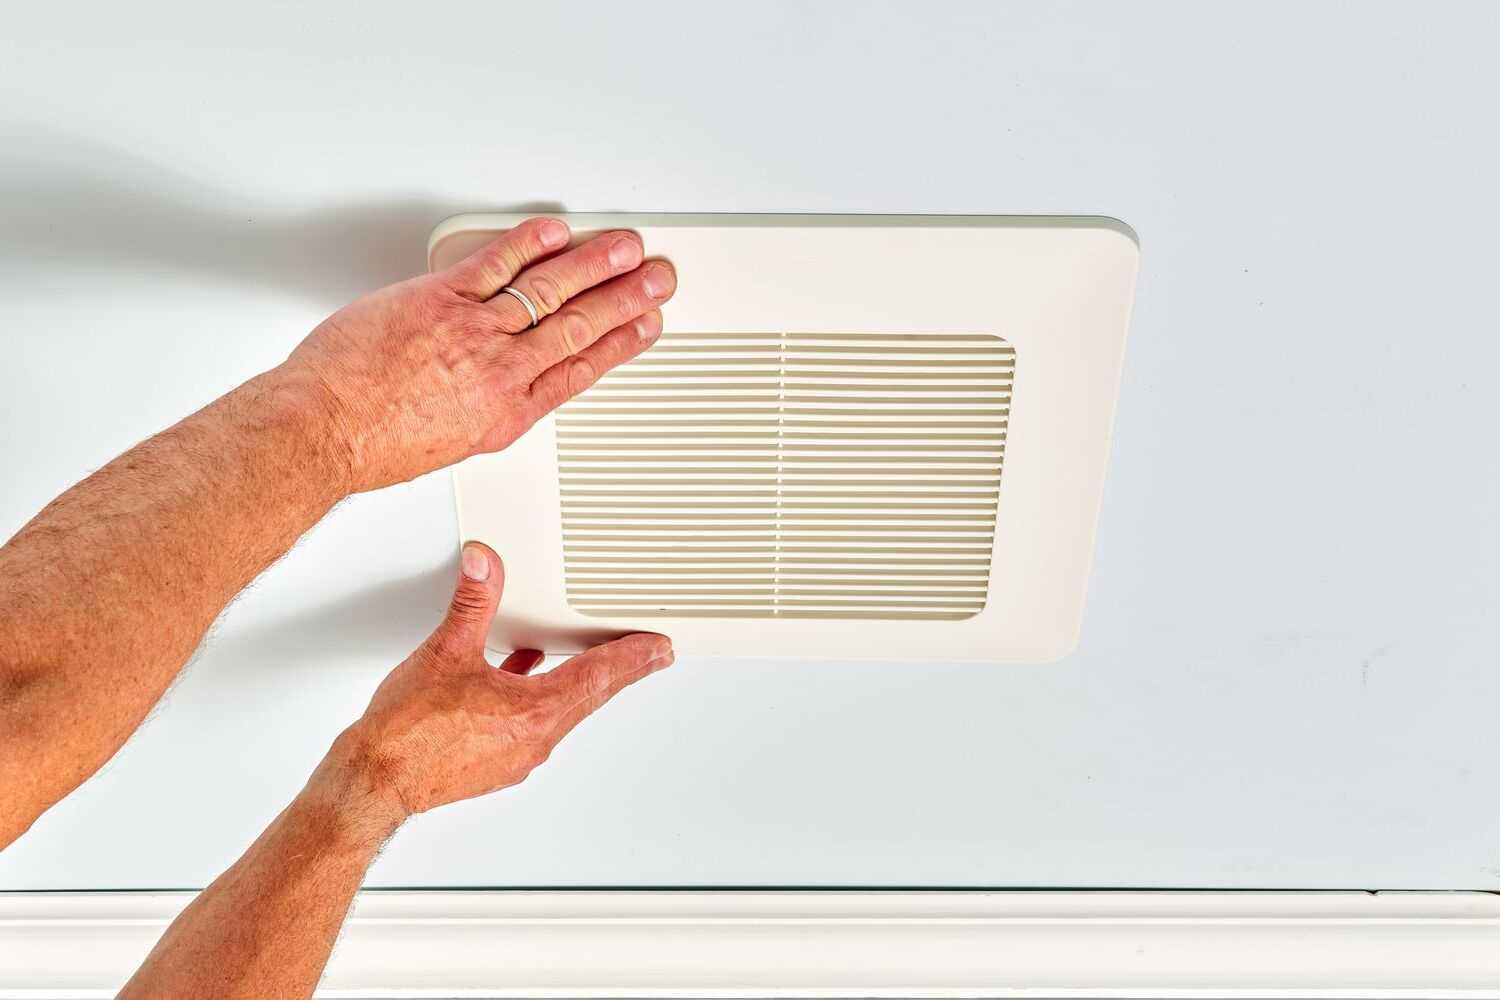
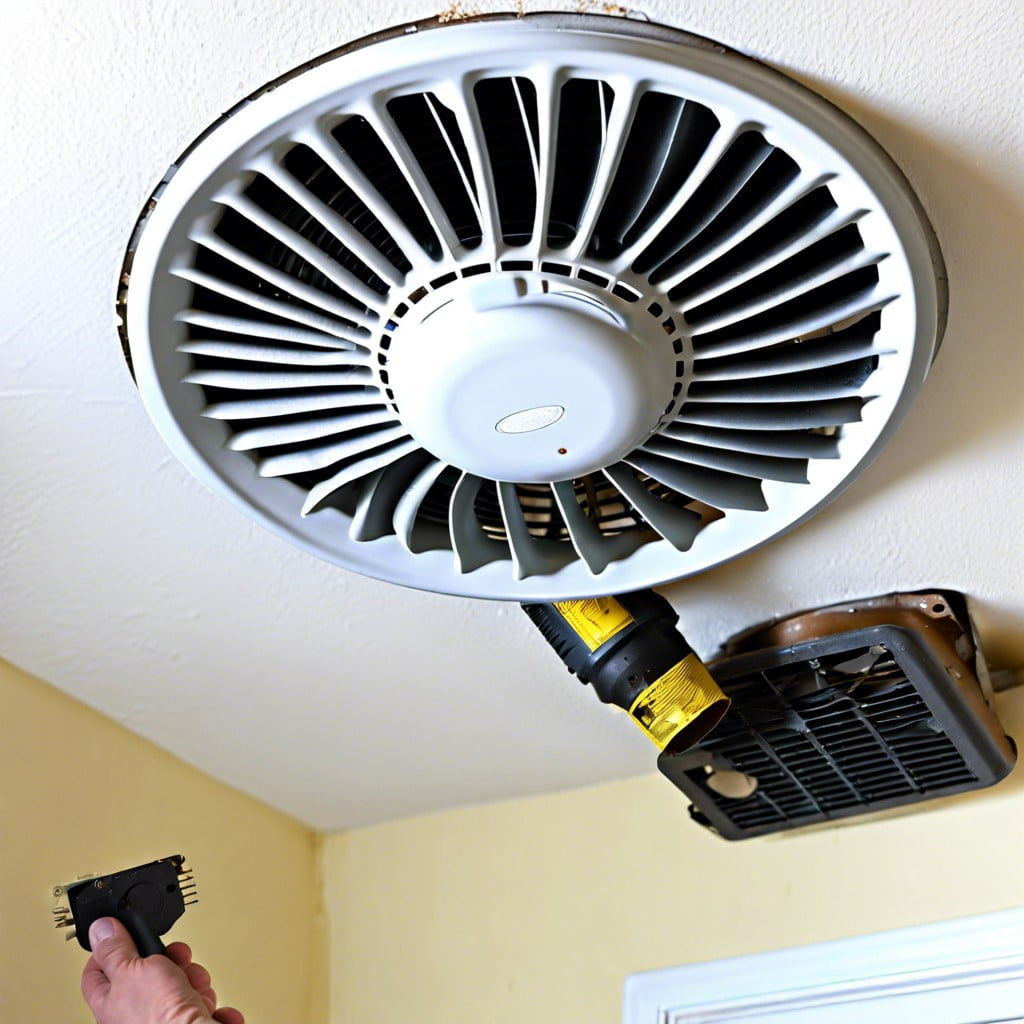
Check your fan every six months. Turn off the power. Remove the cover. Vacuum out the dust. Use a soft brush to clean the blades. It takes ten minutes. If you hear grinding noises or the fan seems weaker, it might be time for a new motor or unit. Also, check the exterior vent cap. Birds love to build nests in dryer vents and bathroom vents. A bird nest blocks airflow completely. Make sure the damper flap moves freely and isn’t stuck shut by paint or debris.
Remember, a bathroom fan is a mechanical device. It has moving parts. It needs care. If you ignore it, it will fail. And when it fails, you won’t notice until you see that black mold spot again. Don’t wait for the mold. Be proactive. Clean the fan. Check the vent. Keep the air moving. It’s simple maintenance that protects your biggest investment: your home.
So, there you have it. It’s not rocket science, but it is important. Straight shots. Rigid ducts. Outside termination. Sealed joints. Regular cleaning. These are the pillars of a bathroom ventilation system that actually works. It’s about respecting the physics of air and moisture. When you get it right, your bathroom stays fresh. Your mirrors clear up fast. And your home stays dry and healthy.
Don’t let laziness or ignorance compromise your indoor air quality. Take the time to do it properly. Whether you’re building new in 2026 or retrofitting an older home, these principles hold true. Your lungs will appreciate it. Your wallet will appreciate it when you avoid costly mold remediation. And honestly, it just feels good to know things are working the way they should. Breathe easy.