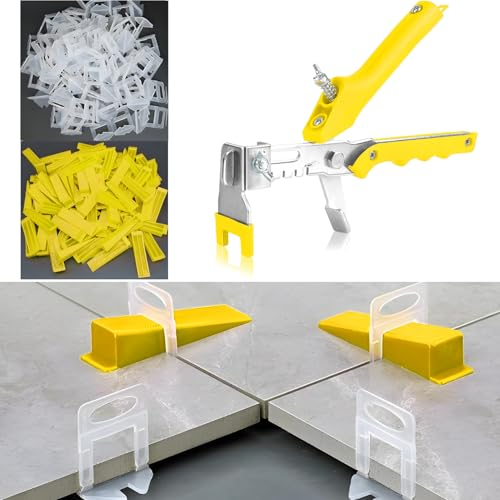
You’ve spent hours on your knees. Your back aches. You bought the fancy plastic clips and wedges that promised a "perfectly flat" floor. You followed the videos. You tightened every single wedge until your fingers hurt. And yet, when you walk across the room barefoot, your toe catches on that one stubborn edge. It’s frustrating. It feels like a personal insult from the universe.
We’ve all been there. In 2026, tile leveling systems are more popular than ever, but they aren’t magic wands. They are tools. And like any tool, they can be misused, or worse, relied upon to fix problems they were never designed to solve. If your edges still feel rough or uneven, it’s not necessarily because you’re a bad DIYer. It’s usually because something fundamental was missed before the first clip was even snapped into place. Let’s dig into why this happens and what you can actually do about it.
The Myth of the Magic Clip
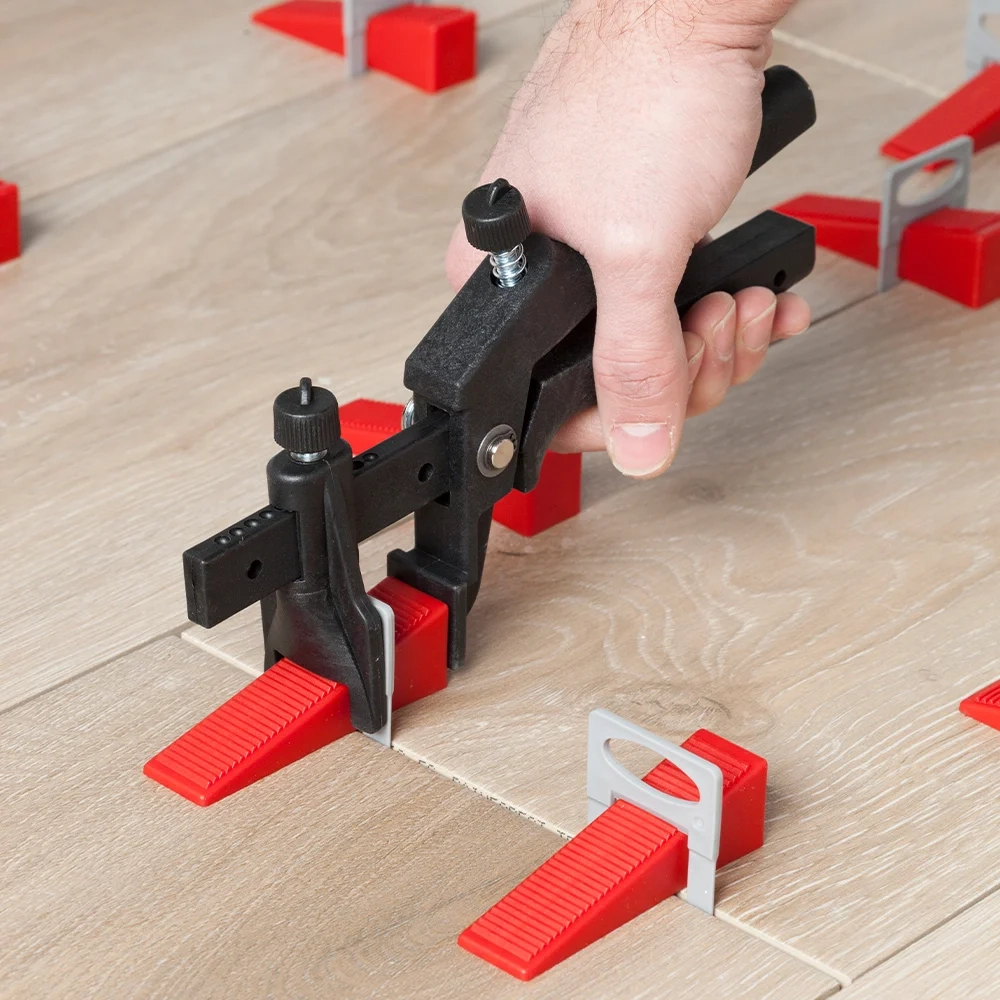
Let’s get one thing straight right away: a tile leveling system does not level your floor. It levels your tiles relative to each other. This is a huge distinction that gets lost in marketing hype. If your subfloor has a dip the size of a dinner plate, stacking tiles on top of it with clips won’t make the floor flat. It will just make the tiles follow the contour of the dip, potentially locking them into a uneven position once the mortar cures.
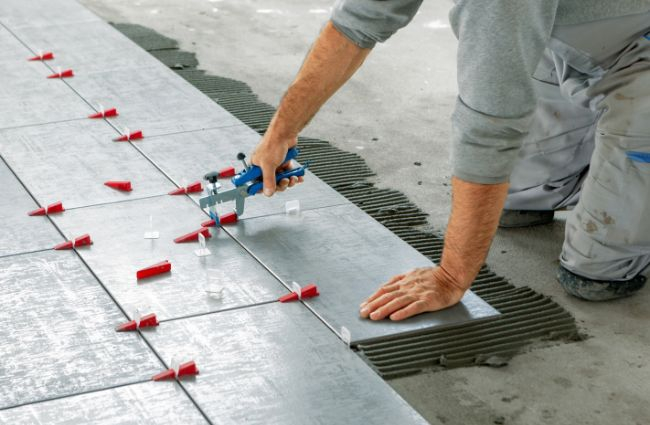
Think of the leveling system as a clamp, not a jack. It holds two adjacent tiles at the same height while the adhesive sets. It cannot lift a tile up out of a hole in the substrate if there’s no mortar underneath supporting it. If you try to force it, you might just crack the tile or create a hollow spot beneath it. That hollow spot is a ticking time bomb for cracked grout later on.
Many beginners assume that if they use enough clips, the floor will self-correct. It won’t. The system relies on the assumption that the surface beneath is already within acceptable tolerance limits. If the foundation is shaky, the house falls down. Same logic applies here. You can’t build a smooth finish on a chaotic base.
Subfloor Secrets: The Hidden Culprit
Before you even open a bag of thinset, you need to look at what’s underneath. In 2026, we see more renovations over old vinyl or questionable plywood than ever before. If your floor isn’t flat, your tiles won’t be either. The industry standard for flatness is often cited as no more than 1/8 inch deviation in 10 feet for large format tiles. But how many people actually measure this? Not enough.
If you have high spots and low spots, the leveling clips will pull the tiles tight against each other, but they will bridge the gaps inconsistently. A low spot means less mortar support. A high spot pushes the tile up. When the mortar dries, the tension released by removing the clips can cause the tiles to shift slightly, revealing the lippage you thought you had eliminated.
The fix? Prep work. It’s boring. It’s dusty. But it’s essential. Use a self-leveling underlayment for concrete slabs that are out of whack. For wooden subfloors, ensure they are rigid and flat, possibly adding an uncoupling membrane or cement backer board to create a uniform surface. Skipping this step is the number one reason leveling systems fail to deliver that glass-smooth feel.
Mortar Matters: The Art of the Slump
Here’s a dirty secret: too much water in your mix can ruin everything. If your thinset is too soupy, the tiles will sink after you’ve leveled them. You tighten the wedge, the tile looks perfect, and then gravity takes over. The wet mortar compresses, and the tile drops a millimeter or two. By the time it cures, that edge is sticking up again.
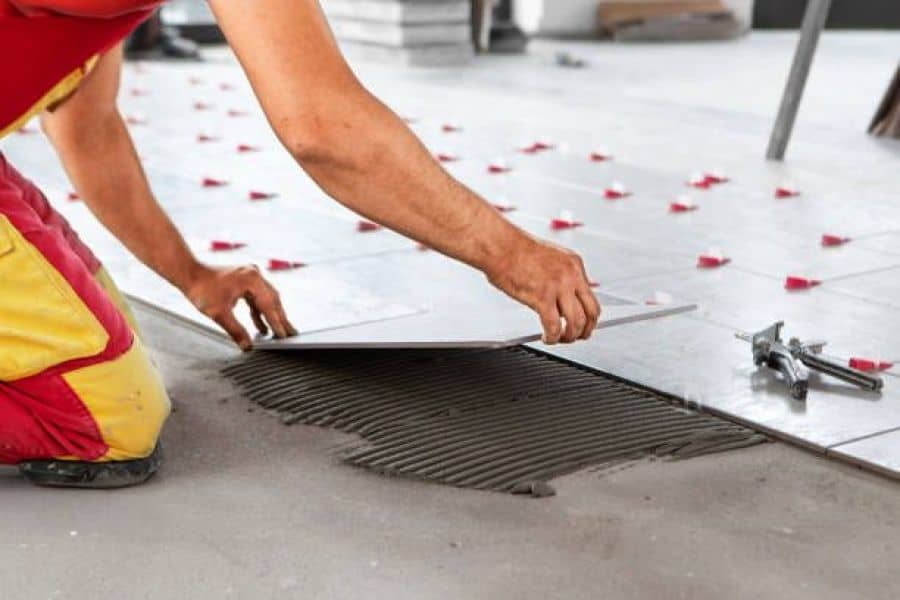
On the flip side, if the mortar is too stiff, you won’t get proper coverage. You need to back-butter your tiles, especially for anything larger than 12×12 inches. This means applying a thin layer of mortar to the back of the tile before setting it. It ensures 100% contact with the bed of mortar on the floor. Without this, you’re relying on luck for adhesion and flatness.
Also, consider the trowel size. Using a small notch trowel for a large tile is a recipe for disaster. You need enough mortar to allow for slight adjustments without running dry. If you run out of mortar under the center of the tile, the leveling clip will pull the edges down, creating a concave shape that feels uneven to the touch. It’s a balancing act between consistency and volume.
Technique Traps: Tightening Too Hard
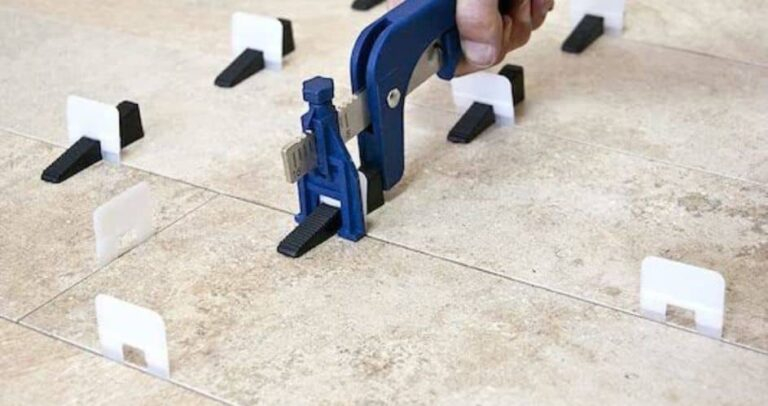
It’s tempting to crank those wedges down as hard as you can. You want to be sure, right? But over-tightening is a common mistake. When you apply excessive force, you can distort the tile, especially if it’s a thinner porcelain or ceramic. This distortion might not be visible immediately, but once the clip is removed, the tile springs back slightly, creating a lip.
Furthermore, if you don’t remove the clips at the right time, you risk damaging the grout joint or the tile edge. Most manufacturers recommend kicking them off or using a mallet within 24 hours, but definitely before the mortar is fully rock-hard. If you wait too long, the mortar shrinks slightly as it cures, and the tension in the clip can cause micro-movements.
Another technique trap is inconsistent spacing. If your spacers aren’t uniform, the tiles won’t align properly, making it impossible for the leveling system to work effectively. The clips need the tiles to be spaced correctly to pull them flush. If one side is wider than the other, the clip will pull at an angle, resulting in a twisted installation that feels jagged underfoot.
Tile Truths: Not All Tiles Are Created Equal
Some tiles are just harder to install. Handmade tiles, for instance, often have slight variations in thickness and shape. This is part of their charm, but it’s a nightmare for leveling systems. The clips assume the tiles are perfectly rectangular and uniform. If one tile is 1mm thicker than its neighbor, the clip will pull the thinner one up or the thicker one down, but it can’t change the physical reality of the material.
Large format tiles (anything 15 inches or longer) are also prone to warping. This is known as "bowing." Even high-end porcelain can have a slight curve. If you install bowed tiles with the center touching the floor and the corners hanging up, or vice versa, the leveling system will struggle. You need to identify the bow and adjust your mortar bed to compensate, perhaps using a thicker layer under the high points.
In 2026, we’re seeing more textured and structured tiles. These surfaces can hide some lippage visually, but tactiley, they can still feel uneven if the edges aren’t aligned. Don’t rely on the texture to save you. Treat every tile as if it needs to be perfectly flat, regardless of its finish. If you’re using natural stone, remember that it’s softer and can chip easily during the leveling process, so use caution with the wedges.
So, you’ve finished the job, and there’s still a bit of lippage. What now? If it’s minor—say, less than 1/32 of an inch—you might be able to live with it. Regrouting can sometimes help disguise minor issues by filling the gap more uniformly. But if it’s catching your toes, you have options. For porcelain tiles, careful grinding with a diamond pad can smooth out a high edge. It’s tedious and risky, as you can scratch the glaze, but it’s better than ripping up the floor.
However, if the unevenness is widespread, it’s likely a systemic issue with the subfloor or mortar application. In this case, no amount of grinding will fix it. You might need to call in a professional. As noted by experts at cwfloors.com and harbourfloors.com, inexperienced fixes can sometimes make things worse. A pro has the tools to assess whether the issue is cosmetic or structural.
Don’t beat yourself up. Tiling is a craft that takes years to master. Even pros have bad days. The key is to understand that the leveling system is just one part of the puzzle. It’s not a substitute for good prep, good materials, and good technique. Next time, spend more time on the subfloor. Your toes will thank you.
Tiling is a journey, not just a project. It teaches patience. It teaches precision. And yes, it teaches humility. But when you get it right, when that floor feels like a sheet of ice under your feet, it’s worth every second of struggle. So take a breath. Assess the damage. Learn from it. And remember, the perfect floor is a myth, but a really good one is absolutely within your reach.