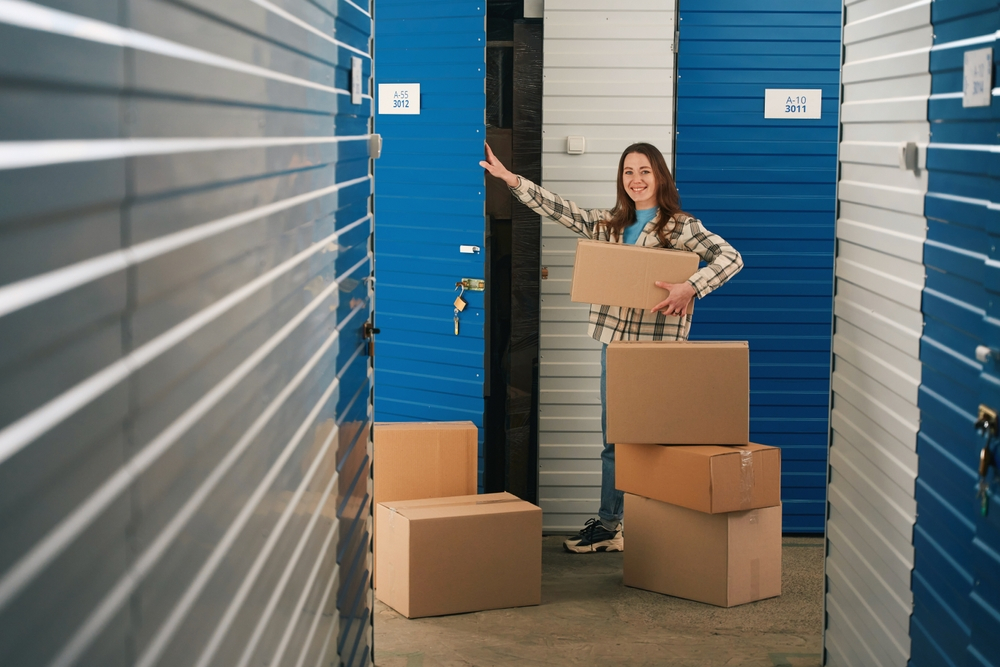
You know that feeling when you’re standing in an empty room, boxes stacked like a precarious Jenga tower, wondering if you’ve made a huge mistake? It’s a weird mix of relief and anxiety. You’ve cleared out the clutter, but now those memories are sitting in a dark unit somewhere, waiting. Maybe it’s furniture from a childhood home. Maybe it’s gear from a business that didn’t quite take off. Or maybe it’s just stuff you love too much to toss, but have nowhere to put right now.
Long-term storage isn’t just about renting a space and throwing things in. It’s about preservation. It’s about hitting the pause button on decay. In 2026, with humidity levels fluctuating wildly in many regions and new synthetic materials in our homes behaving differently than old wood or cotton, the stakes are higher. One wrong move, one forgotten box of batteries, and you could open that door five years from now to a scene of ruin. But get it right? You get to keep your history intact.
Let’s talk about how to do that. Not the sales pitch version, but the real, gritty details of keeping your items safe when they’re out of sight and out of mind.
The Climate Question: Why Temperature Isn’t the Only Enemy
Most people think "climate-controlled" just means it’s not freezing in the winter or boiling in the summer. And sure, that’s part of it. Extreme heat can warp wood, melt adhesives, and crack leather. Cold can make plastics brittle until they shatter at a touch. But the silent killer? Humidity. Moisture is the enemy of almost everything we own.
In recent years, storage facilities have upgraded their HVAC systems, but not all units are created equal. You need to look for facilities that maintain a relative humidity between 30% and 50%. Anything higher invites mold, mildew, and rust. Anything lower can dry out organic materials like wood and paper until they crumble. If you’re storing in a place like the Pacific Northwest or the Southeast US, this is non-negotiable. Don’t skimp here. The extra cost per month is cheaper than replacing a grandmother’s quilt or a vintage guitar.
Also, consider the location of your unit within the facility. Ground-floor units are convenient for moving heavy items, but they’re more prone to dampness rising from the concrete slab. Upper-story units, especially interior ones surrounded by other stored goods, tend to have more stable temperatures. They’re buffered from the outside world. Think of it like insulation in a house. The middle rooms stay steadier than the ones with exterior walls.
Packing Materials: Ditch the Newsprint and Plastic Bags
Remember when we used to wrap dishes in newspaper? Don’t do that. The ink transfers, yes, but the paper itself is acidic. Over time, that acid eats into ceramics, glass, and especially photos or documents. In 2026, acid-free tissue paper is cheap and easy to find online or at craft stores. Use it for anything delicate. For heavier items, plain white packing paper is a solid, neutral choice.
Plastic bags are another trap. Never store clothes, linens, or upholstery in sealed plastic bags. Trapped moisture has nowhere to go, creating a mini greenhouse effect for mold spores. Instead, use breathable cotton sheets or specialized garment bags that allow air circulation. If you must use plastic bins, ensure they are high-quality, BPA-free, and have tight-sealing lids to keep pests out—but leave a tiny gap for airflow if the items inside aren’t completely bone-dry. Actually, better yet, use silica gel packets. Toss a few in every box. They’re small, cheap, and they suck up ambient moisture like a sponge.
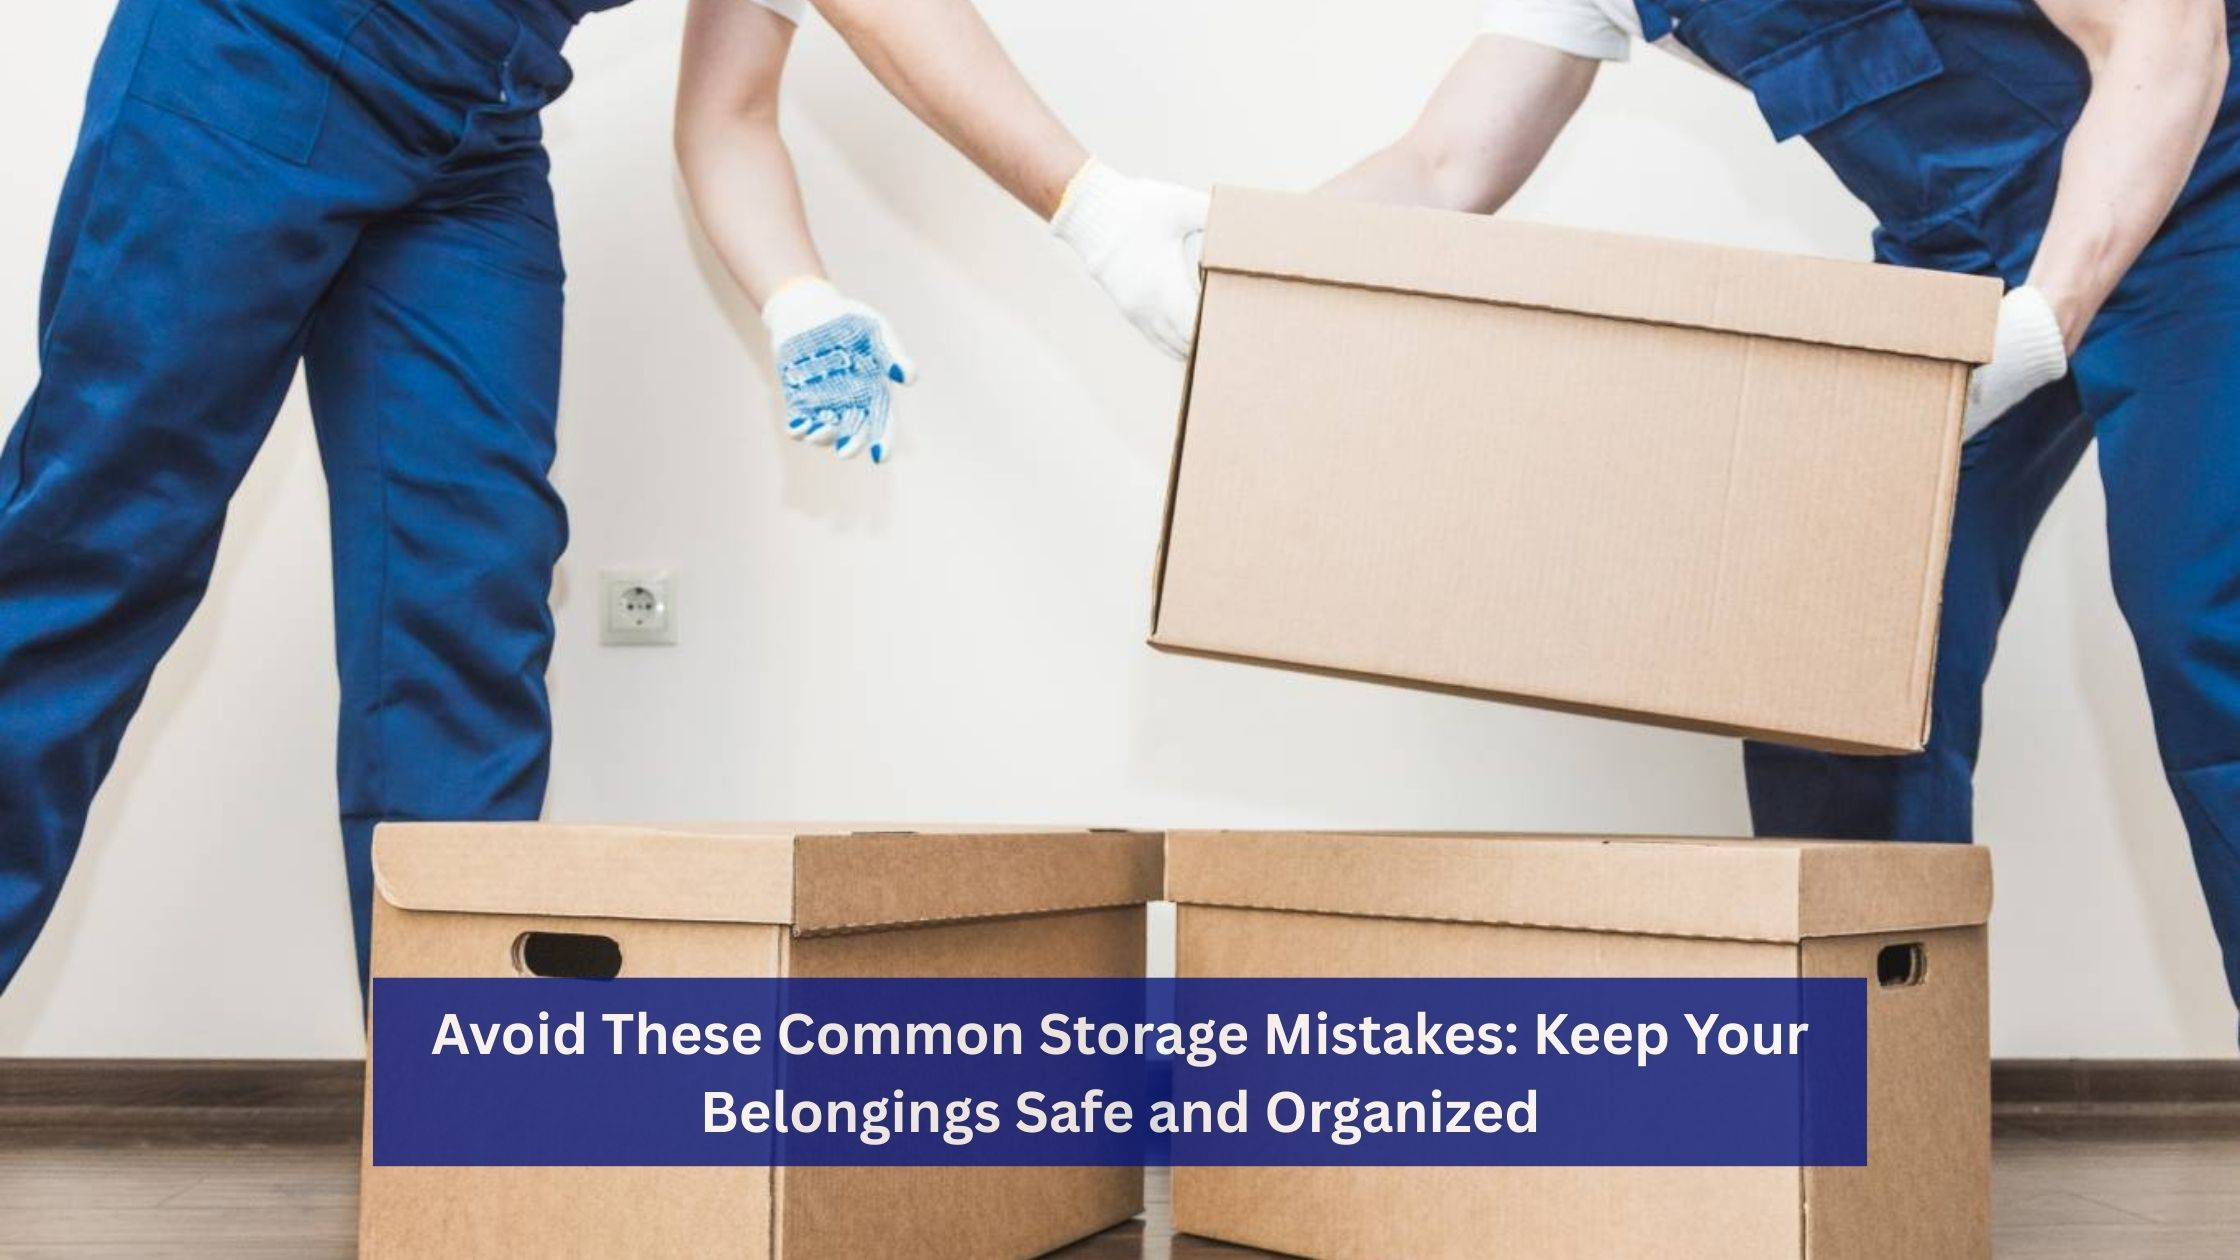
Cardboard boxes are fine for short terms, but for long-term storage, they attract pests and absorb moisture. If you’re looking at five years or more, invest in plastic totes. Clear ones are best so you can see what’s inside without opening them. Label them clearly on multiple sides. Use a permanent marker, not a pen that might fade. And please, for the love of sanity, list the contents on the top and the side. Future-you will thank present-you profusely.
The Inventory System: Digital Backups for Physical Stuff
Here’s a tip that feels modern but is rooted in old-school insurance logic: take pictures. Lots of them. Before you tape a single box, photograph every item from multiple angles. Get close-ups of any existing damage so you can prove it wasn’t caused by storage later. Upload these photos to a cloud service. Don’t just keep them on your phone, which might get lost or broken.
Create a simple spreadsheet or use a dedicated inventory app. List the box number, a brief description of contents, and its estimated value. This isn’t just for insurance claims, though that’s a huge part of it. It’s for your peace of mind. When you’re lying awake at night wondering, “Did I pack the winter coats?” you can check your digital list instead of driving to the facility in the rain.
Some newer storage facilities in 2026 offer digital inventory integration, where you can scan a QR code on your unit door to access your logged items. It’s a nice feature, but don’t rely on the facility’s system alone. Keep your own copy. Data redundancy is key. Also, keep a physical copy of this inventory in a waterproof folder inside the first box you unpack. Or better yet, keep it with your important documents at home. Never put all your eggs in one basket, or in this case, all your info in one storage unit.
Pest Prevention: It’s Not Just About Rats
When we think of pests, we think of mice chewing wires. And yeah, that’s bad. But insects are often worse. Silverfish love paper and glue. Moths devour wool. Carpet beetles will eat anything organic, including dead skin cells left on unwashed clothes. The first rule of pest prevention is cleanliness. Wash every piece of clothing and linen before storing. Vacuum furniture thoroughly. Wipe down hard surfaces with a mild cleaner to remove food residues or body oils.
Avoid using mothballs if you can. They smell terrible, are toxic to humans and pets, and their effectiveness is debated. Instead, use cedar blocks or lavender sachets. They smell nice and repel many insects naturally. Place them strategically in corners and among fabrics. Replace them every six months or so, as the scent fades.
Seal every entry point. Check your boxes for gaps. Use packing tape to seal all seams, not just the top flaps. If you’re using wooden crates, line them with plastic sheeting before adding your items. Inspect the storage unit itself before moving in. Look for droppings, webs, or holes in the walls. If you see signs of pests, ask for a different unit. Don’t assume the facility will handle it. Your belongings are your responsibility once they cross the threshold.
Strategic Placement: Airflow and Accessibility
How you arrange items in the unit matters more than you’d think. Don’t push everything right up against the walls. Leave a few inches of space between your boxes and the metal walls of the unit. This allows air to circulate, preventing condensation from forming on cold surfaces and dripping onto your stuff. It also gives you a buffer zone if there’s a leak.
Create aisles. Put items you might need to access sooner near the front. Heavy, sturdy items like dressers and sofas should go in the back or along the walls to create a stable structure. Stack boxes on top of furniture only if the furniture is strong enough to hold the weight. Never stack heavy boxes on top of fragile ones. Obvious, right? But in the chaos of moving, logic sometimes takes a backseat to speed.
Use pallets or wooden planks on the floor. Never place boxes directly on the concrete. Concrete draws moisture from the ground, and even in a dry unit, that dampness can wick up into cardboard and ruin the bottom layer of your belongings. Elevating your items by just a few inches makes a massive difference. It’s a small step that prevents a huge headache. Think of it as giving your stuff a little platform to stand on, keeping it safe from the unseen damp below.
Most people assume their homeowner’s or renter’s insurance covers storage units. Often, it doesn’t, or the coverage is limited. Check your policy. Specifically, look for exclusions related to flood, earthquake, or mold. Many standard policies exclude these perils, even if they cover fire or theft. If your items are valuable, buy separate storage insurance. It’s usually affordable and offers broader protection.
Read the rental agreement carefully. Facilities have liens on your property if you miss payments. They can auction off your stuff to recoup costs. Set up automatic payments to avoid this nightmare. Also, understand the facility’s liability limits. Most have a cap on how much they’ll pay if their negligence causes damage. Knowing this helps you decide how much third-party insurance you really need.
Keep copies of your rental agreement and insurance policy in your digital inventory folder. Update your contact info with the facility if you move. It sounds basic, but people forget. If there’s an emergency—a leak, a break-in—you want them to be able to reach you immediately. Being proactive here saves you from legal tangles later. It’s about protecting your rights as much as your rugs.
So, there you have it. It’s a lot to think about, I know. But taking these steps transforms storage from a risky gamble into a secure pause. You’re not just hiding things away; you’re curating them for the future. Whether it’s next year or next decade, when you finally open that door, you’ll be greeted by memories preserved, not ruined. And honestly? That feeling is worth every bit of effort. Take your time. Pack with care. And don’t forget to label the boxes. Seriously. Label the boxes.