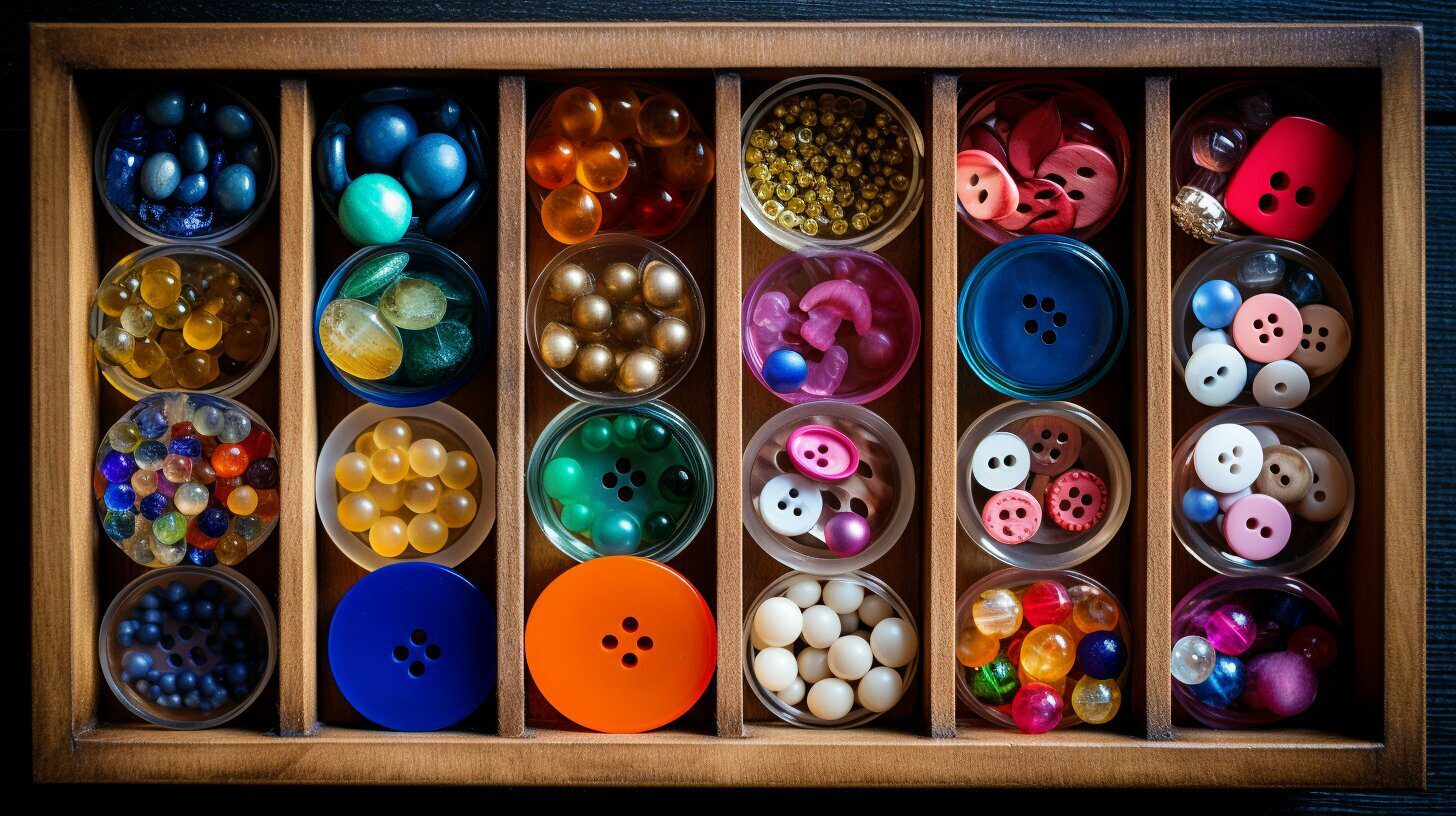
You know the feeling. You’re sitting there, needle in hand, ready to fix a loose cuff or add some flair to a vintage jacket. You reach for that one specific button—the pearlescent one with the four holes, maybe a shade of cream that matches your grandmother’s lace. But instead of finding it quickly, you’re digging through a tangled mess of plastic bags, old pill bottles, and shoeboxes that have seen better days. It’s frustrating. It kills the creative vibe. And if you live in a studio apartment or a tiny house, that clutter isn’t just annoying; it’s taking up precious real estate.
We’ve all been there. The button jar is a classic symbol of domestic chaos. But here’s the thing: buttons are tiny. Thousands of them can fit in a space smaller than a loaf of bread if you do it right. In 2026, with living spaces getting smaller and the rise of "mending culture" bringing more people back to sewing, the need for efficient, compact storage has never been bigger. It’s not just about tidiness. It’s about respecting your craft and your space. Let’s dive into how you can turn that mountain of miscellaneous fasteners into a streamlined, accessible system that actually fits in your drawer.
The Great Purge: Sorting Before Storing
Before you buy a single container, you have to face the pile. I mean really face it. Dump every button you own onto a large table or even the floor if you have the space. It looks daunting, sure. But this step is non-negotiable. You can’t organize what you haven’t quantified. As you spread them out, you’ll likely find duplicates, broken pieces, and buttons that belong to garments you threw away years ago. Be ruthless. If it’s cracked, chipped, or just plain ugly, let it go. Recycle what you can, or toss the rest. There’s no shame in decluttering.
Once the junk is gone, start grouping by type. Don’t worry about color yet. Just separate the shanks from the flat ones, the plastic from the metal, and the novelty shapes from the standards. This initial sort helps you understand the volume you’re dealing with. You might realize you have 500 black plastic buttons but only ten ornate brass ones. This knowledge dictates your storage strategy. For instance, bulk items need different containment than rare treasures. By breaking the massive task into smaller piles, the psychological weight lifts. It stops being a "huge mess" and starts being "a few categories."
Also, consider the frequency of use. Those basic white shirts buttons? You’ll grab them often. The weird alien-shaped ones from a 1990s costume? Probably not. Keep the high-traffic items easy to reach. This sorting phase isn’t just about cleaning; it’s about data collection. You are learning the habits of your own collection. Take your time with this. Put on some music. Make a cup of tea. It’s meditative once you get into the rhythm. Click, clack, sort. Click, clack, sort.
Vertical Victory: Using Height Over Width
When floor space is limited, look up. Vertical storage is the secret weapon of small-space dwellers. In 2026, modular stackable systems are more popular than ever, and for good reason. Clear, stackable acrylic drawers are a game-changer for buttons. They let you see exactly what’s inside without opening them, and they stack securely so you don’t lose stability. You can fit a surprising number of these units in a standard cupboard or on a shelf. The key is uniformity. Mix-and-match containers look messy and waste space due to irregular gaps. Stick to one brand or size for the best fit.
Another vertical hack is the hanging shoe organizer. Yes, really. The clear-pocket kind. Each pocket can hold a small baggie or a dedicated container of buttons sorted by color or size. Hang it on the back of a door or on a wall hook. It’s cheap, it’s effective, and it uses dead space that usually goes ignored. If you have a pegboard wall, even better. Use small cups or bins attached to the pegs. This keeps your buttons at eye level and makes grabbing them effortless. Plus, it adds a bit of industrial chic to your craft corner.
Don’t forget the insides of cabinet doors. Magnetic strips or shallow racks can be mounted there to hold small tins or jars. This utilizes the "air" space inside your cabinets rather than the shelf space. It’s perfect for those mid-sized collections that don’t need a whole drawer but are too big for a junk drawer. By thinking vertically, you multiply your storage capacity without expanding your footprint. It’s simple physics, really. Use the z-axis. Your future self will thank you when you aren’t bending over to dig through bottomless bins.
The Transparency Trick: Seeing Is Saving
Opacity is the enemy of efficiency. If you can’t see it, you won’t use it. You’ll just buy another pack of buttons because you forgot you already had fifty blue ones. That’s why clear containers are essential. Glass jars are pretty, but they’re heavy and breakable. Plastic is lighter and safer, especially if you’re stacking. Look for containers with wide mouths so you can easily scoop buttons in and out. Narrow necks are a nightmare for small items. They create bottlenecks, literally and figuratively.
Labeling is part of this transparency equation. Even with clear bins, labels help. Use a label maker or just masking tape and a marker. Be specific. "Blue Buttons" is okay, but "Navy Blue, 4-Hole, Medium" is better. When you’re in a hurry, precision saves time. In 2026, smart labels with QR codes are becoming a thing for serious collectors, linking to digital inventories, but for most of us, a sharpie does the trick. The goal is to reduce cognitive load. You shouldn’t have to think hard to find what you need. It should be obvious.
If you’re using opaque boxes because they fit your aesthetic, consider taking a photo of the contents and taping it to the front. Or, leave the lid off if dust isn’t an issue in your space. Some people use ice cube trays inside larger boxes to separate small batches, then label the tray compartments. This hybrid approach gives you the neatness of a box with the visibility of individual sections. Experiment with what works for your eyes. Some people prefer color-coding the labels instead of the bins. Find your visual language and stick to it. Consistency creates calm.
Micro-Containers for Macro Organization
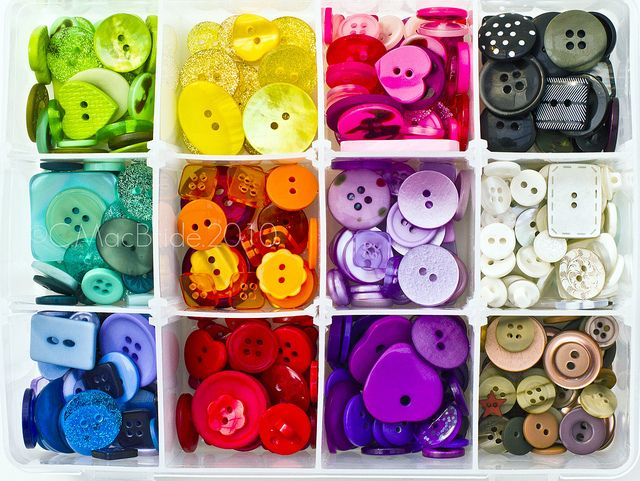
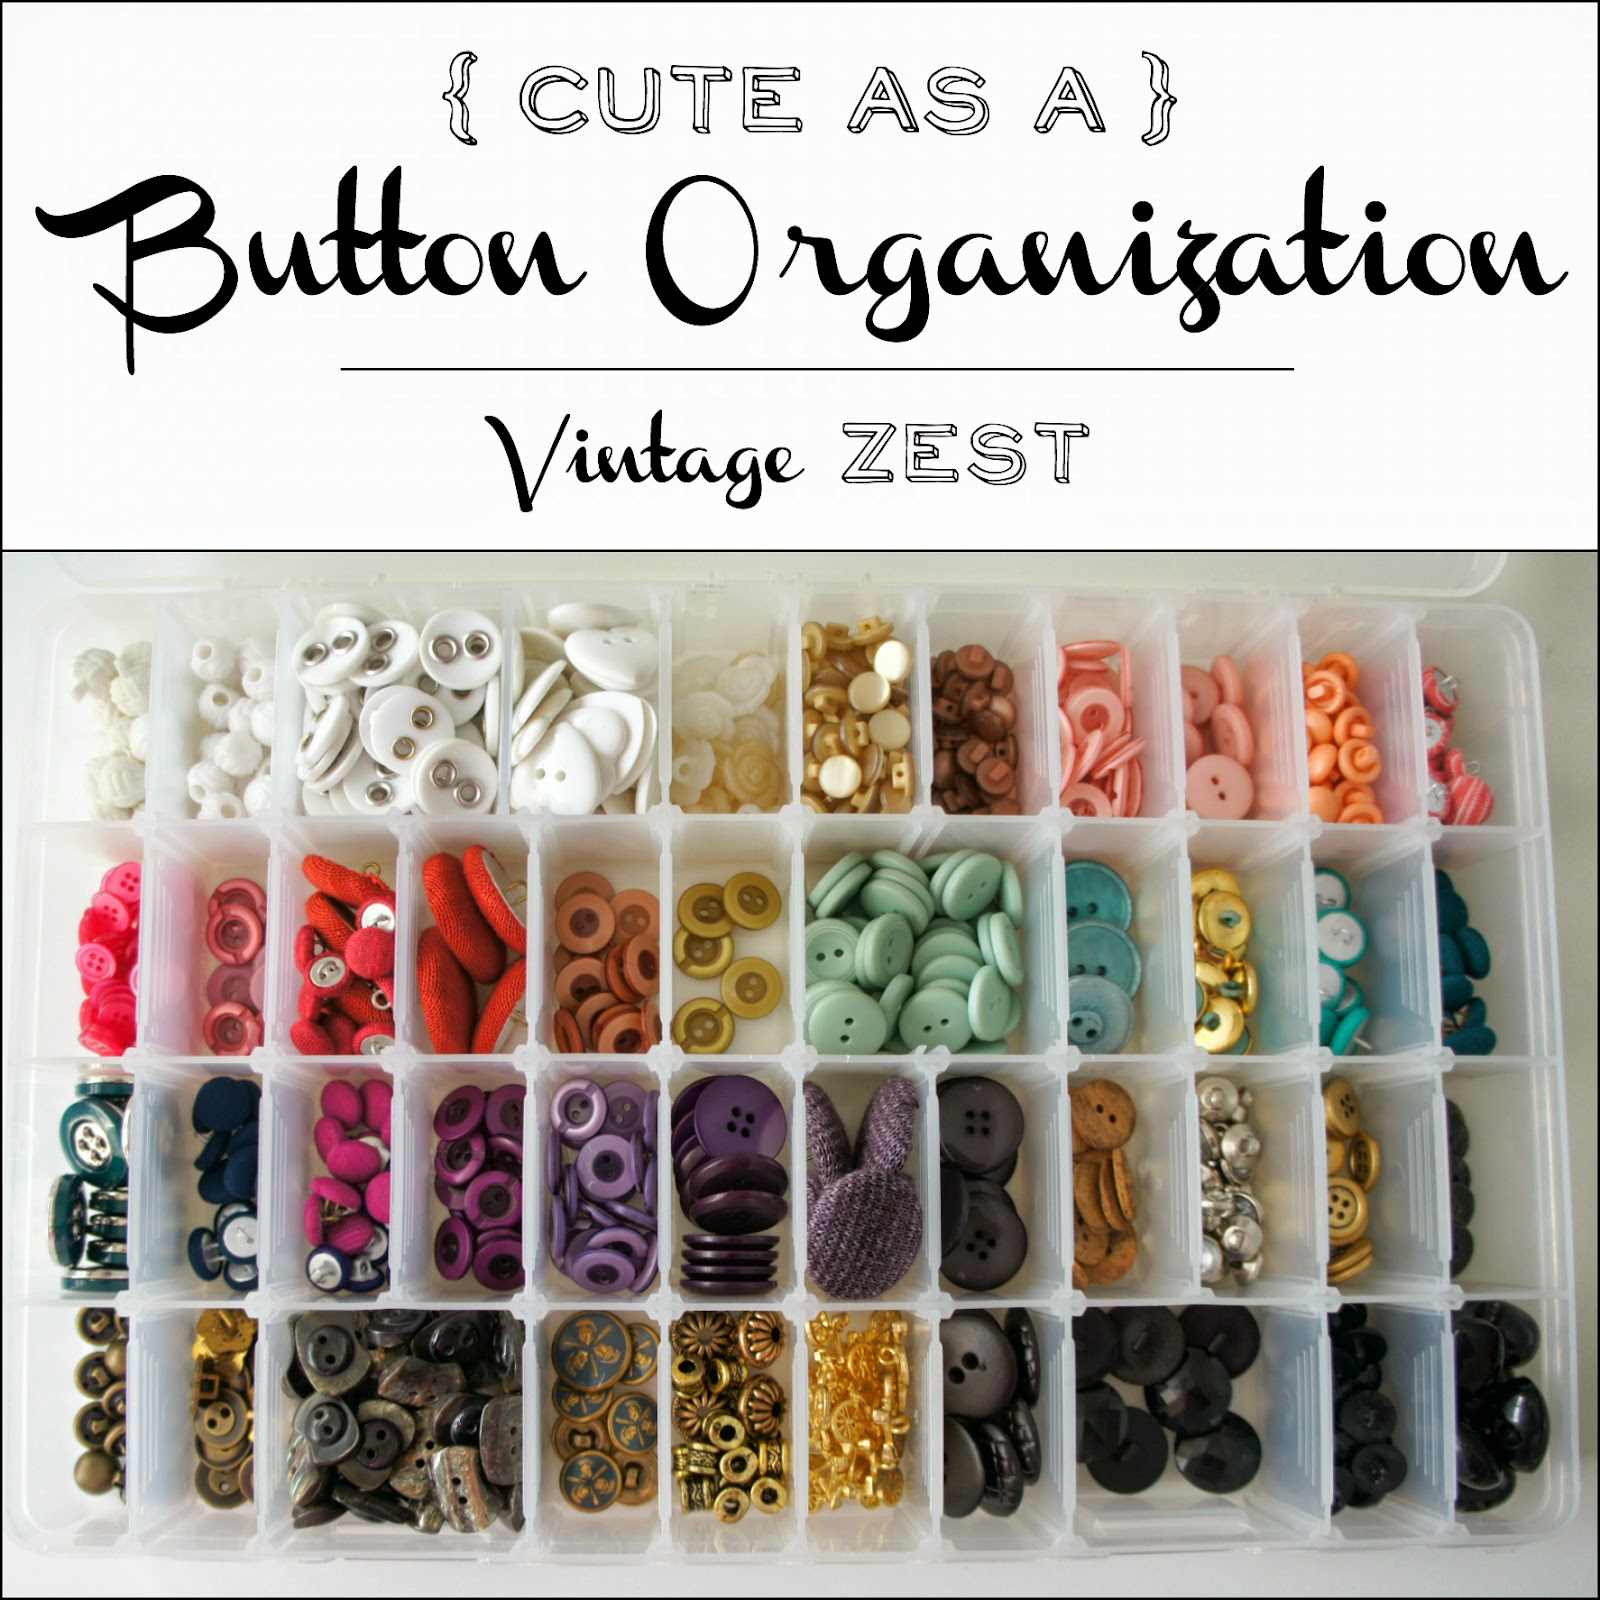
Sometimes, the best solutions are the smallest. Think about pill organizers, bead boxes, or even tackle boxes. These compartmentalized containers are perfect for sorting buttons by very specific criteria. A weekly pill box has seven slots. Use them for your seven most-used colors. A fishing tackle box has adjustable dividers. Customize them to fit different sizes. This level of granularity prevents the "mixed bag" problem where tiny buttons get lost under big ones. It keeps everything flat and visible.
Repurposing everyday items is also a smart, eco-friendly move. Altoids tins, mint containers, or small spice jars can hold specialized collections. Maybe you have a set of vintage coat buttons that you want to keep together. A small, sturdy tin protects them from getting scratched by heavier plastic buttons. It also adds a element of surprise and delight when you open it. These micro-containers can then be stored inside larger bins or drawers. It’s a nesting doll approach to organization. Small things inside medium things inside large things.
Just be careful with loose lids. If you’re stacking micro-containers, make sure they snap shut tightly. You don’t want a earthquake (or just a clumsy elbow) to send hundreds of buttons scattering across the floor. That’s a special kind of hell. Test the latches. If they’re flimsy, use a rubber band to secure them. It’s not pretty, but it works. Or, invest in containers with screw-top lids for the smallest items. Security is key when dealing with thousands of tiny, roll-away objects. Peace of mind is worth the extra second it takes to unscrew a lid.
The Digital Assist: Inventorying Your Stash
It sounds excessive, but for thousands of buttons, a digital inventory can be a lifesaver. You don’t need a complex database. A simple spreadsheet or a note-taking app on your phone works fine. Take a photo of each category and upload it. Add a brief description: "Approx. 50 red plastic, 15mm." When you’re at a thrift store or a fabric shop and you see a button you like, you can check your phone. Do you already have enough red ones? Probably. Save your money. Save your space.
In 2026, AI-powered image recognition apps make this easier. You can snap a pic of a button, and the app can tell you its size and type, helping you categorize it instantly. Some crafting communities share digital templates for button logs. Download one, fill it out, and keep it on your tablet. This isn’t about being obsessive; it’s about being intentional. It stops the accumulation of duplicates. It helps you see gaps in your collection. Maybe you realize you have no large wooden buttons. Now you know what to look for.
This digital layer also helps when you’re moving or reorganizing. You can plan your new setup before you physically move a single bin. "Okay, the blue section goes in drawer two, top left." It reduces the trial-and-error phase of rearranging. Plus, if you ever decide to sell or donate part of your collection, you have a ready-made catalog. It adds value to your items because buyers know exactly what they’re getting. Technology serves the craft, not the other way around. Use it to simplify, not complicate.
Organization isn’t a one-time event. It’s a habit. Set a rule: for every new button that comes into the house, one old one leaves, or it gets sorted immediately. Don’t let the "maybe later" pile grow. That pile is the seed of future chaos. Keep a small "sorting station" near your sewing area. A small tray where incoming buttons sit until they’re processed. Once a month, take ten minutes to empty that tray into the proper bins. It’s a small effort that prevents a huge cleanup later.
Review your system every six months. Are certain bins always empty? Maybe you don’t need that category. Are others overflowing? Maybe you need to subdivide. Your needs change. Your collection evolves. Your storage should too. Be flexible. If a certain container isn’t working, swap it out. Don’t cling to a system that causes friction. The best system is the one you actually use. If it’s too complicated, you’ll bypass it. Keep it simple. Keep it accessible.
Finally, celebrate the order. There’s a genuine joy in opening a drawer and seeing rows of neatly sorted, colorful buttons. It inspires creativity. It makes the act of mending feel less like a chore and more like a ritual. You’re caring for your clothes, and you’re caring for your space. That dual care is powerful. It turns a cramped corner into a sanctuary of potential. So keep it tidy. Keep it bright. And keep sewing.
So, there you have it. Storing thousands of buttons in a small space isn’t about magic. It’s about method. Sort ruthlessly. Go vertical. Keep it clear. Use small containers. Track it digitally. Maintain the habit. These steps transform chaos into clarity. You reclaim your space and your sanity. The next time you need that cream-colored, four-hole button, you won’t dread the search. You’ll smile, reach into the right bin, and find it in seconds. That’s the power of a good hack. It gives you time back. And in a small space, time and room are the ultimate luxuries. Enjoy your newly organized stash.