There is nothing quite like stepping out of a hot shower onto a floor that feels like a warm hug. It’s luxury, sure, but it’s also practical. Yet, for every homeowner enjoying that cozy sensation, there’s another shivering on cold ceramic because something went wrong during the install. Maybe the heat is uneven. Maybe the tiles cracked after a month. Or worse, the system just died.
Installing radiant heat under tile isn’t rocket science, but it is unforgiving. You can’t just slap some wires down and hope for the best. The margin for error is slim. One bad decision early on can mean ripping up thousands of dollars worth of beautiful stone later. And nobody wants that. Not in 2026, when energy efficiency and comfort are more important than ever.
Let’s talk about where things usually go sideways. These aren’t theoretical problems. They are real issues seen in homes across the country. By knowing what to watch out for, you save yourself a headache. You protect your investment. And you get that perfect, even warmth you were promised.
Ignoring the Subfloor Foundation
The biggest mistake? Rushing past the subfloor. It’s boring. It’s hidden. So, people skip the prep work. Big error. If your subfloor isn’t flat, clean, and stable, nothing else matters. Heat doesn’t travel well through air gaps. If there are dips or bumps, the heating cables or mats won’t make good contact with the tile above. This creates hot spots and cold spots.
Think of it like trying to iron a shirt that’s bunched up. You’re going to burn some parts and leave others wrinkled. In flooring terms, those "burns" are stress points. Over time, the tile can crack right over those voids. In 2026, we have better leveling compounds than ever before. Use them. Spend the extra day making sure that concrete or plywood base is perfectly smooth. It’s the foundation of your entire system.
Also, check for moisture. Concrete slabs can hold water for years. If you put heating elements over damp concrete without a vapor barrier, you’re asking for trouble. The heat drives that moisture up into your thin-set mortar. This weakens the bond. Tiles pop loose. Grout crumbles. A simple moisture test takes ten minutes. Skipping it can cost you ten thousand dollars in repairs. Don’t be penny wise and pound foolish here.
Messing Up the Layout and Spacing
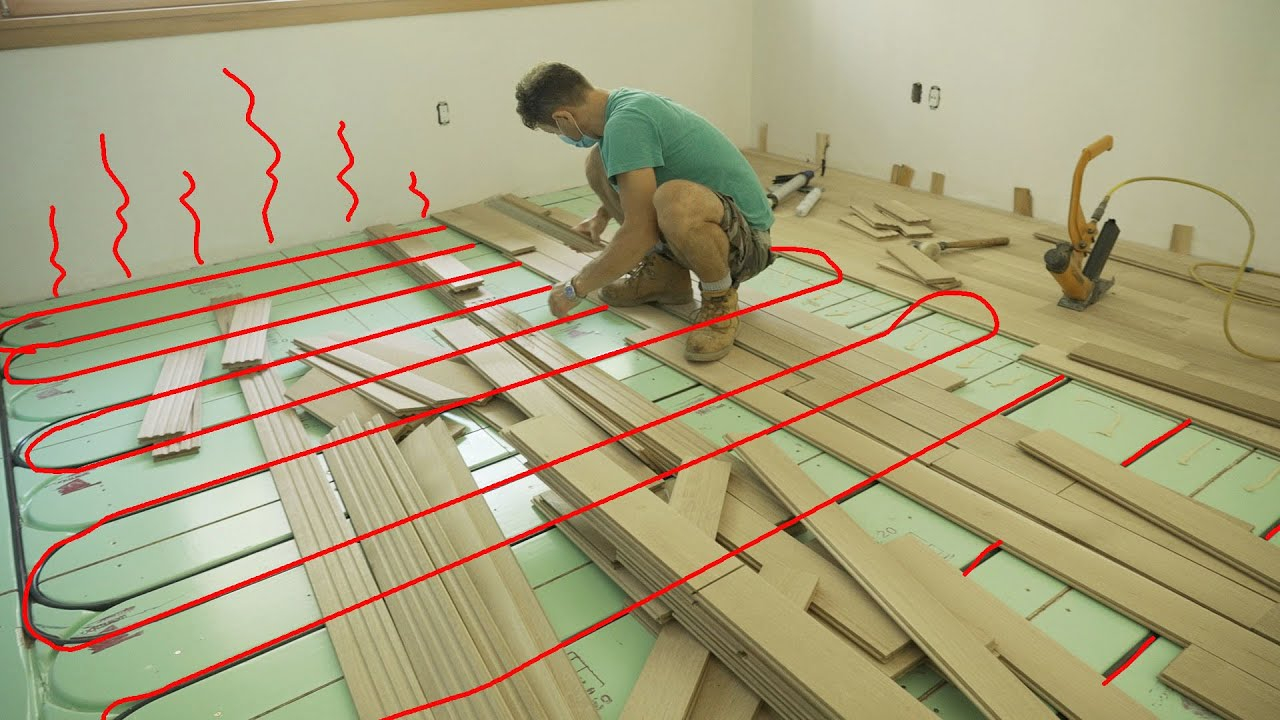
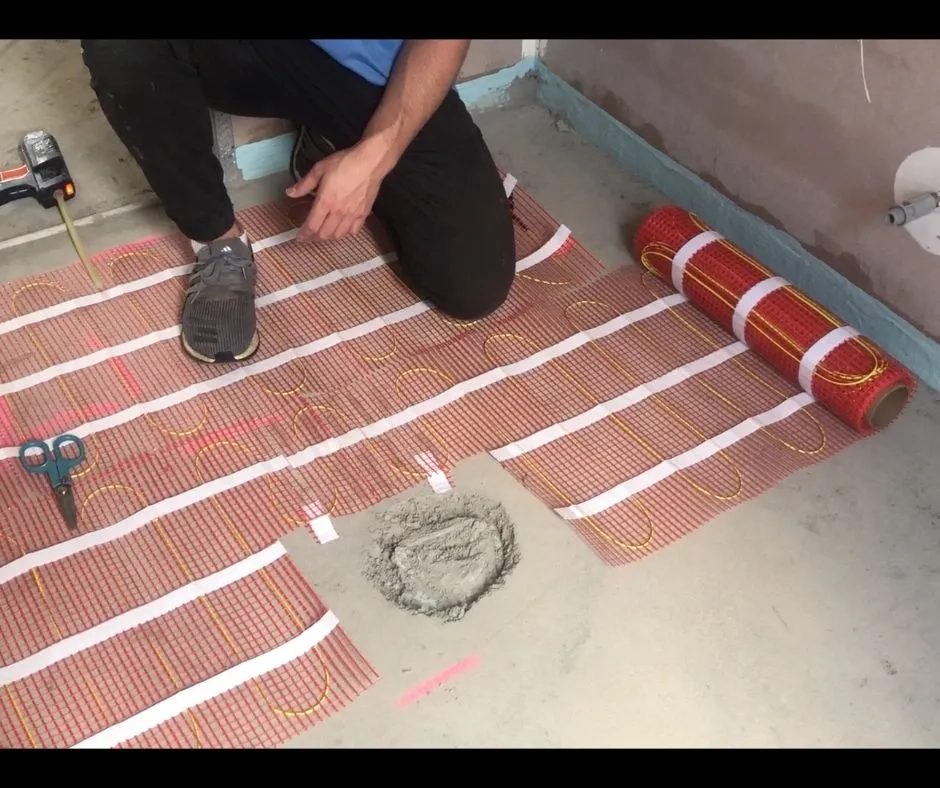
Designing the layout seems easy. Just snake the wires back and forth, right? Wrong. Poor planning leads to uneven heating. If you space the cables too far apart, you’ll feel stripes of warmth and cold between them. Too close, and you risk overheating the system or damaging the wires. Each manufacturer has specific spacing rules. Follow them. Religiously.
Another common blunder is forgetting about fixed objects. Toilets, vanities, kitchen islands. You don’t want heat under these. It’s wasted energy. Worse, if you run cables under a heavy cabinet, the heat gets trapped. This can cause the wood to warp or the electronics in the system to fail. Always map out your room first. Use chalk lines. Visualize the path.
People often forget the "cold tails." These are the unheated wires that connect the heating element to the thermostat. If you don’t plan where these go, you might end up with a bulky connection point sticking up in the middle of your floor. That’s a tile nightmare. Plan the route for the cold tails to run along the wall or under the baseboard. Keep the floor profile as flat as possible. It makes tiling much easier later on.
Neglecting Sensor Placement and Thermostat Logic
The thermostat is the brain of your system. But if the sensor is in the wrong spot, the brain is confused. A classic mistake is placing the floor sensor too close to a heating wire. The sensor reads high heat quickly and shuts the system off. Result? The rest of the floor stays cold. The sensor needs to be placed equidistant between two runs of cable. Not touching them. Never touching them.
Use a piece of tape to secure the sensor. Then, cover it with a bit of leveling compound or thin-set before laying the tile. This protects it from damage during the tiling process. If a trowel hits that sensor, it’s game over. You won’t know until the system fails to regulate temperature properly. By then, the tile is already down.
Also, consider the type of thermostat. Old-school mechanical thermostats aren’t precise enough for modern radiant floors. You need a digital programmable one. In 2026, smart thermostats are standard. They learn your habits. They adjust for outdoor weather. But they need accurate data. If your sensor is flawed, the smart features are useless. Take the time to install the sensor correctly. It’s a small step with huge impact on comfort and energy bills.
Damaging Elements During Tile Installation
This is where the panic sets in. You’ve laid the heat. You’ve tested it. It works. Now comes the tile crew. Or maybe it’s you, with a notched trowel in hand. This is the most dangerous phase. One slip of the trowel can slice through a heating cable. One dropped bucket can crush a mat. Once that wire is cut, the circuit is broken. The whole zone is dead.
To avoid this, use the right tools. Plastic trowels are safer than metal ones when working close to the elements. Some pros even use specialized notched trowels designed for radiant floors. They reduce the risk of snagging. Also, never walk on the heating elements with hard-soled shoes. Wear soft-soled sneakers. Better yet, limit foot traffic entirely once the heat is down.
Protection is key. Many manufacturers sell protective sheets or mesh that go over the heating cables before the thin-set is applied. This adds a layer of safety. It keeps the cables in place. It prevents them from floating up into the tile bed. If you skip this step, the cables might shift when you spread the mortar. Shifted cables mean uneven heat and potential exposure. Don’t skimp on protection. It’s cheap insurance.
Using the Wrong Mortar and Grout
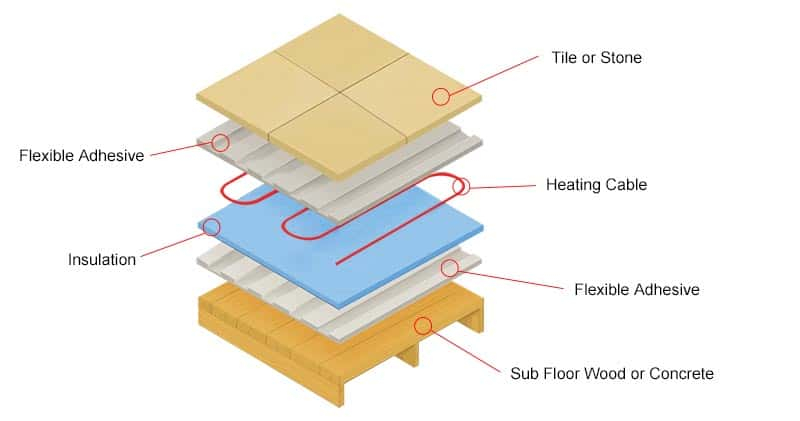
Not all thin-set mortar is created equal. Regular mortar might not handle the thermal expansion and contraction of a heated floor. Over time, the constant heating and cooling cycles can break the bond. You need a flexible, polymer-modified thin-set. Look for labels that say "rated for radiant heat" or "flexible." These adhesives move with the floor. They don’t crack under stress.
Grout matters too. Standard cement grout can crack when the floor expands. Epoxy grout or urethane grout is much better. They are flexible and water-resistant. Yes, they are harder to work with. Yes, they cost more. But they last longer. In a bathroom or kitchen, where water and heat mix, epoxy is a smart choice. It prevents water from seeping down and causing mold or electrical issues.
Mixing the mortar correctly is also crucial. Follow the instructions on the bag. Too much water weakens the bond. Too little makes it crumbly. Let it slake (rest) for the recommended time. This allows the chemicals to activate. Rushing this step leads to poor adhesion. And remember, let the mortar cure fully before turning on the heat. Most manufacturers say wait 7 to 14 days. Turning it on too soon traps moisture. That moisture turns to steam. Steam blows out your tiles. Patience is a virtue here.
You’re almost done. The tile is set. The grout is dry. You want to turn it on and feel that warmth. Stop. Did you test the system after tiling? Many people forget this. You should have tested it before, during, and after installation. Testing after tiling ensures you didn’t damage anything while laying the stone. Use a multimeter to check the resistance. Compare it to the original reading. If it’s way off, you have a problem.
Another oversight is failing to document the installation. Take photos. Lots of them. Show where the sensors are. Show the layout of the cables. Show the serial numbers. If something goes wrong in five years, you’ll need this info. Warranty claims require proof of proper installation. Without photos, you’re stuck. It’s a hassle to dig through your phone gallery later, but it’s worth it.
Finally, ramp up the heat slowly. Don’t blast it to 85 degrees on day one. Increase the temperature by 5 degrees per day. This lets the materials acclimate. It prevents thermal shock. Cracks often appear in the first few weeks if the system is rushed. Treat your new floor like a delicate instrument. Break it in gently. It will reward you with years of reliable warmth.
So, there you have it. The path to a perfect heated floor is paved with attention to detail. It’s not just about buying the right gear. It’s about respecting the process. From the subfloor to the final thermostat setting, every step counts. Mistakes happen. But most of them are preventable.
Take your time. Do the prep work. Protect the elements. Use the right materials. Test everything. It might seem like a lot of steps. But when you step onto that warm tile on a chilly January morning, you’ll know it was worth it. No cold spots. No cracks. Just pure, consistent comfort. That’s the goal. And now, you know how to get there.