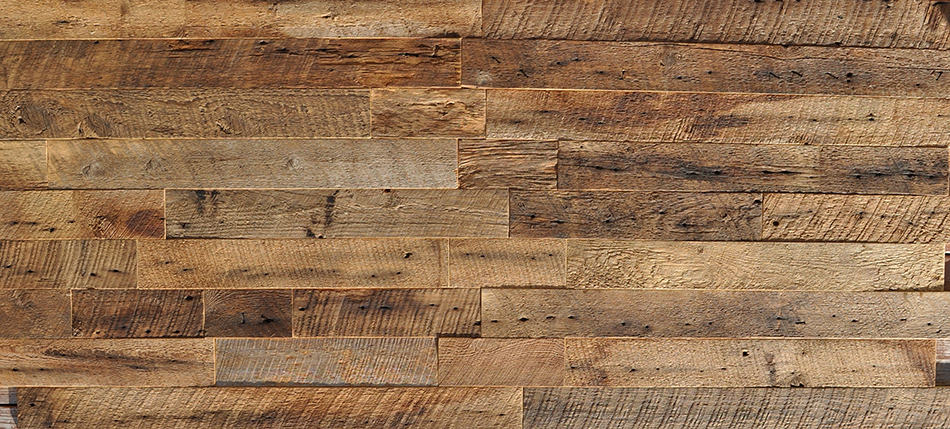
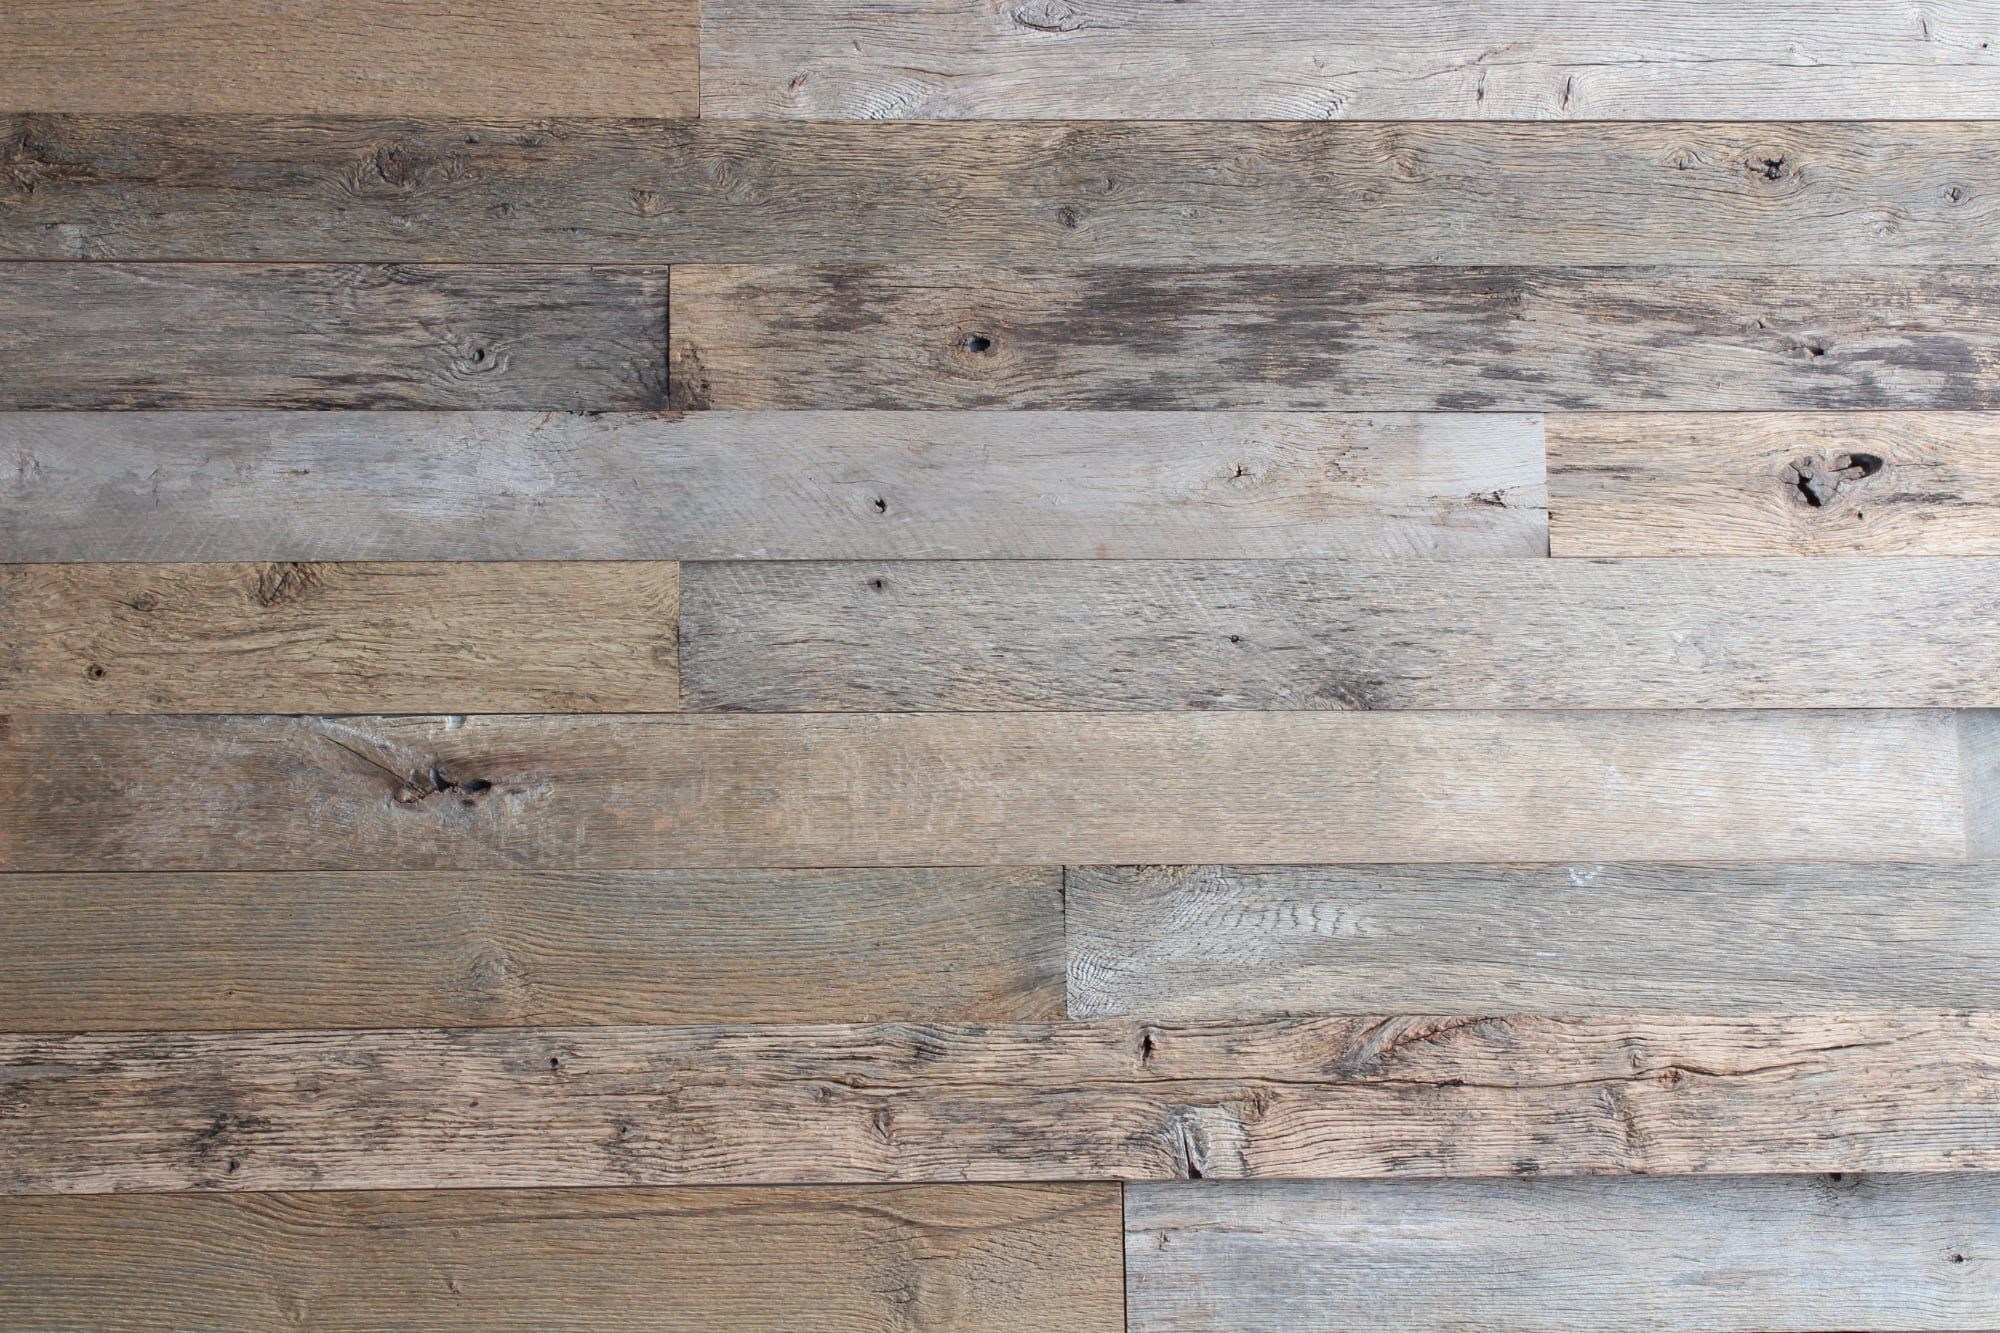
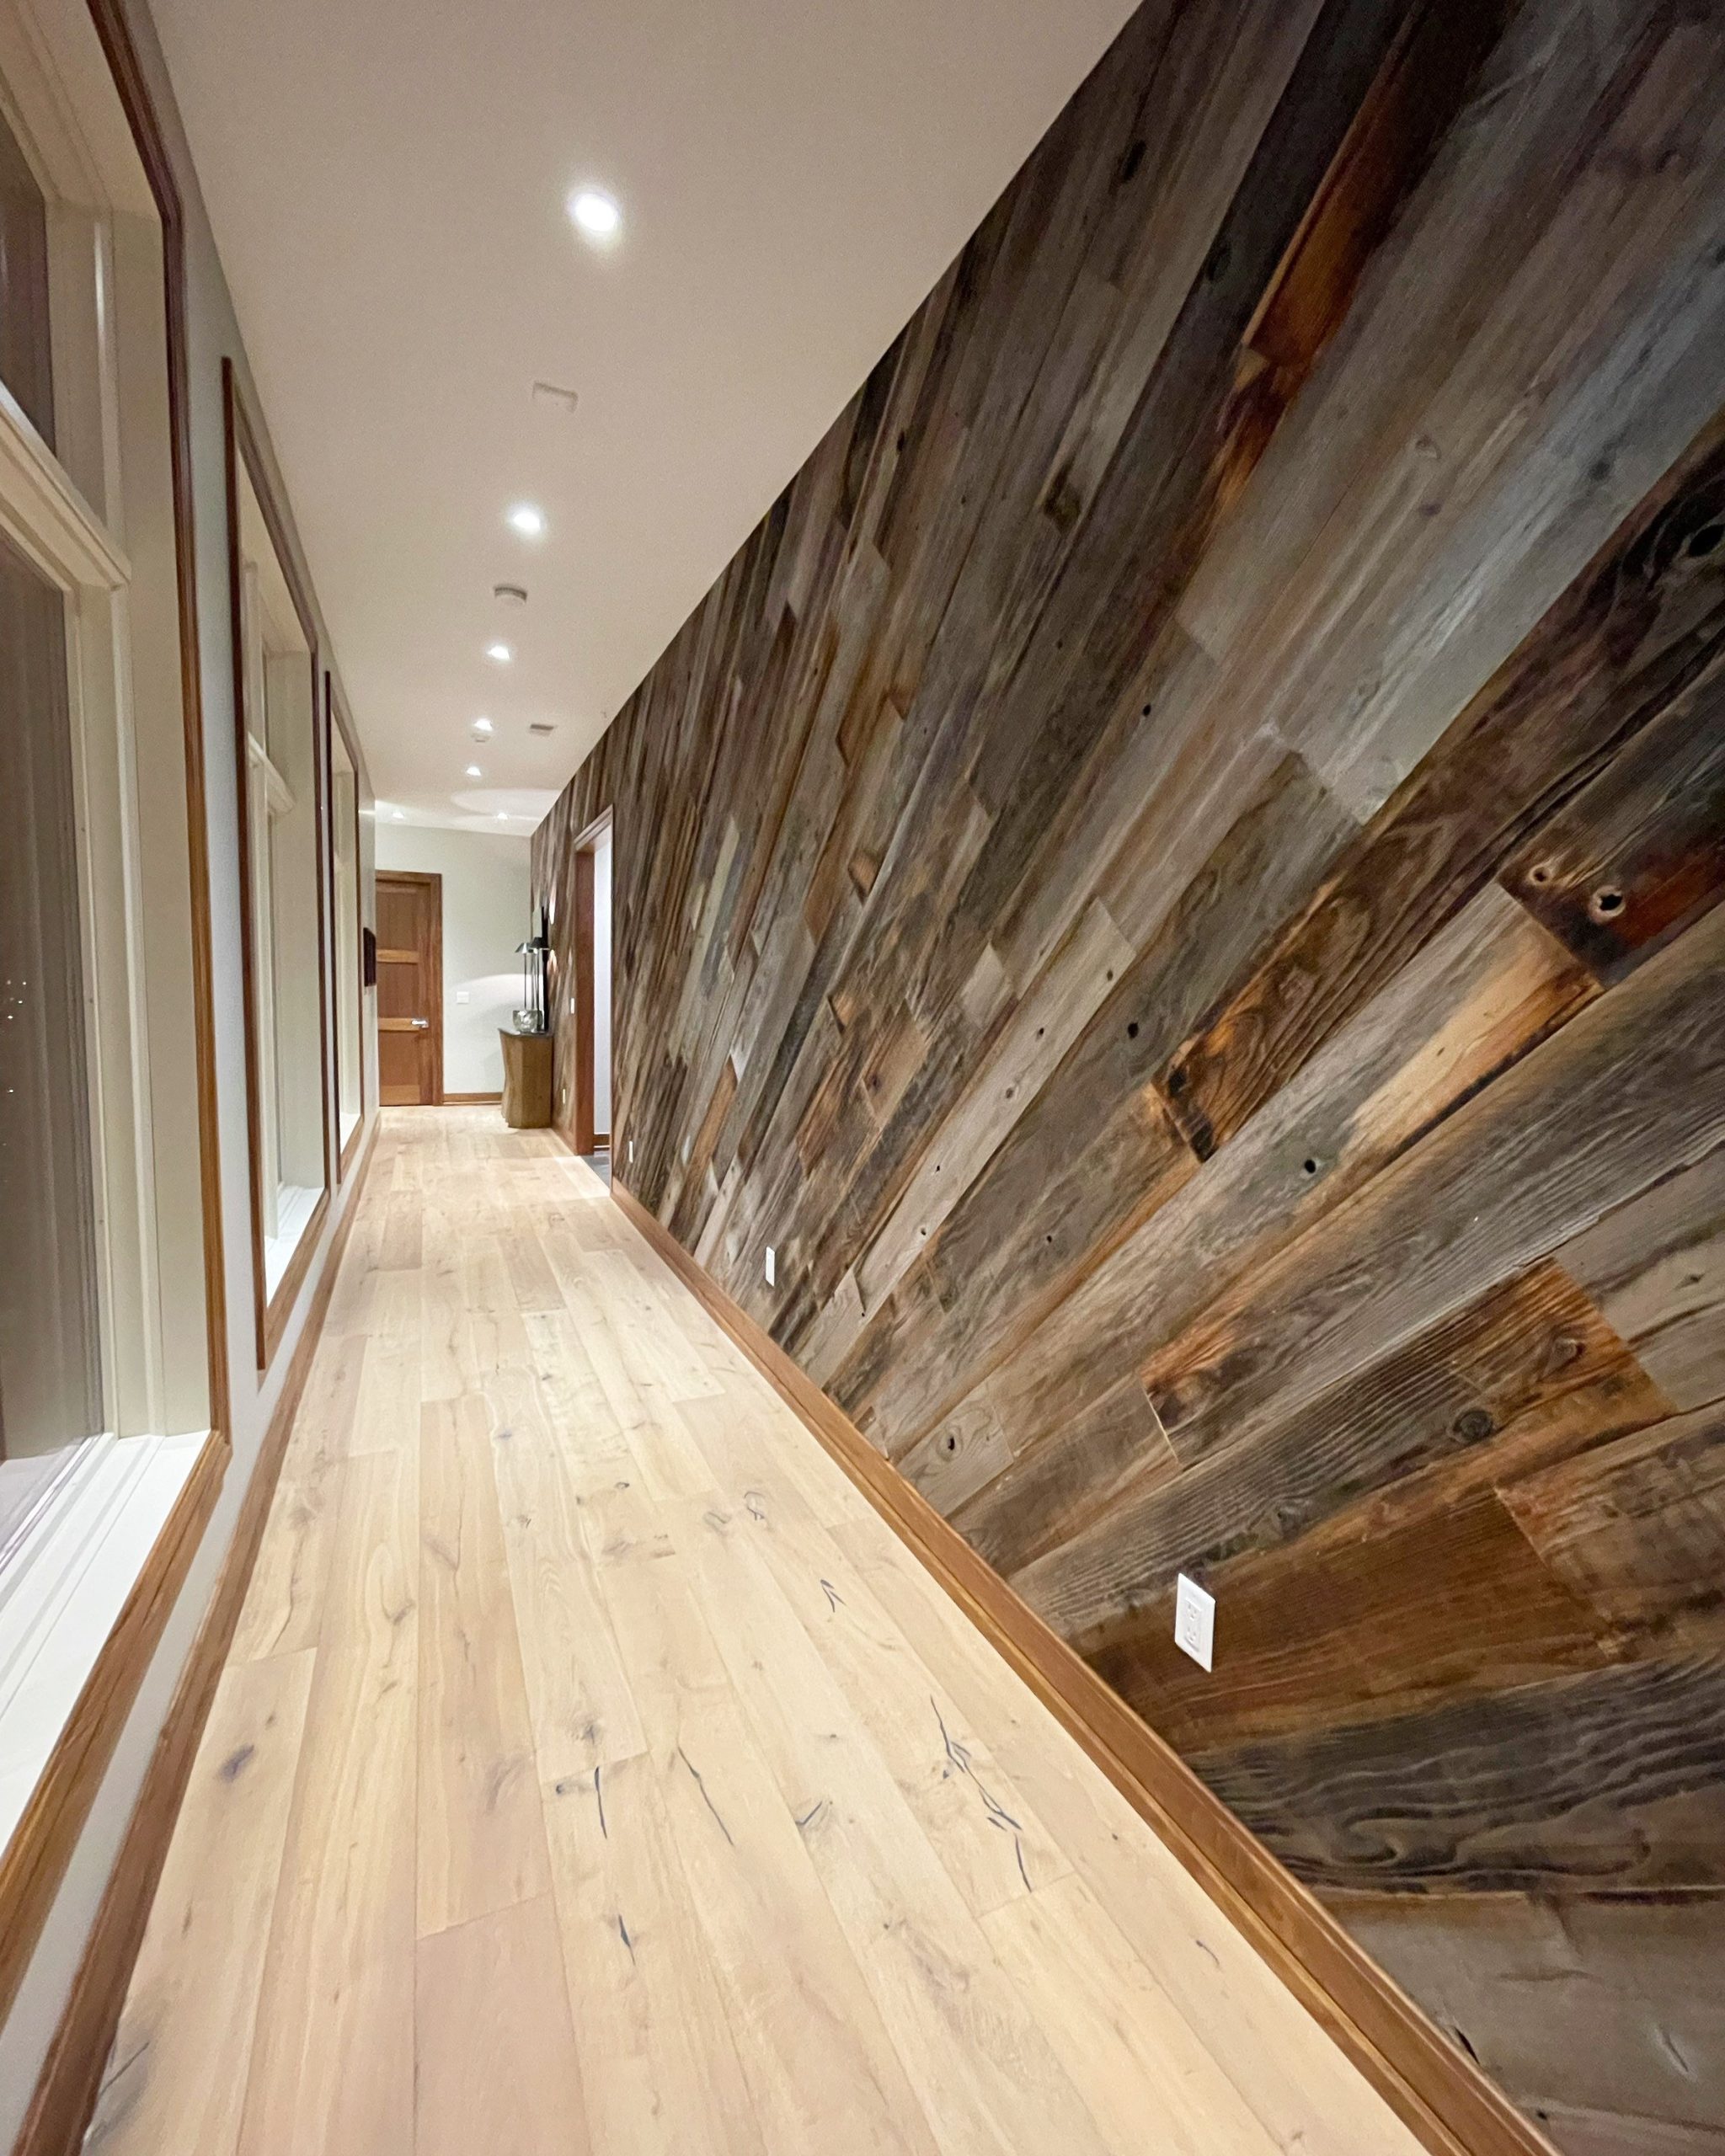
You know that feeling. You scroll through Pinterest or Instagram, and there it is. That perfect, warm, textured wood wall behind the bed. It looks so easy. Just some planks, a little glue, maybe a nail gun, and boom—instant luxury. So you buy the materials. You spend a weekend sweating over it. And when you step back? It feels… off. Maybe the lines are crooked. Maybe it looks cheap. Or worse, it’s already pulling away from the drywall.
It’s heartbreaking, really. Because a wood accent wall has the power to transform a sterile bedroom into a cozy retreat. It adds depth, warmth, and character. But the gap between "inspiration photo" and "reality" is often filled with tiny, avoidable errors. In 2026, with so many DIY-friendly materials on the market, it’s easier than ever to start these projects. But it’s also easier to mess them up if you rush. Let’s talk about what actually goes wrong, and how you can get it right the first time.
Ignoring the Room’s Natural Focal Point
The biggest mistake isn’t technical; it’s visual. People pick the wrong wall. They choose the wall with the window because it’s big. Or the wall opposite the door because it’s the first thing you see. But in a bedroom, the bed is the boss. If your wood wall doesn’t frame the headboard, it’s probably fighting for attention instead of enhancing the space. Designers in 2026 are still sticking to this golden rule: the accent wall should anchor the bed.
When you put wood on a side wall or a wall with too many interruptions (like closets, doors, or large windows), the pattern gets chopped up. It looks busy and disjointed. Imagine trying to read a book where every other page is torn out. That’s what a fragmented accent wall feels like to the eye. It creates visual noise instead of calm. Before you buy a single plank, stand in your doorway. Look at the bed. Which wall makes the bed look like the star of the show? That’s your wall. If it’s not the one behind the headboard, reconsider.
Also, think about balance. If you have a massive dresser on one side and a tiny nightstand on the other, a heavy wood wall on the wrong side can make the room feel lopsided. It’s about weight. Wood feels "heavy" visually. You need to distribute that weight evenly. Sometimes, painting the other walls a soft, neutral tone helps the wood pop without overwhelming the senses. Don’t just slap wood on the largest surface. Slap it on the most important one.
Skipping the Acclimation and Prep Phase
Here is a secret that hardware store employees won’t tell you unless you ask: wood moves. It breathes. It expands when it’s humid and shrinks when it’s dry. If you take boxes of engineered wood or solid timber straight from the truck into your bedroom and install them immediately, you are asking for trouble. In 2026, with climate control systems varying wildly from home to home, this step is non-negotiable. You need to let the wood acclimate.
This means opening the boxes and letting the planks sit in the room for at least 48 to 72 hours. Stack them flat. Let them adjust to the temperature and humidity of your specific bedroom. If you skip this, those tight seams you painstakingly aligned might open up into ugly gaps two weeks later. Or worse, the planks could buckle and push against each other, creating ridges that catch the light in all the wrong ways. It’s a simple step, but it requires patience. And nobody likes waiting. But trust me, waiting three days is better than redoing the whole wall.
Prep isn’t just about the wood, either. It’s about the wall itself. Many DIYers assume their drywall is perfectly flat. It’s not. Nothing is. If you install thin wood panels over bumpy drywall, every imperfection will show through. It’s like putting a silk sheet over a lumpy mattress. You need to find the high and low spots. Use a long level. Sand down the high spots. Fill the low spots with spackle. And clean the wall. Dust is the enemy of adhesive. A quick wipe-down with a damp cloth can save your project from falling off six months down the line. Don’t skimp on the boring stuff.
Misjudging Scale and Proportion
Size matters. Not just the size of the room, but the size of the planks. A common blunder is using narrow, skinny strips in a large master bedroom. It ends up looking cluttered, like a picket fence fell over. Conversely, using massive, wide planks in a tiny guest room can make the space feel cramped and overwhelming. The scale of the wood needs to match the scale of the room. In recent years, the trend has shifted toward wider planks for a more modern, seamless look, but context is key.
Think about the ceiling height too. If you have standard 8-foot ceilings, running planks horizontally can make the room feel wider but shorter. Running them vertically draws the eye up, making the ceiling feel higher. It’s a classic designer trick. But if you go vertical with very narrow boards, it can look like a jail cell. If you go horizontal with very wide boards, it can look like a cabin floor got stuck on the wall. Test it out. Tape some cardboard cutouts to the wall to simulate the width. Step back. Squint. Does it feel right?
Also, consider the pattern. Herringbone, chevron, shiplap, or straight lay? Each has a different visual impact. Herringbone is busy and dynamic; it works well in smaller doses or larger rooms where you want energy. Straight lay is calm and serene; it’s perfect for a bedroom where you want to unwind. Don’t choose a pattern just because it’s trendy. Choose it because it serves the mood of the room. If you want a spa-like vibe, keep it simple. If you want a boutique hotel feel, maybe add some complexity. But don’t mix too many patterns. One accent wall is enough.
Choosing the Wrong Adhesive and Fasteners
Glue is not just glue. This is where many projects fail silently. You might use a construction adhesive that’s too rigid. When the house settles or the temperature changes, the rigid glue snaps, and the panel pops off. Or you might use a weak tape that fails under the weight of the wood. In 2026, there are specialized panel adhesives designed specifically for interior wood installations. They have some flexibility. They grip well. They don’t ooze out the sides if you use the right amount.
Nails are another tricky part. If you’re nailing into drywall without hitting a stud, the nails will pull out. Period. You need a stud finder. Mark every stud. Plan your layout so that your seams or key points align with studs whenever possible. If you can’t hit a stud, you need to use toggle bolts or heavy-duty anchors, but these can be visible and ugly. The best approach is a combination: adhesive for the bulk of the holding power, and finish nails into studs for security.
And don’t forget the nail holes. If you’re using a brad nailer, the holes are small, but they’re still there. If you plan to stain the wood, filling these holes is a nightmare because wood filler doesn’t take stain the same way the wood does. You’ll end up with polka dots. If you’re painting the wall, it’s easier. But if you’re keeping the natural wood grain, you need to be strategic. Hide nails in the grooves of shiplap. Or use a color-matched wood putty. Or, better yet, design the layout so you can nail into the tongues or edges that will be covered by the next board. Think ahead.
Neglecting Lighting and Finish Integration
You’ve installed the wall. It’s straight. It’s secure. But then you turn on the lights, and it looks flat. Or worse, it looks like a shadowy cave. Lighting is half the battle with texture. Wood accent walls create shadows. If you only have one overhead light, those shadows can look harsh and uneven. You need layered lighting. Sconces on either side of the bed. A dimmable overhead fixture. Maybe even some LED strip lighting behind the headboard to wash the wood with a soft glow.
The direction of the light matters too. Grazing light (light that shines parallel to the wall) highlights every bump and groove. This is great if your installation is perfect. It’s terrible if your drywall was bumpy or your cuts were sloppy. If you know your wall isn’t 100% flawless, avoid strong grazing light. Use softer, diffused light that comes from further away. It forgives mistakes. It makes the wood look rich and warm instead of exposing every flaw.
Then there’s the finish. Are you sealing the wood? Raw wood in a bedroom can collect dust and allergens. It can also absorb moisture from your breath or humidifiers. A clear matte sealant protects it without changing the look. But test it first. Some sealants yellow over time. Some make the wood look wet and plastic-y. In 2026, water-based polyurethanes are popular because they stay clear and dry fast. Apply thin coats. Sand lightly between coats. It’s tedious, but it makes the difference between a piece of furniture and a wall that looks like an afterthought.
The last 10% of the job takes 50% of the time. This is where people get tired and cut corners. They leave gaps at the ceiling. They ignore the corners. They don’t caulk the edges. These little things scream "DIY" in the worst way. A professional look comes from crisp lines and finished edges. If there’s a gap between the top of the wood and the ceiling, install a thin piece of trim. Paint it the same color as the ceiling. It creates a clean break.
Corners are tricky. If your room isn’t perfectly square (and it isn’t), your miter cuts will have gaps. Don’t fight it. Use caulk. A paintable, flexible latex caulk can fill small gaps in corners and along baseboards. Smooth it with your finger. Wipe away the excess. It disappears. It makes the transition from wood to drywall look intentional and seamless. Without caulk, every shadow in the corner highlights the imperfection. With caulk, it looks smooth and continuous.
Finally, clean up the adhesive squeeze-out. If you used glue, some probably oozed out between the planks. If you leave it, it will look like shiny blobs forever. Wipe it away while it’s wet. If it dries, you’ll have to scrape it, which might damage the wood finish. Take your time. Inspect the wall from different angles. Look for stray nails. Look for dust. Touch up any scratches. This final polish is what elevates the project from "homemade" to "high-end." It’s worth the extra hour.
So, you’ve avoided the pitfalls. You picked the right wall. You prepped the surface. You chose the right scale and materials. You lit it beautifully and finished the edges with care. Now, step back. Breathe. Notice how the room feels different. Warmer. Quieter. More yours. A wood accent wall isn’t just decor; it’s a hug for your eyes. It sets the tone for rest. By taking the time to do it right, you’re not just installing wood. You’re crafting a sanctuary. And that’s something no amount of rushing can buy. Enjoy your new space.