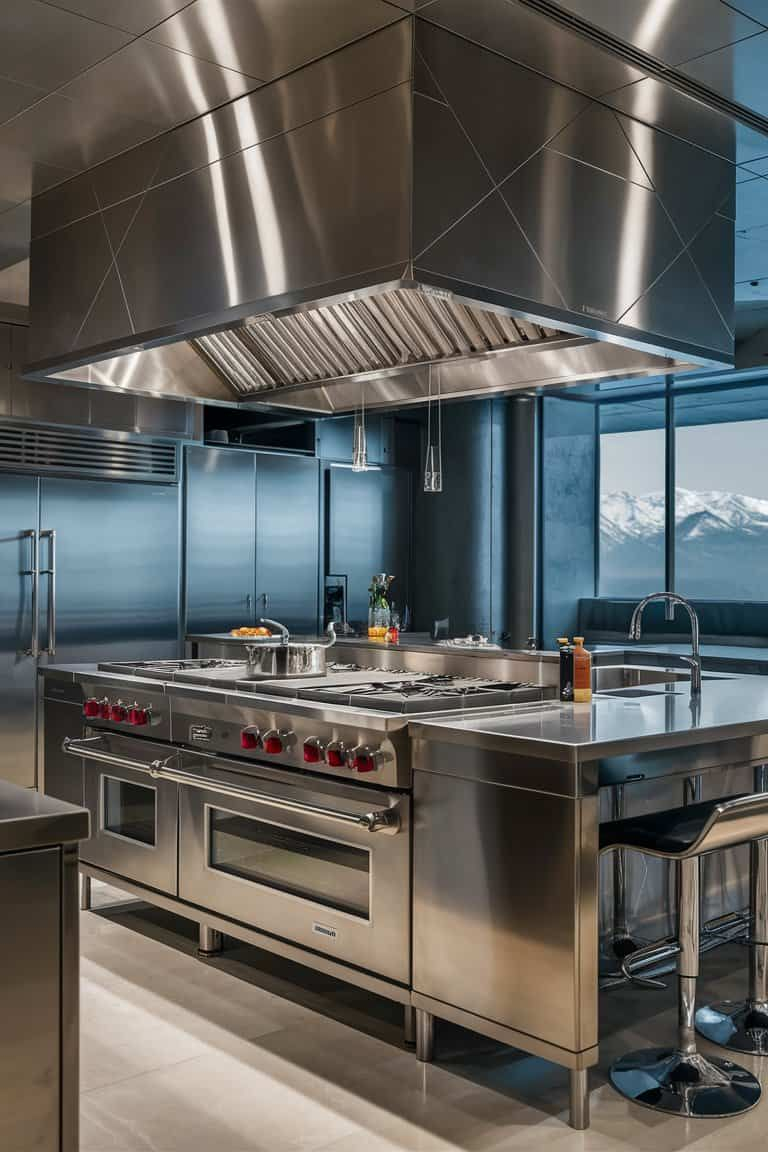
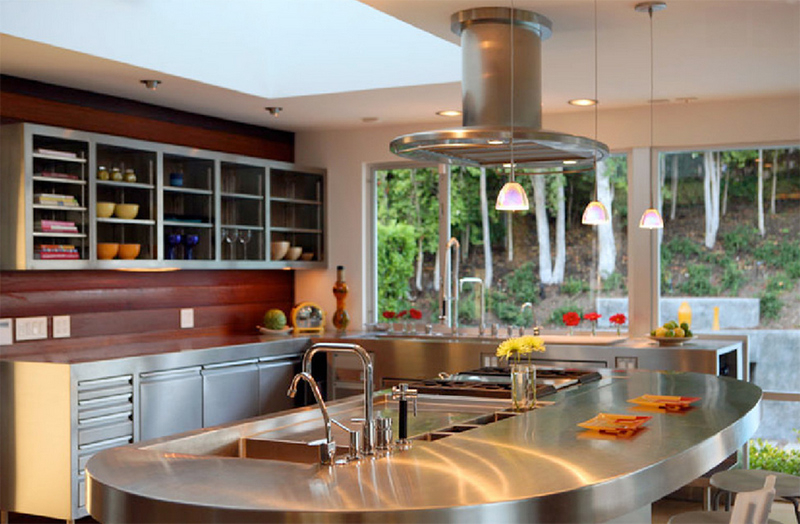
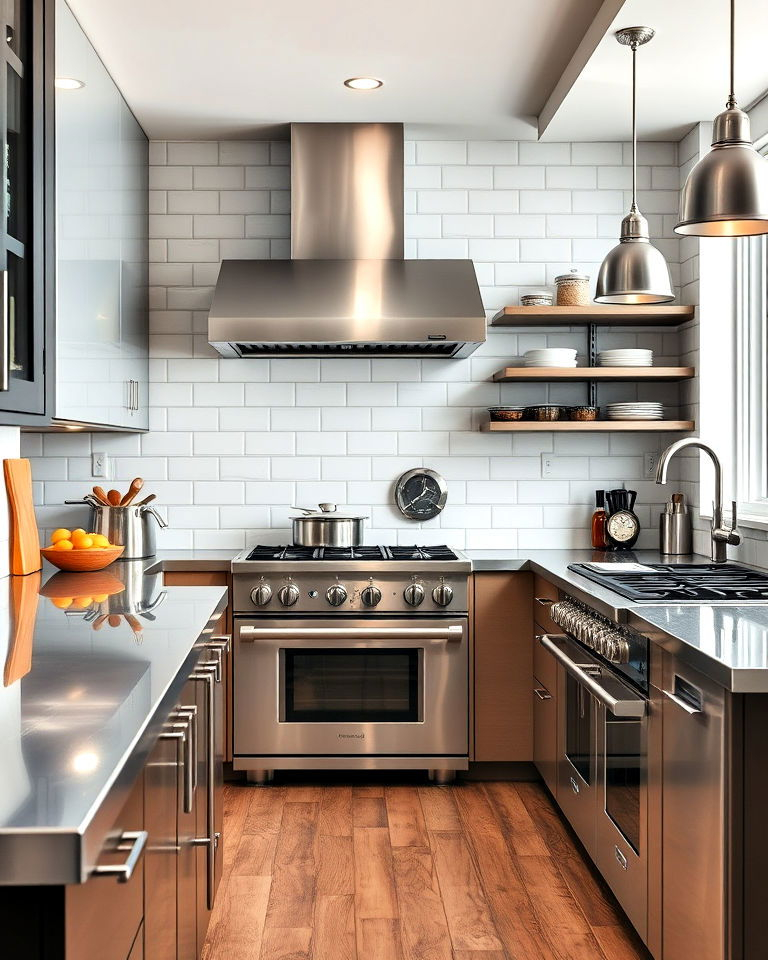
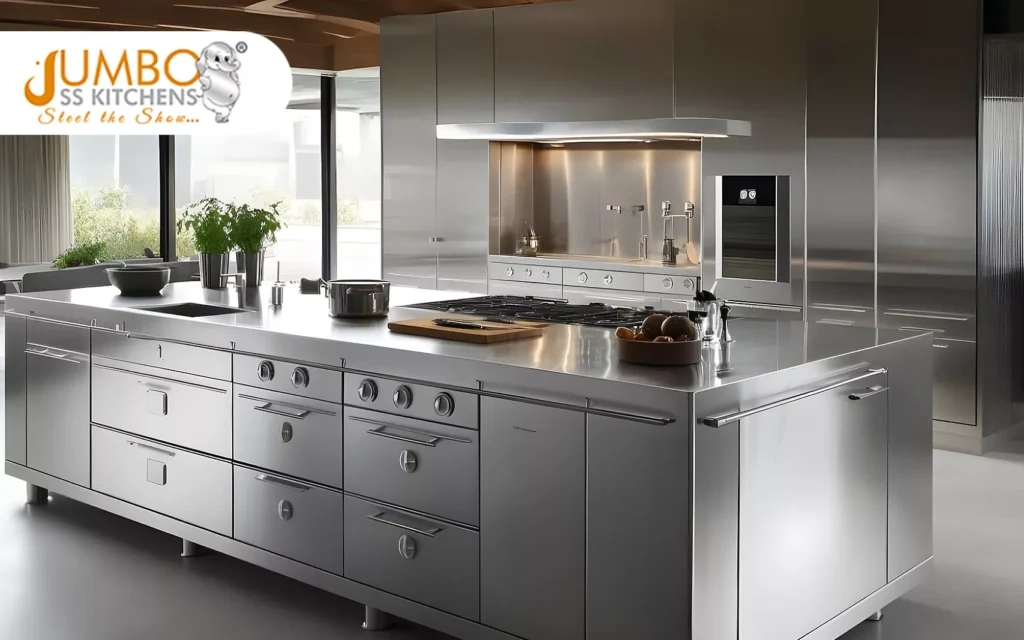
So, you’re thinking about going industrial chic? Or maybe you just want a surface that can take a beating and keep looking sharp. Stainless steel countertops have this cool, professional vibe that’s hard to beat. They’re hygienic, heat-resistant, and honestly, they look amazing in the right light. But before you sign on the dotted line, you need to know what you’re actually getting into. It’s not just about slapping some metal on your cabinets.
There’s a lot of mystery around the price tag. Some people say it’s cheap. Others swear it costs an arm and a leg. The truth? It’s somewhere in the middle, but with a lot of variables. In 2026, the market has shifted a bit. Labor is tighter, and material costs have stabilized after those wild swings we saw a few years back. If you’re budgeting for this, you need a realistic picture. Not the glossy brochure version. The real deal.
Let’s break it down. We’ll talk money, sure. But we’ll also talk about the noise, the dents, and the waiting game. Because installing stainless steel isn’t like dropping in a slab of granite. It’s a craft. And understanding that craft is the only way to avoid sticker shock later on. Ready to dive in?
Breaking Down the Price Tag
When you start asking around, you’ll hear numbers ranging from $80 to $200 per square foot installed. That’s a huge gap, right? For an average kitchen, you’re looking at a total bill between $2,400 and $8,000. Most homeowners land somewhere in the $2,500 to $6,750 range for a standard setup. Why the difference? It mostly comes down to customization.
Prefabricated options are cheaper, but let’s be honest, they rarely fit perfectly. Custom designs cost more because a fabricator has to measure, cut, and weld specifically for your space. The gauge of the steel matters too. Thicker steel (like 14-gauge) costs more than thinner stuff (like 18-gauge), but it also resists denting better. You’re paying for durability here.
Don’t forget the finish. A brushed finish hides scratches better than a mirror polish, but both require different levels of labor to achieve. And if you want integrated sinks or specific edge profiles, that adds up fast. Every cut, every weld, and every hour of polishing is billed. So when you see that quote, remember it’s not just for the metal. It’s for the skill.
The Hidden Costs Nobody Talks About
Here’s the thing about renovation budgets: they always blow up. With stainless steel, there are a few sneaky costs that catch people off guard. First, removal of your old countertops. If you have heavy stone or tile, tearing that out isn’t free. Contractors charge for labor and disposal. That can add a few hundred dollars to the bottom line before the new stuff even arrives.
Then there’s the substrate. Stainless steel is thin. It needs a solid base, usually plywood or particle board, to sit on. If your existing cabinets aren’t level or sturdy enough, you’ll need repairs or reinforcements. This is structural work, and it’s not optional. Skipping it means your shiny new counters will wobble or dent under pressure.
Plumbing and electrical adjustments are another big one. Since stainless steel is often custom-fabricated on-site or in a shop nearby, the cutouts for sinks and faucets need to be precise. If your plumbing is old or oddly placed, you might need a plumber to move lines. Same with outlets. These "small" tweaks add up. Always ask your contractor if these are included in the initial quote. Spoiler alert: they usually aren’t.
Why Labor Is the Biggest Expense
You might think the metal itself is the expensive part. Actually, it’s the hands that shape it. Stainless steel countertop installation is a job for skilled pros. Unlike laminate or pre-cut granite, this material requires custom fabrication. In many cases, the fabricator comes to your home or works in a local shop to ensure a perfect fit. This process takes time. Expect it to take 2-5 days, depending on how complex your kitchen is.
Labor rates vary wildly by region. In big cities with high living costs, you’ll pay more for the same work. But even in smaller towns, finding someone who knows how to weld stainless steel seamlessly is tough. It’s a niche skill. You’re paying for their expertise, their tools, and their insurance. Cheap labor often means visible welds or uneven edges. Do you really want to save $500 if it looks amateurish?
Also, consider the timeline. Because it’s custom, you can’t just pick it up at the hardware store. There’s a lead time. During busy seasons, like spring and summer, prices might creep up due to demand. Some folks try to game the system by scheduling in late fall or early winter. Contractors are often slower then, and you might snag a discount. It’s worth asking about seasonal pricing when you get your estimates.
Choosing the Right Grade and Finish
Not all stainless steel is created equal. You’ll hear terms like 304-grade and 430-grade. For kitchens, you almost always want 304. It’s more resistant to corrosion and rust. 430 is cheaper, but it’s magnetic and less durable against harsh cleaners. In 2026, most reputable suppliers stick to 304 for residential jobs, but always double-check. Don’t let someone sell you inferior metal to save a buck.
Thickness is measured in gauge. The lower the number, the thicker the steel. 14-gauge is about 0.074 inches thick. It’s sturdy and feels substantial. 18-gauge is thinner, around 0.047 inches. It’s cheaper but dents easier. If you drop a cast iron pan on 18-gauge, you’ll likely see a mark. For most homes, 16-gauge is the sweet spot. It balances cost and durability nicely.
The finish changes everything visually. A #4 brushed finish is the most common. It has those classic linear grain lines that hide fingerprints and minor scratches. A mirror polish looks stunning but shows every smudge. There’s also a satin finish, which is softer. Think about how you use your kitchen. If you’re messy or have kids, go for brushed. If you’re a neat freak who loves the look, mirror might work. Just know what you’re signing up for.
What Happens During Installation Day
Installation day is intense. It’s not a quiet affair. You’ll hear grinding, welding, and hammering. The fabricators will bring large sheets of metal into your home. They need space to work, so clear out your kitchen completely. They’ll lay down the substrate first, making sure it’s perfectly level. Then, they’ll place the steel over it.
Seams are the tricky part. If your counter is long, they’ll need to join pieces. A good pro will weld these seams and then grind them down until they’re invisible. This takes skill. If they rush it, you’ll see a bump or a discoloration. Watch them work. Ask questions. A good installer won’t mind explaining their process. It’s your house, after all.
Once the metal is down, they’ll cut holes for your sink and cooktop. This is done on-site to ensure accuracy. Then comes the cleaning. They’ll remove any metal dust or welding marks. You’ll be left with a pristine, shiny surface. But remember, it’s not quite "done" yet. You’ll need to seal the edges where the steel meets the wall or backsplash. Usually, this is done with silicone caulk. It’s a small detail, but it prevents water from getting underneath.
So, you’ve got your new counters. Now what? Here’s the reality: they will scratch. It’s inevitable. But here’s the secret—scratches blend in over time. The surface develops a patina. Many chefs love this because it shows the kitchen is being used. If you hate scratches, you can buff them out with a scouring pad, following the grain. It’s easy maintenance, but it is maintenance.
Heat is no issue. You can put hot pots directly on the surface. No trivets needed. That’s a huge plus for cooks. However, acidic foods like lemon juice or vinegar can leave spots if left sitting too long. Wipe them up quickly. Also, avoid bleach-based cleaners. They can pit the surface. Stick to mild soap and water or specialized stainless steel cleaners.
One thing people don’t expect is the noise. Metal clangs. If you drop a spoon, it sounds louder than on stone or wood. Some people find this annoying. Others don’t notice it after a week. Also, the surface can feel cold. In colder climates, this might be noticeable in winter. But overall, the hygiene benefits are unmatched. Bacteria doesn’t hide in pores because there are none. It’s a healthy choice for your family.
At the end of the day, stainless steel is an investment. It’s not the cheapest option, but it’s not the most expensive either. It sits in a unique spot where utility meets style. By understanding the costs—from the $80-$200 per square foot range to the hidden fees for removal and plumbing—you can budget accurately. And by knowing what to expect during the 2-5 day installation process, you can prepare your home and your patience.
Don’t rush the decision. Get multiple quotes. Ask about the gauge and the grade. Check references. Look at past projects. A good installer will stand by their work. And remember, timing matters. If you can wait for the off-season, you might save some cash. But don’t sacrifice quality for a small discount. This is a surface you’ll use every single day.
In 2026, the options are better than ever. Fabricators are using newer techniques to make seams less visible and finishes more durable. Whether you’re aiming for a sleek modern look or a rugged industrial vibe, stainless steel delivers. Just go in with your eyes open. Know the costs. Respect the process. And enjoy the incredible functionality that comes with it. Your kitchen will thank you.