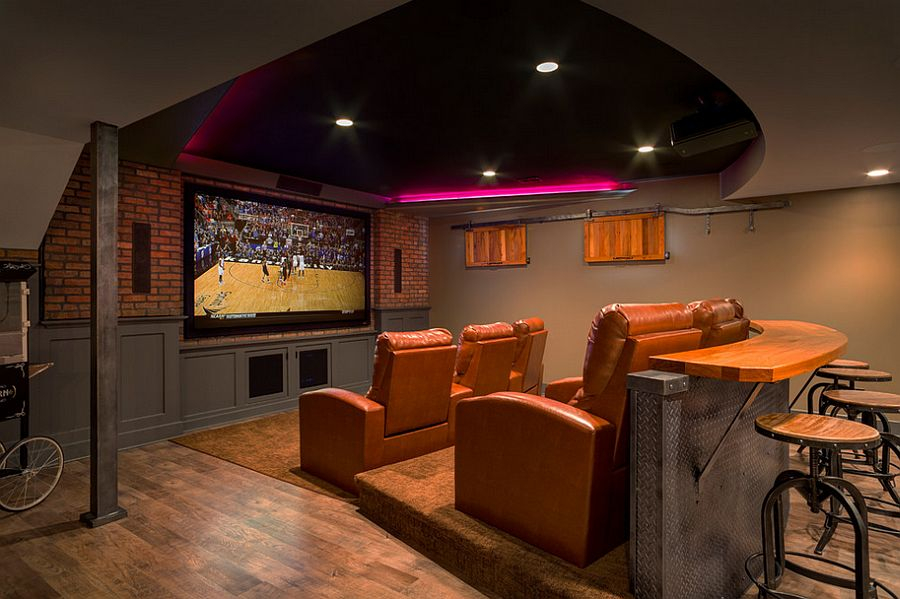
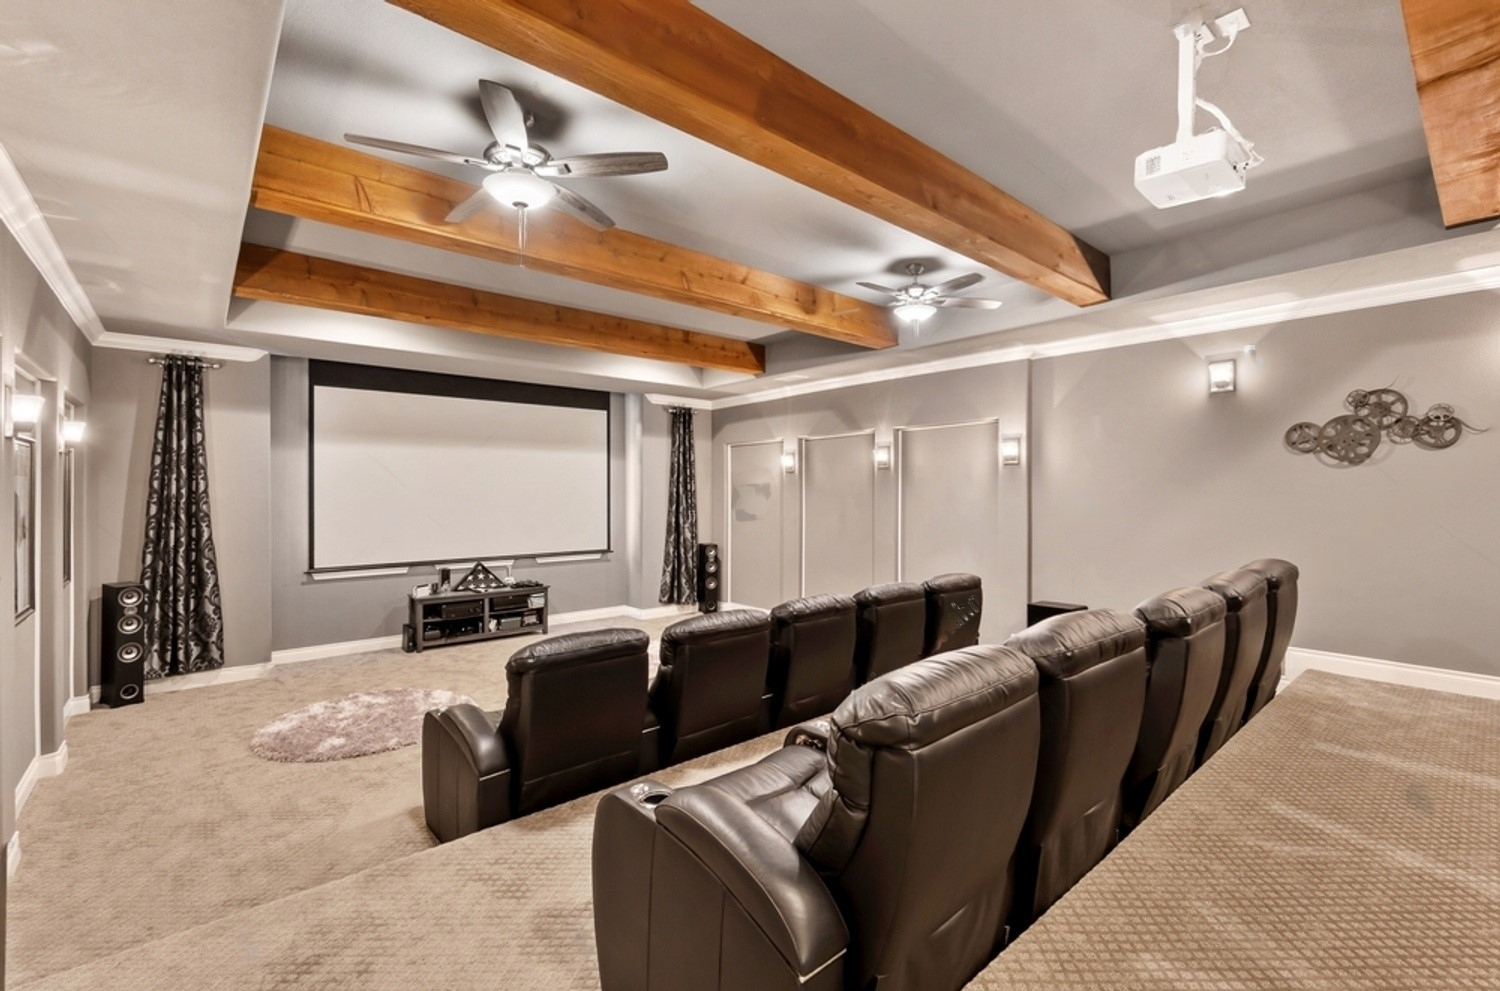
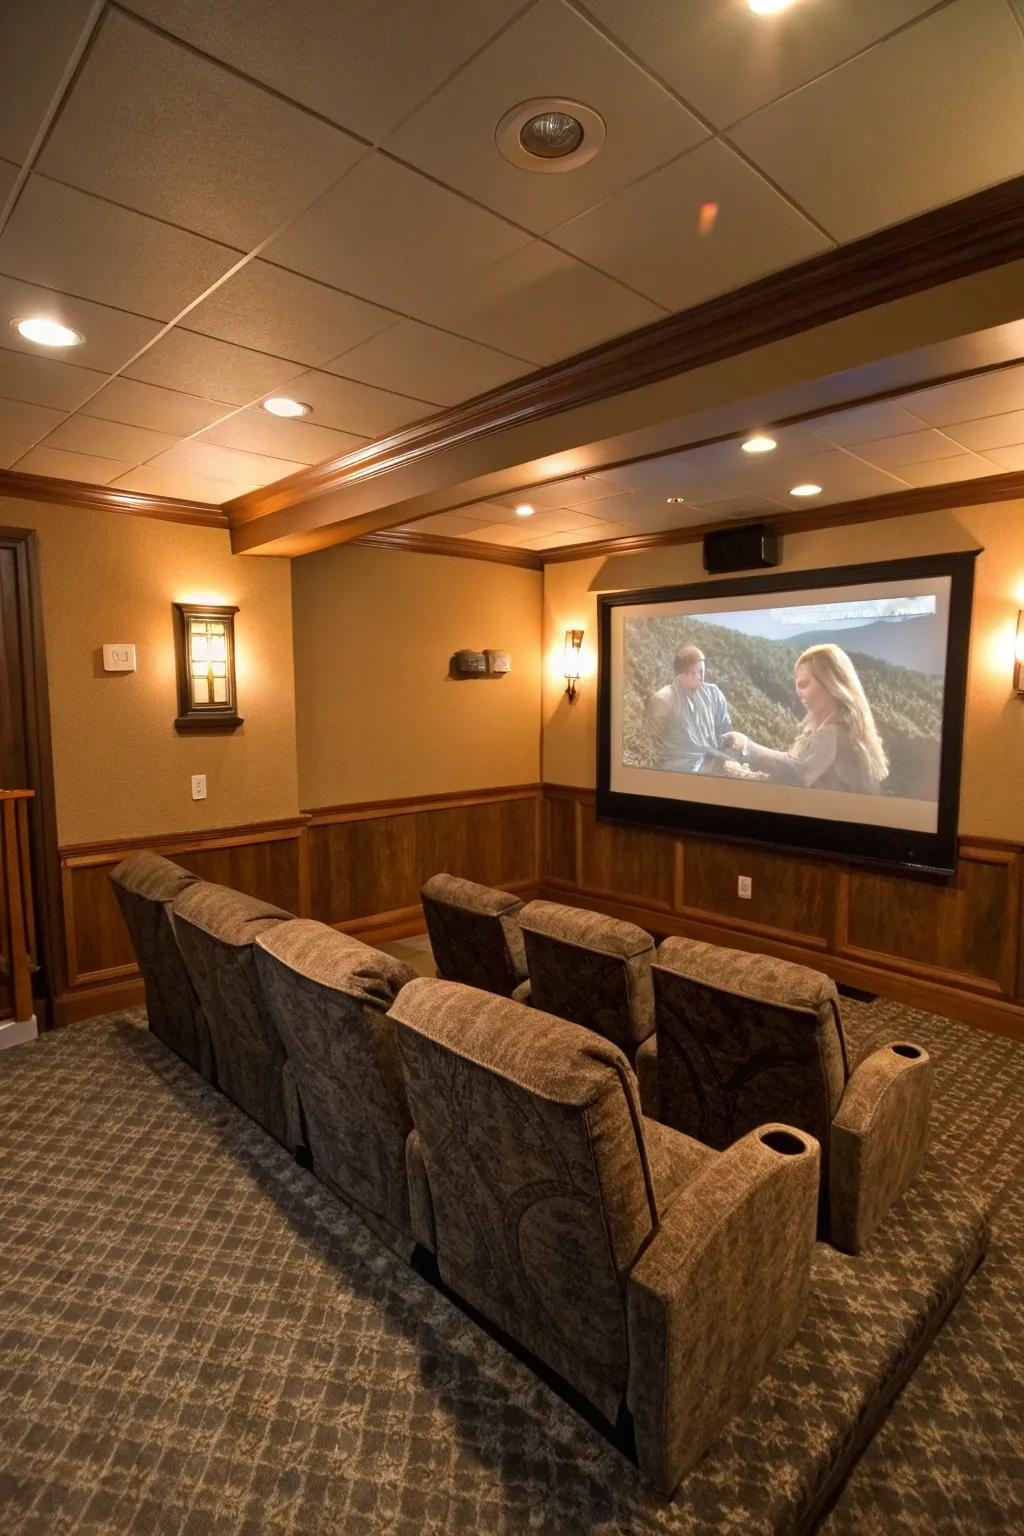
You know that feeling. You’ve spent months planning, saving, and building your dream basement theater. The screen is massive. The sound system rattles your chest. You hit play on the opening scene of your favorite film, ready to be transported. But then… something feels off. Maybe there’s a weird glare on the bottom left corner of the screen. Or maybe when you get up for a snack, you nearly trip over a chair leg because it’s pitch black. The magic is gone. It doesn’t feel like a cinema; it feels like a dark room with a TV.
It’s frustrating, right? And the worst part is, the culprit is usually not the expensive gear. It’s the lighting. Or rather, the lack of thoughtful lighting design. Most folks treat lights as an afterthought, slapping in a few recessed cans and calling it a day. But lighting is the invisible hand that guides your eyes, sets the mood, and keeps you safe without breaking the spell of the story. Getting it wrong is easy. Getting it right? That takes knowing where the traps are.
Let’s talk about those traps. Because once you see them, you can’t unsee them. And fixing them transforms your space from a "room with a projector" into a genuine escape.
The Runway Effect and Why Centered Lights Fail
Here is the number one mistake seen in almost every DIY basement finish. People install recessed lights in a straight line down the center of the room. It looks symmetrical. It looks neat on the blueprint. But in practice? It creates what designers call the "runway effect." You end up with a bright strip down the middle and cave-like darkness along the walls.
This is bad for two reasons. First, it makes the ceiling feel lower and the room feel narrower. Second, it leaves the perimeter of your theater in shadow. When you are watching a wide-screen movie, your peripheral vision picks up those dark, undefined corners. It subconsciously reminds you that you are in a small box, not a vast landscape. It breaks immersion.
The fix is surprisingly simple. Move those lights. Instead of centering them, place your recessed fixtures about 2 to 3 feet away from the walls. This technique is called "wall washing." By aiming the light at the vertical surface of the wall, you bounce it back into the room. This eliminates harsh shadows in the corners, makes the ceiling appear higher, and creates a soft, even ambient glow that doesn’t compete with the screen. It turns the walls into a source of gentle light rather than a void.
Glare Is the Enemy of Immersion
We have all been there. You are deep into a tense scene, shadows creeping across the protagonist’s face, and suddenly—bam. A bright reflection dances on the screen. It might be from a standby light on an amplifier, a glossy exit sign, or worse, an overhead light that wasn’t dimmed enough. Glare is the quickest way to pull someone out of a movie. It forces your eyes to adjust constantly, causing fatigue and killing the emotional impact of the visual storytelling.
Many homeowners make the mistake of using standard bulbs or fixtures that emit light in all directions. In a theater, you want control. You want light only where you need it, and nowhere else. Using fixtures with baffles or deep recesses helps contain the light beam so it doesn’t spill onto the screen. Also, consider the finish of your walls and furniture. Glossy paint reflects light like a mirror. Matte or flat finishes absorb stray light, keeping the focus on the display.
Another sneaky source of glare is equipment LEDs. Those tiny blue or red lights on your receiver, game console, or streaming box might seem harmless during the day. But in a darkened room, they are like lighthouses. A pro tip for 2026 setups is to use smart plugs or IR blasters to turn off unnecessary standby lights automatically when the movie starts. If you can’t turn them off, cover them with small pieces of black electrical tape. It’s a low-tech fix that works wonders.
Ignoring the Need for Layered Control
One switch for all the lights. That is a recipe for disaster. Yet, it is incredibly common. You walk in, flip the switch, and boom—full brightness. You want to watch a movie, so you turn them off. Now it’s pitch black. This binary approach ignores the nuance of how we actually use these spaces. We don’t just watch movies. We chat before the film, clean up afterward, play video games, or host parties. Each activity needs a different lighting "layer."
Think of lighting in three tiers. First, ambient light for general visibility when the room is in use but no media is playing. Second, task lighting for specific activities, like reading a menu or finding a dropped remote. Third, bias lighting or accent lighting for during playback. Bias lighting is a soft strip of LED light placed behind the screen. It reduces eye strain by providing a gentle reference point for your pupils, making the blacks on the screen look deeper and the colors more vibrant.
Without these layers, you are forced to compromise. You either leave some lights on (causing glare) or turn everything off (causing safety hazards). Installing a proper dimmer system is non-negotiable. But go beyond just dimming. Use zoning. Put the lights near the screen on one circuit and the lights near the back row or concession area on another. This allows you to keep the front dark for viewing while leaving a soft glow in the back for safe movement. It’s about having the right amount of light, in the right place, at the right time.
The Safety Hazard of Total Darkness
There is a romantic idea that a home theater should be completely dark, like a commercial cinema. But commercial cinemas have aisle lights. They have exit signs. They have staff with flashlights. Your basement does not. Stumbling around in total darkness is not just annoying; it’s dangerous. Tripping over cables, spilling drinks, or bumping into seats ruins the experience and can lead to actual injury.
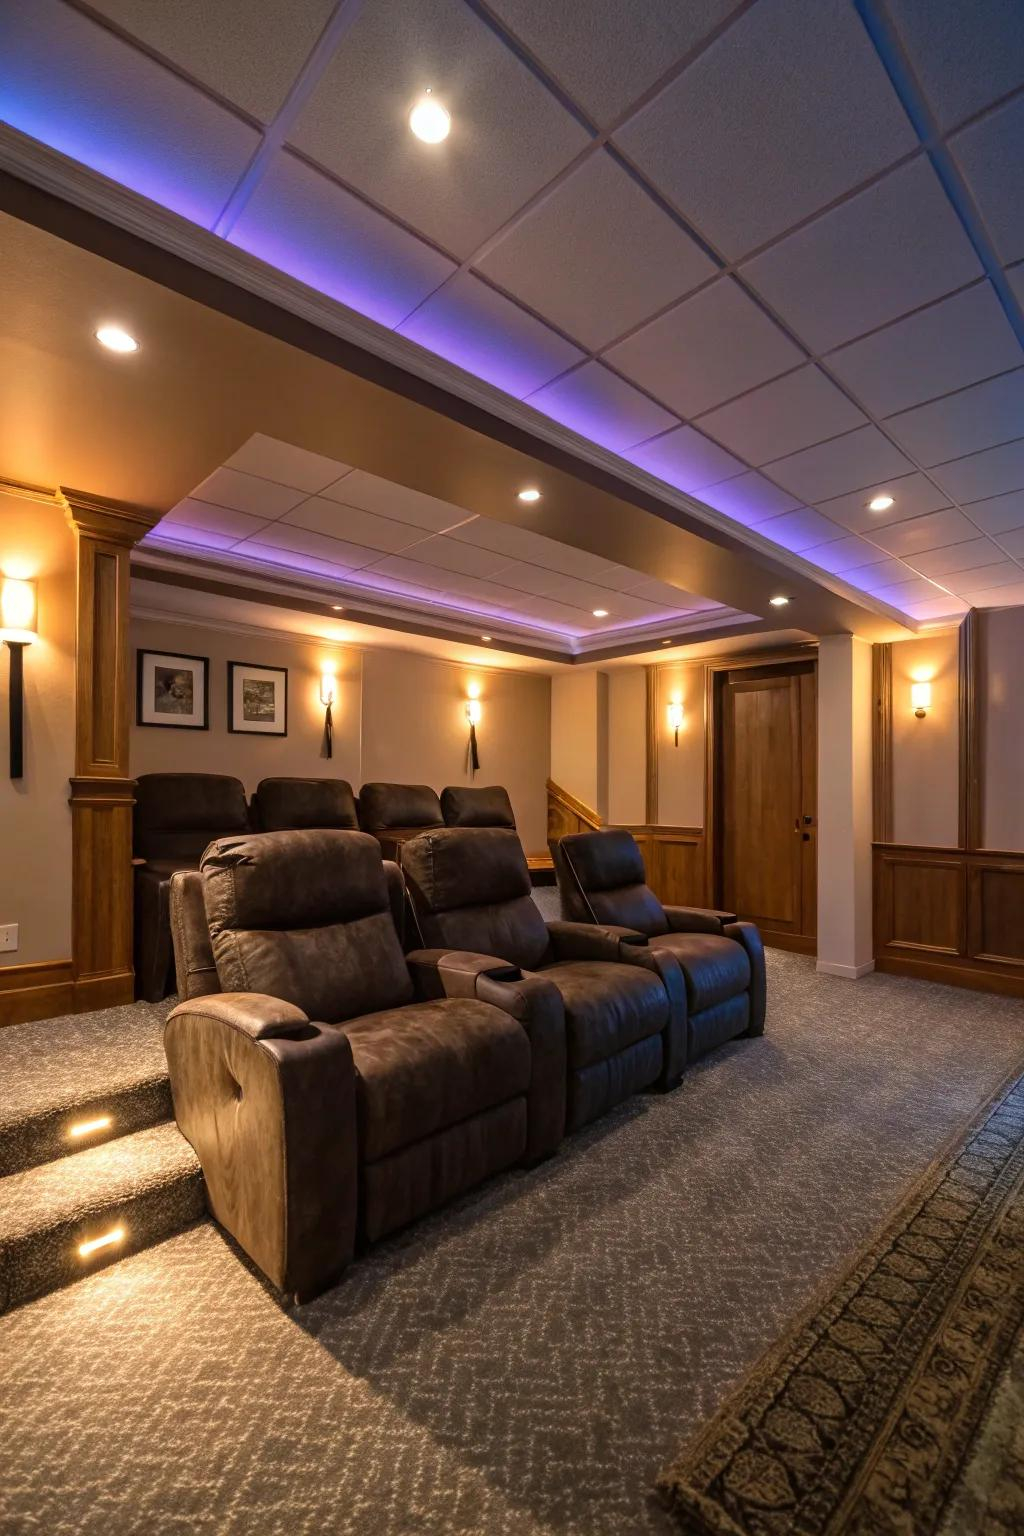
The mistake here is assuming that "movie mode" means zero lumens. It doesn’t. It means invisible lumens. You need path lighting. This isn’t about flooding the room with light. It’s about subtle cues. Low-level LED strips installed under the rows of seating, or small step lights integrated into the stairs leading down to the theater floor, provide just enough illumination to navigate safely without affecting the screen image.
These lights should be warm in color temperature (around 2700K or lower) and very dim. Red-spectrum lighting is also a great option because it preserves night vision better than white or blue light. Some modern smart home systems in 2026 even offer motion-activated path lighting that kicks on at 1% brightness only when it detects movement, then fades out after a minute. This way, the light is there when you need to walk to the bathroom, but absent when you are settled in. Safety and immersion can coexist. You just have to plan for both.
Choosing the Wrong Color Temperature
Light has a color, measured in Kelvin. Daylight is cool and blue (5000K+). Candlelight is warm and orange (2000K). For a basement theater, picking the wrong temperature can make the space feel sterile, cold, or oddly clinical. Many people buy "bright white" bulbs because they think brighter is better. In a living room or kitchen, maybe. In a theater? Absolutely not.
Cool, blue-heavy light fights against the warm tones of most movie cinematography. It also suppresses melatonin production, which can make it harder to relax and wind down. You want your theater to feel cozy, inviting, and intimate. Stick to warm white bulbs, ideally between 2200K and 2700K. This range mimics the glow of sunset or incandescent lamps, creating a sense of comfort and nostalgia.
Also, ensure consistency. Mixing color temperatures is a subtle but jarring error. If your recessed cans are 3000K and your accent lamps are 2700K, the room will feel "off," even if guests can’t pinpoint why. Buy bulbs from the same batch and brand to ensure they match perfectly. And remember, dimming warm bulbs often makes them even warmer (more orange), which is usually a desirable effect for evening viewing. Avoid "daylight" or "cool white" labels at all costs for this specific application.
Lighting doesn’t exist in a vacuum. It interacts with everything else in the room, especially acoustics and decor. A common oversight is installing lights directly above acoustic panels or sound-absorbing fabrics without considering the heat or the visual clutter. Some older halogen fixtures generate significant heat, which can degrade certain acoustic foams over time. While LEDs run cooler, poor placement can still create visual distractions.
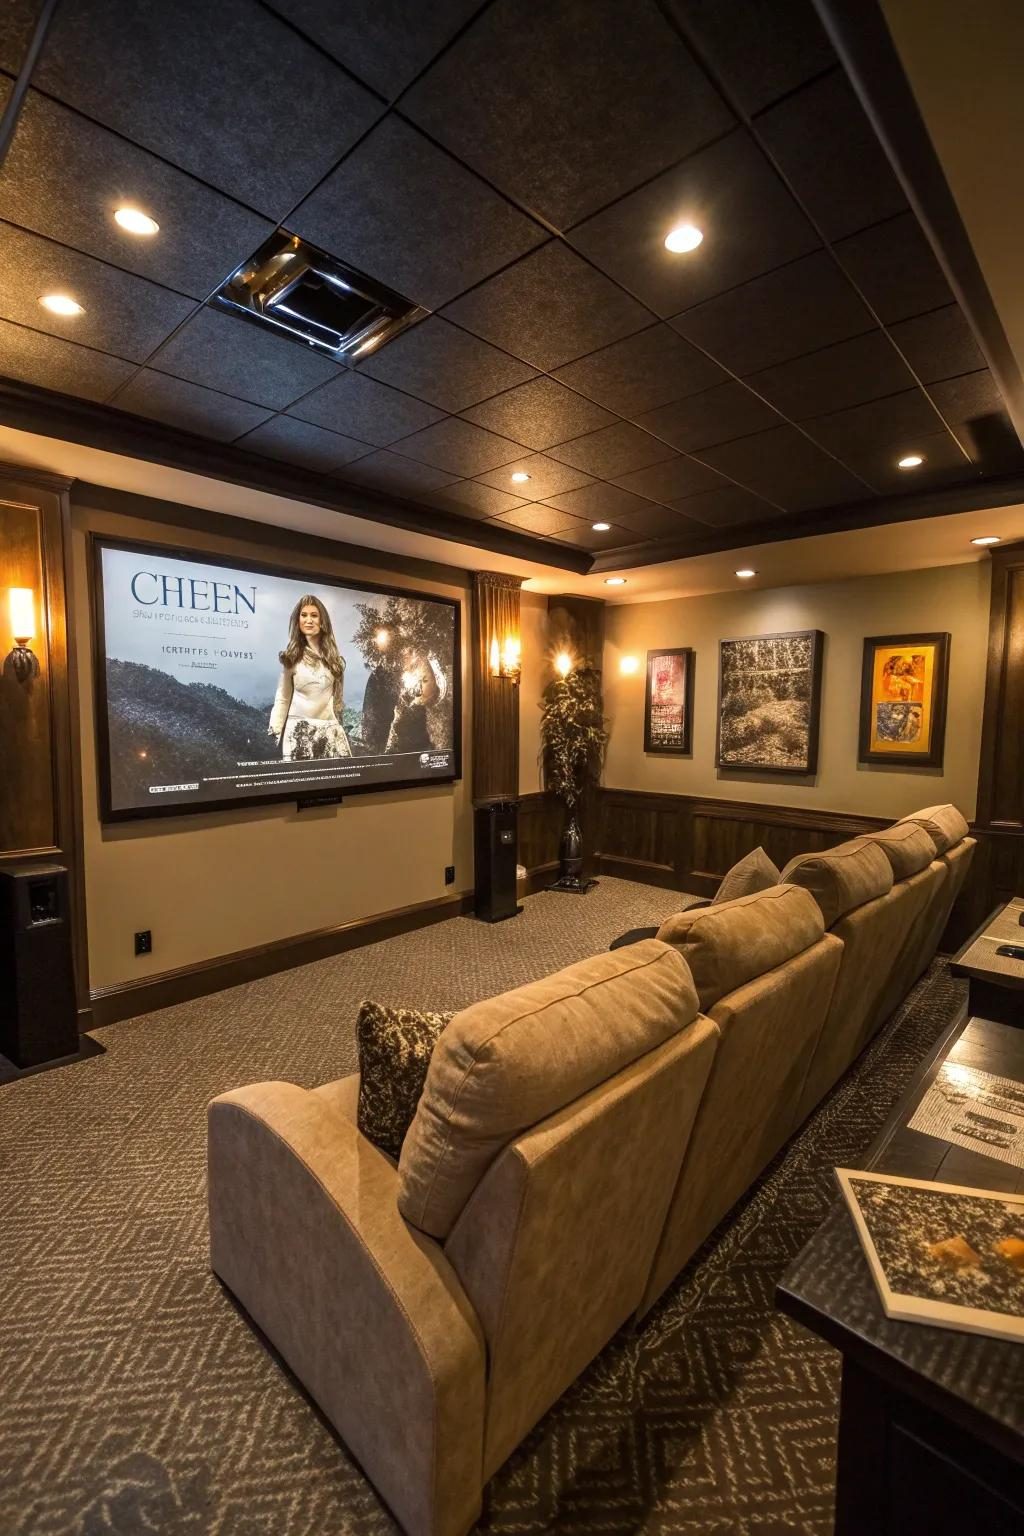
For instance, placing a bright light fixture directly in the line of sight of the rear seats is a major error. Even if it’s dim, if it’s in your direct view, it’s a distraction. Always map out the sightlines from every seat in the house. What do you see when you look forward? What do you see when you glance up? The ceiling should be a neutral, non-distracting plane. Darker ceiling paint can help lights "disappear" when they are off, reducing visual noise.
Furthermore, consider the reflectivity of your lighting fixtures themselves. Chrome or polished nickel fixtures can catch reflections from the screen or other lights. Opt for matte black or white trims that blend into the ceiling. This attention to detail ensures that the hardware serving the light doesn’t become a visual pollutant. It’s about holistic design. The lights should serve the room, not dominate it. When lighting, sound, and decor work together, the technology fades away, leaving only the experience.
So, where does this leave us? Building a basement theater is exciting. It’s a labor of love. But it’s easy to get caught up in the specs of the projector or the power of the subwoofer and forget the atmosphere. Lighting is the bridge between the technical and the emotional. It’s what makes the space feel safe, comfortable, and magical.
Avoiding these hidden mistakes doesn’t require a degree in engineering. It requires a shift in perspective. Stop thinking of lights as just things that turn on and off. Start thinking of them as tools for shaping perception. Move them off the center line. Layer them for different moods. Warm them up. Hide the glare. Light the path.
Take a look at your space tonight. Turn on the lights. Then dim them. Walk around. Sit in every seat. What do you see? What feels wrong? Tweak it. Adjust it. Because when you get the lighting right, you won’t notice it at all. And that is exactly the point. You’ll just notice the movie. And that’s what it’s all about.