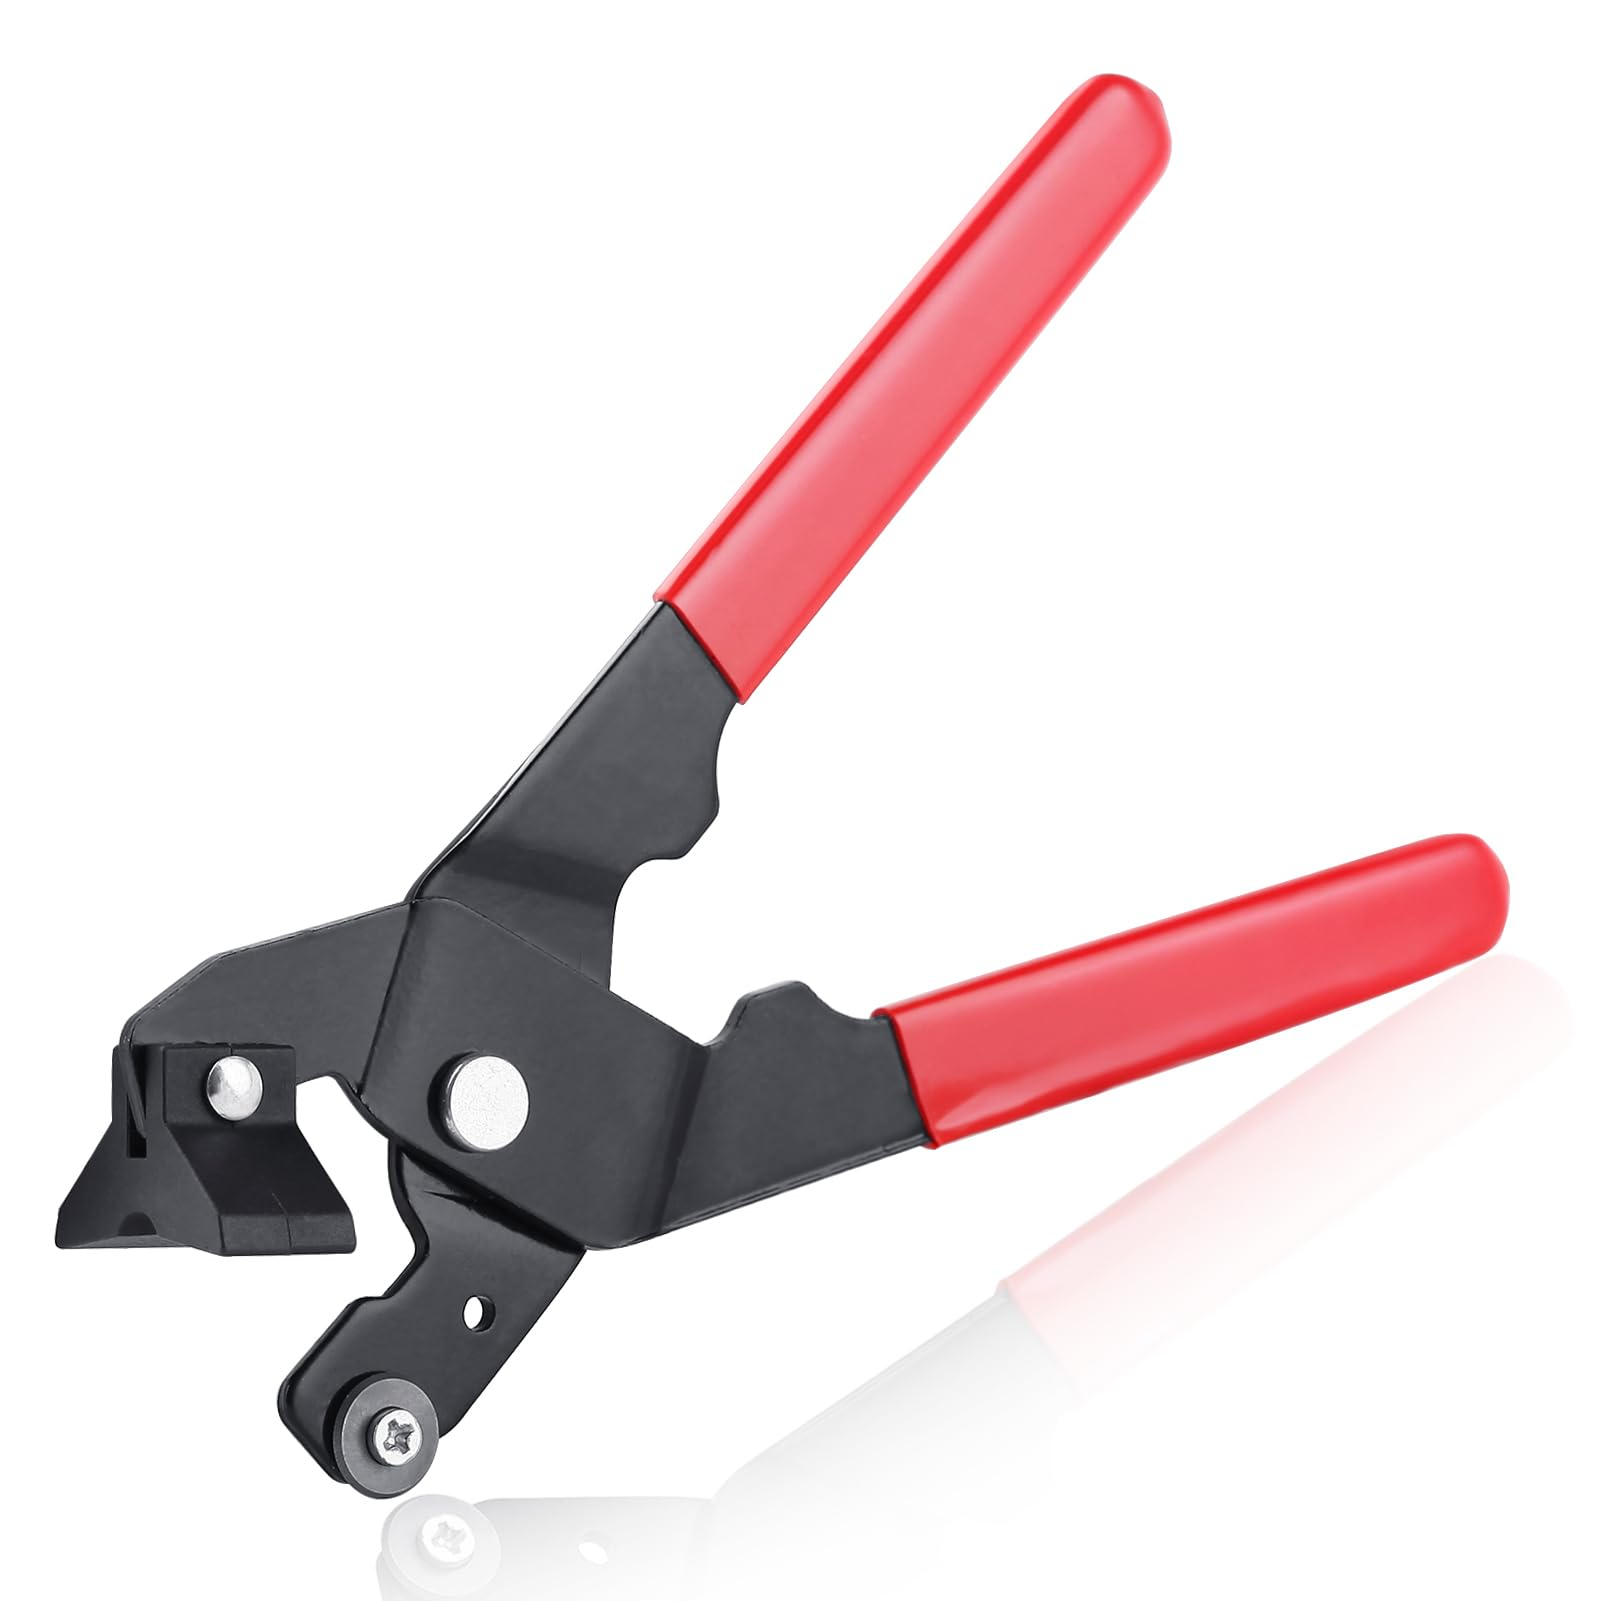
Ever stood in front of a pile of broken ceramic shards, wondering where it all went wrong? You measured twice. You marked the line. You even held your breath while pushing that little wheel across the surface. But when you pressed down to snap it, the tile didn’t break clean. It jagged. It crumbled. It mocked you. We’ve all been there. It’s frustrating, sure, but here’s the secret: tile cutting isn’t about brute force. It’s about finesse. It’s about understanding the material and letting physics do the heavy lifting for you.
The score and snap method is basically the backbone of any good tiling job, whether you’re redoing a bathroom floor or just fixing a cracked backsplash tile. In 2026, despite all the fancy laser-guided wet saws and robotic cutters hitting the market, the manual cutter remains king for speed and cleanliness. No water mess. No dust cloud choking your lungs. Just a quiet, satisfying click and a perfect edge. But getting that perfect edge every single time? That takes a bit of know-how. It’s not magic, but it might feel like it once you get the hang of it.
Let’s dive into how you can stop wasting tiles and start cutting like a pro. It’s simpler than you think, provided you respect the process.
Why Choose Manual Over Power?
You might be wondering why anyone would bother with a manual cutter when power tools are so prevalent. Fair question. Wet saws are great, no doubt. They handle complex shapes and hard porcelain like a champ. But they’re loud, messy, and require a power source. If you’re working in a finished home, dragging out a wet saw means setting up tarps, dealing with slurry, and listening to a high-pitched whine that drives everyone in the house crazy. The score and snap cutter is silent. It’s portable. You can carry it under one arm and set it up on a kitchen table if you need to.
For most standard straight cuts, especially on ceramic and softer porcelain tiles, the manual method is actually faster. Pros know this. In a high-speed installation, time is money. Setting up a wet saw for every single straight cut is inefficient. A manual cutter lets you mark, score, and snap in under ten seconds. Plus, there’s no blade to change, no water to refill, and no electricity bill to worry about. It’s the eco-friendly choice too, since it uses zero energy. For the DIYer, it’s also way less intimidating. There’s no spinning blade to fear, just a simple mechanical action that feels more like crafting than construction.
However, it’s not a one-size-fits-all solution. If you’re dealing with natural stone, thick pavers, or need L-shaped cuts, you’ll still need other tools. But for the bulk of residential tiling—those straight edges along walls and corners—the score and snap is your best friend. It keeps the workspace clean and your sanity intact. And let’s be honest, nobody wants to mop up muddy tile water at the end of a long day.
Picking the Right Tool for the Job
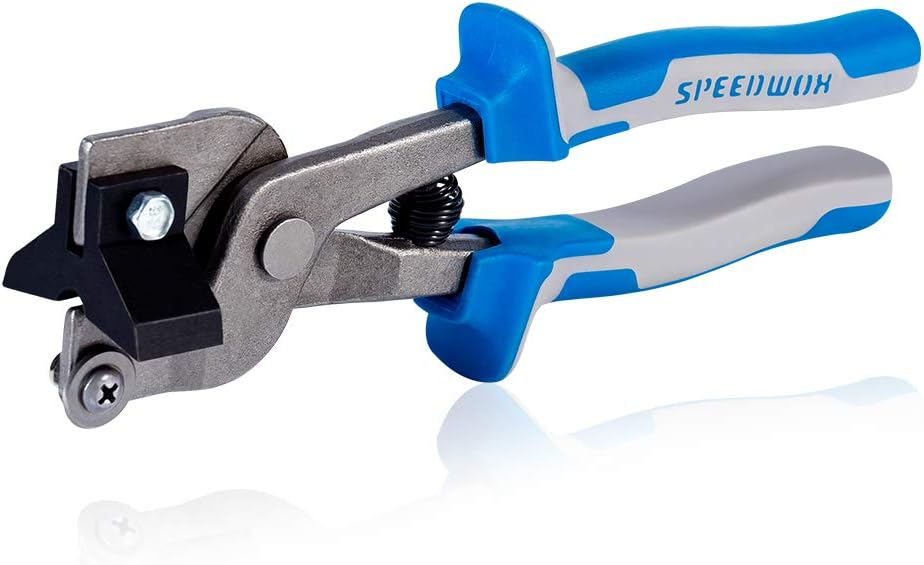
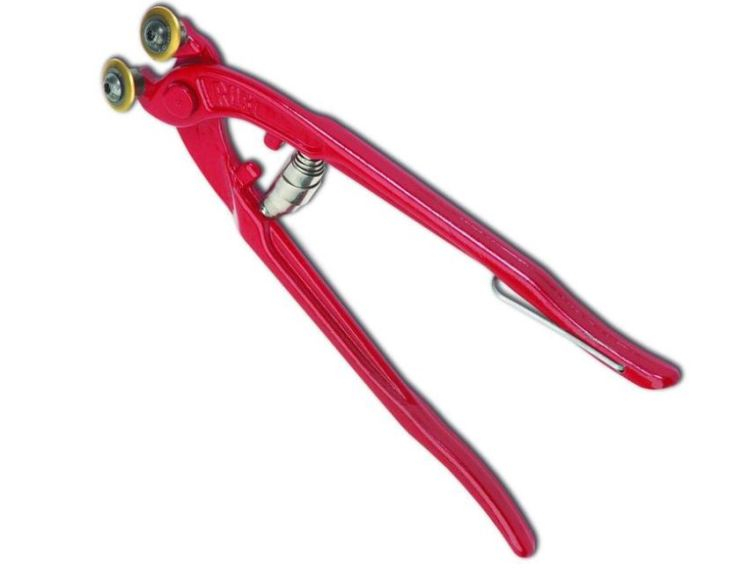
Not all manual cutters are created equal. Walk into a hardware store in 2026, and you’ll see a range of options, from cheap plastic gadgets to heavy-duty steel beasts. Don’t skimp here. A flimsy cutter will wobble, giving you uneven scores and broken tiles. Look for a model with a solid base plate and a smooth-gliding carriage. The scoring wheel should be made of tungsten carbide—it stays sharp longer and creates a cleaner groove. If the wheel feels loose or gritty when you push it, put it back on the shelf.
Size matters too. Make sure the cutter is rated for the largest tile you plan to use. If you’re laying 12×12 inch tiles, get a cutter that handles at least 14 inches comfortably. Trying to squeeze a large tile into a small cutter is a recipe for disaster. The breaking mechanism needs enough leverage to snap the tile cleanly across its entire width. Some newer models in 2026 come with adjustable breaking feet, which help distribute pressure evenly. This is crucial for larger format tiles, which are more prone to uneven breaks if the pressure isn’t balanced.
Also, check the fence. The fence is the guide that keeps your tile straight while you score. It should be sturdy and lock firmly in place. If it wiggles, your cuts will be crooked. Some pro-grade cutters have laser guides or digital readouts now, which can be helpful for precision work, but a good old-fashioned metal fence works just fine if it’s accurate. Test it out before you buy. Run the carriage back and forth. It should feel smooth, like butter. If it sticks or jerks, it’s going to ruin your score line. Remember, a smooth score leads to a clean snap.
The Art of the Score
Here’s where most people mess up. They think scoring means scratching the surface. It doesn’t. Scoring means creating a controlled weakness in the tile’s glaze and body. You want a single, continuous line that goes from edge to edge. No stops. No starts. No going back over the same line. As tile expert Angelo from This Old House famously advised, score the tile only once. Going back over the line creates multiple weak points, causing the tile to shatter unpredictably instead of breaking cleanly. One pass. That’s it.
Pressure is key. You need enough force to penetrate the glaze and bite into the clay body, but not so much that you crush the tile. It’s a Goldilocks situation. Too light, and the snap won’t follow the line. Too hard, and you might crack the tile prematurely. Listen to the sound. A good score sounds like a steady, consistent zipper being pulled. If it sounds scratchy or skips, you’re either moving too fast or the wheel is dull. Practice on a scrap piece first. Get a feel for how much pressure your specific tile needs. Porcelain, being denser, requires a firmer hand than soft ceramic.
Speed matters as well. Don’t rush, but don’t crawl either. A steady, moderate pace ensures an even depth throughout the cut. Start the wheel just off the edge, press down, and glide across to the other side, lifting off just as you reach the end. This prevents chipping at the edges. If you notice the wheel skipping, check for debris on the tile surface. Dust or grit can throw off the wheel’s path. Wipe the tile clean before every score. It’s a small step, but it makes a huge difference in accuracy. And remember, if you miss the line, don’t try to fix it. Start over with a new tile. Trying to rescore is almost always a waste of time.
The Snap: Confidence is Key
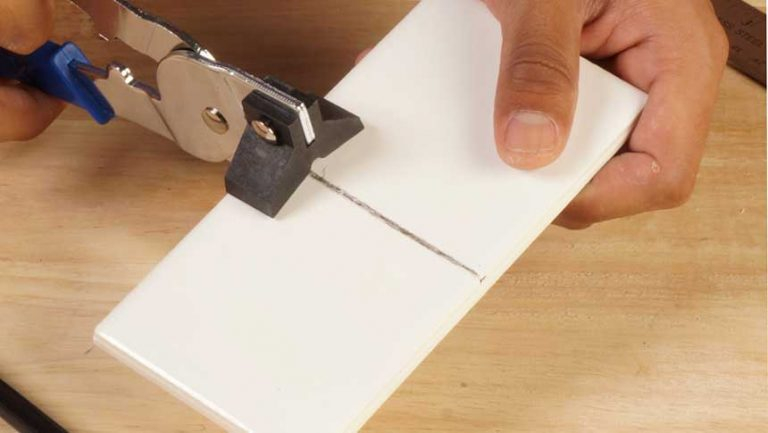
Once you’ve scored the tile, it’s time for the moment of truth. The snap. This is where hesitation kills. If you’re timid, the tile will likely break unevenly. You need to apply quick, decisive pressure. Most manual cutters have a breaking foot or a lever system. Position the tile so the score line is directly under the breaking point. Align it carefully. Then, press down firmly and quickly. It’s not a slow squeeze; it’s a confident push. Think of it like snapping a chocolate bar. You want it to give way instantly along the weak line you created.
For larger tiles, you might need to use both hands or adjust the breaking feet to support the tile evenly. If one side snaps before the other, you’ll get a jagged edge. Some cutters allow you to adjust the position of the breaking feet to match the width of the tile. Use this feature. It ensures that the pressure is applied symmetrically. If you’re doing this by hand without a machine (which is harder and riskier), you can place the tile over a pencil or dowel aligned with the score line and press down on both ends. But honestly, a proper cutter makes this so much easier and safer.
If the tile doesn’t snap cleanly, don’t panic. Sometimes a slight tap on the underside of the tile near the score line can help finish the break. Use the handle of a screwdriver or a specialized tapping tool. Gently tap along the line until it separates. But if it’s crumbling or jagging badly, the score was probably insufficient or uneven. Don’t try to force it. Toss it and try again. It’s better to waste one tile than to install a bad cut that you’ll hate forever. Confidence comes with practice. The more tiles you snap, the better you’ll get at judging the right amount of force.
Troubleshooting Common Issues
Even with the best technique, things can go wrong. Let’s talk about common pitfalls and how to fix them. First up: chipped edges. This usually happens if the scoring wheel is dull or if you didn’t lift the wheel properly at the start and end of the cut. Replace the wheel if it’s worn. Also, make sure you’re not pressing too hard at the edges. Another cause is dirty tiles. Wipe them down. Second issue: uneven breaks. This often means the tile wasn’t aligned correctly under the breaking foot, or the pressure wasn’t even. Check your alignment. Adjust the feet. Try again.
What if the tile just won’t snap? Maybe it’s too thick or too dense for your cutter. Porcelain tiles, especially those rated for outdoor use, can be incredibly tough. If you’re struggling, you might need a heavier-duty cutter or a different method altogether. Don’t beat yourself up. Some materials just resist the score and snap method. In those cases, a wet saw with a diamond blade is the way to go. Also, check if your tile has a textured surface. Textured tiles are harder to score because the wheel skips over the bumps. You might need to score slightly slower and with more consistent pressure.
Another common problem is curved breaks. This happens if the score line wasn’t straight. Ensure your fence is locked tight and the tile is flush against it. If the tile is warped (which happens with cheaper brands), it might not lie flat, making a straight score impossible. In that case, you might need to shim the tile or use a different piece. Always inspect your tiles before cutting. Reject the warped ones for full-field use and save them for small cuts where the warp matters less. Patience and attention to detail solve most of these issues. It’s not about being perfect; it’s about being observant.
Want to take your game to the next level? Here are some insider tips that pros use daily. First, always measure from the finished edge, not the raw edge. Tiles can vary slightly in size, so relying on the factory edge ensures consistency. Second, account for grout lines. If you’re cutting a tile to fit a space, subtract the width of the grout joint from your measurement. It’s a small detail, but forgetting it means your tile will be too tight to fit. Third, keep your cutter clean. Dust and debris build up on the base and rails, affecting performance. Wipe it down after every few cuts.
Use masking tape on glossy tiles. If you’re cutting a highly glazed ceramic, putting a strip of painter’s tape over the cut line can help prevent chipping. Score through the tape. It holds the glaze together during the snap, resulting in a cleaner edge. Also, consider the direction of the pattern. If your tile has a directional design, make sure you’re cutting it in the right orientation. It sounds obvious, but it’s easy to forget when you’re focused on the cut itself. Flip the tile over and check the back markings if you’re unsure.
Finally, practice makes perfect. Before you start on your visible tiles, grab a box of leftovers or cheap spares and practice your scoring and snapping. Get a feel for the tool. Learn how much pressure your specific tiles need. It’s better to waste five hidden tiles learning the rhythm than to ruin five visible ones. And don’t forget safety. Wear glasses. Tiny shards of ceramic can fly off during the snap. They’re sharp and fast. Protect your eyes. It’s a small precaution that saves a lot of pain. With these tips, you’ll be cutting like a veteran in no time.
So, there you have it. The score and snap method isn’t just a technique; it’s a skill that rewards patience and practice. It’s quiet, clean, and surprisingly satisfying once you master it. Whether you’re tackling a small backsplash or a whole floor, this method will save you time, money, and a whole lot of cleanup. Don’t be afraid of the break. Embrace it. With the right tool and a steady hand, you’ll get those perfect cuts every time. Now go make something beautiful.