Ever stood outside during a summer storm and just watched the water pour off your roof? It’s kinda wasteful, isn’t it? All that free, clean H2O just rushing into the gutter and disappearing into the ground. I used to think setting up a way to catch it was some complicated engineering project reserved for off-grid homesteaders with big budgets. Turns out, I was wrong. Dead wrong.
In 2026, with water bills creeping up and droughts becoming more common in unexpected places, catching rain is less about being a hippie and more about being smart. You don’t need a degree in hydrology. You don’t need thousands of dollars. You just need a weekend, a few basic tools, and the willingness to get your hands a little dirty. This guide is gonna walk you through building a system that actually works, without breaking the bank. We’re talking maybe $150 to $250 if you shop around. Maybe even less if you’re handy with scavenged parts. Let’s dive in.
Checking the Rules and Picking Your Spot
Before you buy a single screw, you gotta do a little homework. I know, I know. You want to start building. But hold your horses. In many places, collecting rainwater is totally fine. In others? Not so much. Some states or local municipalities have weird laws about how much you can collect or whether you can use it for anything other than watering flowers. A quick call to your local county office or a search online for "rainwater harvesting laws [your state]" can save you a huge headache later. Don’t skip this. It’s better to be safe than sorry.
Once you know you’re in the clear, look at your house. Where does the water flow best? You want a downspout that’s easily accessible and close to where you’ll use the water. If you’re mostly watering a vegetable garden, put the barrel near the garden. Dragging heavy hoses across the yard is no fun. Also, check the ground. Is it level? Your tank needs to sit flat. If it’s on a slope, the weight of the water (which is heavy, by the way—about 8 pounds per gallon) can cause it to tip or crack. A solid, flat base is non-negotiable.
Take a look at the roof above that downspout too. What’s it made of? Asphalt shingles are generally okay for garden use, but avoid roofs with lead flashing or old tar coatings if you plan to use the water on edible plants. You want the cleanest source possible. If your roof is covered in moss or overhanging branches, now is the time to trim those back. The cleaner the input, the easier your life will be later. It’s all about setting yourself up for success from jump street.
Gathering Your Gear Without Going Broke
Okay, let’s talk money. You can spend a fortune on fancy pre-made rain barrels with spigots and leaf screens built-in. Or, you can build one yourself for a fraction of the cost. For a basic setup, here is what you need. First, the container. A 55-gallon food-grade plastic drum is the gold standard. You can often find these used at car washes, bakeries, or industrial supply stores for cheap. Just make sure whatever was in them before wasn’t toxic. Food grade is key. If you can’t find a drum, large trash cans with lids work in a pinch, though they aren’t as durable long term.
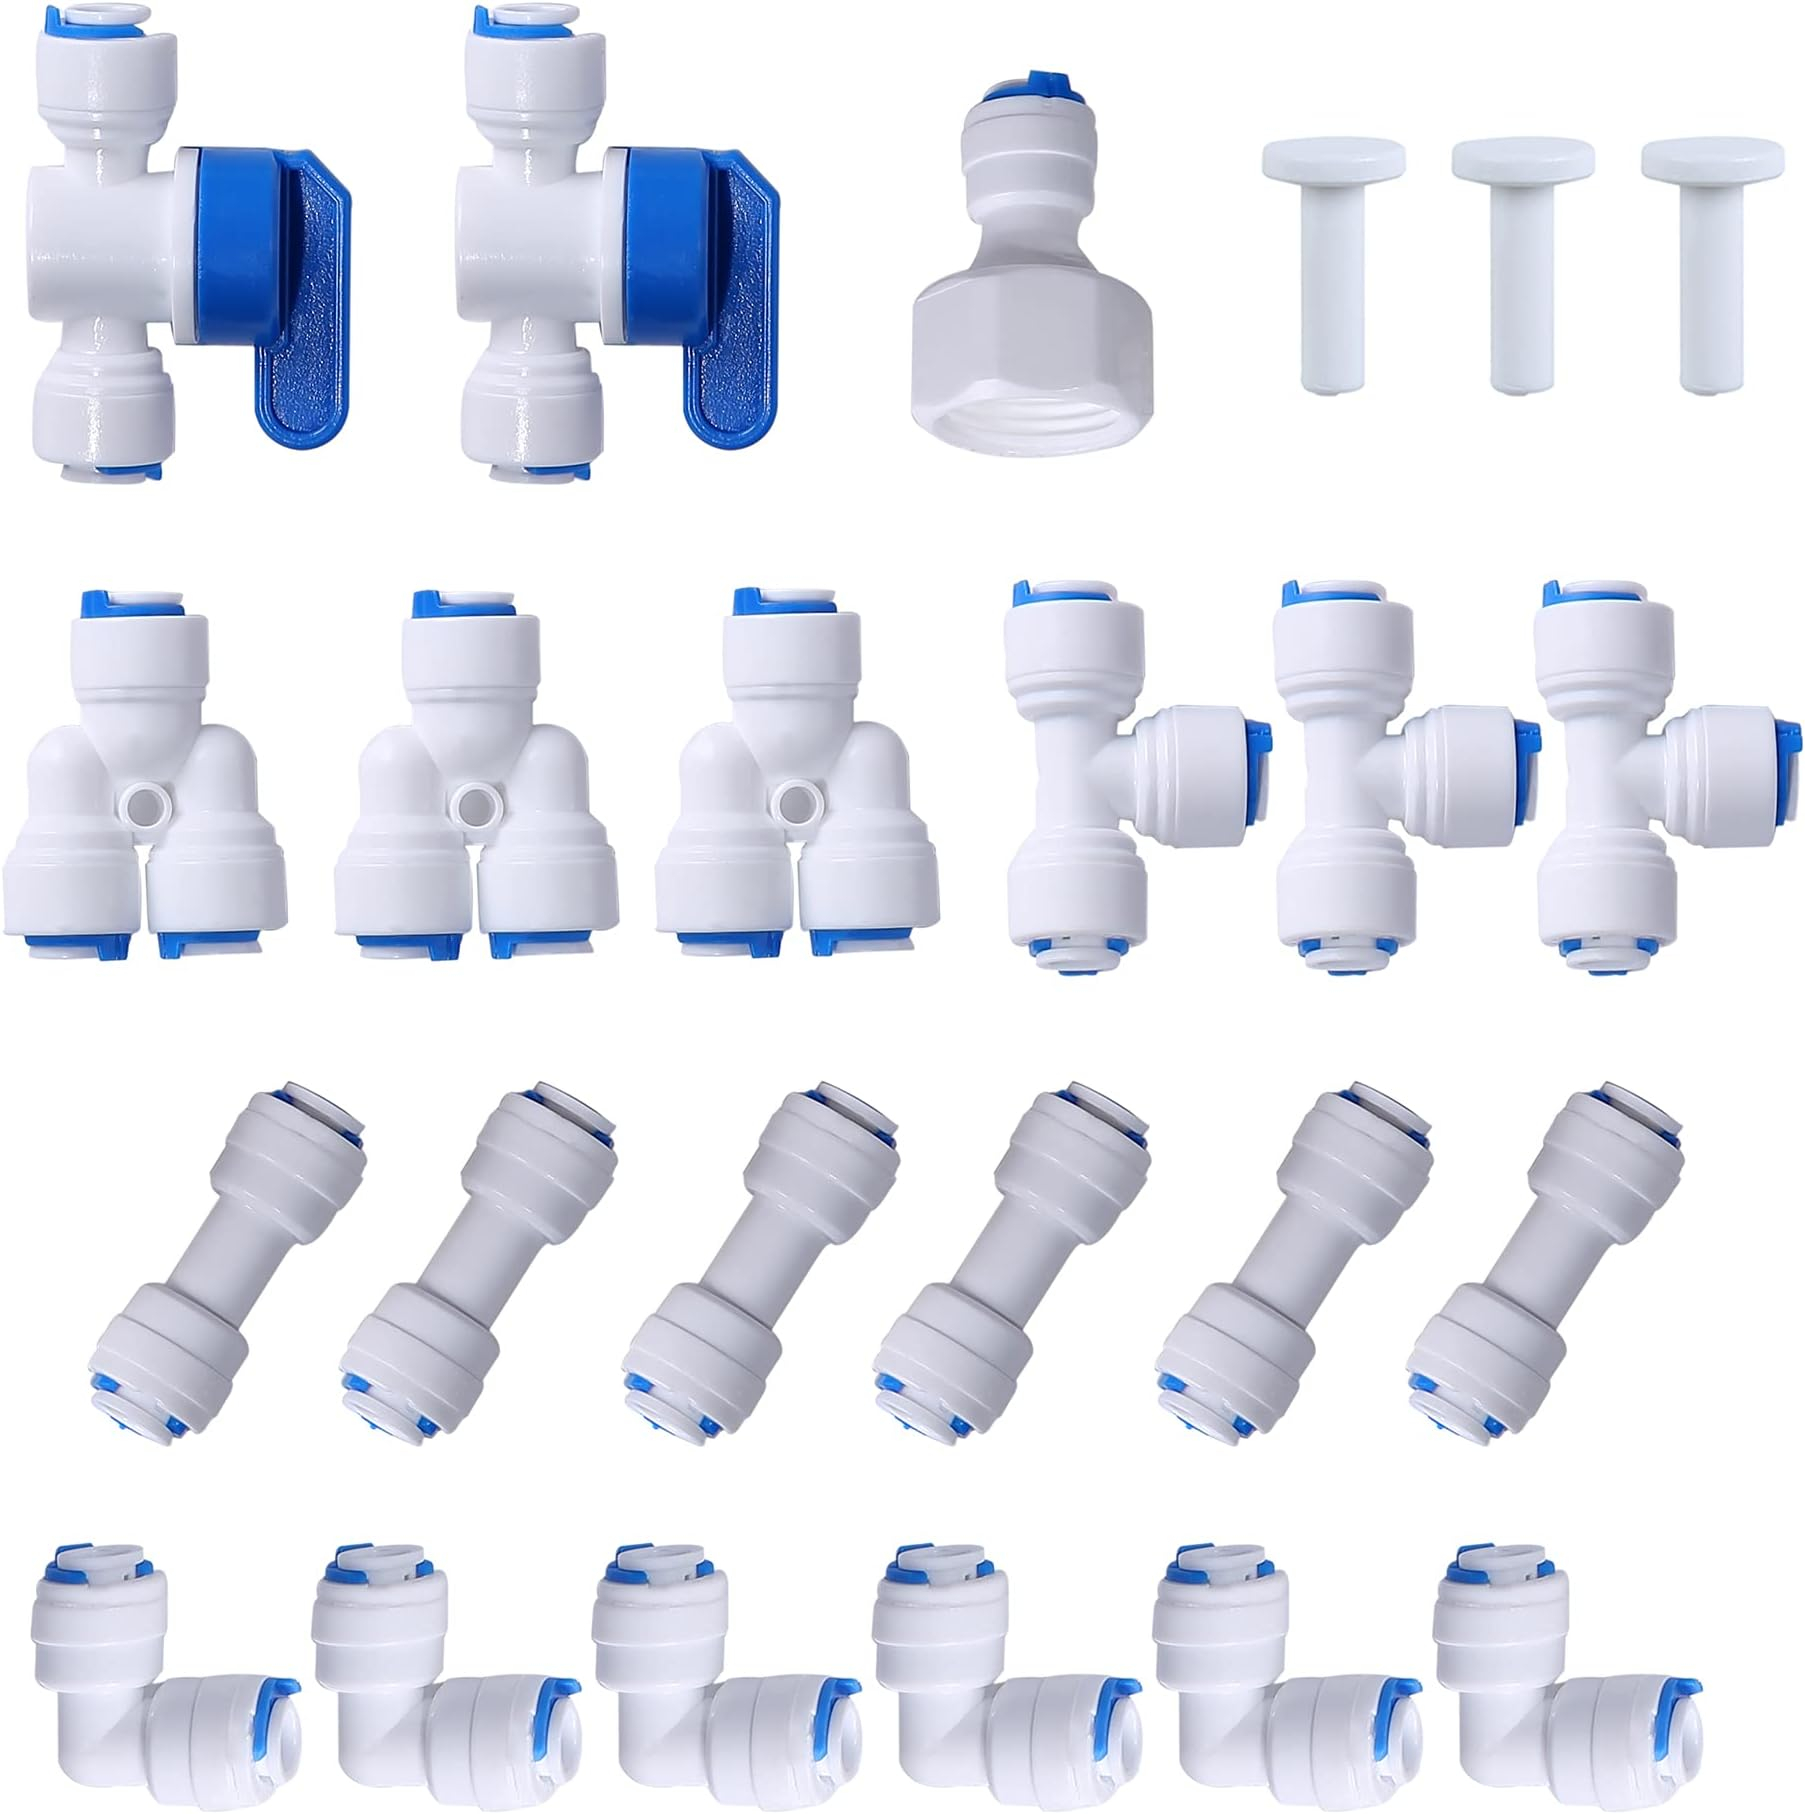
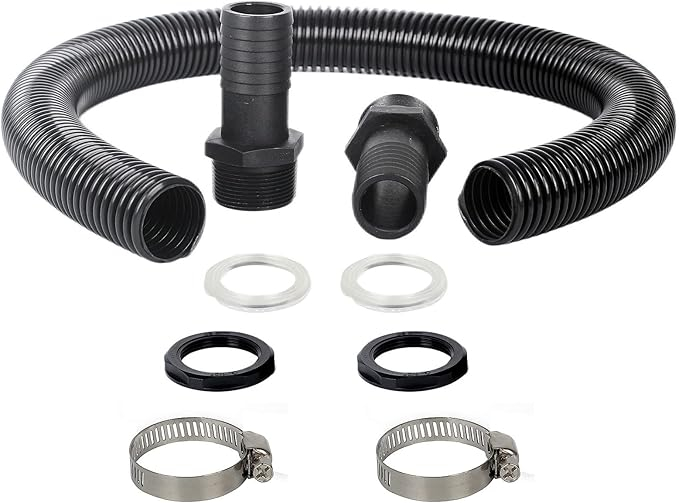
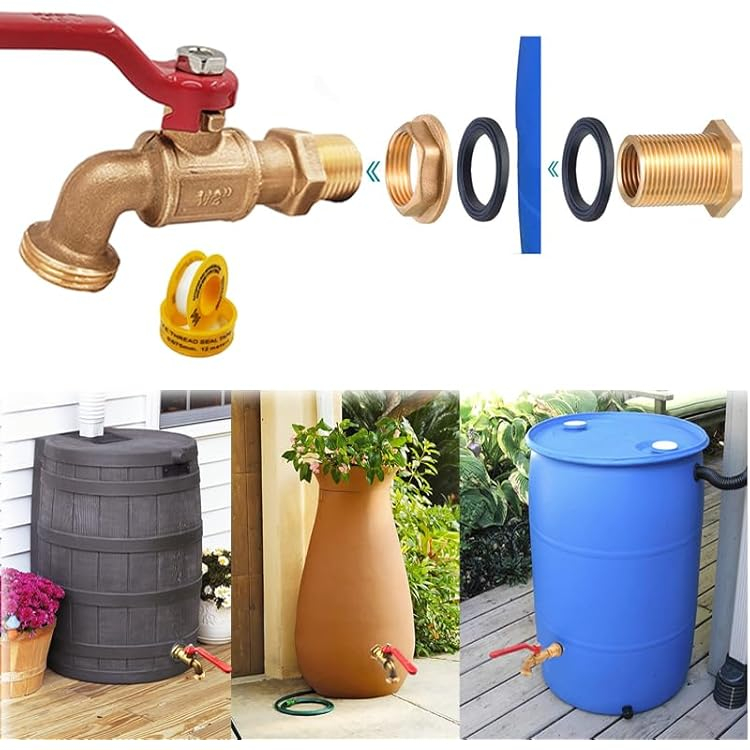
Next, you need the plumbing bits. A diverter kit is super helpful. It lets you switch between sending water to the barrel or letting it flow down the normal drain. You can buy these online for about $20-$30. If you’re really pinching pennies, you can just disconnect the downspout and direct it into the barrel, but that means removing it every time the barrel is full or winter comes. Other essentials include a spigot (get a brass one, they last longer), some Teflon tape, silicone sealant, and a piece of mesh screen or window screening to keep bugs out. Oh, and don’t forget a hose clamp or two.
Tools-wise, keep it simple. A drill with a hole saw attachment is the most important tool you’ll need. You’ll use it to cut holes for the spigot and the overflow pipe. A jigsaw or reciprocating saw helps if you need to cut the downspout. A wrench for tightening fittings, a tape measure, and a marker. That’s pretty much it. If you don’t own a hole saw, you can sometimes rent one from a local hardware store for a few bucks. The goal here is to keep costs low. Check online marketplaces for used tools or borrow from a neighbor. Community is a resource too.
Prepping the Barrel for Action
Now for the fun part. Let’s get that barrel ready. First, give it a good wash. Even if it’s food grade, you don’t know where it’s been. Use some mild soap and water, rinse it thoroughly, and let it dry. While it’s drying, plan your holes. You need three main openings: one for the water to come in, one for the spigot near the bottom, and one for overflow near the top. Mark these spots clearly with your marker. Precision matters here because once you drill, you can’t un-drill.
Start with the spigot. Measure about 3-4 inches up from the bottom. Why not right at the bottom? Because sediment settles there. By raising the spigot slightly, you avoid sucking up all the gunk when you use the water. Drill your hole using the hole saw that matches your spigot’s thread size. Clean up any rough edges with sandpaper or a knife. Apply Teflon tape to the spigot threads and screw it in tight. Hand tight plus a quarter turn with a wrench usually does it. Don’t overtighten, or you might crack the plastic. Seal around the outside with silicone to prevent leaks.
Next, the inlet. This goes near the top. If you’re using a diverter, this is where the downspout connects. If you’re just directing water in, you might want to attach a piece of mesh here to filter out leaves and twigs. Cut a square of window screen and secure it over the hole with a hose clamp or screws. This simple step saves you from cleaning out sludge later. Finally, the overflow. This is crucial. When the barrel fills up, the water has to go somewhere. If it doesn’t have an exit, it’ll spill over the top and erode the ground around your foundation. Install a fitting near the top, opposite the inlet if possible, and attach a hose that directs excess water away from your house. Simple physics, big impact.
Building the Base and Setting It Up
Remember when I said the base was important? I wasn’t kidding. A full 55-gallon barrel weighs over 450 pounds. That’s like having a grand piano sitting on a patch of dirt. It will sink. It will tilt. And then it will leak. So, let’s build a proper platform. You don’t need concrete. Cinder blocks are great. Lay four blocks in a square, making sure they are level. Use a spirit level to check. If the ground is uneven, dig out the high spots or add gravel under the low ones. Another option is a wooden pallet reinforced with plywood, but cinder blocks are cheaper and rot-proof.
Place your barrel on the platform. Make sure it’s stable. Give it a gentle push. It shouldn’t wobble. Now, connect the downspout. If you’re using a diverter, follow the manufacturer’s instructions to install it on the existing downspout. Connect the outlet of the diverter to the inlet of your barrel. Use silicone sealant at all connections to ensure watertight seals. If you’re going the manual route, cut the downspout so it ends just above the barrel’s inlet. You can use a flexible elbow piece to direct the flow precisely into the screened opening.
Secure everything. Use metal straps or brackets to attach the barrel to the wall or a post if you’re worried about wind knocking it over. It’s rare, but a strong gust can tip an empty or partially full barrel. Better safe than sorry. Also, consider adding a child-proof lock or lid latch if you have kids or pets. Open water containers are a hazard. A simple hasp and staple with a padlock works well. It keeps the bad stuff out and the curious ones safe. Take a step back and look at your work. Does it look solid? Good. You’re almost there.
Keeping It Clean and Running Smooth
So, you’ve built it. The rain falls. The barrel fills. Now what? Maintenance. It’s not glamorous, but it’s necessary. The good news is, it’s easy. Once a month, or after a big storm, check the screen on the inlet. Is it clogged with leaves? Pick them off. Is the spigot flowing freely? Open it up and let a bit of water run out to flush any sediment. If the water looks murky, that’s normal for the first draw. Let it run until it clears up. This prevents buildup inside the tank.
Every few months, give the inside a quick inspection. If you notice algae growing (it happens if sunlight hits the water), you might need to empty the barrel and scrub it out. Using opaque barrels helps prevent this. If you can’t see light through the plastic, algae won’t grow. Also, check the overflow hose. Make sure it’s not blocked by debris or insect nests. You want that emergency exit to be clear. In the fall, before the leaves drop heavily, clean your gutters. Clean gutters mean cleaner rainwater. It’s a simple connection that people often overlook.
If you live in a place with freezing winters, you need to winterize your system. Water expands when it freezes. It will crack your barrel and burst your pipes. Before the first hard freeze, drain the barrel completely. Leave the spigot open. Disconnect the downspout or diverter and let the water flow normally. Store any removable parts indoors if you can. It’s a bit of a hassle, but replacing a cracked barrel is more of a hassle. Think of it as tucking your system in for a long nap until spring returns.
Now for the payoff. What do you do with all this water? First rule: don’t drink it. Unless you have a serious filtration and purification system, treat rainwater as non-potable. It’s great for watering plants, washing cars, filling decorative ponds, or flushing toilets if you rig it up. For gardening, it’s actually better than tap water. It’s soft, free of chlorine, and slightly acidic, which many plants love. Your tomatoes will thank you. Your lawn will look greener. It’s like giving your garden a vitamin boost.
When you’re watering, try to use a soaker hose or drip irrigation connected to the spigot. This delivers water directly to the roots where it’s needed, reducing evaporation. If you’re using a bucket, just scoop it out. It’s good exercise. Be mindful of how much you use. A 55-gallon barrel goes faster than you think if you’re hosing down the driveway. Prioritize the plants that need it most. During a dry spell, this water becomes liquid gold. You’ll feel a sense of pride knowing you’re not relying on the municipal supply for every drop.
Track your savings. It’s motivating. If you know your area gets about 30 inches of rain a year and you have 500 square feet of roof draining into your system, you can collect thousands of gallons annually. That’s hundreds of dollars saved on water bills. Plus, you’re reducing runoff, which helps prevent erosion and keeps local streams cleaner. It’s a small act with a ripple effect. You’re part of the solution. And honestly, there’s something deeply satisfying about hearing that first plop of rain hitting the barrel after a dry spell. It sounds like success.
Building a rain collection system isn’t just about saving money. It’s about reconnecting with the natural cycle. It’s about taking responsibility for your own resources. Sure, it takes a little effort upfront. You’ll drill some holes, lift some heavy blocks, and maybe curse at a stubborn fitting. But when you turn that spigot and see clear, free water flow out, you’ll know it was worth it. Start small. Start simple. Just start. The sky is giving you gifts. You might as well catch them.