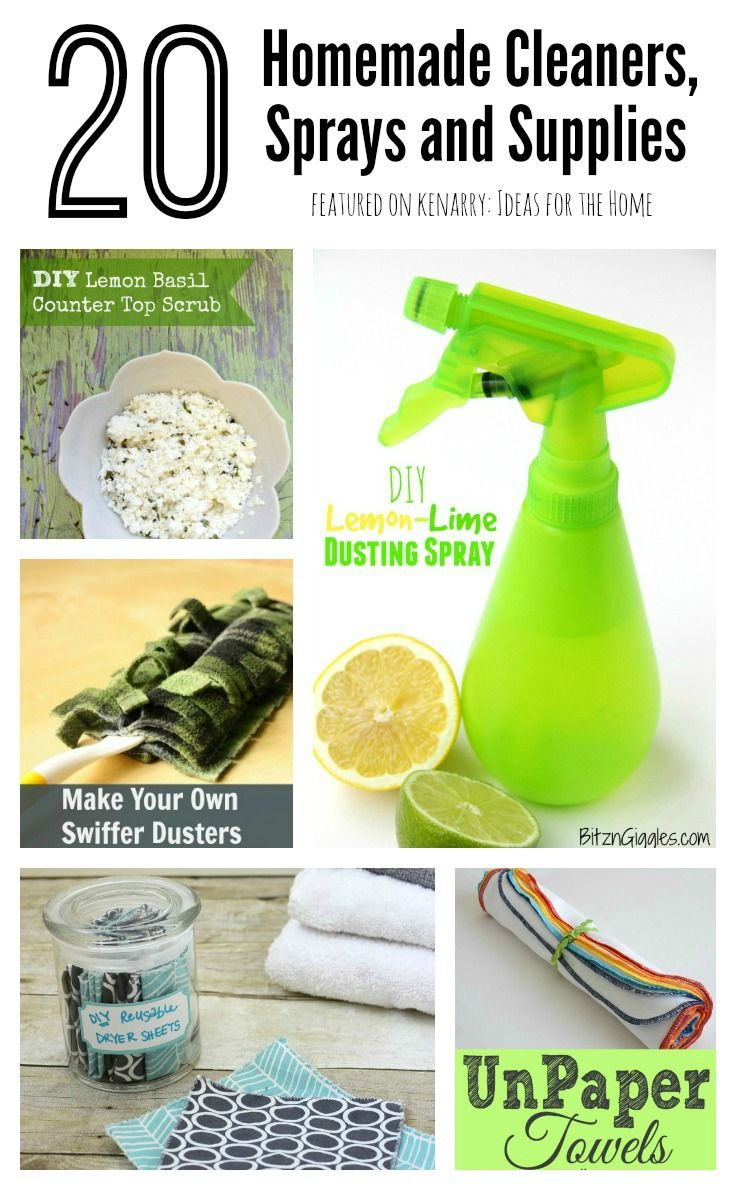
You know that sharp, chemical smell that hits you when you walk into a freshly cleaned bathroom? For decades, we were told that smell meant "clean." It meant the germs were dead. It meant the job was done. But lately, that scent feels less like freshness and more like a warning. Maybe you’ve noticed it too. A slight headache after scrubbing the tub. Or that nagging worry when your toddler crawls across the floor you just mopped with something that lists "danger" on the back label.
It’s 2026, and the conversation around what we bring into our homes has shifted dramatically. We aren’t just looking for clean surfaces anymore; we’re looking for peace of mind. The good news? You don’t need a chemistry degree or a huge budget to get there. In fact, some of the most powerful cleaning agents are probably sitting in your pantry right now, gathering dust next to the flour. Making your own non-toxic cleaners isn’t about going back to the stone age. It’s about moving forward with intention. It’s about taking control of what touches your skin, your lungs, and your family.
Let’s be real though. Switching can feel overwhelming. There are so many recipes online. Some work great. Others… well, they leave a streaky mess that makes you want to scream. This guide cuts through the noise. We’re going to look at what actually works, why it works, and how you can mix up a batch in under five minutes. No fancy equipment. No hard-to-find ingredients. Just simple, honest cleaning that feels good to use.
Why Ditch the Bottle? The Hidden Cost of "Clean
Why does this matter so much right now? It’s not just a trend. It’s health. Traditional cleaning products are cocktail parties of synthetic fragrances, volatile organic compounds (VOCs), and preservatives that linger in the air long after you’ve put the spray bottle down. Studies continue to link these indoor pollutants to respiratory issues, skin irritation, and even hormonal disruptions. When you spray a conventional aerosol, you aren’t just cleaning the counter; you’re changing the air quality of your entire home.
Think about it. We spend roughly 90% of our time indoors. If the air inside is loaded with unseen chemicals, our bodies are constantly working to filter them out. For kids, whose systems are still developing, or pets who live closer to the floor where residues settle, the impact can be even greater. By switching to non-toxic alternatives, you’re immediately lowering that chemical load. It’s a small change with a ripple effect. You breathe easier. Your skin feels less dry. And you stop contributing to the cycle of plastic waste and toxic runoff that harms our waterways.
But there’s another side to this coin: simplicity. Commercial cleaners are often over-engineered. They contain dyes for color you don’t need and perfumes to mask smells that shouldn’t be there in the first place. When you make your own, you strip away the excess. You know exactly what’s in the bottle because you put it there. There’s a profound sense of calm in that knowledge. No more guessing games. No more worrying if "natural fragrance" means safe or not. You hold the power. And honestly? It feels pretty good.
The Holy Trinity of Natural Cleaning
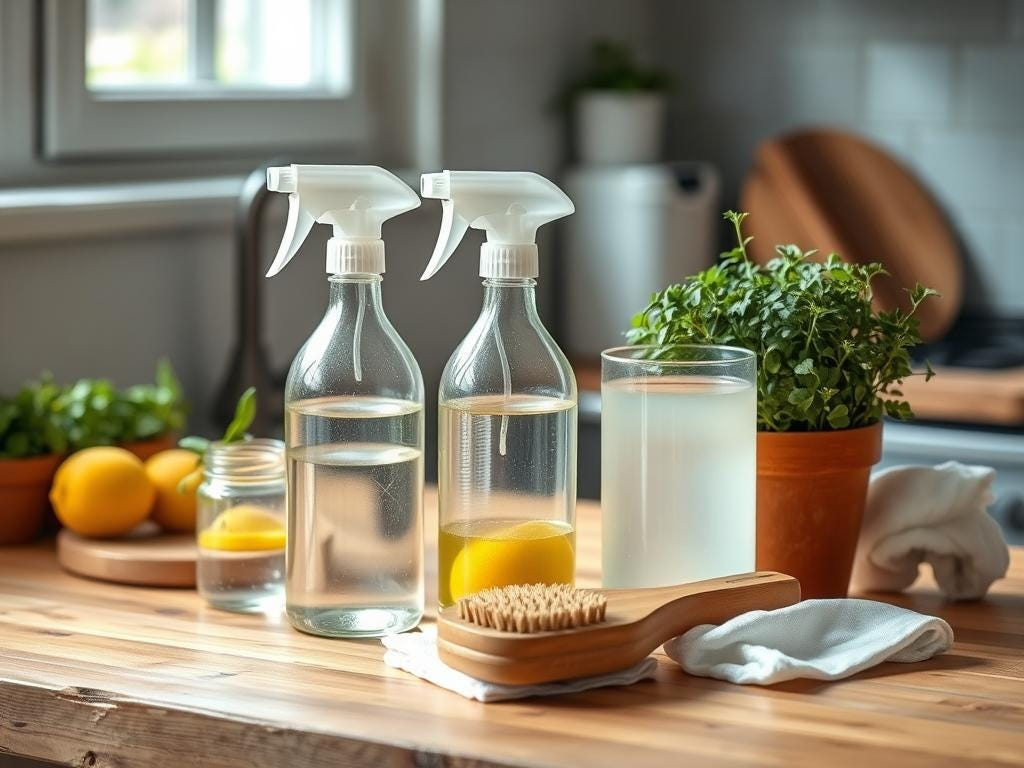
Before we start mixing, let’s talk about your new best friends. You don’t need twenty different ingredients. You really only need three core players, plus a few supporting actors. First up is white vinegar. It’s acidic, which makes it incredible at cutting through grease, dissolving mineral deposits, and killing certain bacteria. It’s cheap, effective, and biodegradable. The downside? The smell. But here’s the secret: the vinegar scent vanishes completely once it dries. Don’t let the initial whiff scare you off.
Next, we have baking soda. If vinegar is the acid, baking soda is the base. It’s a gentle abrasive, perfect for scrubbing without scratching. It also deodorizes by neutralizing odors rather than just covering them up. Think of it as the eraser for your home’s smells. When you combine vinegar and baking soda, they fizz. It’s fun to watch, but chemically, they mostly cancel each other out into salt water and carbon dioxide. So, while the fizz helps lift dirt mechanically, it’s usually better to use them separately or in specific sequences for maximum effect.
The third pillar is castile soap. This is a plant-based, vegetable oil soap that acts as a surfactant. Surfactants are what allow water to mix with oil and dirt, lifting them away from surfaces. Vinegar cleans, but it doesn’t always lift heavy grime on its own. Castile soap fills that gap. It’s gentle, versatile, and mixes well with essential oils if you want to add a scent or extra antibacterial properties. With these three items, plus some water and maybe some lemon juice or hydrogen peroxide, you can clean almost anything in your house. It’s surprisingly simple when you break it down.
The All-Purpose Hero: One Spray for Almost Everything
Let’s get practical. What’s the one recipe you’ll reach for 80% of the time? The all-purpose cleaner. This is your daily driver for countertops, tables, appliance exteriors, and even walls. Here’s the golden ratio: mix one part white vinegar with one part water in a spray bottle. That’s it. Seriously. If you’re dealing with tougher grease, like in the kitchen, you can add a teaspoon of castile soap. But be careful—don’t mix vinegar and castile soap directly in the same bottle without diluting them first, or the acid can unsaponify the soap, leaving you with a curdled, oily mess. Better to spray the vinegar solution, wipe, and then use a separate soapy cloth if needed.
For those who can’t stand the vinegar smell even for a second, try an alcohol-based version. Mix three-quarters cup of rubbing alcohol (isopropyl alcohol, at least 70%), a quarter cup of water, and ten to fifteen drops of essential oil like lemon, tea tree, or lavender. Tea tree and lavender have natural antimicrobial properties, and the alcohol evaporates quickly, leaving no streaks. This mix is fantastic for glass, mirrors, and stainless steel. It dries fast and smells fresh, not pickly. Just remember to label your bottles clearly. You don’t want to mistake your cleaner for your drinking water.
One quick note on stone surfaces. If you have granite or marble countertops, skip the vinegar. The acid can etch the stone over time, dulling the finish. Instead, use a simple mix of warm water and a few drops of castile soap. It’s gentle enough for delicate surfaces but strong enough to handle daily spills. It’s all about matching the tool to the task. Once you have these two basic sprays—the vinegar mix for most things and the soap mix for stone—you’re ready to tackle the majority of your home. It’s liberating, isn’t it?
Tackling the Tough Stuff: Scrubs, Grout, and Grease
Not every mess is a light dusting. Sometimes, you need muscle. That’s where pastes come in. For bathtubs, sinks, and tile grout, make a thick paste using baking soda and a little bit of water or castile soap. It should have the consistency of frosting. Slather it on the dirty area and let it sit for ten to fifteen minutes. This dwell time is crucial. It gives the baking soda a chance to break down the grime. Then, grab a scrub brush or an old toothbrush and get to work. The mild abrasion lifts the stain without damaging the surface.
For ovens and stovetops with baked-on food, this method works wonders too. Sprinkle baking soda generously over the cool surface. Spray it lightly with water or vinegar to create that fizzing action, which helps loosen the debris. Let it sit overnight if you can. The next day, wipe it away with a damp cloth. You might need to repeat the process for really stubborn spots, but it’s far safer than breathing in the fumes from commercial oven cleaners, which are often caustic and dangerous. Patience is your main ingredient here.
Don’t forget about wood floors and furniture. Water and vinegar can damage wood finishes over time. Instead, mix a quarter cup of olive oil with a quarter cup of white vinegar and ten drops of lemon essential oil. Shake it well before each use because the oil and vinegar will separate. Apply a small amount to a soft cloth and buff into the wood. The vinegar cleans, while the oil conditions and shines. It’s a two-in-one treatment that keeps your wood looking rich and healthy. Just test it on a small, hidden area first to make sure it agrees with your specific finish.
The Laundry Room and Beyond: Softening and Freshening
Laundry is another big source of chemical exposure. Conventional detergents often contain optical brighteners, synthetic fragrances, and enzymes that can irritate sensitive skin. You can simplify this process too. For detergent, you can use washing soda (not baking soda—it’s stronger) mixed with grated castile soap bar. But honestly, many people find that just using half the amount of a high-quality, fragrance-free commercial detergent is a good middle ground if making your own powder feels like too much work. The real win is in the rinse cycle.
Skip the fabric softener. It coats fibers with chemicals and reduces the absorbency of towels. Instead, add half a cup of white vinegar to the rinse compartment of your washing machine. It won’t make your clothes smell like vinegar. It strips away detergent residue and mineral buildup, leaving fabrics softer and fresher. If you want a scent, add a few drops of essential oil to a wool dryer ball and toss it in the dryer. Wool dryer balls also reduce drying time by separating clothes and allowing air to circulate better. It’s a win for your wallet and the environment.
For musty smells in carpets or upholstery, baking soda is your go-to. Sprinkle it liberally over the fabric. Let it sit for at least thirty minutes, or even overnight for strong odors. Then vacuum it up. The baking soda absorbs the moisture and smells trapped in the fibers. You can add a few drops of essential oil to the baking soda before sprinkling if you want a light, natural fragrance. This trick works great for pet beds, shoes, and even inside your vacuum cleaner canister to keep the exhaust air smelling clean.
Troubleshooting and Tips for Success
Making the switch isn’t always smooth sailing. You might encounter a few hiccups. Streaky windows? Usually, that means you’re using too much product or wiping with a dirty cloth. Use a microfiber cloth or even crumpled newspaper for glass. And make sure your vinegar solution isn’t too strong; sometimes diluting it more helps. If you’re using the alcohol mix, ensure it’s fully evaporated before buffing. Less is more when it comes to natural cleaners. They don’t have the heavy solvents that commercial products do, so they require a bit more elbow grease sometimes.
Storage is another key factor. Most homemade cleaners don’t have strong preservatives. While vinegar and alcohol are self-preserving, mixes with water and castile soap can grow bacteria if left too long. Make smaller batches. A single spray bottle lasts a week or two for most households. Store them in a cool, dark place. Glass bottles are ideal, especially if you’re using essential oils, which can degrade plastic over time. Amber or blue glass helps protect light-sensitive ingredients. Label everything with the date you made it. It’s a small habit that prevents confusion and ensures effectiveness.
Finally, manage your expectations. Natural cleaners are effective, but they work differently. They might not foam up like the blue stuff under your sink. They might not smell like a tropical vacation. But they clean. They sanitize. And they do it without leaving a toxic legacy. Give yourself permission to adjust recipes to your liking. More lemon? Sure. Less soap? Go for it. This is your home, and your cleaning routine should fit your life. Experimentation is part of the fun. And when you find that perfect mix that works for your kitchen sink, you’ll feel a sense of accomplishment that no store-bought bottle can give.
So, where does this leave us? At the end of the day, making your own non-toxic cleaners is about more than just removing dirt. It’s about reclaiming your space. It’s about knowing that the surface your child plays on is safe. It’s about reducing the plastic bottles cluttering your recycling bin. It’s about taking a small, tangible step toward a healthier lifestyle that doesn’t require a complete overhaul of your life. You don’t have to do it all at once. Start with one spray bottle. Replace your glass cleaner. Then maybe your all-purpose spray.
The beauty of this approach is its accessibility. You don’t need to be an expert. You don’t need expensive tools. You just need a willingness to try something different. And when you do, you might find that cleaning becomes less of a chore and more of a ritual. A moment to care for your home and the people in it. The ingredients are simple. The results are real. And the feeling of breathing air that’s free from synthetic fragrances? That’s priceless.
Take a look in your pantry today. Grab that bottle of vinegar. Mix up a batch. Give it a try on your countertop. Notice how it feels. Notice how it smells—or doesn’t smell. Notice the clarity of knowing exactly what you’re using. It’s a small shift, but it’s a powerful one. Welcome to the quiet revolution. Your home, and your health, will thank you for it.