Have you ever looked at a bubble and thought, "I wish I could live inside that"? It sounds silly, right? But that is basically what building with aircrete feels like. You are taking heavy, stubborn concrete and turning it into something light, airy, and surprisingly strong. In 2026, more people than ever are ditching traditional stick-frame houses for these curved, cozy sanctuaries. Why? Because they are cheap, they handle weather like a champ, and honestly, they just look cool.
If you have been scrolling through TikTok or YouTube lately, you have probably seen the videos. Someone mixes dish soap, water, and cement, and suddenly they have a material that floats on water. It seems like magic. But it isn’t. It is science, mixed with a bit of elbow grease. And the best part? You do not need a degree in engineering to do it. Hundreds of people with zero building experience have joined workshops and walked away with the confidence to start their own projects. You can be one of them.
So, where do you even start? It can feel overwhelming. There are domes, there is foam, there are molds. Do you need expensive tools? Can you really save money? The short answer is yes. But the long answer requires a bit of patience. This guide is here to walk you through the messy, beautiful process of making your first aircrete dome. We will break it down so it does not feel like rocket science. Let’s get our hands dirty.
Understanding the Magic of Aircrete
First things first. What exactly is this stuff? Aircrete is not a new invention, but its popularity in the DIY world has exploded recently. At its core, it is just cement, water, and air. Lots of air. By introducing a foaming agent (usually a specific type of dish soap or a dedicated foam generator) into the cement mix, you create millions of tiny bubbles. These bubbles get trapped in the hardening cement.
The result is a material that is lightweight, insulating, and easy to shape. Traditional concrete is dense and heavy. It sinks. Aircrete, on the other hand, can often float. This low density means it has a lower R-value per inch than some high-tech insulation foams, but when you build thick walls (which you do with domes), the thermal mass kicks in. It keeps your home cool in the summer and warm in the winter. That is why people are flocking to it. It slashes energy bills without needing complex HVAC systems.
But it is not just about temperature. It is about resilience. Dome shapes are naturally strong. They distribute weight evenly. When you combine that shape with aircrete, you get a structure that can stand up to harsh weather, including high winds and even fire. It is rot-proof and pest-proof. Termites do not eat cement. That is a huge relief for anyone tired of worrying about maintenance. Plus, it is eco-friendly. You use less material than traditional building, and cement production, while carbon-intensive, is offset by the longevity and efficiency of the final structure.
Gathering Your Tools and Materials
Before you mix a single batch, you need to get your gear ready. You do not need a massive construction site. In fact, one of the beauties of aircrete is how portable it is. For a beginner in 2026, you can start small. You will need a mixer. A standard concrete mixer works, but many DIYers prefer a specialized drum mixer or even a modified paint bucket mixer for smaller batches. The key is consistency. You want the foam to be evenly distributed.
Then, you need the foam generator. This is the heart of the operation. You can buy commercial ones, or you can build your own using PVC pipes and a pressure washer attachment. There are plenty of tutorials online showing how to make a "Domegaia" style generator. It is simple plumbing. You also need your ingredients. Portland cement is the standard. Some people add fly ash or silica fume to strengthen the mix, but for your first dome, plain cement is fine. And the soap. Not all soaps work. You need a soap that creates stable, stiff bubbles. Dishwashing liquids like Dawn are popular, but dedicated foaming agents are more consistent.
Do not forget the molds. Since aircrete is wet and sloppy when you start, you need something to hold it in place until it dries. For domes, people often use inflatable balloons, geodesic frames covered in fabric, or stacked blocks that are later carved. If you are making bricks to stack, you need wooden or plastic molds. If you are spraying or casting a monolithic dome, you need a formwork. Also, grab some safety gear. Cement is caustic. It burns your skin and lungs. Wear gloves, long sleeves, and a good respirator mask. Safety first, always.
Preparing the Perfect Mix
Making the mix is where the art comes in. It is not just dumping things in a bucket. You have to get the ratio right. A common starting point is 1 part cement to 1 part foam, but this varies based on the density you want. Too much water, and it collapses. Too little, and it is crumbly. You want a consistency like thick whipped cream or meringue. It should hold its shape when you scoop it, but still be pourable.
Start by creating your foam. Run your generator until you have a bucket full of stiff, shaving-cream-like bubbles. Test the foam. If it dissolves quickly in water, it is too weak. If it sits on top, it is good. Then, mix your cement and water separately to create a slurry. No dry pockets allowed. Once the slurry is smooth, gently fold in the foam. Do not overmix. If you beat it too hard, you pop the bubbles, and you lose the "air" in aircrete. You want those bubbles intact.
It takes practice. Your first few batches might be too wet or too dry. That is okay. Write down what you did. Note the amounts. Adjust next time. Many beginners find it helpful to watch video guides that show the texture in real-time. Seeing it helps more than reading about it. Remember, the goal is uniformity. Every cubic inch of your dome should have the same density. This ensures even drying and strength. If you are making bricks, pour the mix into your molds and tap them gently to release air pockets. If you are casting, pour or pump it into your forms.
Choosing Your Dome Design and Foundation
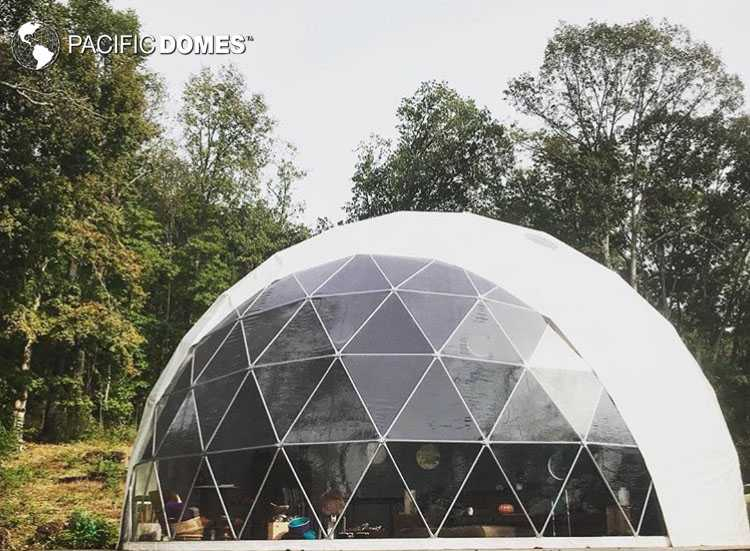
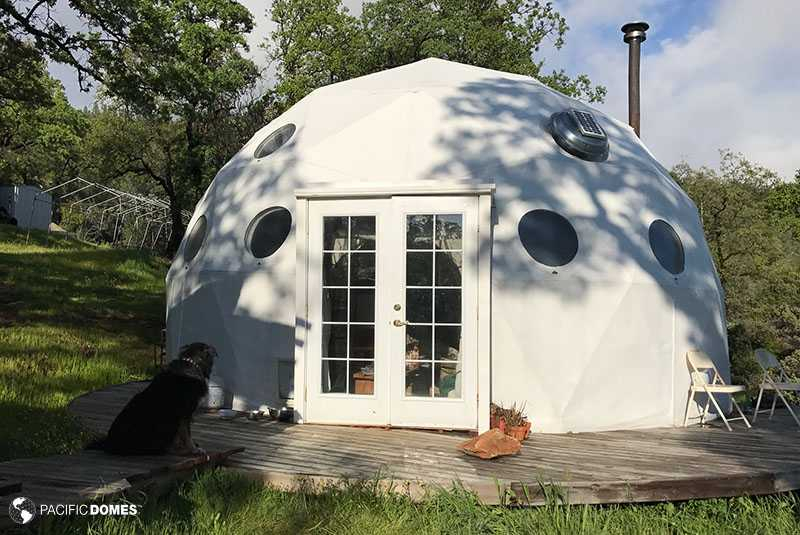
Now, let’s talk shape. Why a dome? Besides looking futuristic, domes are structurally superior. They have no corners to weaken the structure. Wind flows around them. But you need a plan. Are you building a small garden shed or a full-sized home? In 2026, there are many resources available. You can buy plans online or find free open-source designs. Geodesic domes are popular because they are easier to frame. Monolithic domes are smoother but require more complex formwork.
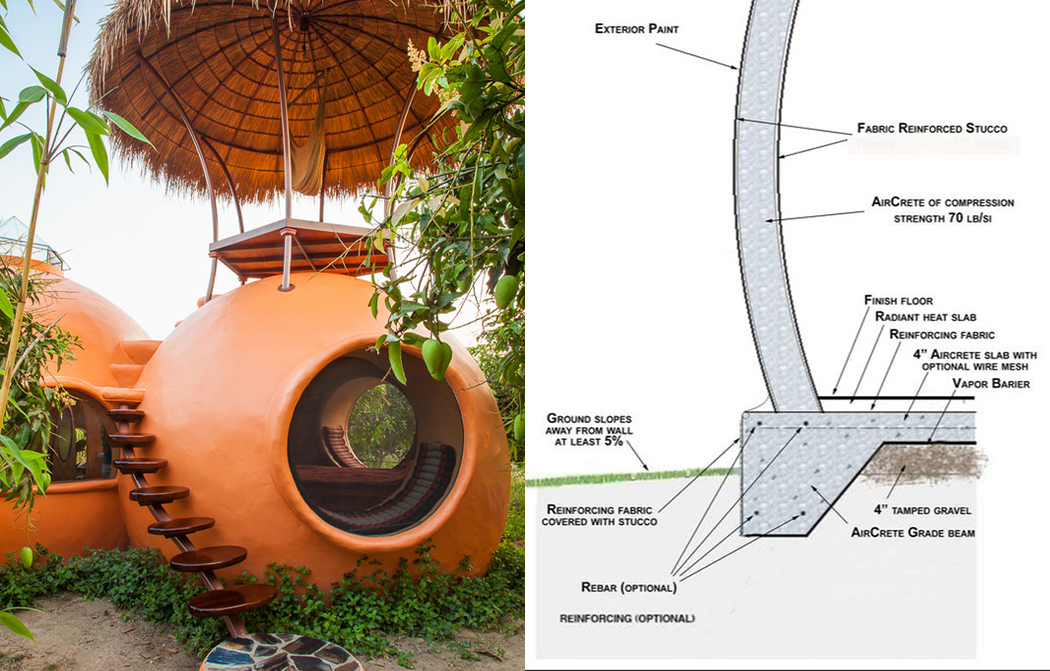
For a first-timer, starting with a small structure is wise. Maybe a 10-foot diameter dome. This lets you learn the material without the pressure of building a house. Once you master the small one, you can scale up. The foundation is critical. Aircrete is light, so you do not need a massive slab. A ring beam foundation often works well. It provides a solid base for the dome to sit on. Make sure it is level. If your foundation is crooked, your dome will be too. And since aircrete sets relatively fast, you do not have much time to fix mistakes once you start pouring.
Consider the climate. If you are in a wet area, ensure your foundation has good drainage. Aircrete can absorb water if it is not sealed properly. While it is resistant to rot, constant saturation can weaken it over time. A good roof overhang or a waterproof coating on the exterior is essential. Many builders use a lime-based plaster or a silicone-based sealant to protect the outside. This keeps the rain out while letting the walls breathe. Moisture management is key to longevity.
The Building Process: Step-by-Step
Okay, you have your mix, your molds, and your foundation. It is time to build. If you are using an inflatable form, set it up on the foundation. Secure it well. You do not want it shifting while you pour. Start pouring the aircrete. Work in layers. Do not try to fill the whole dome at once. Let each layer set slightly before adding the next. This prevents the bottom from bulging out under the weight. Use a trowel to smooth the surface as you go.
If you are stacking bricks, it is like building with giant Lego blocks. Use a thin layer of aircrete slurry as mortar between the bricks. Keep the lines straight. Check your levels constantly. Domes curve, so "level" changes as you go up. Use a string line from the center point to ensure your curve is consistent. This is meditative work. It is slow. Do not rush. Rushing leads to cracks. Let the material do its thing. It dries faster than regular concrete, often setting enough to touch in a day, but full curing takes weeks.
As you build, think about openings. Windows and doors need lintels or arches to support the weight above them. You can cast these directly into the dome or insert pre-made frames. Plan these spots in advance. Cutting into cured aircrete is possible but messy and dusty. It is better to form them as you build. Also, consider utilities. Where will your electrical wires go? Conduit can be embedded in the wet aircrete. Plan ahead so you are not chipping away at your beautiful dome later.
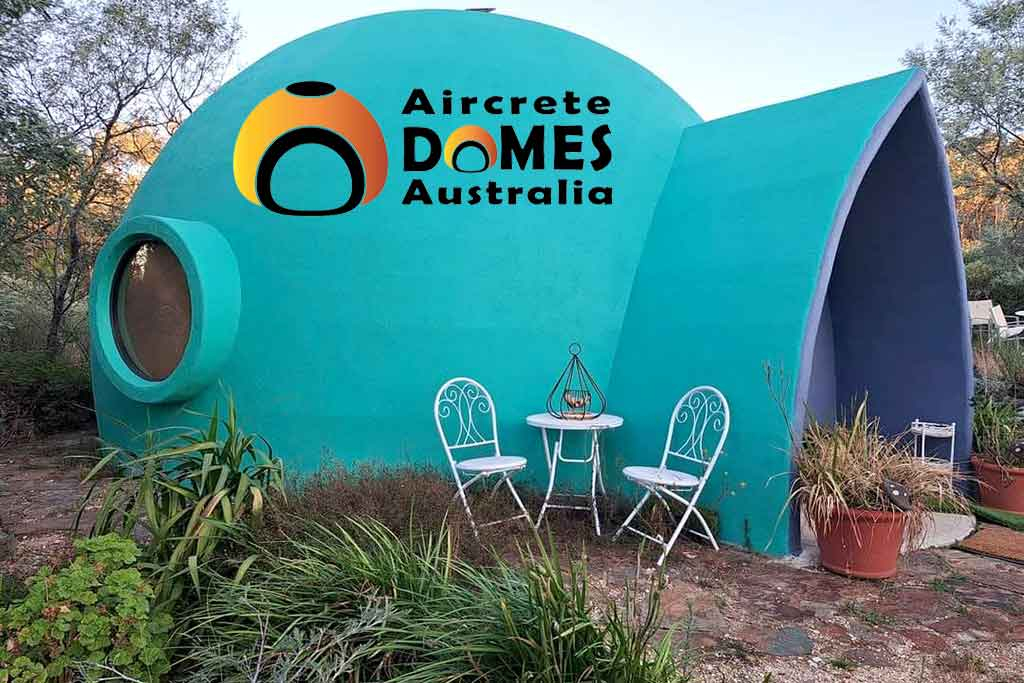
The dome is up. It is dry. Now what? You need to finish it. Raw aircrete is porous and rough. It needs protection and beauty. Interior finishes can be simple. A skim coat of plaster makes it smooth and paintable. Many people love the natural gray look and just seal it. Exterior finishes need to be weather-resistant. Acrylic stucco, lime plaster, or even earth renders work well. Choose something that breathes. Trapping moisture inside the walls is a recipe for disaster.
One common mistake beginners make is ignoring the cure time. Just because it feels dry does not mean it is strong. Keep it moist for the first few days if possible, or cover it with plastic. This helps the cement hydrate fully. Another mistake is poor mixing. Inconsistent foam leads to weak spots. Always test your foam quality. Also, do not skimp on the foundation. A shaky base will crack your dome. Take your time with the prep work.
Finally, enjoy the process. Building with aircrete is different. It is tactile. It is creative. You are sculpting your home. There will be mistakes. You might drop a brick. You might spill a batch. It happens. Learn from it. The community is vast and supportive. Online forums and social media groups are full of people willing to help. Share your progress. Ask questions. In 2026, the knowledge is out there. You are not alone in this. And when you step inside your finished dome, knowing you built it with your own hands, the feeling is unbeatable.
Building your first aircrete dome is a journey. It challenges you to think differently about materials and space. It connects you to a growing movement of people who value sustainability and self-reliance. It is not just about saving money, though it does that. It is about creating a space that is truly yours. Strong, efficient, and unique. So, grab your mixer, make some foam, and start building. The dome awaits.