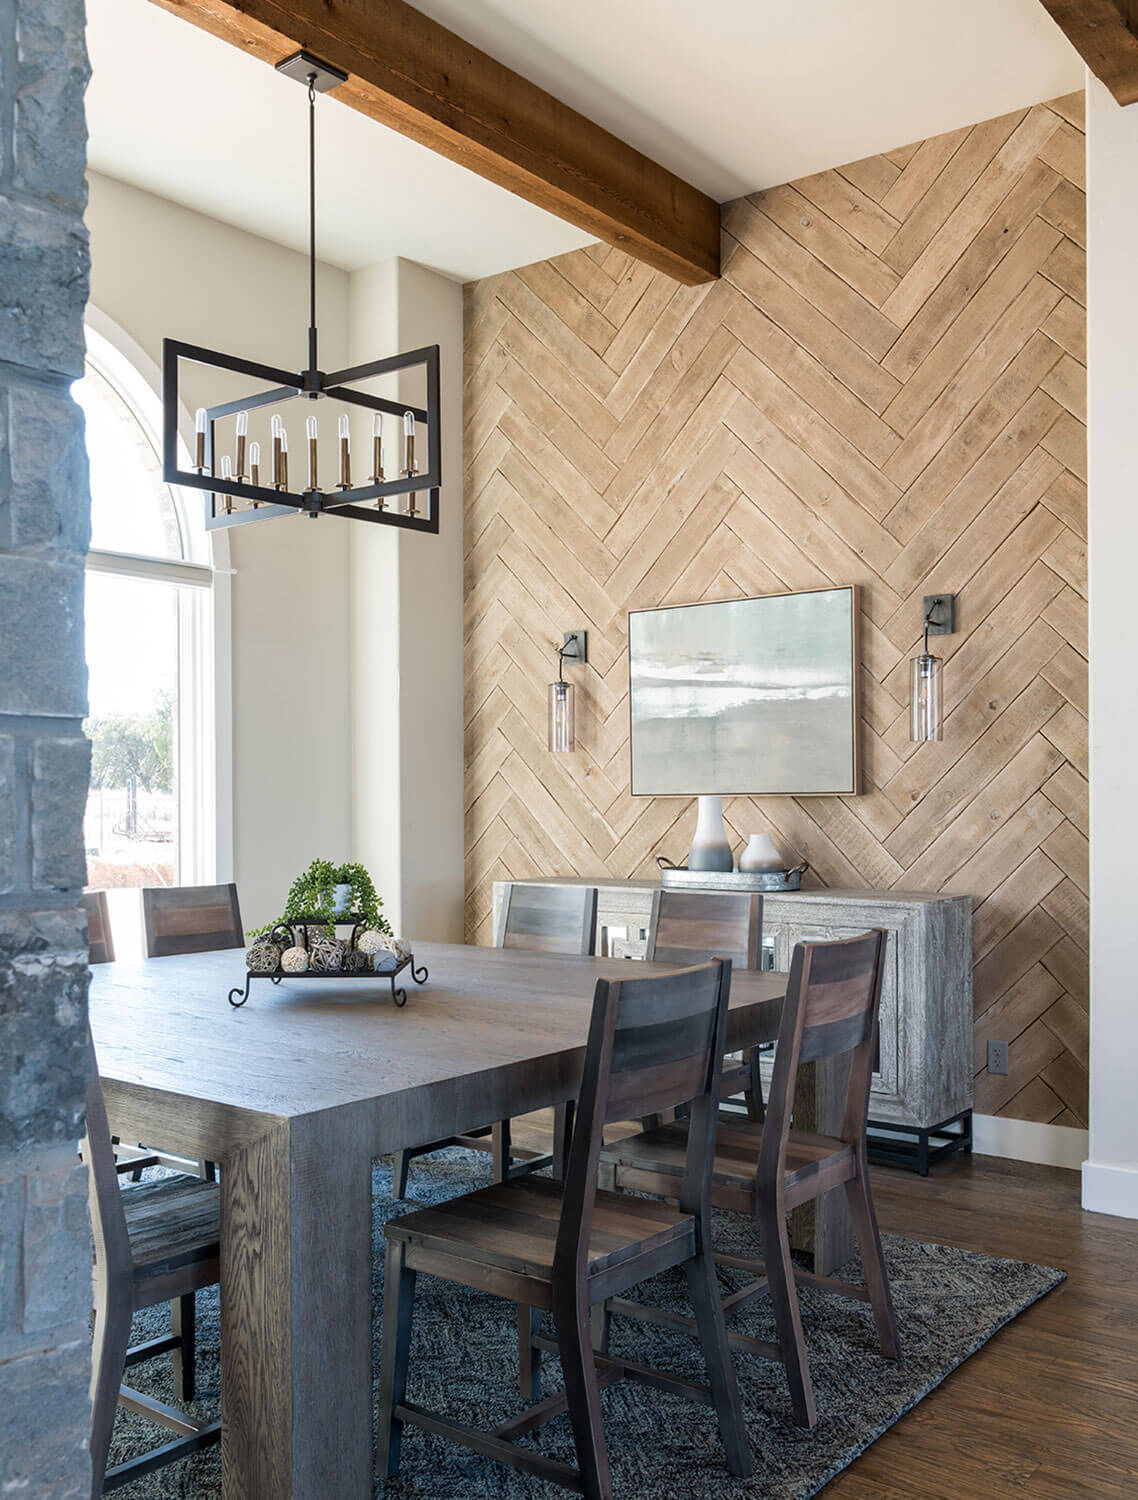
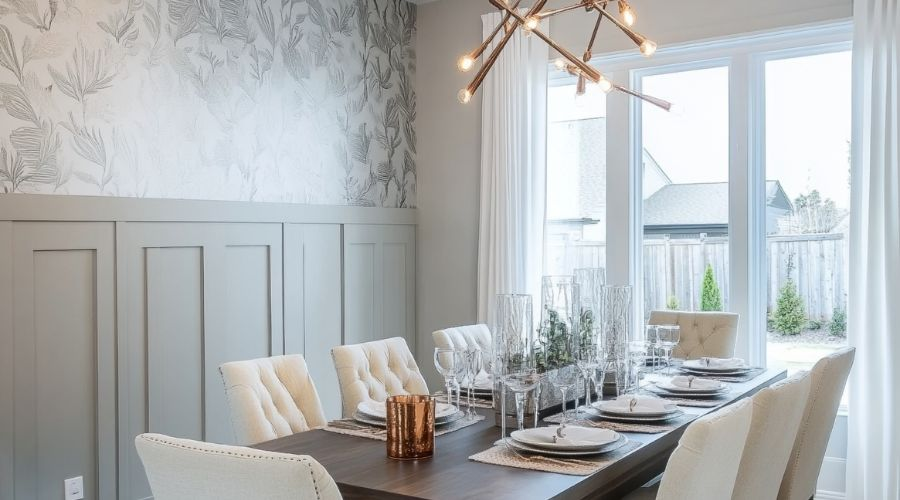
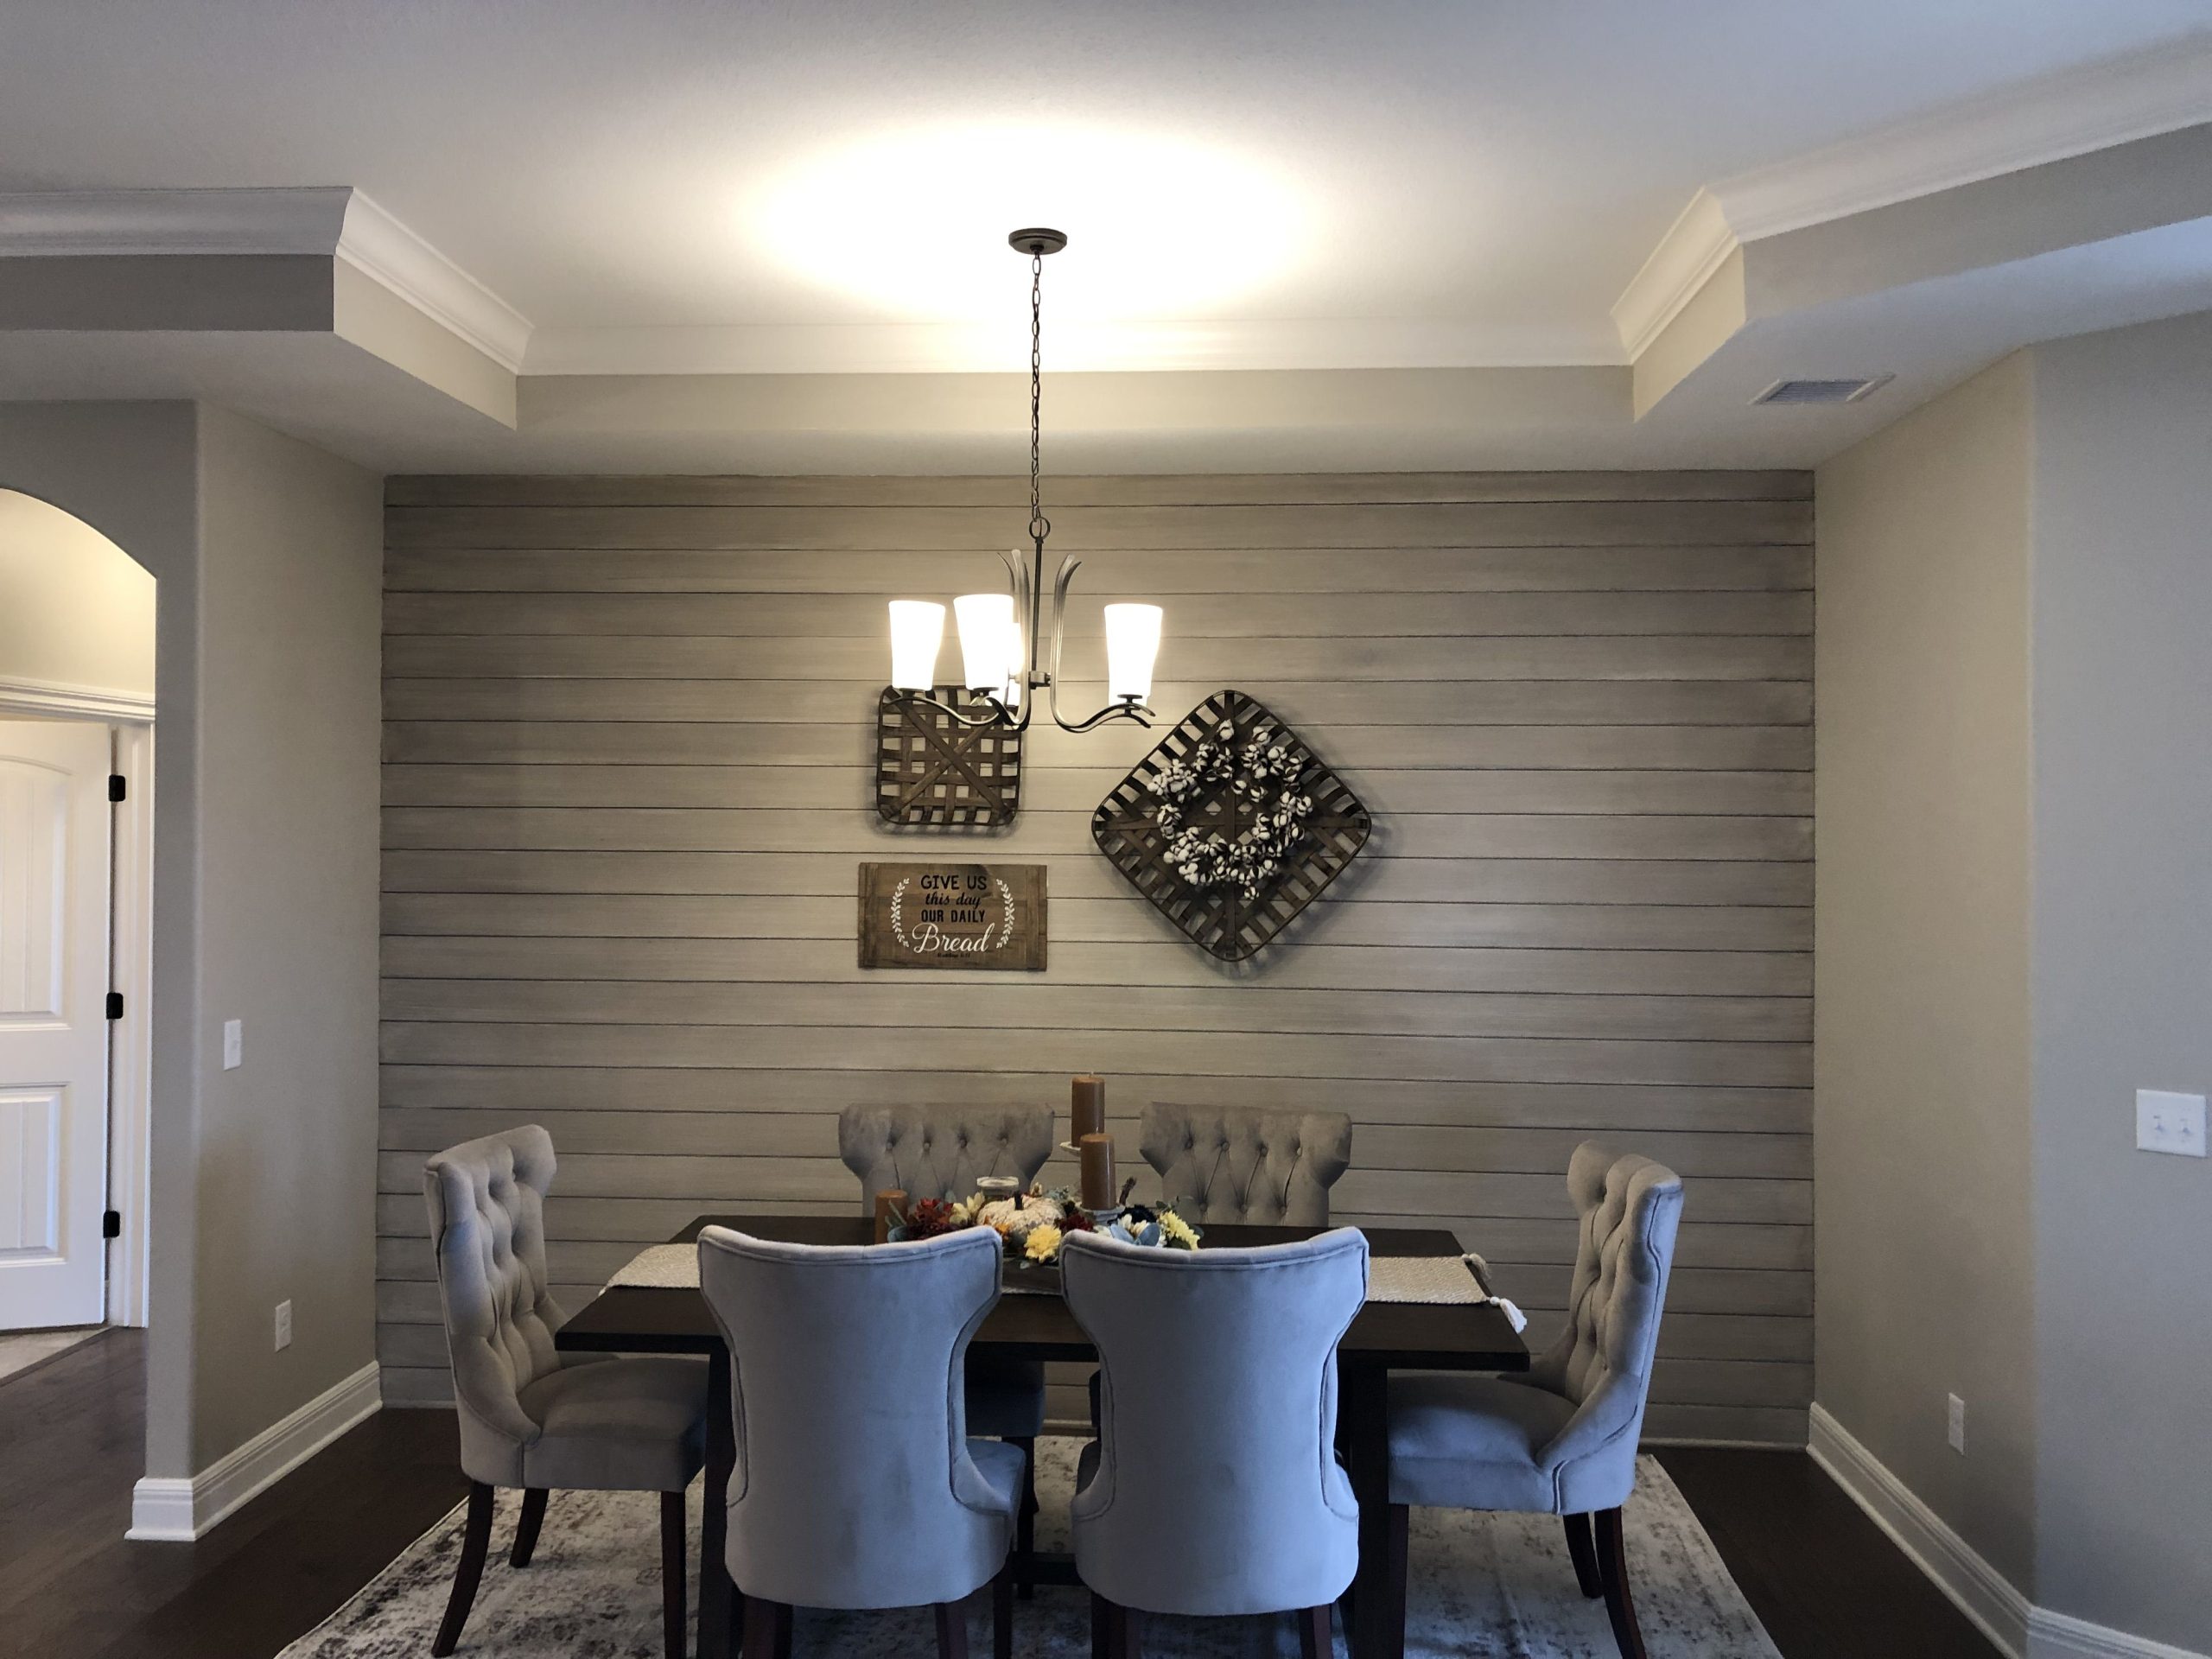
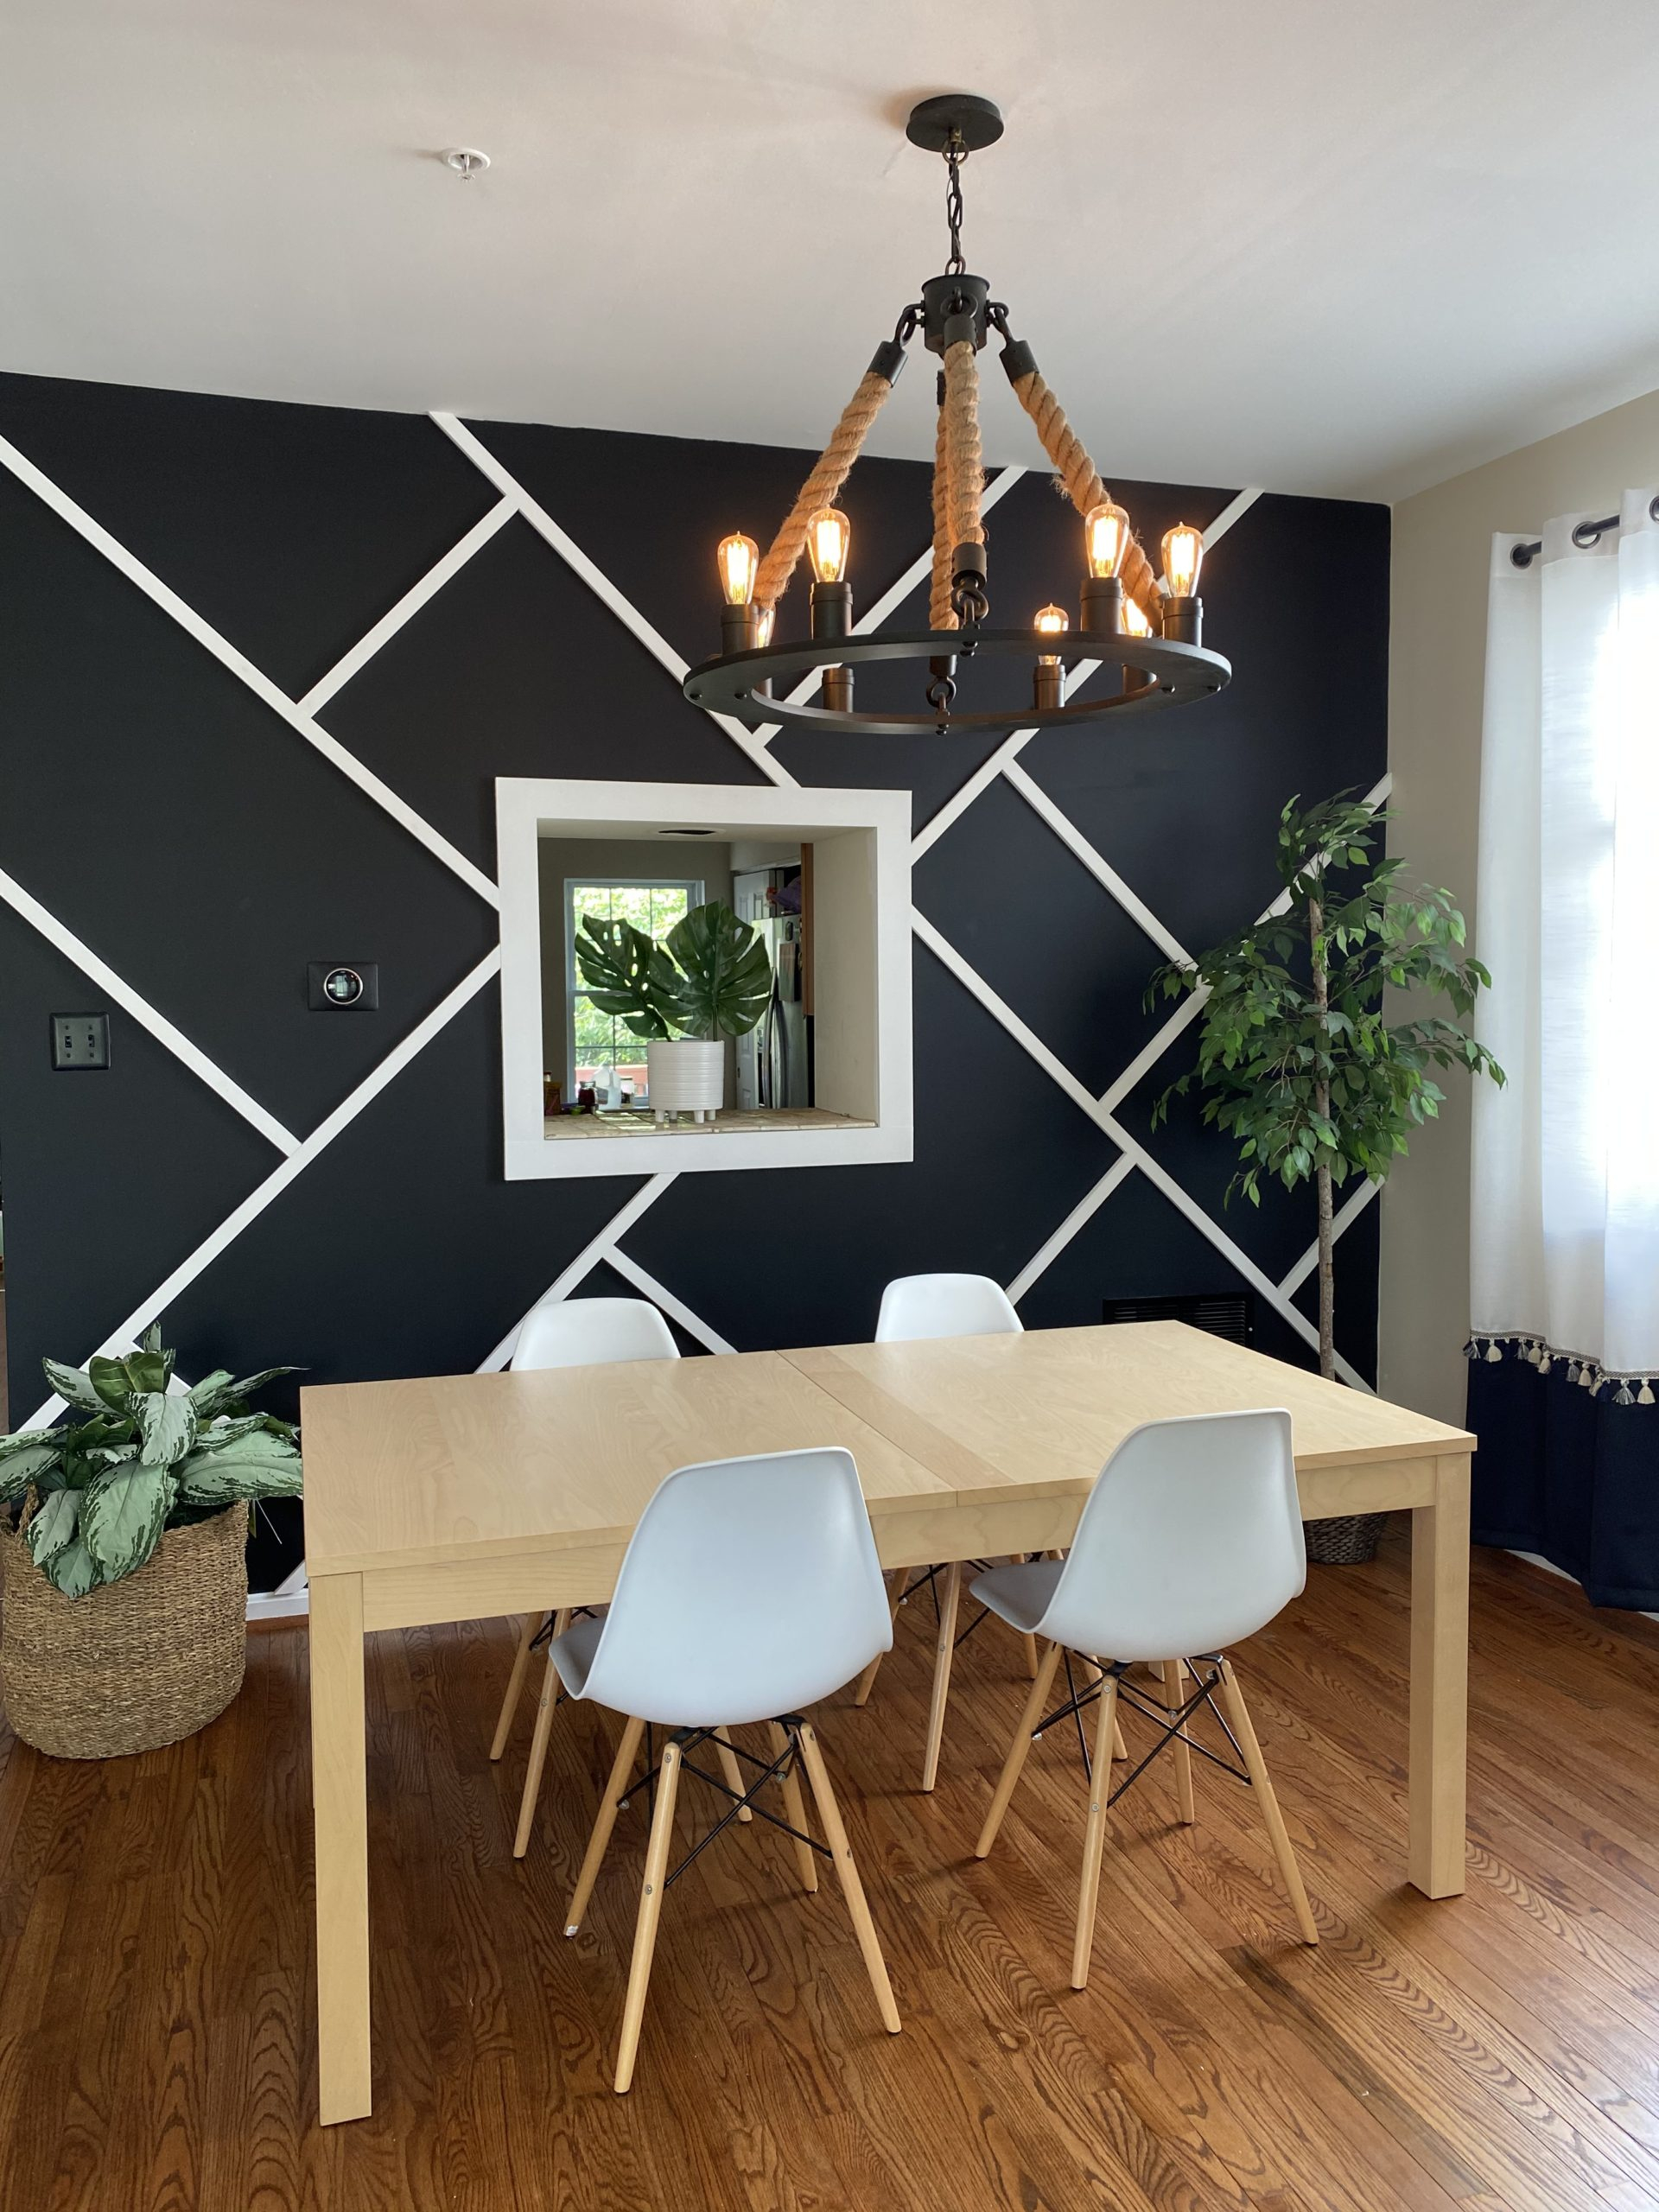
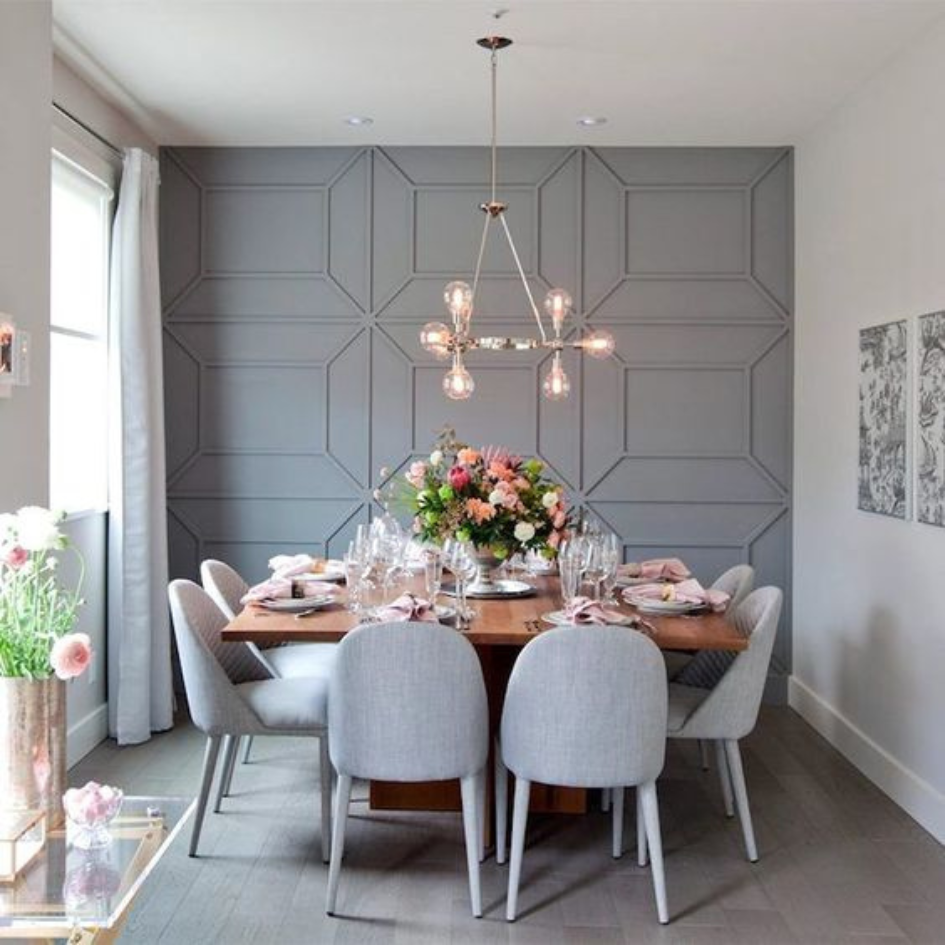
You know that feeling. You scroll through Pinterest or Instagram, seeing these breathtaking dining rooms with textured wood slats or bold geometric paint patterns. It looks so easy. Just some glue, a few nails, maybe a gallon of paint, and boom—magazine ready. So you buy the materials. You clear off the dining table. You get excited. But then, something feels… off. Maybe the lines aren’t quite straight. Maybe the color looks muddy under your chandelier. Or worse, the whole wall feels like it’s closing in on you while you’re trying to eat dinner.
It happens to the best of us. In 2026, DIY home improvement is bigger than ever, but the gap between a "custom designer look" and a "DIY gone wrong" is surprisingly narrow. It usually comes down to planning, proportion, and patience. We’ve all been there, staring at a half-finished project wondering where it went sideways. The good news? Most of these disasters are entirely preventable. You don’t need to be a master carpenter to get it right. You just need to know where the landmines are buried.
Let’s talk about how to keep your dining space inviting rather than intimidating. Because an accent wall should enhance your meals and conversations, not distract from them. If you’re ready to transform your dining area without the headache, stick around. We’re diving into the specific blunders that trip up even the most enthusiastic weekend warriors, and exactly how you can sidestep them to create a space you’ll actually love.
Ignoring the Room’s Natural Focal Point
The biggest mistake people make isn’t technical; it’s conceptual. They pick the wrong wall. Seriously. Before you buy a single plank of wood or open a can of paint, you need to look at your dining room objectively. What draws your eye when you walk in? Is it the window with the nice view? The fireplace? Or maybe it’s just a blank, awkward wall behind the sideboard. Many homeowners instinctively choose the largest wall, thinking "bigger is better." But in a dining room, this can backfire spectacularly.
If you put a heavy, dark, or highly textured accent on the wall opposite a large window, you create a visual conflict. Your eyes want to go outside, but the wall is screaming for attention. It creates tension. Instead, look for the wall that naturally anchors the room. Often, this is the wall behind the head of the table or the one that greets you as you enter. In smaller dining spaces, accenting the shortest wall can actually make the room feel longer and more balanced. It’s about working with the architecture, not fighting it.
Take a moment to sit in your dining chairs. Look around. Where does your gaze rest comfortably? That’s usually your candidate. If you have an open-concept layout, consider how the wall looks from the kitchen or living room too. You don’t want your accent wall to clash with the sightlines from adjacent spaces. It needs to feel like a natural extension of the home’s flow, not a random sticker slapped on for fun. Getting this right sets the stage for everything else. If the location is wrong, the best craftsmanship in the world won’t save it.
Messing Up Proportions and Scale
Once you’ve picked the wall, the next trap is scale. This is where things get tricky. A design that looks stunning on a phone screen might feel overwhelming in real life. In 2026, we’re seeing a trend toward thicker, more substantial moldings and wider planks, but that doesn’t mean you should blindly copy those dimensions. If you have a petite dining nook, massive board-and-batten strips will swallow the space. It’ll look cluttered and cramped. Conversely, tiny, delicate trim on a huge, high-ceilinged wall will look cheap and lost.
Proportion is key. Measure your wall height and width. A good rule of thumb for vertical paneling or slats is to keep the spacing consistent with the width of the material itself, or slightly narrower. For example, if you’re using 3-inch wide boards, spacing them 3 to 4 inches apart often creates a pleasing rhythm. But don’t just guess. Use painter’s tape to mock up the pattern on the wall before you cut anything. Step back. Squint. Does it feel balanced? Does it look too busy?
Also, consider the furniture. Your dining table and chairs occupy a significant chunk of visual weight. If your accent wall is too loud or complex, it competes with the furniture. The wall should frame the dining experience, not dominate it. If you’re doing a horizontal shiplap or slat design, ensure the lines align with key elements like the top of your sideboard or the height of your chair backs. Alignment creates a sense of order and intentionality. Misaligned lines subconsciously bother us, even if we can’t pinpoint why. Take the time to measure twice, or even thrice. It saves a lot of heartache later.
Skipping the Surface Prep Work
Here’s the part nobody wants to hear: prep work is boring. It’s tedious. It’s dusty. And it is absolutely non-negotiable. Too many DIYers skip straight to the fun part—installing the wood or painting—because they’re eager to see progress. But if your wall isn’t flat, clean, and primed, your accent wall will look amateurish. No matter how expensive your materials are. In older homes, walls are rarely perfectly plumb or square. If you install rigid wood panels over a bowed wall, you’ll get gaps. Ugly, visible gaps that no amount of caulk can truly hide.
Start by checking your wall for imperfections. Use a straight edge or a level to find dips and bumps. Fill holes, sand down rough patches, and clean off any grease or dust. If you’re painting, primer is your best friend. It ensures even coverage and helps the paint adhere properly. If you’re installing wood, make sure the surface is dry and free of debris so your adhesive bonds correctly. Adhesive failure is a real thing, and having panels pop off three months later because of dust is a nightmare you don’t need.
Lighting also plays a role here. Dining rooms often have dramatic overhead lighting or sconces. These light sources cast shadows that highlight every single imperfection on the wall. A tiny bump that goes unnoticed in flat daylight becomes a glaring flaw under a pendant light. So, turn on your dining room lights during prep. Inspect the wall under the same conditions it will be viewed in. Fix those flaws now. It takes an extra afternoon, but it makes the difference between a wall that looks professionally installed and one that looks like a rushed weekend project. Don’t skimp on this. Your future self will thank you.
Choosing the Wrong Color or Finish
Color is emotional. Especially in a dining room, where you want to foster connection and appetite. A common mistake is choosing a color that’s too trendy or too intense without considering how it interacts with food and faces. In 2026, we’re moving away from the ultra-dark, moody blacks that dominated the early 2020s, unless they’re balanced with ample light. Dark walls can feel cozy, yes, but they can also feel cavernous if the room lacks natural light. On the flip side, stark white can feel clinical and uninviting for dinner parties.
Think about the mood you want. Warm earth tones, soft greens, or deep blues often work beautifully in dining spaces because they’re calming yet rich. But here’s the kicker: paint colors look different on a swatch than they do on a four-foot expanse of wall. Always test samples. Paint a two-by-two foot section on the actual wall. Watch it throughout the day. How does it look in the morning light? Under your chandelier at night? Colors shift dramatically with artificial lighting. Warm bulbs make colors yellower; cool bulbs make them bluer.
Finish matters too. High-gloss paint reflects light and highlights every wall imperfection we talked about earlier. It’s also hard to touch up. For a dining room, a satin or eggshell finish is usually safer. It offers a subtle sheen that’s durable and easy to clean (important when spaghetti sauce inevitably splatters), but it doesn’t scream for attention. If you’re using wood stains, remember that dining rooms get warm. Heat and humidity can affect certain finishes over time. Choose a durable, high-quality sealant that can withstand the occasional bump from a chair or the heat from a serving dish. Test your finish on a scrap piece first to ensure you like the tone.
Neglecting Lighting Integration
Lighting and accent walls are best friends. Or worst enemies. It depends on whether you plan ahead. One of the most frequent regrets homeowners express is installing a beautiful textured wall only to realize their existing lighting washes it out or casts weird shadows. Flat, overhead recessed lighting tends to flatten out texture. If you’ve gone to the trouble of installing 3D paneling, slats, or molding, you want light that grazes the surface to highlight that depth.
Consider adding wall sconces or picture lights above the accent wall. This creates pools of light that emphasize the texture and add ambiance for evening dinners. It turns the wall into a feature, not just a background. If you can’t hardwire new fixtures, plug-in sconces have come a long way in terms of style and cord management. Alternatively, adjust your existing track lighting or pendants to angle toward the wall. The goal is to create layers of light. Ambient light for general visibility, task light for the table, and accent light for the wall.
Don’t forget about the color temperature of your bulbs. In 2026, smart bulbs are standard, allowing you to adjust warmth. For a dining room, aim for 2700K to 3000K. This warm white range flatters skin tones and makes food look appetizing. Cooler temperatures can make people look washed out and food look unappealing. Imagine trying to enjoy a romantic dinner under harsh, blue-white light. It kills the vibe. By integrating your lighting plan with your wall design, you elevate the entire room. It’s not just about seeing the wall; it’s about feeling the atmosphere it creates.
Patience is a virtue, especially in DIY. The urge to finish is strong. You’ve prepped, you’ve planned, you’ve bought the stuff. Now you just want it done. But rushing leads to sloppy cuts, misaligned seams, and uneven spacing. Whether you’re using a nail gun, adhesive, or a combination, take your time. Measure each piece individually. Walls are rarely perfectly square, so assuming every board is the exact same length is a recipe for disaster. Cut as you go.
If you’re doing a pattern like herringbone or a complex geometric design, dry-fit the pieces first. Lay them out on the floor to check the fit. Mark your studs clearly. Hitting a stud gives you a solid anchor, which is crucial for heavier materials. If you miss a stud, use high-quality construction adhesive, but give it time to cure before putting stress on the panels. Don’t hang pictures or lean furniture against the wall for at least 24 to 48 hours.
Also, leave room for expansion. Wood breathes. It expands and contracts with humidity changes. If you butt pieces tightly together without any gap, they might buckle or crack when the seasons change. Follow the manufacturer’s recommendations for spacing. Use spacers if needed. And finally, step back frequently. Don’t get so focused on the inch in front of your nose that you lose sight of the whole wall. Check for level and plumb every few rows. Correcting a small error early is easy. Fixing a cumulative error at the end is a headache. Slow down. Breathe. Enjoy the process. The result will be worth the extra care.
So, there you have it. Building a dining room accent wall isn’t just about slapping some wood on a wall or picking a bold paint color. It’s about understanding your space, respecting proportions, and taking the time to do it right. From choosing the correct focal point to integrating lighting and prepping your surfaces, each step matters. It’s easy to get caught up in the excitement of transformation and skip the boring bits, but those boring bits are what make the difference between a regret and a pride point.
Remember, your dining room is a place for gathering, for sharing meals, and for making memories. The wall behind you should support that, not distract from it. By avoiding these common pitfalls, you’re not just installing a feature; you’re curating an experience. Take your time. Ask questions. Don’t be afraid to pause and reassess. And when you’re done, sit down, pour a glass of wine, and enjoy the space you’ve created. You earned it.