Ever feel like your heating bill is just mocking you? You crank up the thermostat, bundle up in sweaters, and still, that cold draft seems to find its way into your bones. It’s frustrating. But here’s the thing: the problem probably isn’t your furnace. It’s likely hiding above your head. Most homeowners never think about the space between their ceiling and the roof, but that dusty, dark void is often the biggest culprit behind sky-high energy costs.
We tend to focus on the visible stuff—new windows, fresh paint, maybe a smart thermostat. But sealing your attic is one of those timeless DIY projects that pays for itself almost immediately. In fact, recent data from 2026 suggests that air sealing alone can slash heating and cooling costs by 15-25%. That’s not chump change. And the best part? You don’t need to be a contractor to do it. You just need a weekend, some basic tools, and a willingness to get a little dirty.
Let’s be real. Climbing into an attic isn’t exactly anyone’s idea of a fun Saturday. It’s hot, it’s itchy, and it’s full of things that might scurry away when you shine a light on them. But think of it this way: every gap you seal is money staying in your pocket instead of floating out into the neighborhood. By the time you’re done, you’ll have a tighter, more comfortable home and a serious sense of accomplishment. So, grab a flashlight and let’s dive in.
Why Your Attic Is Basically a Money Vacuum
You might be wondering, "Why does my attic matter so much?" It’s just storage, right? Wrong. Your attic is the primary escape route for conditioned air. Think of your home like a balloon. If you poke holes in it, the air rushes out. In winter, warm air rises (that’s just physics) and escapes through cracks in your ceiling into the cold attic. In summer, the reverse happens; hot attic air pushes down, making your AC work overtime.
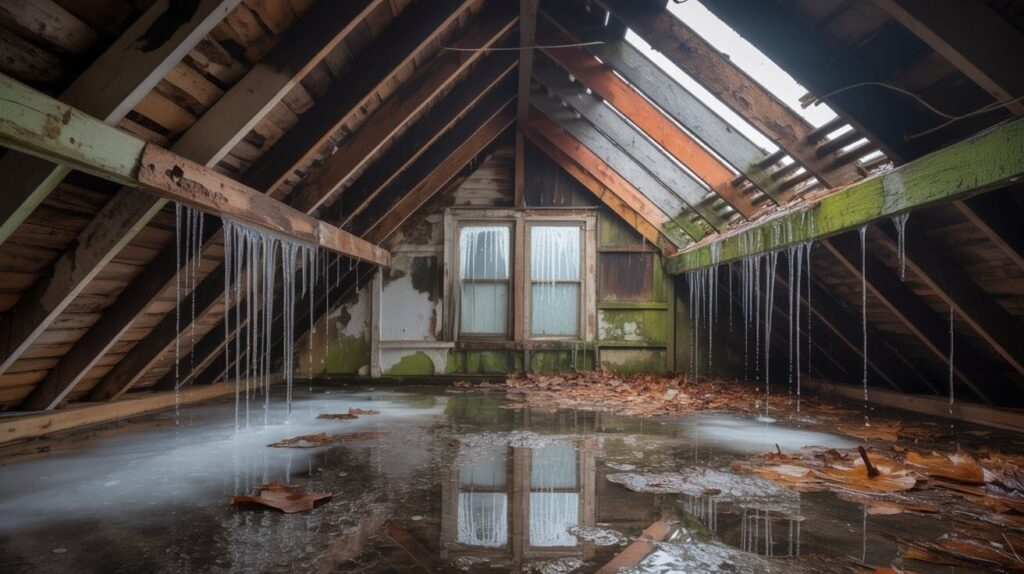
The Department of Energy estimates that the average home has enough leaks to equal a two-foot square hole in the wall. Imagine leaving a window wide open all year round. That’s essentially what’s happening. Small air leaks into uninsulated attic space are a major source of heat loss in many homes. It’s not just about comfort, either. When moist indoor air hits cold attic surfaces, it can condense. Over time, that leads to mold, rot, and structural damage. So, fixing these leaks isn’t just about saving cash; it’s about protecting your house.
Here’s the kicker: insulation alone won’t fix this. Insulation slows down heat transfer, but it doesn’t stop air movement. If you have fluffy fiberglass insulation but huge gaps around your pipes and wires, the air just flows right through it. That’s why experts agree that air sealing should happen before you add or upgrade insulation. It’s the foundation of an efficient home. Skipping this step is like putting a band-aid on a broken leg. You need to stop the flow first.
Gear Up: What You Actually Need (And What You Don’t)
Before you haul yourself up into the rafters, let’s talk gear. You don’t need a truckload of expensive equipment. In fact, most of what you need is probably already in your garage. The goal is to keep costs low—materials for a typical job run between $100 and $300, which is a fraction of what a pro would charge. Here’s your shopping list.
First, you need sealants. For small cracks and gaps (less than 1/4 inch), grab a few tubes of high-quality silicone or acrylic latex caulk. It’s easy to apply and cleans up with water. For bigger holes—like where plumbing stacks or wiring bundles punch through the drywall—you’ll need expanding spray foam. Look for "fire-block" foam if you’re near electrical boxes or chimneys, as it’s safer. Avoid the cheap stuff; it shrinks and cracks over time.
Next, protection. Attics are nasty places. You’ll need a N95 mask (those dust masks aren’t enough), safety goggles, and sturdy gloves. Old jeans and a long-sleeved shirt are a must unless you enjoy fiberglass itch for days. Also, bring a strong headlamp. Your hands will be busy, so you need light that goes where you look. A tape measure and a utility knife are handy too. Oh, and don’t forget a pair of knee pads or a piece of plywood to kneel on. Trust me, your knees will thank you later.
One thing you don’t need is a professional-grade blower door test. While pros use these to pressurize the house and find leaks, you can do a pretty good job with visual inspection and a simple smoke pencil (or even an incense stick). If you see the smoke wavering or being sucked into a crack, you’ve found a leak. Keep it simple. The biggest savings come from plugging the large, obvious holes, not chasing every tiny pinprick.
Mapping the Enemy: Where Leaks Hide
Now comes the detective work. Before you start caulking, you need to know where the leaks are. The best time to do this is on a windy day or when there’s a big temperature difference between inside and outside. Turn on all your exhaust fans (bathroom, kitchen) to create negative pressure in the house. This pulls air from the living space into the attic, making leaks easier to spot.
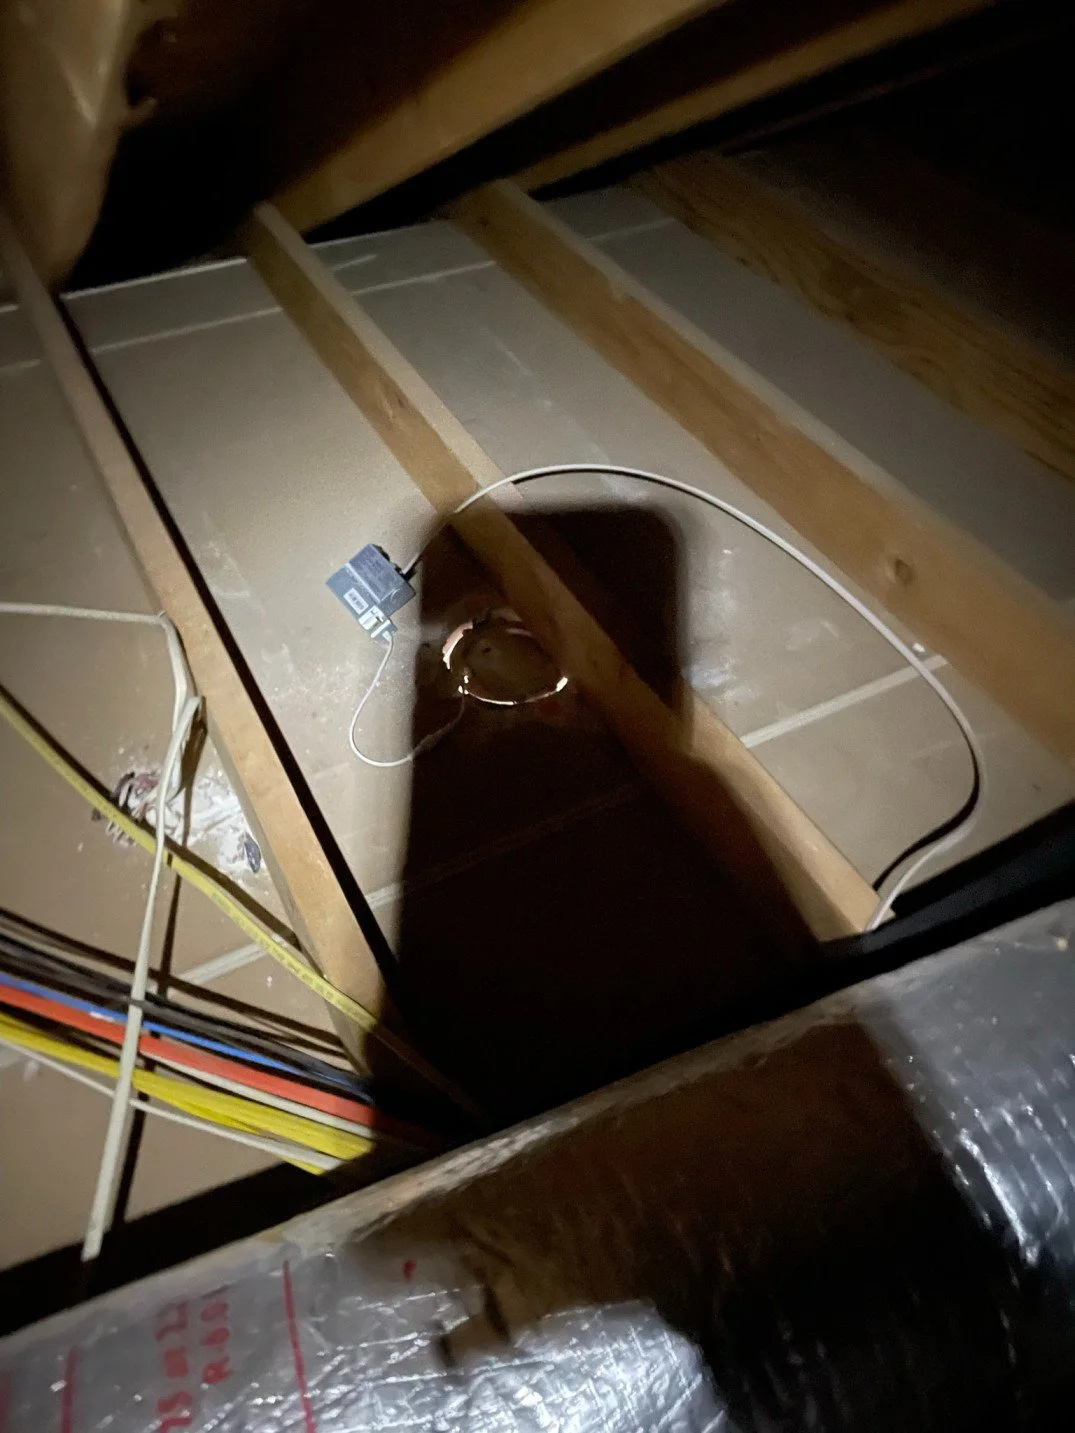
Once you’re up there, refer to your mental map (or a quick sketch you made from below) to locate the areas where leakage is likely to be greatest. Focus on where walls meet the attic floor. These top plates are notorious for gaps. Look for dropped soffits (those boxed-in areas around lights or vents)—they are often poorly sealed. Check around chimneys, flues, and plumbing vents. These penetrate the ceiling and are surrounded by large gaps cut into the drywall.
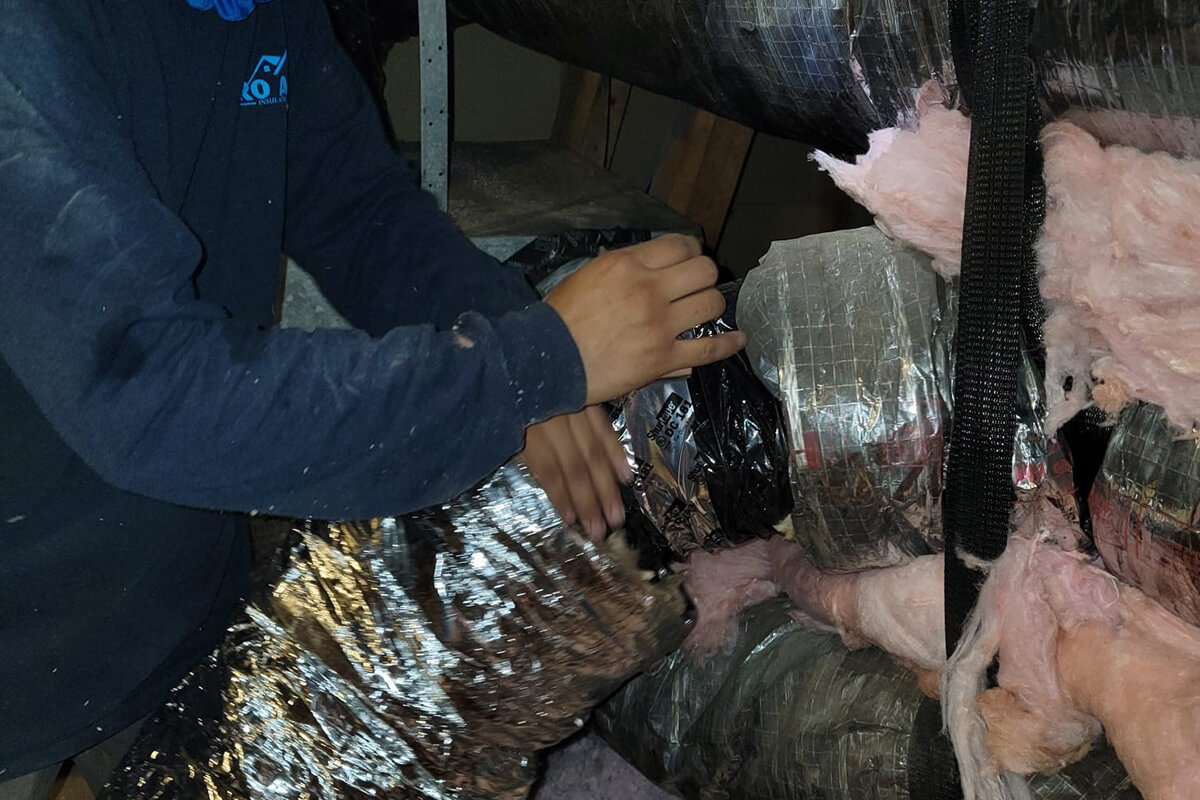
Don’t ignore the wiring. Bundles of electrical wires running from room to room often pass through holes that are way too big. Same with ductwork. If you have HVAC ducts running through the attic, check the connections. Metal-backed duct tape or mastic sealant is your friend here. Also, look for light shining through from below. If you can see daylight, air is getting through. It’s that simple.
Take your time. Move slowly. Use your smoke pencil or incense stick near suspicious areas. If the smoke gets sucked into a gap, mark it with a piece of masking tape or a chalk line. This way, you won’t forget any spots once you start sealing. It’s better to be thorough now than to have to crawl back up next month. Remember, you’re looking for the big offenders first. Plug those, and you’ll see the biggest impact.
The Art of the Seal: Techniques That Last
Okay, you’ve found the leaks. Now, let’s plug them. Start with the big holes. For gaps around pipes, wires, and ducts that are larger than 1/4 inch, use expanding spray foam. Shake the can well, insert the nozzle, and fill the void about halfway. The foam expands significantly, so don’t overdo it. If you overfill, you can trim it with a utility knife once it’s dry. For fire safety, always use fire-rated foam near chimneys or electrical fixtures.
For smaller cracks along the top plates of walls or where drywall meets wood, caulk is your go-to. Cut the tip of the caulk tube at a 45-degree angle, puncture the seal, and load it into your caulk gun. Apply a steady bead along the gap, then smooth it with your finger (wear a glove!) or a wet rag. This ensures a tight seal. Acrylic latex caulk is easier to clean up and paints well, while silicone is more durable and flexible. Either works, but consistency is key.
What about those tricky dropped soffits? These are often hollow boxes built into the ceiling. They need to be sealed at the bottom where they meet the drywall. Use rigid foam board cut to fit inside the soffit, then seal the edges with caulk or foam. This stops air from circulating freely between the attic and the living space. It’s a bit more involved, but it makes a huge difference in comfort.
Don’t forget the attic hatch or pull-down stairs. These are often huge sources of leaks. Weatherstrip the perimeter of the frame with foam tape, and consider adding an insulated cover to the back of the hatch. If you have pull-down stairs, you can buy pre-made insulated covers or build one using rigid foam and latches. It’s a simple fix that stops a massive amount of air exchange.
Safety First: Don’t Become a Statistic
Let’s pause for a second. Attics can be dangerous. It’s easy to get complacent, but one wrong step can lead to a fall through the ceiling or a nasty injury. Always step on the joists, not the drywall. The drywall can’t support your weight, and falling through it is a disaster you don’t want to deal with. If you need to move across the attic, lay down temporary walk boards (pieces of plywood) to distribute your weight.
Watch out for electrical wires. They might be hidden under insulation or draped across joists. Never cut or staple near them. If you’re unsure, leave it alone or consult an electrician. Also, be mindful of recessed lighting. If you have old-style can lights that aren’t "IC-rated" (Insulation Contact), keep insulation and foam away from them. They generate heat and need air circulation to prevent fire hazards. Newer LED fixtures are usually safer, but check the labels.
Ventilation is another critical safety point. Don’t block soffit vents, ridge vents, or gable vents. Your attic needs to breathe to prevent moisture buildup. When sealing, keep these vents clear. If you accidentally block a soffit vent with foam or insulation, you’re asking for trouble. Moisture will get trapped, leading to mold and rot. It’s a delicate balance: seal the leaks from the living space, but let the attic ventilate to the outside.
Finally, know your limits. If you find extensive mold, rodent infestations, or damaged structural elements, it might be time to call a pro. There’s no shame in knowing when a job is beyond your skill set. But for most standard air sealing tasks, you’ve got this. Just stay alert, stay safe, and take breaks. It’s hot up there, and dehydration is a real risk.
So, you’ve sealed the leaks. You’ve crawled out, dusty and tired, but satisfied. What now? Well, first, notice the difference. You might not see an immediate drop in your bill (though you might), but you’ll likely feel a change in comfort. Rooms that were always drafty might feel cozier. The temperature upstairs might be more consistent. That’s the magic of air sealing. It creates a tighter building envelope, which means your HVAC system doesn’t have to work as hard.
Over time, the savings add up. With energy costs fluctuating in 2026, every bit of efficiency counts. By cutting energy loss by 15-25%, you’re essentially giving yourself a raise. Plus, you’ve extended the life of your heating and cooling equipment. Less runtime means less wear and tear. That’s another long-term saving. And let’s not forget the environmental impact. Using less energy means a smaller carbon footprint. It’s a win-win.
But beyond the money, there’s peace of mind. You know your home is protected. You’ve taken proactive steps to prevent moisture issues and structural damage. You’ve turned your attic from a liability into an asset. It’s no longer just a dusty storage space; it’s a key part of your home’s efficiency strategy. And you did it yourself. No contractors, no hefty bills, just good old-fashioned elbow grease.
Keep an eye on your energy bills over the next few months. Compare them to last year. You’ll likely see a noticeable dip. If you don’t, check your work. Did you miss a spot? Is your insulation adequate? Sometimes, air sealing reveals that you also need more insulation. But that’s a project for another day. For now, celebrate the win. You’ve tackled one of the most impactful DIY projects a homeowner can do.
Sealing attic air leaks isn’t glamorous. It’s not something you’ll show off to guests. But it’s one of the smartest things you can do for your home. It’s practical, cost-effective, and surprisingly satisfying. So, don’t let another winter slip by with money flowing out of your ceiling. Grab your caulk gun, put on your mask, and get to work. Your wallet—and your comfort—will thank you. And hey, if you make a mess, at least it’s a mess that saves you money.