You know that feeling. You spend a whole Saturday sanding, painting, and carefully installing new baseboards. They look crisp. Clean. Professional. Then, a few weeks later, you notice it. A tiny, hairline crack where the wood meets the wall. Or worse, a gaping hole near the floor that seems to grow every time the heater kicks on. It’s frustrating, isn’t it? You grab the caulk gun, squeeze out a bead of white filler, smooth it with your finger, and call it a day. But deep down, you know it’s just a band-aid. And sure enough, by next winter, that crack is back. Maybe even wider.
Most people think the problem is the caulk itself. They blame the brand, the type, or maybe their shaky hand. But here’s the truth: the material isn’t usually the culprit. The issue lies in how we approach the gap in the first place. We treat it like a cosmetic blemish to be covered up, rather than a structural joint that needs to breathe. This mindset leads to the single most common, yet rarely discussed, mistake in home DIY projects. It’s not about buying the most expensive sealant. It’s about understanding why the gap exists and working with your home, not against it.
Let’s be honest. Nobody wakes up excited to caulk trim. It’s tedious work. It requires patience and a steady hand. But getting it right transforms a room. It makes old houses feel solid and new builds feel finished. In 2026, with energy efficiency being more important than ever, those small gaps aren’t just eyesores. They’re drafts. They’re dust traps. They’re invitations for pests. So, let’s dig into what’s really going on behind that trim and how to fix it for good. No jargon. No sales pitch. Just real talk from someone who’s seen thousands of botched jobs and knows exactly how to turn them around.
The Illusion of the Perfect Seal
We’ve all been taught to aim for perfection. Straight lines. Smooth surfaces. Zero imperfections. When it comes to baseboards, this desire for visual purity drives us to over-fill. We see a gap and think, "I need to obliterate this space." So, we pack it tight. We use rigid fillers. We sand it flush until it looks like the wood and the wall are one continuous piece. It looks amazing… for about a month. Then, reality sets in.
Houses move. It’s a fact. They settle. They expand in the summer humidity and contract in the dry winter air. Floors shift underfoot. Walls breathe with temperature changes. If you create a rigid, unyielding bond between two surfaces that are constantly moving in different directions, something has to give. Usually, it’s the caulk. It tears. It cracks. It pulls away from the edge, creating that ugly, jagged line you tried so hard to avoid. By trying to hide the movement, you actually highlight it.
Think of it like trying to glue two pieces of paper together while pulling them apart. The glue might hold for a second, but the tension will eventually rip the bond. The same thing happens with your trim. The "hidden mistake" isn’t using cheap caulk. It’s ignoring the physics of your home. You’re fighting a battle you can’t win. Instead of trying to freeze the joint in place, you need to allow for flexibility. You need a solution that moves with the house, not one that resists it. This shift in perspective is the first step toward a lasting repair.
Choosing the Wrong Weapon for the Job
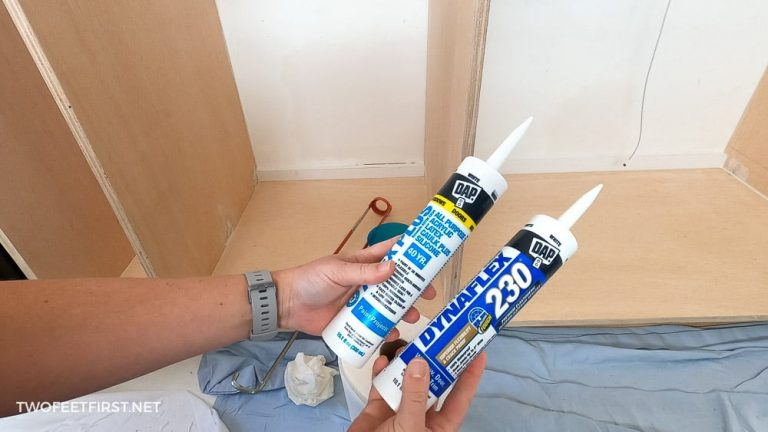
Walk into any hardware store today, and the aisle of sealants is overwhelming. There’s silicone, acrylic, latex, hybrid, paintable, waterproof, mold-resistant… the list goes on. It’s easy to grab the first tube that says "Interior Use" and head home. But this is where many DIYers go wrong. Not all caulks are created equal, and using the wrong type for baseboards is a recipe for disaster.
Silicone, for instance, is fantastic for bathrooms. It’s waterproof and flexible. But try painting over it. Good luck. Most paints won’t stick to pure silicone, leaving you with a shiny, unpaintable bead that stands out like a sore thumb. On the other hand, cheap acrylic latex caulk might paint beautifully, but it lacks the elasticity needed for larger gaps. It shrinks as it dries, pulling away from the edges and creating new gaps within weeks. It’s a vicious cycle of patching and repatching.
The sweet spot for baseboards in 2026 is a high-quality, paintable, elastomeric latex or hybrid sealant. Look for terms like "flexible," "shrink-resistant," and "paintable." These formulations are designed to stretch and compress without losing their bond. They can handle the seasonal shifts of your home without cracking. Yes, they cost a few dollars more than the basic stuff. But consider the time you’ll save not having to redo the job every six months. It’s an investment in peace of mind. And remember, always check the label for compatibility with your specific flooring and wall materials. What works for tile might not work for hardwood.
The Critical Step Everyone Skips: Preparation
Here’s a secret: 80% of a good caulk job happens before you even open the tube. Yet, most homeowners skip straight to the squeezing part. They see a dusty gap, maybe wipe it quickly with a rag, and start filling. This is a huge mistake. Caulk doesn’t stick to dust. It doesn’t stick to grease. It doesn’t stick to old, flaking paint. If the surface isn’t pristine, the bond will fail. Period.
Preparation means cleaning. Really cleaning. Use a vacuum with a brush attachment to suck out loose debris from the gap. Then, wipe the area with a damp cloth or a tack cloth to remove fine dust. If there’s old caulk, scrape it out completely. Don’t just layer new stuff over old. That’s like putting a fresh bandage over a dirty wound. It won’t heal. Use a utility knife or a specialized caulk removal tool to get down to the bare wood and drywall.
Also, consider the environment. Is it humid? Is it cold? Most caulks have specific temperature ranges for application. Applying caulk in a freezing garage or a sweltering attic can affect how it cures. Read the instructions on the tube. They’re there for a reason. Let the area dry completely after cleaning. Moisture trapped behind the caulk can lead to mold growth or poor adhesion. Taking these extra ten minutes to prep properly will save you hours of frustration later. It’s the difference between a job that lasts five years and one that lasts five months.
Technique Matters More Than You Think
So, you’ve got the right caulk. You’ve prepped the surface. Now, how do you actually apply it? Many people just squeeze the trigger and drag the nozzle along the gap. This often results in too much caulk, uneven beads, and a messy cleanup. The key is control. Less is more. You want to fill the gap, not bury it.
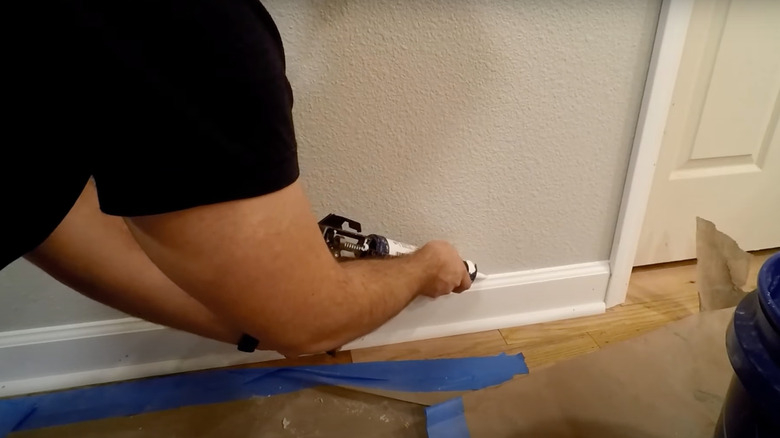
Cut the tip of the caulk tube at a 45-degree angle. Make the hole slightly smaller than you think you need. You can always cut it bigger, but you can’t make it smaller. Hold the gun at a consistent angle, usually around 45 degrees to the joint. Apply steady pressure on the trigger while moving the gun at a steady pace. Don’t stop and start. Try to do long, continuous runs. If you’re nervous, practice on a piece of scrap wood first. Get a feel for the flow.
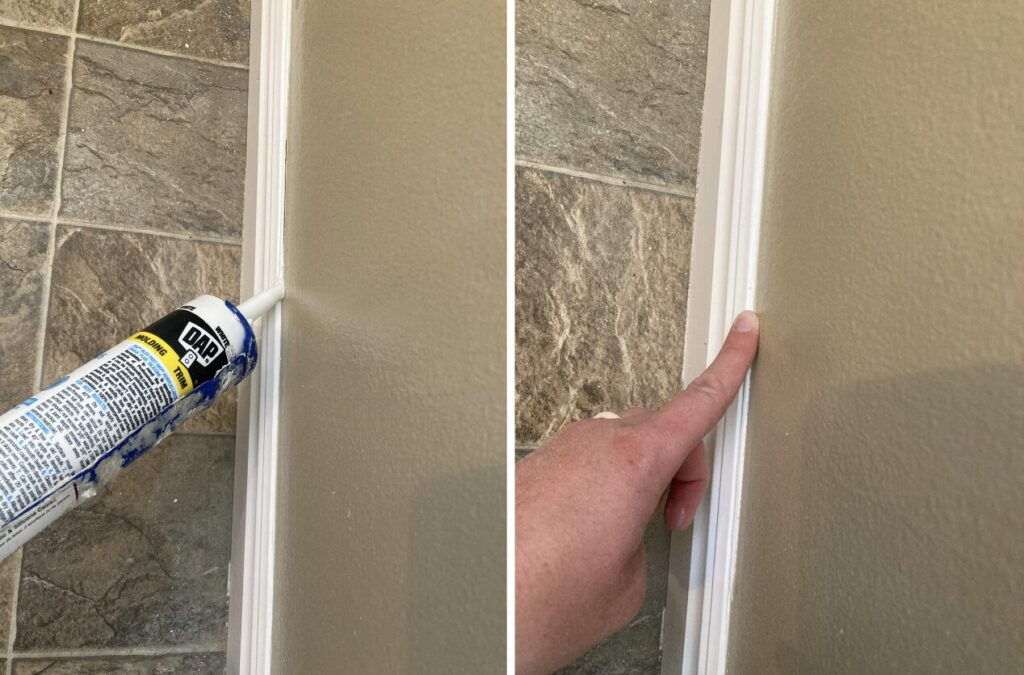
Once the bead is laid, don’t just leave it. Tool it. This means smoothing it out to ensure it presses into the gap and creates a clean line. You can use a wet finger, a damp sponge, or a specialized caulk finishing tool. A wet finger works well for small jobs, but a tool gives a more professional, consistent result. Wipe away the excess immediately with a damp cloth. Don’t let it skin over. If you miss a spot, catch it while it’s still wet. Dried caulk is a pain to remove without damaging the paint or wood. Remember, the goal is a concave or flat finish that blends seamlessly, not a bulging ridge.
Dealing with the Big Gaps
What if the gap isn’t small? What if there’s a quarter-inch or more between the baseboard and the floor? Caulk alone won’t cut it. If you try to fill a large void with sealant, it will sag, shrink excessively, and likely crack. This is a common scenario in older homes where floors have settled or walls aren’t perfectly plumb. So, what’s the solution?
For gaps larger than 1/8 inch, you need a backing material. This is where foam backer rod comes in. It’s a cheap, flexible foam rope that you press into the gap before caulking. It serves two purposes: it reduces the amount of caulk you need (saving money), and it provides a surface for the caulk to adhere to on three sides instead of two. This allows the caulk to flex properly without tearing. Think of it as giving the caulk a foundation to stand on.
Insert the backer rod so it sits slightly below the surface of the wood. Then, apply your caulk over it as usual. This technique ensures that the caulk forms a proper bridge across the gap, maintaining its elasticity and durability. For extremely large or irregular gaps, you might even consider using a flexible trim molding or shoe molding to cover the space entirely. Sometimes, hiding the gap is smarter than trying to fill it. Assess the size and shape of the void before you start. Don’t force a solution that isn’t suited for the scale of the problem.
You’ve cleaned, prepped, filled, and smoothed. You’re done, right? Not quite. The final, and often overlooked, step is letting the caulk cure. Many homeowners rush to paint over fresh caulk the same day. This is a critical error. Most caulks need time to fully set and develop their elasticity. Painting too soon can trap moisture, prevent proper curing, and lead to premature cracking or peeling paint.
Check the manufacturer’s recommendations for drying and curing times. Typically, you should wait at least 24 hours before painting. Some high-performance hybrids might take longer. Be patient. Use this time to clean up your tools and admire your handiwork. Once the caulk is fully cured, you can paint over it. Use a high-quality brush and apply the paint carefully along the edge. Don’t overload the brush, or you’ll get drips on your new seal.
Remember, caulk is not paint. It will never look exactly like the surrounding wood or wall. The goal is to make it disappear visually by matching the sheen and color as closely as possible. If you’re using white caulk on white trim, you might not even need to paint it, depending on the product. But if you do paint, ensure the paint is compatible with the caulk. A little patience at the end ensures your hard work lasts. Don’t ruin a great job by rushing the finish line. It’s worth the wait.
In the end, fixing baseboard gaps isn’t about magic products or secret techniques. It’s about respect for the materials and the home itself. It’s about understanding that houses are living, breathing entities that change with the seasons. By choosing the right flexible sealant, preparing the surface thoroughly, applying it with care, and allowing it to cure properly, you can achieve a finish that looks great and stands the test of time. Stop fighting the cracks. Work with them. Your home will thank you, and you’ll save yourself countless hours of rework. So next time you pick up that caulk gun, remember: flexibility is strength. And a little preparation goes a long way. Happy fixing.