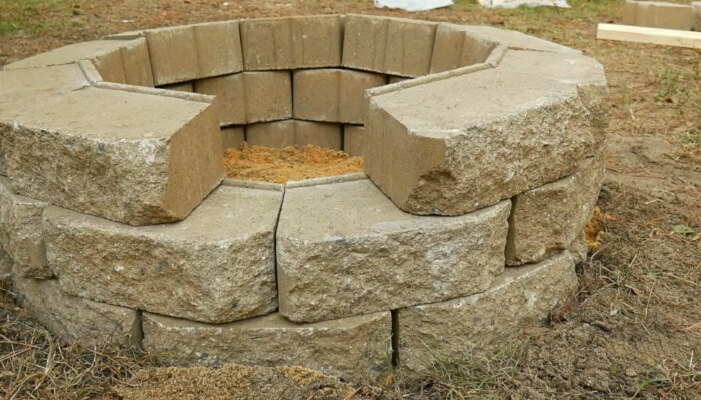
There’s something primal about gathering around a fire. It pulls people together. You stop looking at your phones. You start talking. Really talking. For years, I watched friends struggle with expensive metal bowls that rusted out after one season or complicated stone projects that required a degree in engineering. Then I saw someone stack a few concrete blocks in their yard. Simple. Effective. Cheap.
It changed how I thought about backyard upgrades. You don’t need a contractor. You don’t need a massive budget. You just need the right materials and a little bit of know-how. Retaining wall blocks have quietly become the gold standard for DIYers in 2026. They are heavy enough to stay put, designed to handle the elements, and surprisingly good at handling heat when done right. If you’ve been staring at that empty corner of your patio thinking, “I wish I had a fire,” this is your sign. Let’s dig in.
The Hidden Benefits of Concrete Blocks
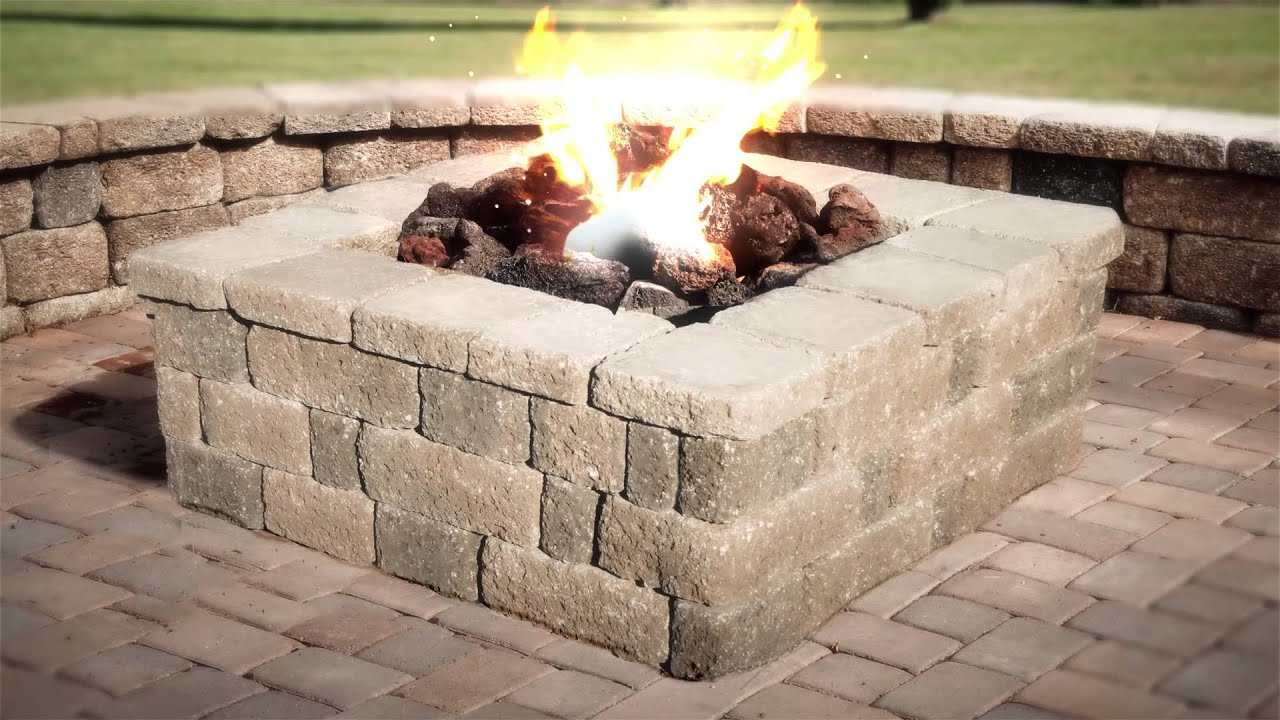
Why choose these specific blocks over river rocks or loose bricks? It comes down to stability and design. Retaining wall blocks, often called landscape blocks, are engineered with a lip or a pin system. This isn’t just for holding back dirt on a hill. That lip locks each layer into place. When you’re building a circle for a fire pit, that locking mechanism keeps the walls from bulging outward as they heat up and cool down. Regular bricks don’t have this. They slide. They shift. And eventually, they fall.
Safety is huge here. A wobbly fire pit is a dangerous one. These blocks are dense. They absorb heat slowly and release it gradually, which means the structure stays intact even during a roaring bonfire. Plus, they come in uniform shapes. This makes calculating how many you need incredibly easy. No more guessing games at the hardware store. You measure the circumference, divide by the width of the block, and boom—you have your number for the first layer. It takes the anxiety out of the shopping trip.
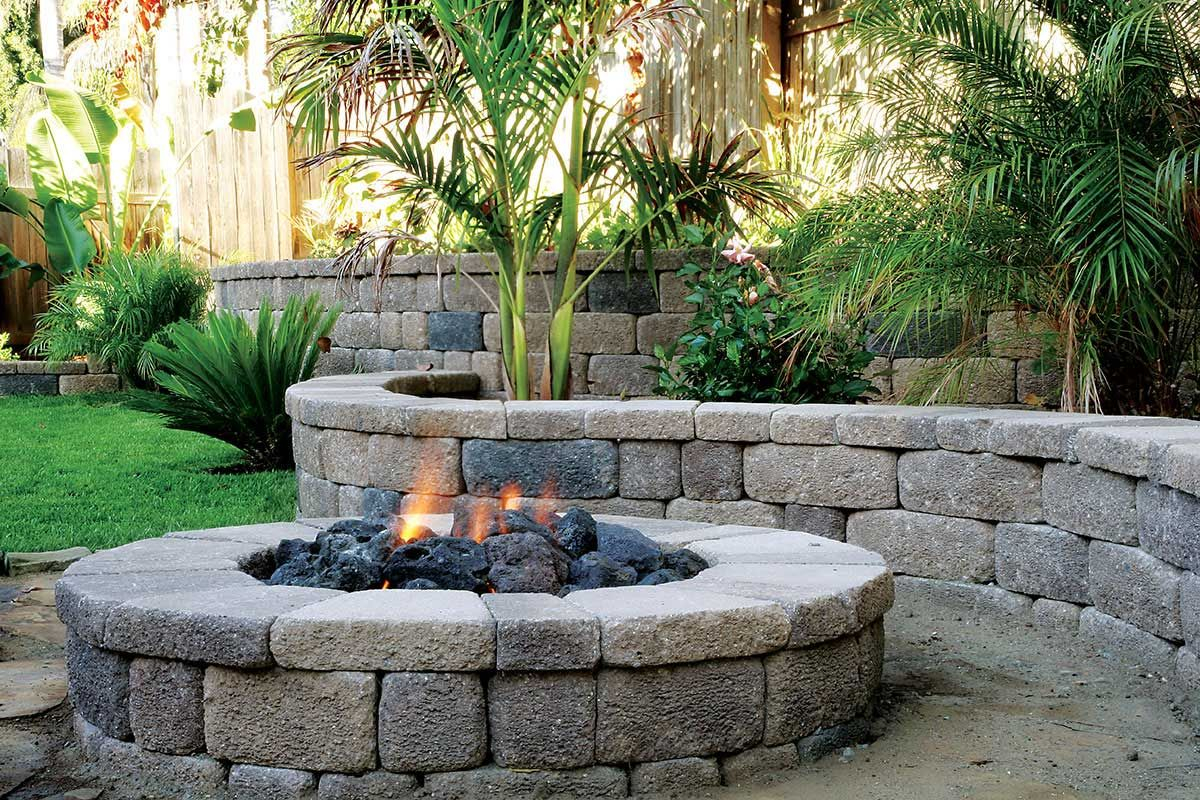
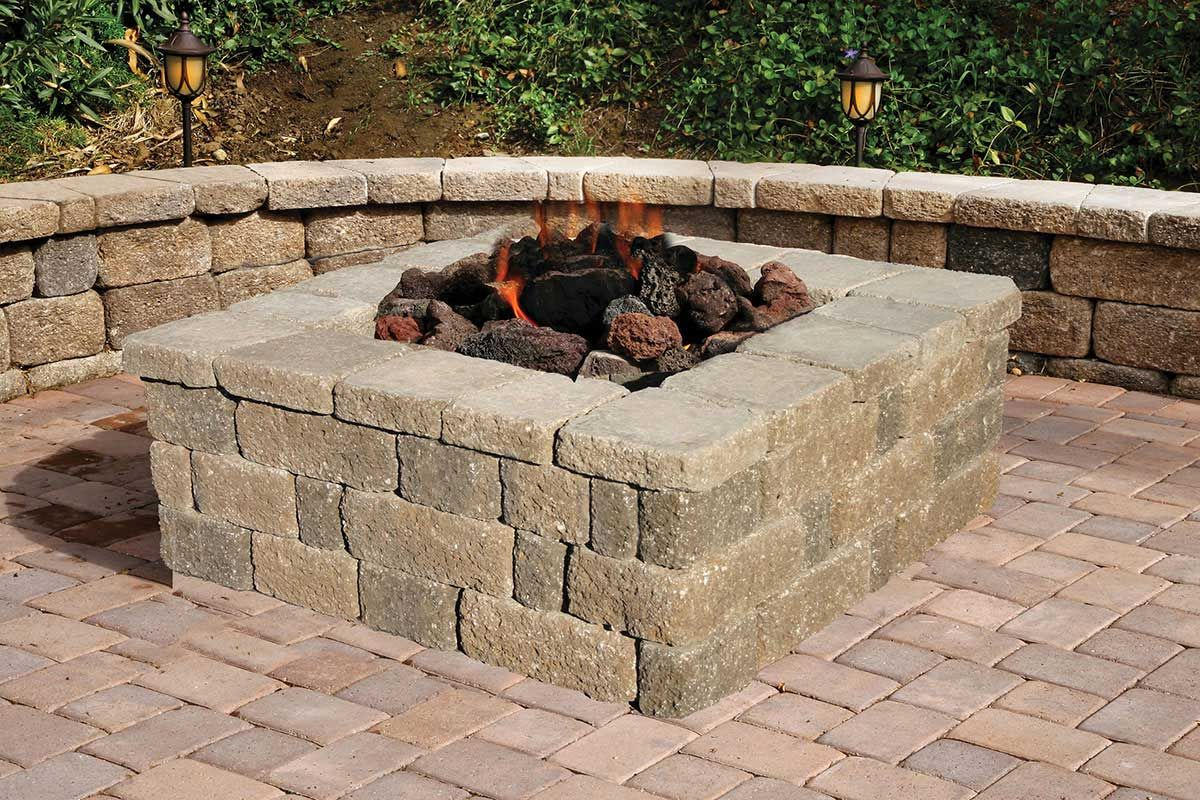
Another thing people overlook is the aesthetic flexibility. In 2026, the trend is moving away from perfectly manicured looks toward something more rugged and natural. Retaining wall blocks often have a textured face that mimics split stone. They look high-end without the high-end price tag. You can get them in charcoal, tan, or even reddish hues. This allows you to match your existing patio or house trim without spending a fortune on custom masonry. It’s a smart visual hack that elevates the whole backyard vibe.
Picking the Right Spot and Size
Location is everything. I can’t stress this enough. Before you buy a single block, walk your yard. Look up. Are there low-hanging branches? Move on. Look around. Is the fence made of dry wood? Back up. The general rule of thumb in 2026 remains consistent with previous years: keep at least 10 to 25 feet of clearance from your house, garage, and any other structures. This isn’t just about preventing fires; it’s about keeping smoke out of your living room windows. Nobody wants to smell like campfire while watching TV indoors.
Once you’ve found a flat, open spot, think about size. A common mistake is going too big. A massive fire pit looks impressive, but it eats fuel and radiates heat so intensely that you can’t sit close to it. For a first-timer, a diameter of 36 to 44 inches is the sweet spot. It’s large enough to accommodate a good log pile but small enough to keep the conversation intimate. To mark this out, grab a stake and some string. Pound the stake in the center. Tie the string to it. Make the string length half of your desired diameter. Walk around the stake, spraying paint or marking the ground. It’s simple geometry, but it saves you from ending up with an oval pit.
Don’t forget about the ground beneath. You need a level base. If your yard slopes, you’ll need to dig out the high side or build up the low side with gravel. A uneven base leads to uneven stacking, which leads to gaps. Gaps let heat escape where it shouldn’t. Take the time to use a tamper to pack down the soil. Then add a layer of crushed stone. This provides drainage. Water pooling under your fire pit can freeze in winter and crack the blocks. Proper prep now means less headache later. It’s the unglamorous part of the job, but it’s what makes the project last.
Choosing Materials That Last
Not all blocks are created equal. This is where many DIYers trip up. You need blocks rated for high heat. Standard concrete pavers might crack under direct flame exposure. Look for products specifically marketed as retaining wall blocks or fire pit rings. Brands in 2026 have improved their mixes to include aggregates that handle thermal shock better. Check the packaging. If it says “heat resistant” or mentions fire features, you’re on the right track. Avoid cinder blocks if you can. They are porous and can actually explode if moisture gets trapped inside them and turns to steam.
The shape matters too. Trapezoidal blocks are fantastic because they naturally form a circle without much cutting. Rectangular blocks work, but you’ll end up with wider gaps on the outside of the ring unless you cut them. Some newer kits come with pre-curved sections. These are pricier but save a ton of labor. If you’re on a budget, stick to the standard trapezoidal landscape blocks. They are widely available at most garden centers. The key is consistency. Try to buy all your blocks from the same batch. Color variations between batches can be noticeable, and you want your pit to look uniform.
Let’s talk about the inside. The blocks themselves are the structure, but the interior needs protection. Direct flame touching concrete can cause spalling—where the surface chips off. To prevent this, line the inside with a steel fire ring or a layer of firebrick. This acts as a barrier. It reflects heat back into the fire, making it burn hotter and more efficiently, while protecting the concrete blocks. In recent years, modular steel inserts have become popular. They drop right in. They’re easy to clean. And they extend the life of your block structure significantly. It’s a small extra cost for a big gain in durability.
The Step-by-Step Build Process
Alright, let’s get building. Start with your prepared base. Lay out the first course of blocks. Don’t use mortar yet. Just dry stack them to ensure they fit tightly. If you’re using trapezoidal blocks, the narrow end goes inward. This creates the circular shape naturally. Use a level to check each block. If one is high, tap it down with a rubber mallet. If it’s low, add a pinch of sand underneath. This first layer is the foundation. If it’s off, the whole pit will be off. Take your time here. It’s worth it.
For the second layer, stagger the joints. This is basic masonry logic. The vertical seam of the top block should sit over the middle of the bottom block. This distributes weight and adds strength. Most retaining wall blocks have a lip that helps with this alignment. Just hook the lip of the upper block over the back of the lower one. Push it forward until it’s snug. Continue this pattern for three to four layers. That’s usually enough height to contain the fire and protect against wind. Going higher than that can restrict oxygen flow, making the fire smoky and hard to keep lit.
Once you’re happy with the stack, you can secure it. Some people use construction adhesive designed for high heat. Others prefer to leave it dry-stacked for easier disassembly or repair. If you live in an area with high winds, adhesive is a good idea. Apply it to the top surface of the lower block before setting the next one. Wipe away any squeeze-out immediately. It dries fast and is hard to remove once set. After the final layer is on, let it cure for 24 hours before lighting a fire. This lets any adhesives set and allows the structure to settle. Patience is a virtue, especially when dealing with fire.
Safety and Maintenance Tips
Building it is only half the battle. Using it safely is the other half. Never leave a fire unattended. It sounds obvious, but distractions happen. Keep a bucket of sand or a garden hose nearby. Water can sometimes cause steam explosions if poured directly on hot rocks, so sand is often safer for smothering flames. Also, check your local regulations. Many neighborhoods in 2026 have burn bans or restrictions on open flames during dry seasons. Ignoring these can lead to hefty fines. It’s not worth the risk.
Maintenance is minimal, which is another reason these blocks are great. After each use, let the ashes cool completely. Then scoop them out. Leaving ash buildup can retain moisture, which leads to staining and potential cracking over time. Inspect the blocks occasionally for cracks. Small hairline cracks are normal due to thermal expansion. Large cracks mean you might need to replace a block. If you used a steel liner, check it for rust. A little surface rust is fine, but deep corrosion means it’s time for a new liner.
One pro tip: cover your fire pit when not in use. Rain and snow can seep into the pores of the concrete. When that water freezes, it expands. This is called freeze-thaw cycling, and it’s the enemy of masonry. A simple fitted cover costs maybe twenty bucks and can double the lifespan of your pit. It also keeps leaves and debris out, so you don’t have to clean it every time you want to use it. Less chores, more roasting marshmallows. That’s the goal, right?
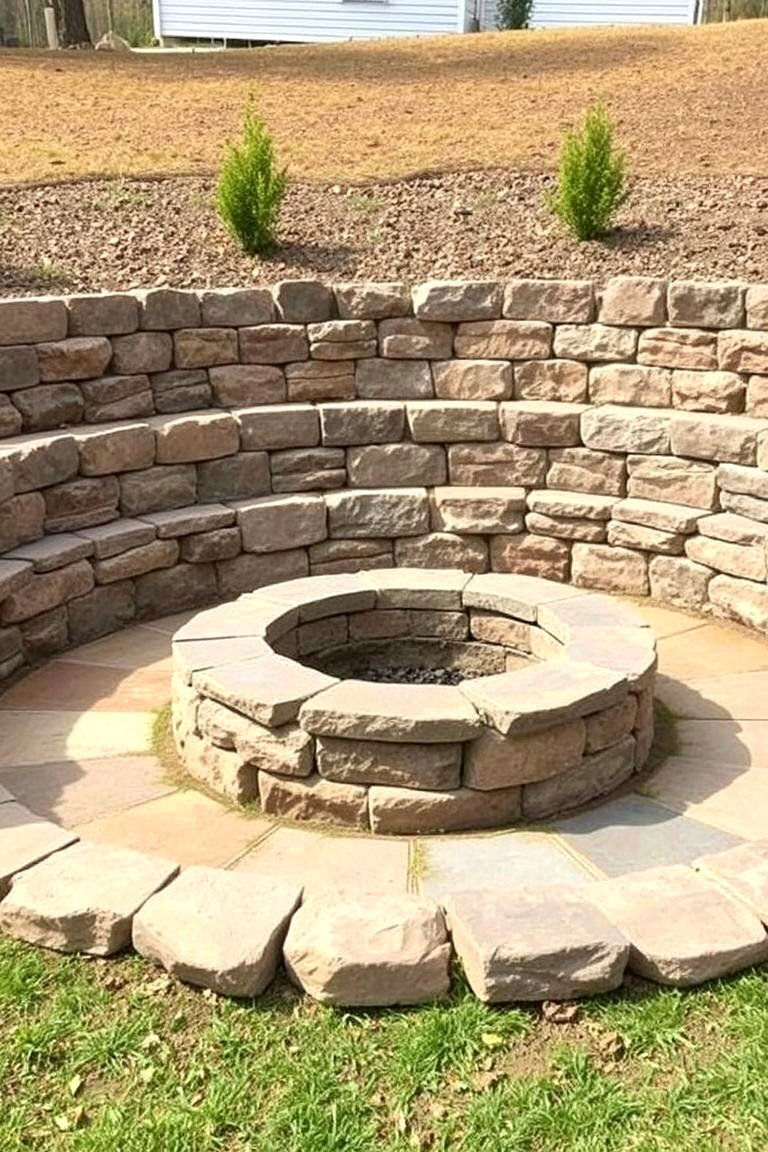
Now that the pit is built, make it inviting. The area around the fire is just as important as the fire itself. Consider adding a border of flagstone or pea gravel around the base. This defines the space and prevents grass from getting scorched by falling embers. It also gives you a clean surface to place chairs. Speaking of chairs, arrange them in a semi-circle. Keep them at a comfortable distance—close enough to feel the warmth, far enough to avoid singeing eyebrows. Adirondack chairs are a classic choice, but modern metal mesh chairs work well too.
Lighting plays a big role in the ambiance. String lights overhead create a cozy canopy. Solar path lights around the perimeter help people navigate without tripping. Avoid bright floodlights. You want the fire to be the main source of illumination. It creates shadows and movement, which makes the space feel dynamic and alive. In 2026, people are also adding subtle tech touches. Bluetooth speakers hidden in nearby planters allow for background music. Just keep the volume low. The crackle of the wood should be the star of the show.
Finally, personalize it. Add some throw pillows to the chairs. Keep a basket of blankets nearby for chilly nights. Maybe plant some heat-tolerant herbs like rosemary or lavender in pots around the edge. The scent mixes beautifully with the wood smoke. These small touches transform a simple concrete circle into a destination. It becomes a place where memories are made. Where stories are shared. And that’s really what a fire pit is about. It’s not just a hole with fire in it. It’s the heart of your outdoor living space.
So, there you have it. Retaining wall blocks offer a blend of practicality, safety, and style that’s hard to beat for a first-time builder. They are forgiving. They are affordable. And they look great. You don’t need to be a master mason to pull this off. You just need a weekend, a few tools, and the willingness to try. The reward is countless evenings spent under the stars, surrounded by friends and family, warmed by a fire you built with your own hands. That feeling? It’s priceless. Go ahead. Stack those blocks. Light the match. Enjoy.