Ever opened a drawer and felt that familiar sinking feeling? You know the one. It’s that moment when a rainbow of tangled threads stares back at you, mocking your best intentions. We’ve all been there. You reach for a specific shade of blue—maybe DMC 3843—and instead, you pull out a knotted mess of greens and purples. It’s frustrating. It kills your momentum. And honestly, it makes you want to put the needle down before you’ve even started.
But here’s the good news. You don’t need a massive studio or expensive custom cabinetry to fix this. In fact, some of the best solutions are things you probably already have lying around the house. Organizing your embroidery floss isn’t just about being tidy; it’s about respecting your craft. It’s about making sure that when inspiration strikes, you’re ready to go. No hunting. No untangling. Just stitching. Let’s look at how we can transform that chaos into calm with some simple, proven hacks that actually work.
The Great Bobbin Debate: Plastic vs. Cardboard
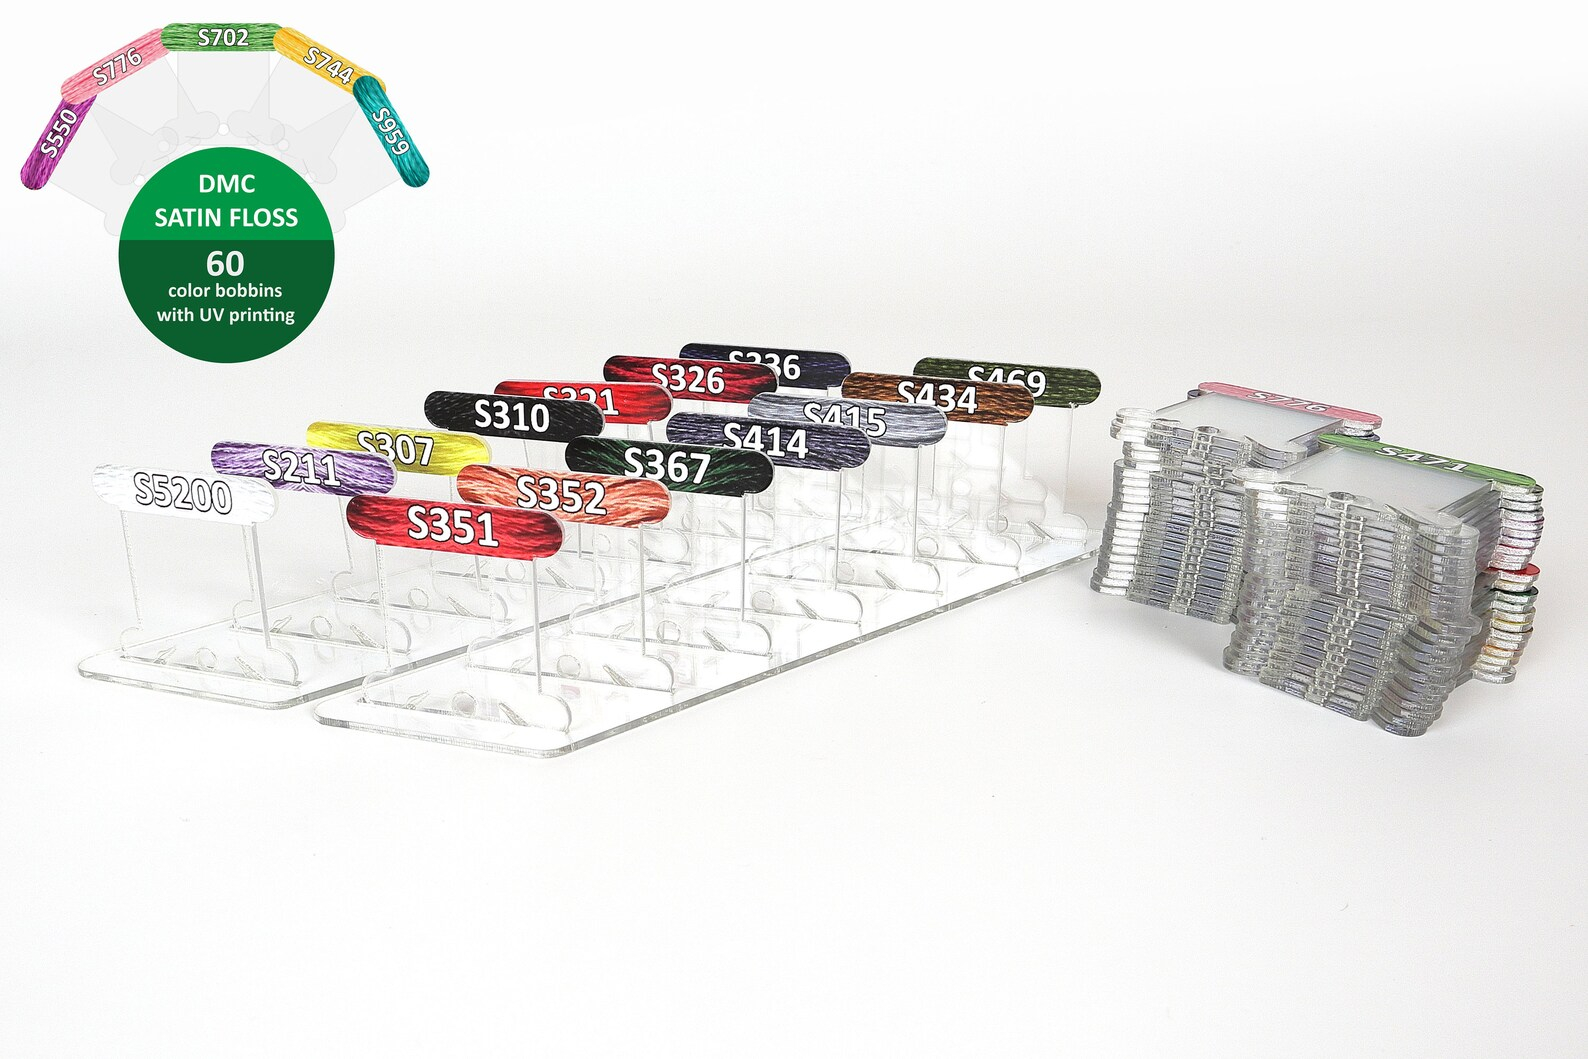
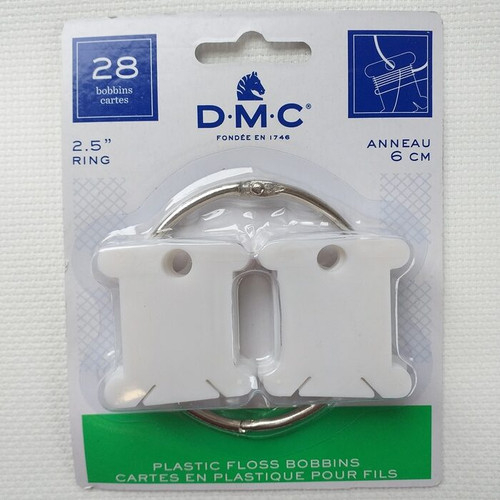
Let’s talk about bobbins. They are the backbone of any good floss organization system. But which kind should you use? This is where most people get stuck. On one hand, you have plastic bobbins. They’re durable, smooth, and they come in clear varieties that let you see the color instantly. Many crafters swear by them because the floss slides off easily without snagging. Plus, they last forever. If you drop one, it doesn’t crumble. That’s a huge plus if you’re clumsy like me.
On the other hand, there are cardboard bobbins. These are often cheaper and easier to find. Some people love them because they’re lightweight and you can write the color number directly on the side with a pen. No extra labels needed. But here’s the catch: cardboard can fray over time. Those little fuzzy edges can catch your thread, leading to knots. And if you live in a humid area, cardboard might warp. So, what’s the verdict? For long-term storage, plastic wins. But if you’re on a tight budget or just starting out, cardboard works fine if you’re gentle with it.
There’s also a middle ground: wooden clothespins or specialized wooden bobbins. These are gaining popularity in 2026 because they look beautiful displayed on a shelf. They add a rustic charm to your space. However, they take up more room. Think about your space constraints. If you have limited drawer space, slim plastic bobbins are your best friend. If you have wall space to spare, wooden options can double as decor. The key is consistency. Pick one type and stick with it. Mixing too many types can make your storage look cluttered, defeating the purpose.
Sorting Systems That Actually Make Sense
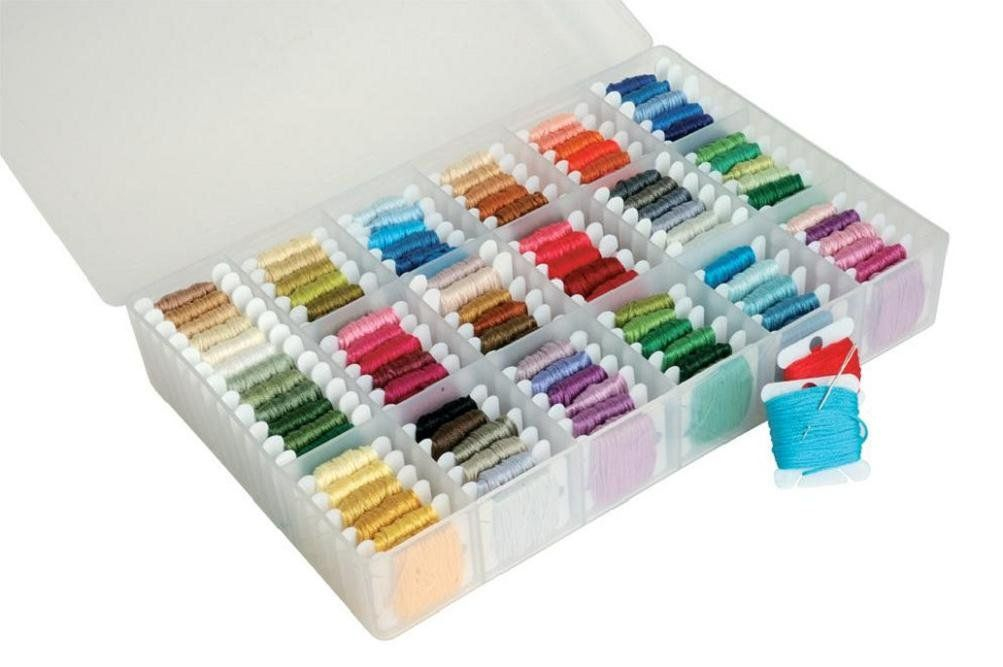
Okay, so you’ve got your bobbins. Now, how do you arrange them? Randomly tossing them in a box is a recipe for disaster. You need a system. The most common method is sorting by color family. Think of a rainbow. Reds next to oranges, yellows next to greens, and so on. This is intuitive. When you’re working on a flower project, you know exactly where to look for pinks and purples. It saves time. It reduces mental load. And it looks satisfyingly orderly.
But color isn’t the only way. Some serious stitchers prefer sorting by brand or type. If you use DMC, Anchor, and Cosmo separately, keep them apart. Each brand has slightly different shades, and mixing them can lead to confusion. Within each brand, you can then sort by number. This is great if you frequently reference pattern charts that list specific DMC numbers. You become fast at finding "DMC 310" because you know it lives in the black section, near the dark grays. It’s logical. It’s efficient.
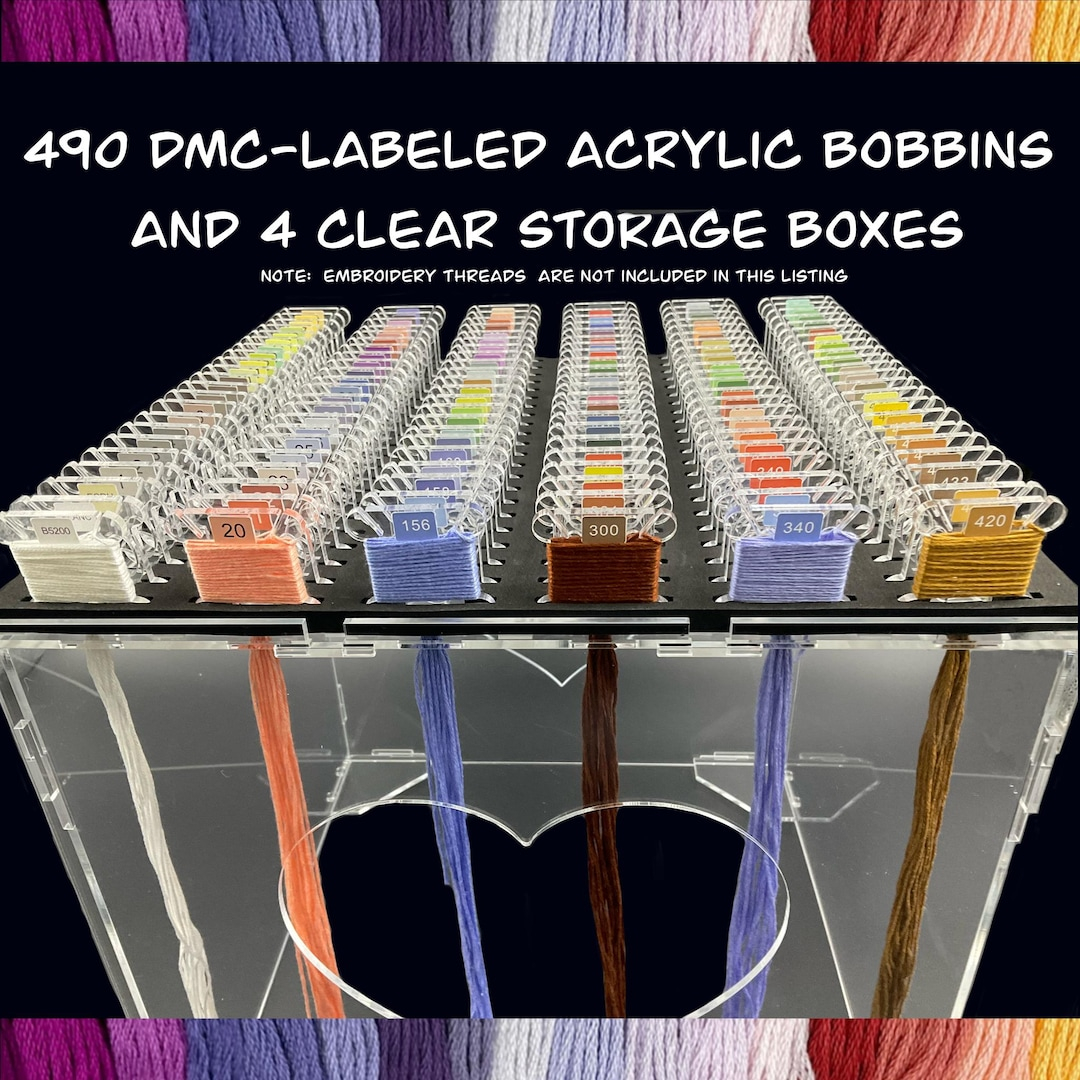
Another clever trick is using printable labels or color-coded stickers. In 2026, there are tons of free resources online where you can download and print label sheets specifically for floss bobbins. These labels often include the color number and a small swatch of the actual color. Stick one on each bobbin. Now, even if your memory fails you, the label won’t. You can also use binder clips with tags for projects in progress. This keeps active threads separate from your main stash. It prevents you from accidentally putting a half-used skein back in the wrong spot. Flexibility is key here. Your system should work for you, not against you.
Binder Magic: Portable and Protected
If you love the idea of keeping everything visible and protected, binders are a game-changer. Imagine flipping through pages of neatly arranged floss samples, just like a catalog. It’s oddly satisfying. To set this up, you’ll need clear pocket pages—usually the kind used for trading cards or photos. Slide your bobbins into the pockets. You can fit several bobbins per pocket, depending on their size. Then, punch holes in the pages and slip them into a three-ring binder.
Why is this so effective? First, it protects your floss from dust and dirt. Dust is the enemy of embroidery. It can make threads look dull and attract pests. A binder keeps everything sealed away when not in use. Second, it’s portable. Want to work on the couch? Grab the binder. Going on a trip? Pack the binder. It’s all self-contained. You don’t have to worry about loose bobbins rolling under the seat. This is perfect for people who like to stitch in different spots around the house.
You can organize the binder pages by color gradient or by project. Some crafters dedicate one binder to their general stash and another to specific large projects. For example, if you’re working on a massive landscape piece, keep all the greens and blues for that project in a separate binder. This keeps your main stash uncluttered. Also, consider using dividers with tabs. Label them "Reds," "Blues," "Neutrals," etc. This makes navigation super quick. Just flip to the tab you need. It’s simple, cheap, and incredibly effective. Plus, binders stack nicely on a shelf, saving valuable desk space.
Drawer Dividers and Box Solutions
Not everyone loves binders. Some people prefer the open accessibility of drawers. If that’s you, drawer dividers are your best friend. You don’t need to buy expensive custom inserts. Shoeboxes, cereal boxes, or even old tissue boxes work wonders. Cut them down to size and arrange them in your drawer to create compartments. This keeps your bobbins from sliding around and mixing together. It’s a zero-cost solution that looks surprisingly professional.
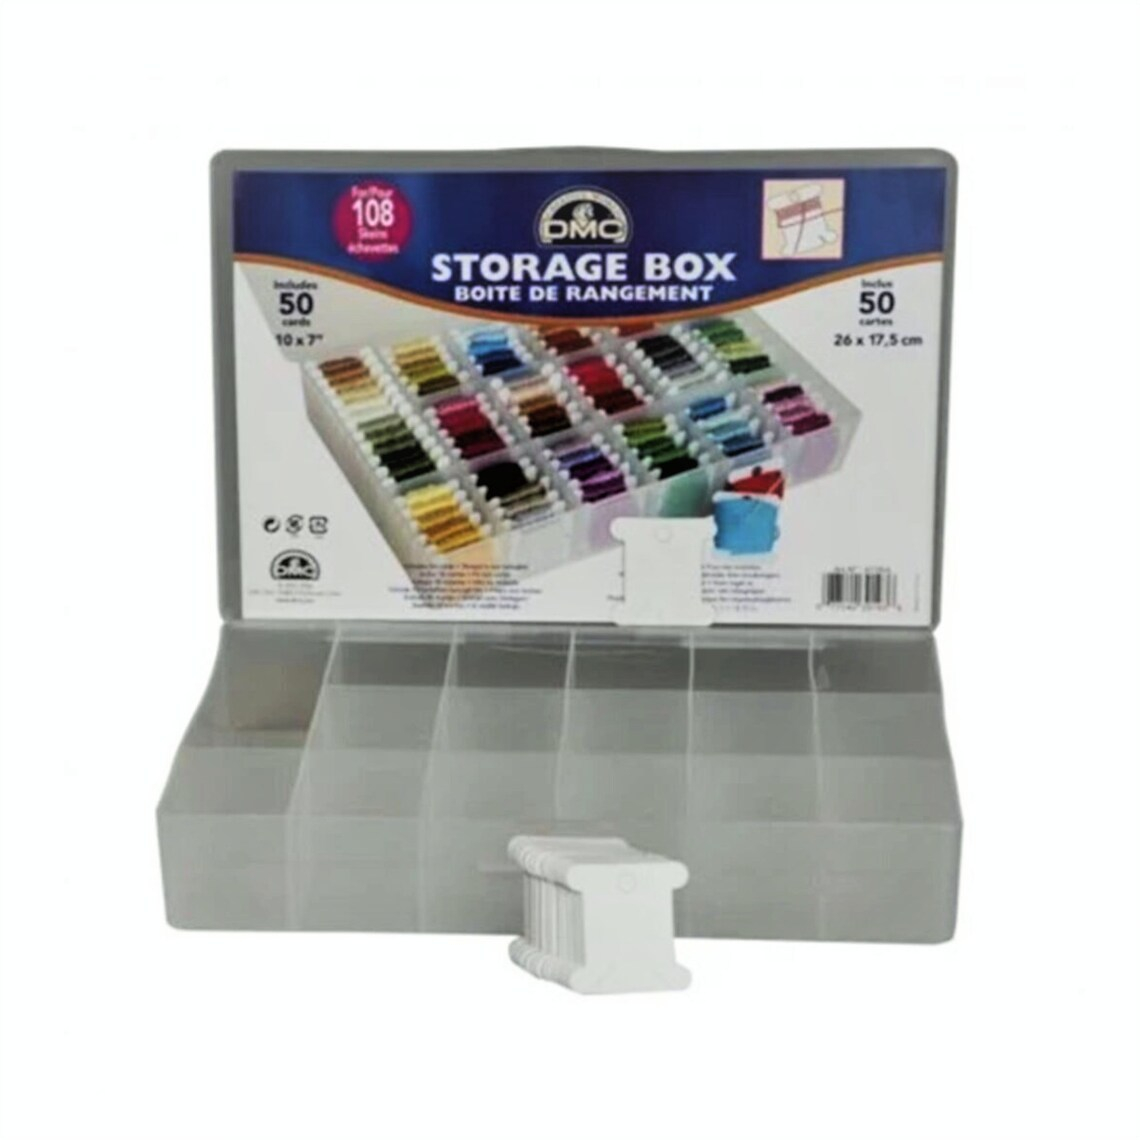
For a more polished look, consider modular storage boxes. There are many clear plastic containers available now that stack securely. Look for ones with adjustable dividers. This allows you to customize the size of each compartment. You might want larger slots for full skeins and smaller ones for bobbins. Transparency is crucial here. If you can see what’s inside without opening every box, you’ll save hours of searching. Label the outside of each box clearly. Use a label maker or sturdy tape with handwritten notes.
Another trendy option in 2026 is the use of pegboards with small baskets or hooks. While not strictly a drawer solution, it offers similar accessibility. Hang small bins on the pegboard to hold your floss categories. This gets the floss off your desk and onto the wall, freeing up workspace. It also turns your supplies into a visual display. Seeing all those colors lined up can be incredibly inspiring. Just make sure the baskets are deep enough so bobbins don’t fall out when you grab one. Whether you choose drawers or walls, the goal is visibility and separation. Keep like with like. Keep it accessible.
Repurposing Household Items for Creative Storage
Sometimes the best hacks are the ones you didn’t have to buy. Look around your home. What do you have lying around? Old spice racks? Perfect for holding small jars of bobbins. Pill organizers? Great for separating tiny amounts of leftover thread. Even egg cartons can be used for short-term storage of project-specific colors. The key is creativity. Don’t feel limited by traditional craft supplies.
One popular hack involves using empty mint tins or Altoids containers. These are sturdy, compact, and fit easily into a bag. Clean them out, remove the labels, and decorate them if you like. Then, fill them with bobbins for a specific project. You can stack several tins together. They’re magnetic, so they stick to each other or to a metal surface. This is ideal for travel or for keeping current projects organized on your desk. It’s a sleek, industrial look that many modern crafters love.
Another idea is using command hooks and ribbon. Tie loops of ribbon to your bobbins and hang them on hooks mounted on the wall or inside a cabinet door. This creates a cascading effect that’s both functional and decorative. It’s especially useful for larger skeins that haven’t been wound onto bobbins yet. You can also use old jewelry organizers. Those hanging shelves with clear pockets? They work perfectly for floss. Hang one on the back of your door. It’s out of the way but easy to access. Think outside the box. Literally. Your unique space might need a unique solution, and household items often provide the perfect fit.
Getting organized is one thing. Staying organized is another. It’s easy to let things slip back into chaos if you don’t have a maintenance routine. The first rule is: put it back immediately. After you finish stitching, take thirty seconds to return your floss to its proper spot. Don’t leave it on the table. Don’t toss it in a pile. Those thirty seconds save you thirty minutes of hunting later. It’s a small habit with a huge payoff.
Second, do a quarterly audit. Every few months, take a look at your stash. Are there colors you never use? Consider donating them or selling them online. Do you have duplicates? Consolidate them. This keeps your collection lean and manageable. It also gives you a chance to check for any damaged bobbins or faded labels. Replace them as needed. This regular upkeep prevents the buildup of clutter. It keeps your system fresh and functional.
Finally, be kind to yourself. Perfection isn’t the goal. Functionality is. If your system works for you, it’s the right system. Don’t worry if it doesn’t look like the pictures on Pinterest. Real life is messy. Sometimes you’ll misplace a bobbin. Sometimes you’ll run out of a color. That’s okay. The point is to reduce stress, not add to it. Enjoy the process. Enjoy the calm that comes with knowing exactly where everything is. Your craft space should be a sanctuary, not a source of anxiety. With these simple hacks, you’re well on your way to creating a space that inspires you every time you walk in.