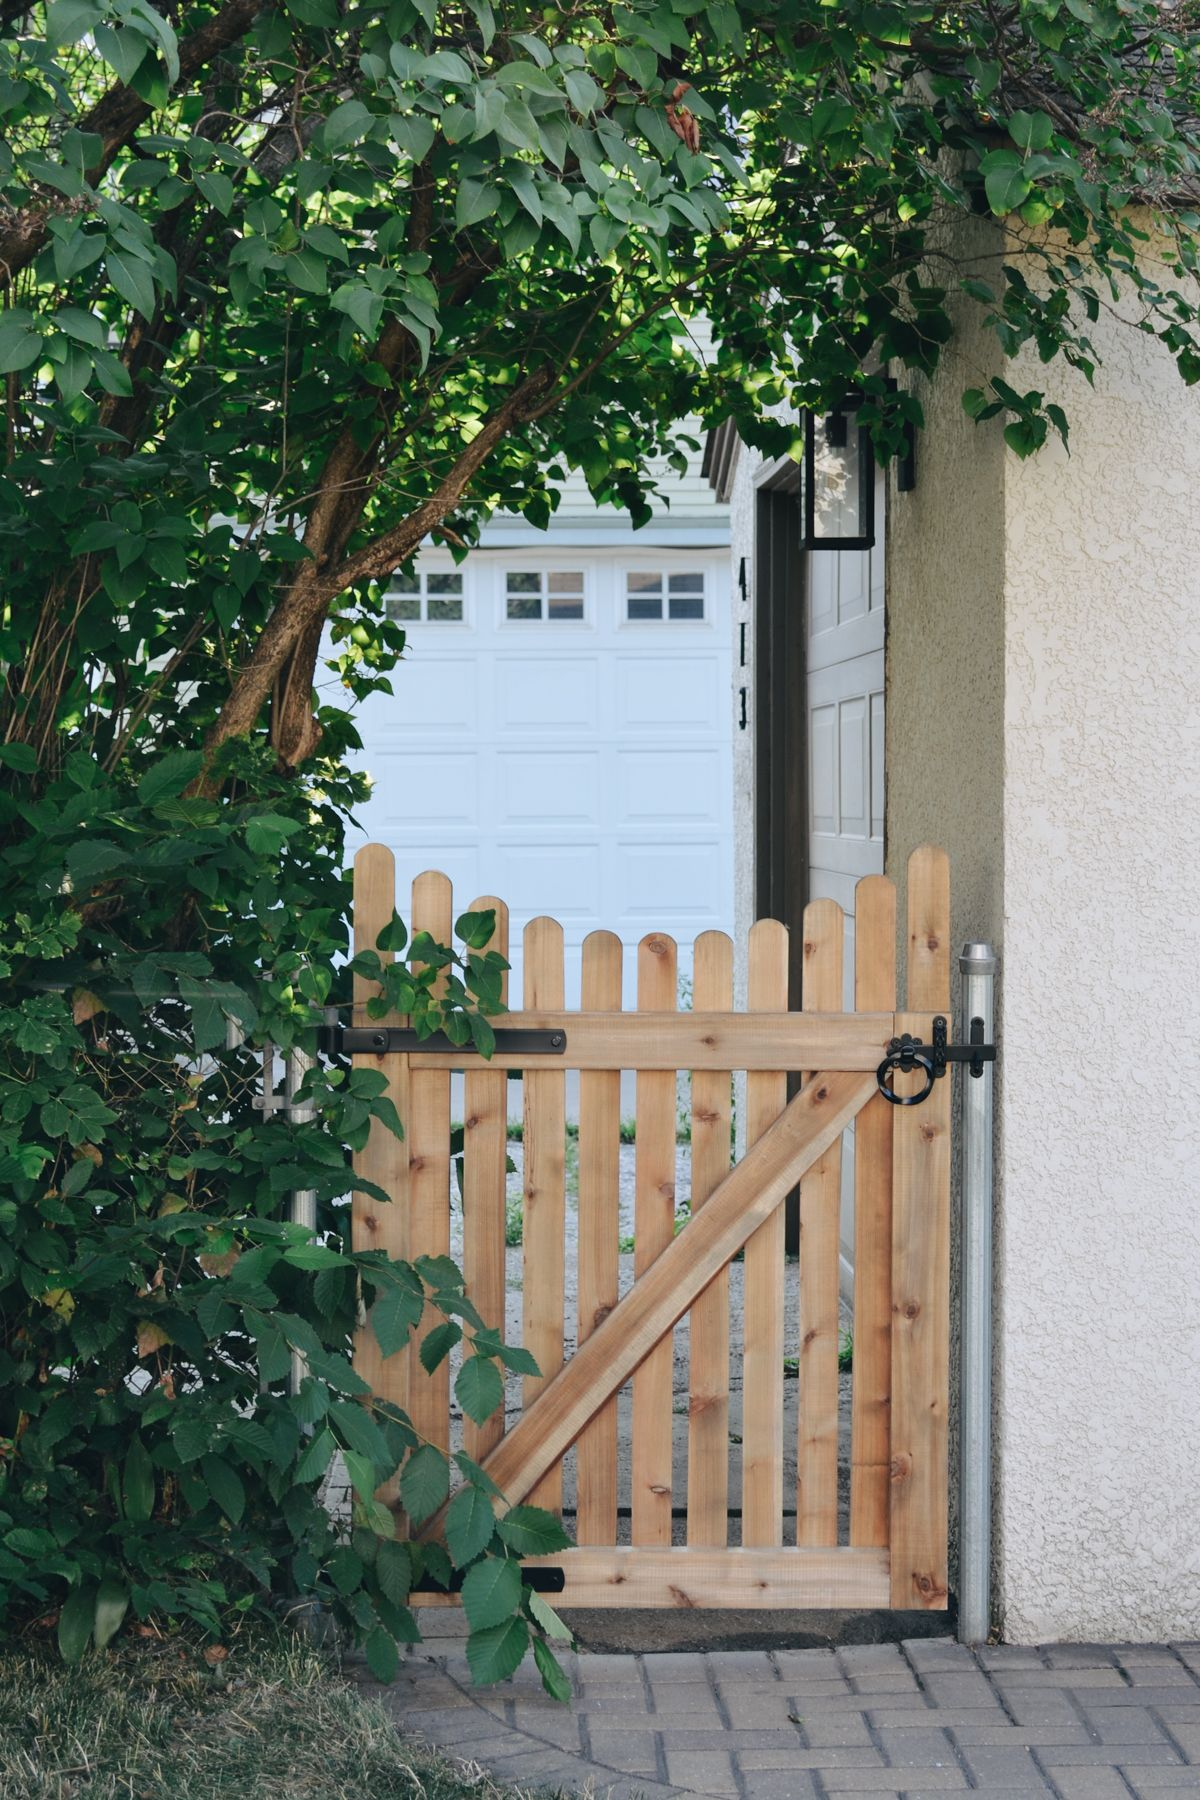
Ever stood in your backyard, looking at that sagging, crooked thing you call a gate, and just sighed? Yeah, me too. It’s frustrating. You want something welcoming, something that says "come on in," but instead, you get a rusty squeak and a panel that drags on the dirt every time it rains. Building a gate isn’t just about keeping dogs in or deer out. It’s about creating a threshold. A moment of transition from the wild world to your private sanctuary. And if you do it right, it’ll still be standing strong when your grandkids are running through it.
Most people think a gate is just four boards nailed together. They’re wrong. A gate is a structural challenge. It hangs off one side, fighting gravity every single second of its life. If you don’t respect the physics, the wood will twist, the hinges will pull out, and you’ll be back at the hardware store in six months. But here’s the good news: you don’t need to be a master carpenter. You just need to know the secrets that pros have been using for centuries. Let’s fix that wobbly mess, shall we?
Choosing Wood That Won’t Quit on You
The first mistake everyone makes is buying the cheapest lumber they can find. Don’t do it. Your gate lives outside. It gets baked by the sun, soaked by rain, and frozen solid in winter. You need wood that fights back. Cedar and redwood are the gold standards. They have natural oils that repel rot and insects without needing heavy chemicals. Plus, they look gorgeous as they age, turning a silvery gray if you let them be. If you’re on a tighter budget, pressure-treated pine is okay, but make sure it’s rated for ground contact or exterior use. Just remember, it needs to dry out completely before you paint or stain it, which can take weeks.
Avoid standard white pine or spruce unless you plan to seal every inch of it perfectly. Even then, it’s risky. When you’re at the lumberyard, pick each board by hand. Look for straight grain. Avoid knots near the ends where screws will go, because that’s where splits start. Warped boards are a nightmare to work with. Lay them flat on the ground and sight down the edge. If it looks like a banana, put it back. You want stability. A gate made from twisted wood will never hang right, no matter how good your hinges are. It’s worth spending an extra twenty bucks to get the good stuff. Your future self will thank you.
Also, think about thickness. A flimsy 1×4 might look delicate, but it won’t hold up to wind or a playful dog. Go for 2x4s for the frame and 1x6s or 1x8s for the pickets. The extra mass adds rigidity. In 2026, sustainable sourcing is bigger than ever, so check if your supplier offers FSC-certified wood. It’s not just better for the planet; often, higher-grade certified lumber is dried better and has fewer defects. You’re building for years, not seasons. Treat the material with respect, and it’ll return the favor.
The Secret Is in the Frame Geometry
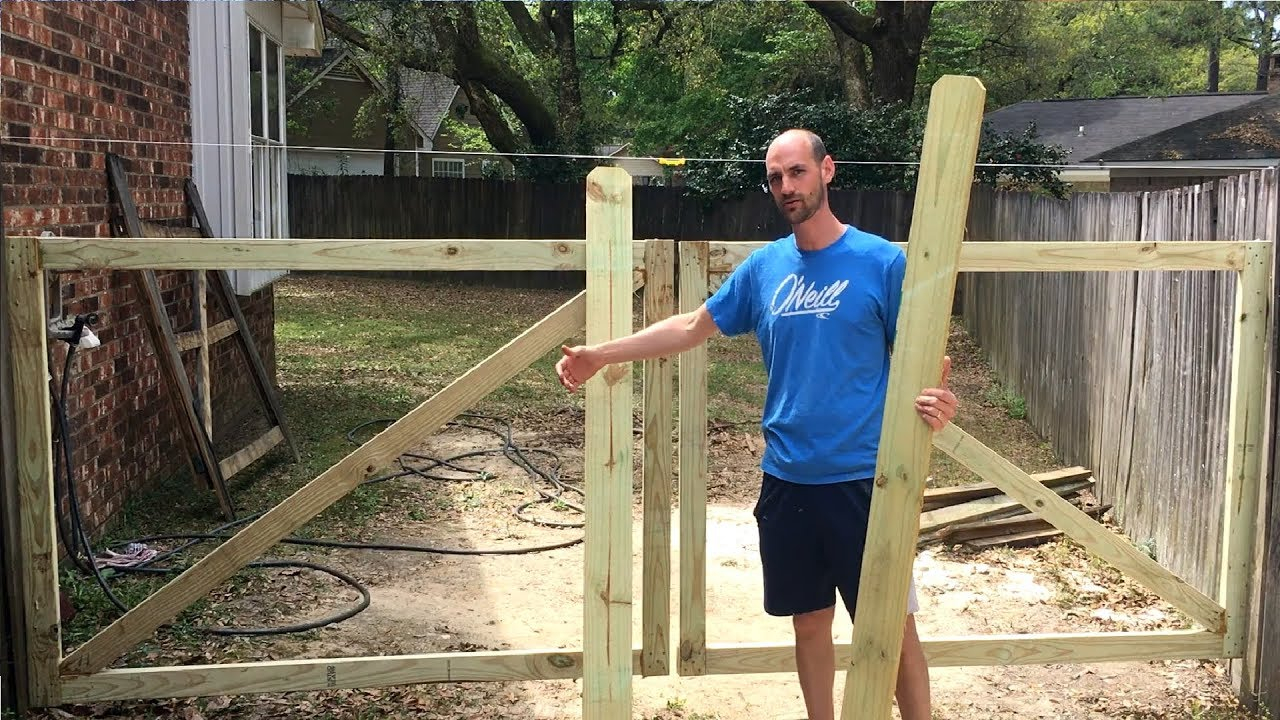
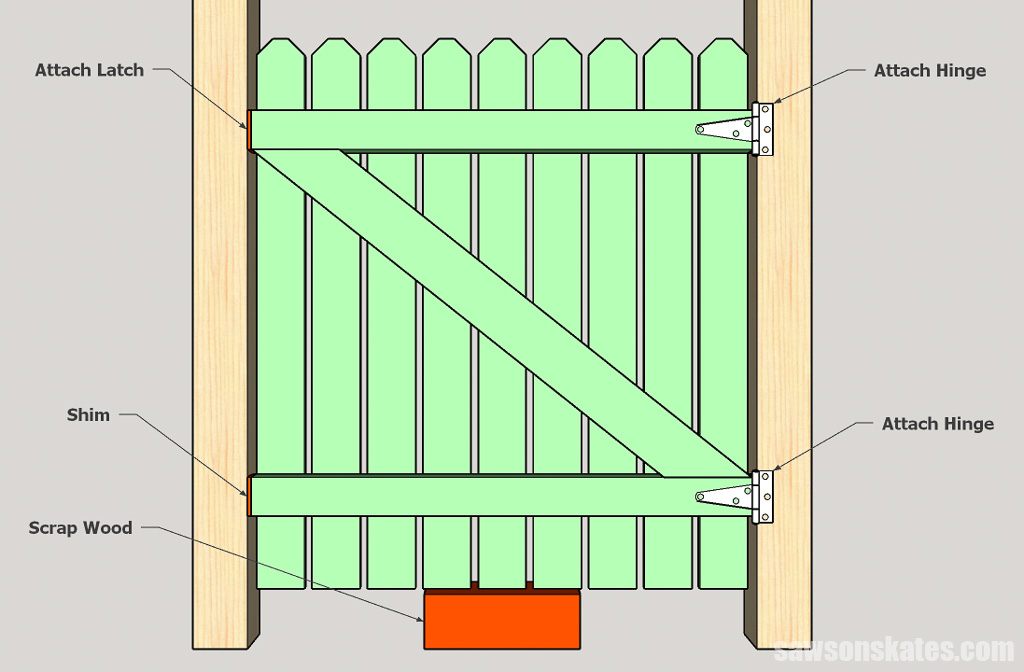
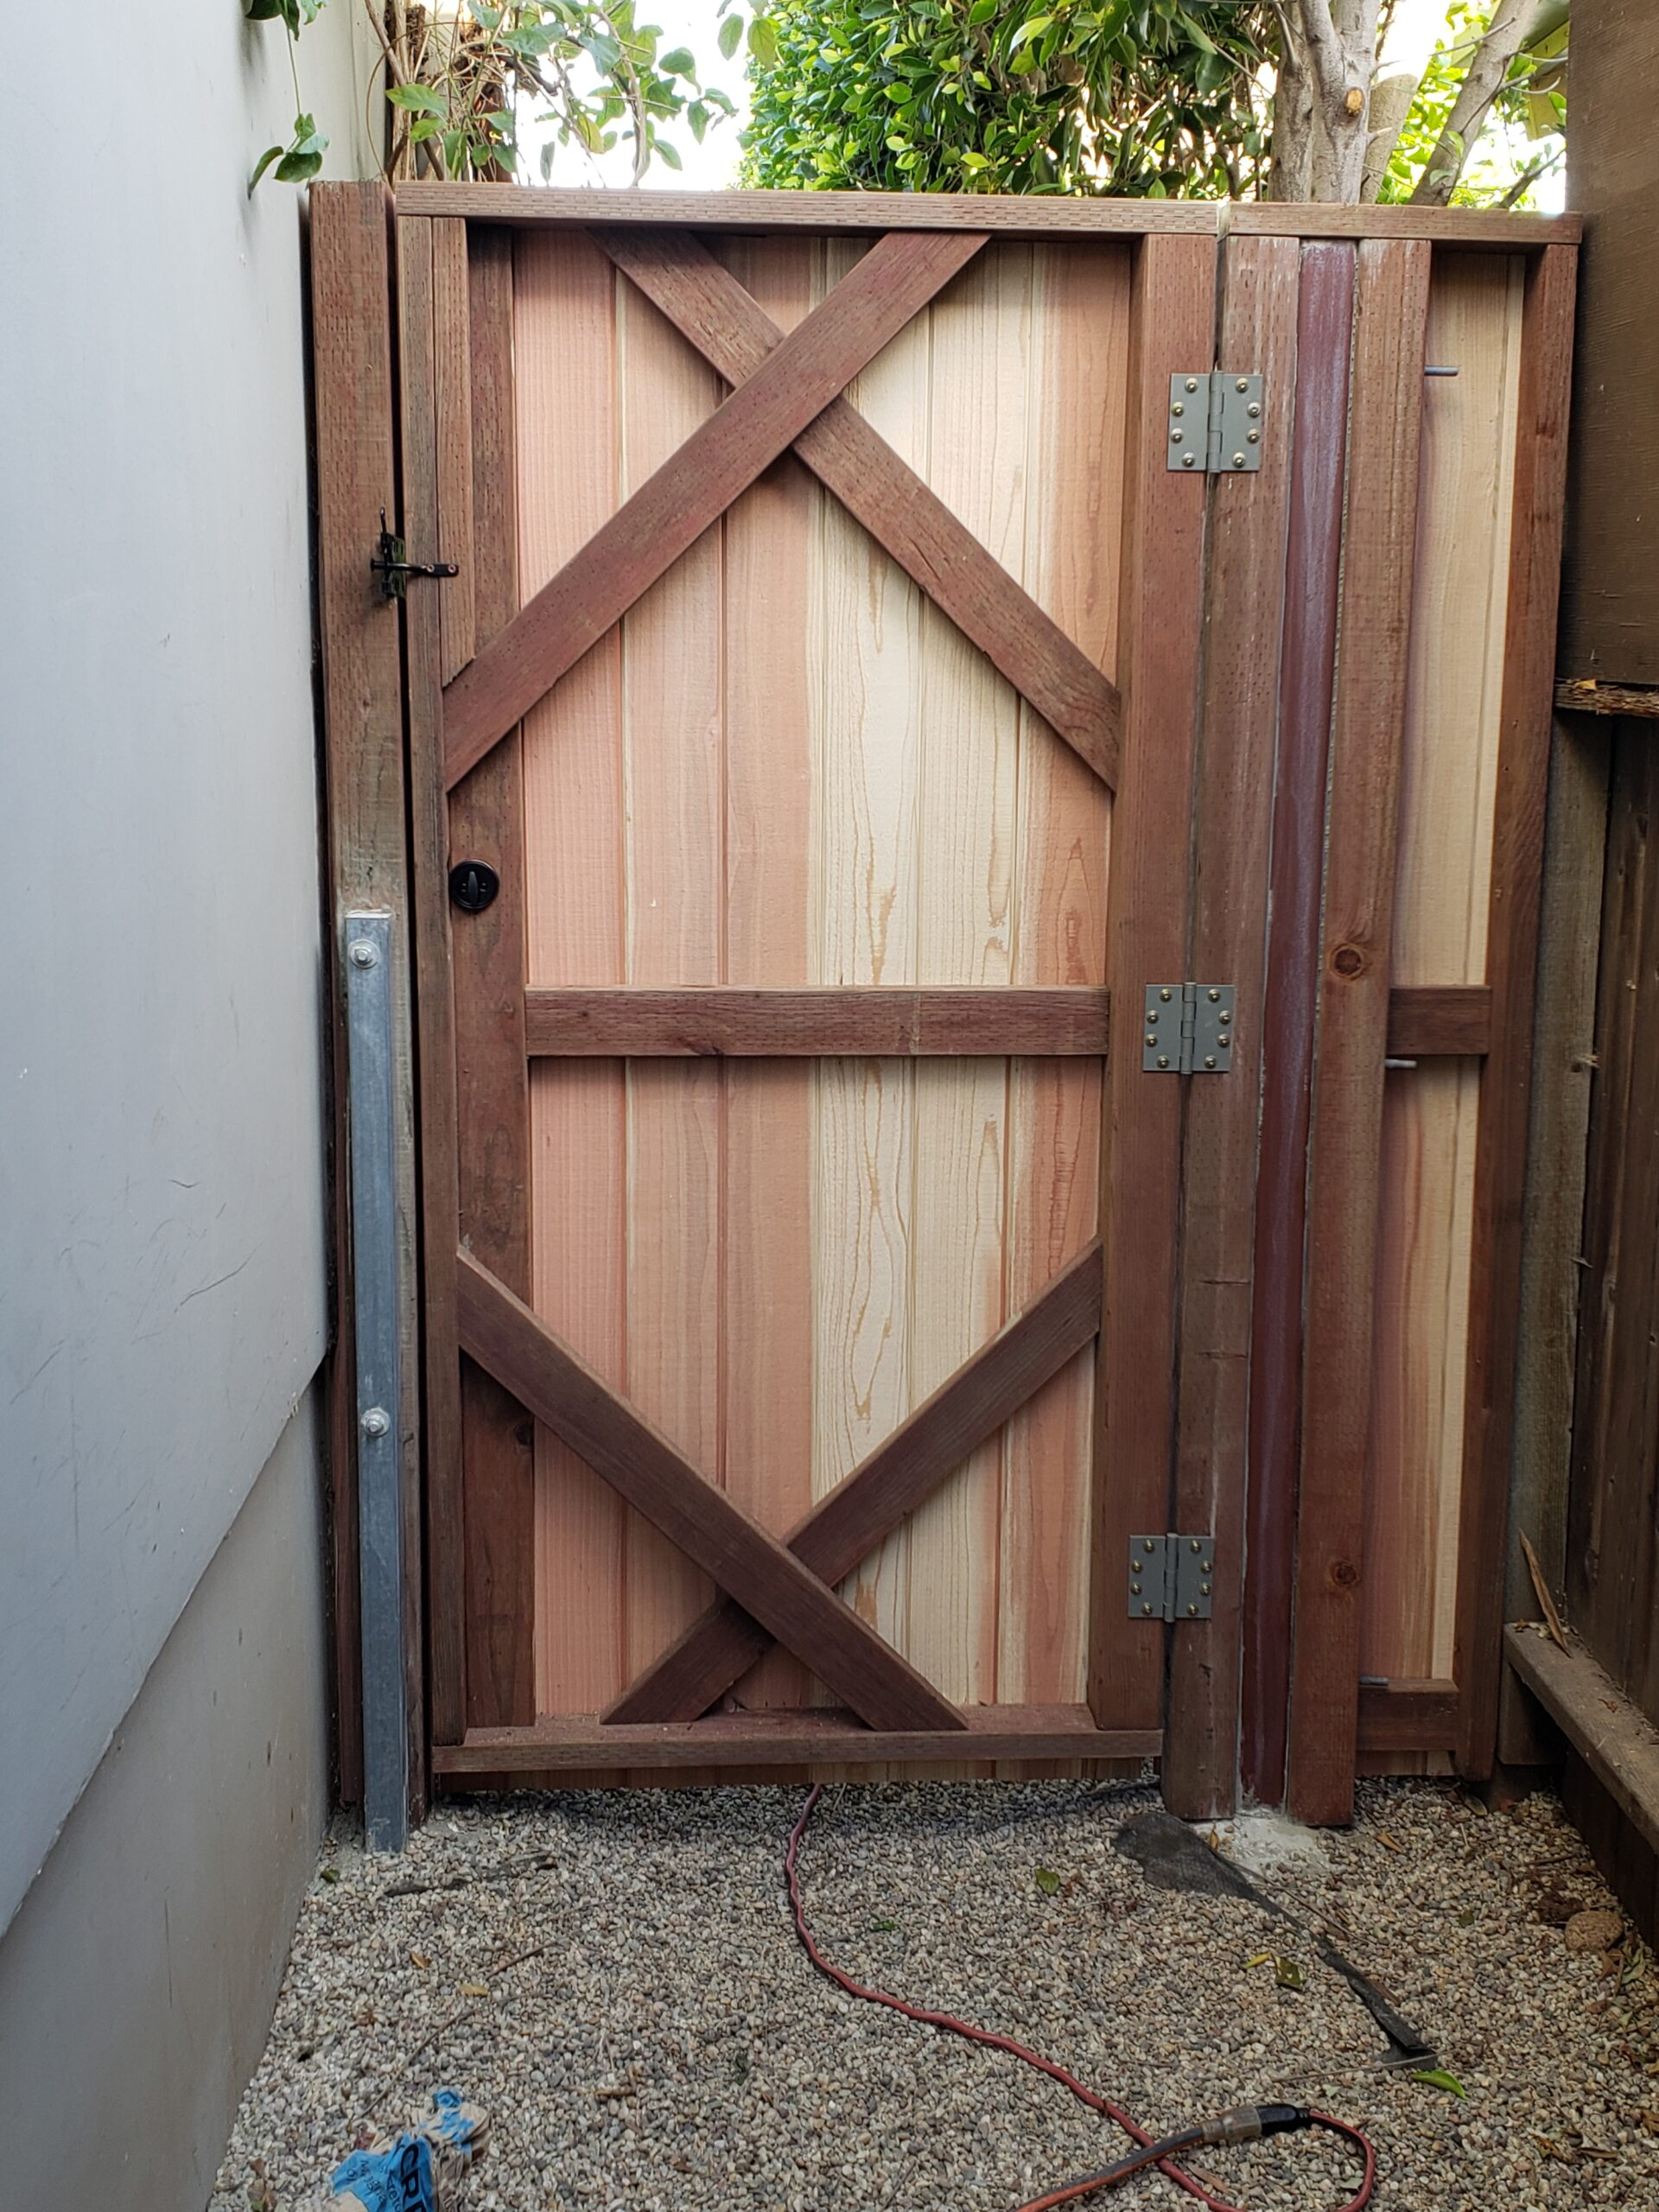
Here’s the thing about gates: they want to turn into parallelograms. Gravity pulls the top corner down, and the bottom corner swings out. If you build a simple square frame, it will sag within a year. The solution is the diagonal brace. This is non-negotiable. But here’s where most DIYers get it backwards. The brace must go from the bottom of the hinge side to the top of the latch side. Think of it like this: the brace should be in compression, pushing up against the weight of the gate. If you put it the other way, it’s in tension, and since wood joints aren’t great at handling pulling forces, the gate will still sag.
Build your frame on a flat surface. Use half-lap joints or mortise and tenon if you’re feeling fancy, but for most folks, sturdy butt joints with exterior-grade screws work fine. Just make sure you pre-drill your holes to prevent splitting. Use carriage bolts or lag screws for the corners, not just nails. Nails pull out over time with the vibration of opening and closing. Screws hold tight. Once the rectangle is assembled, measure the diagonals. If the measurements are equal, your frame is square. If not, adjust it until it is. A square frame is the foundation of everything else.
Don’t forget the hanging stile. This is the vertical piece on the hinge side. It needs to be robust because it carries the entire load. Some builders use a full 4×4 post for this side of the gate frame, extending it above and below the horizontal rails. This gives you a massive surface area to attach your hinges. It’s a pro move that adds incredible strength. If you’re using lighter 2x4s, consider doubling up the hanging stile. It adds weight, yes, but it also adds stiffness. And remember, keep the bottom rail at least two inches off the ground when installed. You don’t want it sucking up moisture from the soil.
Hardware That Holds the Line
You can build the perfect gate, but if you skimp on hinges, it’s game over. Standard door hinges won’t cut it. You need strap hinges or T-hinges that span across the frame. Why? Because they distribute the weight across a larger area of the wood, reducing the chance of the screws tearing out. Look for hinges made of stainless steel or galvanized iron. Brass looks nice but can corrode or stain the wood. In coastal areas, stainless is a must due to the salt air. Check the weight rating on the package. If your gate weighs fifty pounds, get hinges rated for at least seventy-five. Better safe than sorry.
Screws matter too. Don’t use the short ones that come with the hinges. They’re usually junk. Buy long, exterior-grade deck screws or, even better, stainless steel wood screws. You want them to bite deep into the frame and the post. For the latch, keep it simple. A gravity latch or a thumb latch works well. Make sure it’s easy to operate with one hand, especially if you’re carrying groceries or gardening tools. Avoid complex locking mechanisms unless you really need security. Simple is durable. Complex breaks.
One trick many people miss: use a turnbuckle or an anti-sag kit if you’re nervous. These are cable systems you install diagonally across the gate, opposite the wooden brace. You can tighten them if the gate starts to droop years down the line. It’s like an insurance policy for your craftsmanship. Also, consider adding a stop block on the post so the gate doesn’t swing too far back and damage the hinges. Little details like this show you’ve thought it through. It’s the difference between a gate that functions and one that feels solid.
Prepping and Protecting Your Wood
Wood breathes. It expands when it’s wet and shrinks when it’s dry. If you seal only one side, the moisture imbalance will cause it to cup and warp. You must seal all six sides of every piece of wood before you assemble the gate. Yes, even the ends. End grain sucks up water like a straw. Dip the ends in sealant or paint them thoroughly. This step is boring, I know. But it’s the single most important thing you can do to make your gate last. If you skip this, you’re basically inviting rot to move in.
Choose a finish that suits your style. Oil-based stains penetrate deep and offer great protection. Solid-color stains act more like paint and hide imperfections. Clear sealants show off the grain but need reapplying more often. In 2026, there are some amazing eco-friendly finishes available that don’t stink up your yard and are safe for pets. Look for water-repellent preservatives that contain UV inhibitors. The sun is just as damaging as the rain. It breaks down the lignin in wood, making it gray and brittle.
Apply two coats, letting it dry fully between them. Don’t rush this. If you assemble the gate while the wood is still tacky, you’ll trap moisture and create a mess. Let it cure for at least 24 hours. Some people like to paint the gate after assembly to cover the screw heads and joints. That’s fine, but make sure you got the initial sealing done first. Think of it as a base layer of armor. Without it, the top coat is just makeup. You want real protection, not just a pretty face. Take your time here. It’s meditative, in a way. Brush, breathe, repeat.
Hanging It Straight and True
This is the moment of truth. You’ve built the gate. Now you have to hang it. First, make sure your post is solid. If it wiggles, your gate will too. The post should be set in concrete, at least three feet deep, and braced properly. Use a level to ensure it’s perfectly plumb. If the post leans, your gate will swing open or shut on its own, which is annoying and dangerous. Mark the height of your hinges on the post. Hold the gate in place with shims or a helper to get the spacing right. You want about a quarter-inch gap at the top and bottom for clearance.
Start with the top hinge. Drive one screw in, then check the level. Adjust if needed. Then drive the rest of the screws for that hinge. Move to the bottom hinge. Again, one screw first, check, then finish. This method lets you make micro-adjustments. Don’t tighten everything down at once. Once both hinges are attached, test the swing. It should move smoothly without binding. If it drags, you might need to shim the hinges slightly or plane down the edge of the gate. It’s rare to get it perfect on the first try, so don’t get discouraged.
Check the latch alignment. It should meet the strike plate cleanly. If it’s off by a little, you can often bend the strike plate or adjust the hinge positions slightly. If the gap is huge, you might have to reposition the latch. Make sure the gate latches securely without having to lift or push hard. A good latch should click satisfyingly into place. That sound? That’s the sound of a job well done. Stand back and look at it. Does it look level? Does it feel solid? Trust your eyes and your hands. They know when something is right.
You’ve built it. It’s beautiful. Now, ignore it at your peril. Wood gates need love. Once a year, give it a once-over. Tighten any loose screws. Wood shrinks and swells, so fasteners can back out over time. Check the finish. If water stops beading up on the surface, it’s time for a fresh coat of sealant. This doesn’t mean stripping the whole thing down. Just clean it off with a mild soap and water, let it dry, and apply a maintenance coat. It takes an hour and saves you years of trouble.
Keep the hinges lubricated. A drop of silicone spray or white lithium grease once a year keeps them swinging silently. Rust is the enemy. If you see any spots forming on your hardware, sand them down and touch up with paint or rust inhibitor. Catch it early, and it won’t spread. Also, keep vegetation clear around the gate. Vines and bushes hold moisture against the wood and can physically push the gate out of alignment. Trim back anything that touches it. Airflow is your friend.
In winter, if you live in a snowy climate, try to keep snow piled away from the bottom of the gate. Constant freezing and thawing against the wood can accelerate decay. If the gate starts to stick in the humid summer months, don’t force it. Sand down the high spots gently. Wood moves. It’s alive, in a sense. Working with it means accepting that it changes. By staying on top of these small tasks, you ensure that your gate remains a proud feature of your garden, not an eyesore. It’s a small price to pay for something that welcomes you home every day.
So, there you have it. Building a gate isn’t just carpentry. It’s a promise. A promise that you care about your space, that you value durability over quick fixes, and that you’re willing to put in the effort to create something lasting. It might seem like a lot of steps now. But when you’re standing there five years from now, pushing open a gate that swings smoothly and looks as good as the day you built it, you’ll know it was worth every minute. Grab your tools. Pick your wood. And start building. Your garden is waiting.