You open the door, and it hits you. That smell of old rubber, damp cardboard, and regret. You can’t even park your car inside anymore because the floor is a minefield of half-finished projects, seasonal decorations from three Christmases ago, and that one bicycle tire you swore you’d fix back in 2019. It’s not just a storage space; it’s a black hole. Things go in, but they never come out. At least, not without a fight.
We’ve all been there. The garage often becomes the dumping ground for everything we don’t have room for inside the house. But here’s the secret nobody tells you: you don’t need a five-figure renovation or a team of professional organizers to fix it. In fact, some of the best systems are the ones you build yourself with scraps, sweat, and a little bit of clever thinking. By mid-2026, the trend has shifted away from expensive, modular plastic systems toward rugged, DIY solutions that actually last longer and cost a fraction of the price.
Let’s be real. Most of us aren’t looking for a showroom floor. We just want to find our hammer when we need it. We want to walk to the trash bins without stepping over a pile of garden hoses. This isn’t about perfection. It’s about function. It’s about taking back control of a space that feels like it’s controlling you. And the best part? You can do it for less than the cost of a nice dinner out. Seriously. Put down the credit card and pick up a screwdriver. We’re going to turn this chaos into something you’re actually proud to show off.
The Great Purge: Facing the Mess Head-On
Before you buy a single bin or hang a single hook, you have to face the dragon. Everything comes out. Yes, everything. Drag every box, tool, and dusty relic onto the driveway. It’s going to look worse before it looks better, and that’s okay. This step is non-negotiable. You can’t organize what you can’t see. As you pull items out, you’ll likely find things you forgot you owned—like that bread maker from 2015 or the skis you haven’t touched in a decade. This is your moment of truth.
Now, create four piles. Keep, Donate, Trash, and Maybe. Be ruthless with the "Keep" pile. If you haven’t used it in the last year, and it’s not a sentimental heirloom or a critical emergency item, it probably doesn’t belong in your prime real estate. The "Maybe" pile is dangerous. Limit it. Give yourself a deadline: if you don’t use those items in the next three months, they go. In 2026, donation centers are more accessible than ever, with many offering pickup services for large items, making this step easier than it used to be. Don’t let guilt keep clutter in your life. That old paint? If it’s separated or hardened, it’s trash (or hazardous waste). That broken chair? Fix it now or toss it.
This process is emotional. I get it. You might feel attached to things that no longer serve you. But remember, every item you keep costs you space, mental energy, and time. When you finally clear that floor, you’ll feel a physical weight lift off your shoulders. You’ll see the concrete again. You’ll notice the cracks and the stains, sure, but you’ll also see potential. Take a photo of the empty space. This is your baseline. This is what you’re fighting for. Keep that image in your mind when you’re tempted to hold onto that third set of mismatched screwdrivers.
Vertical Victory: Using Walls and Ceilings
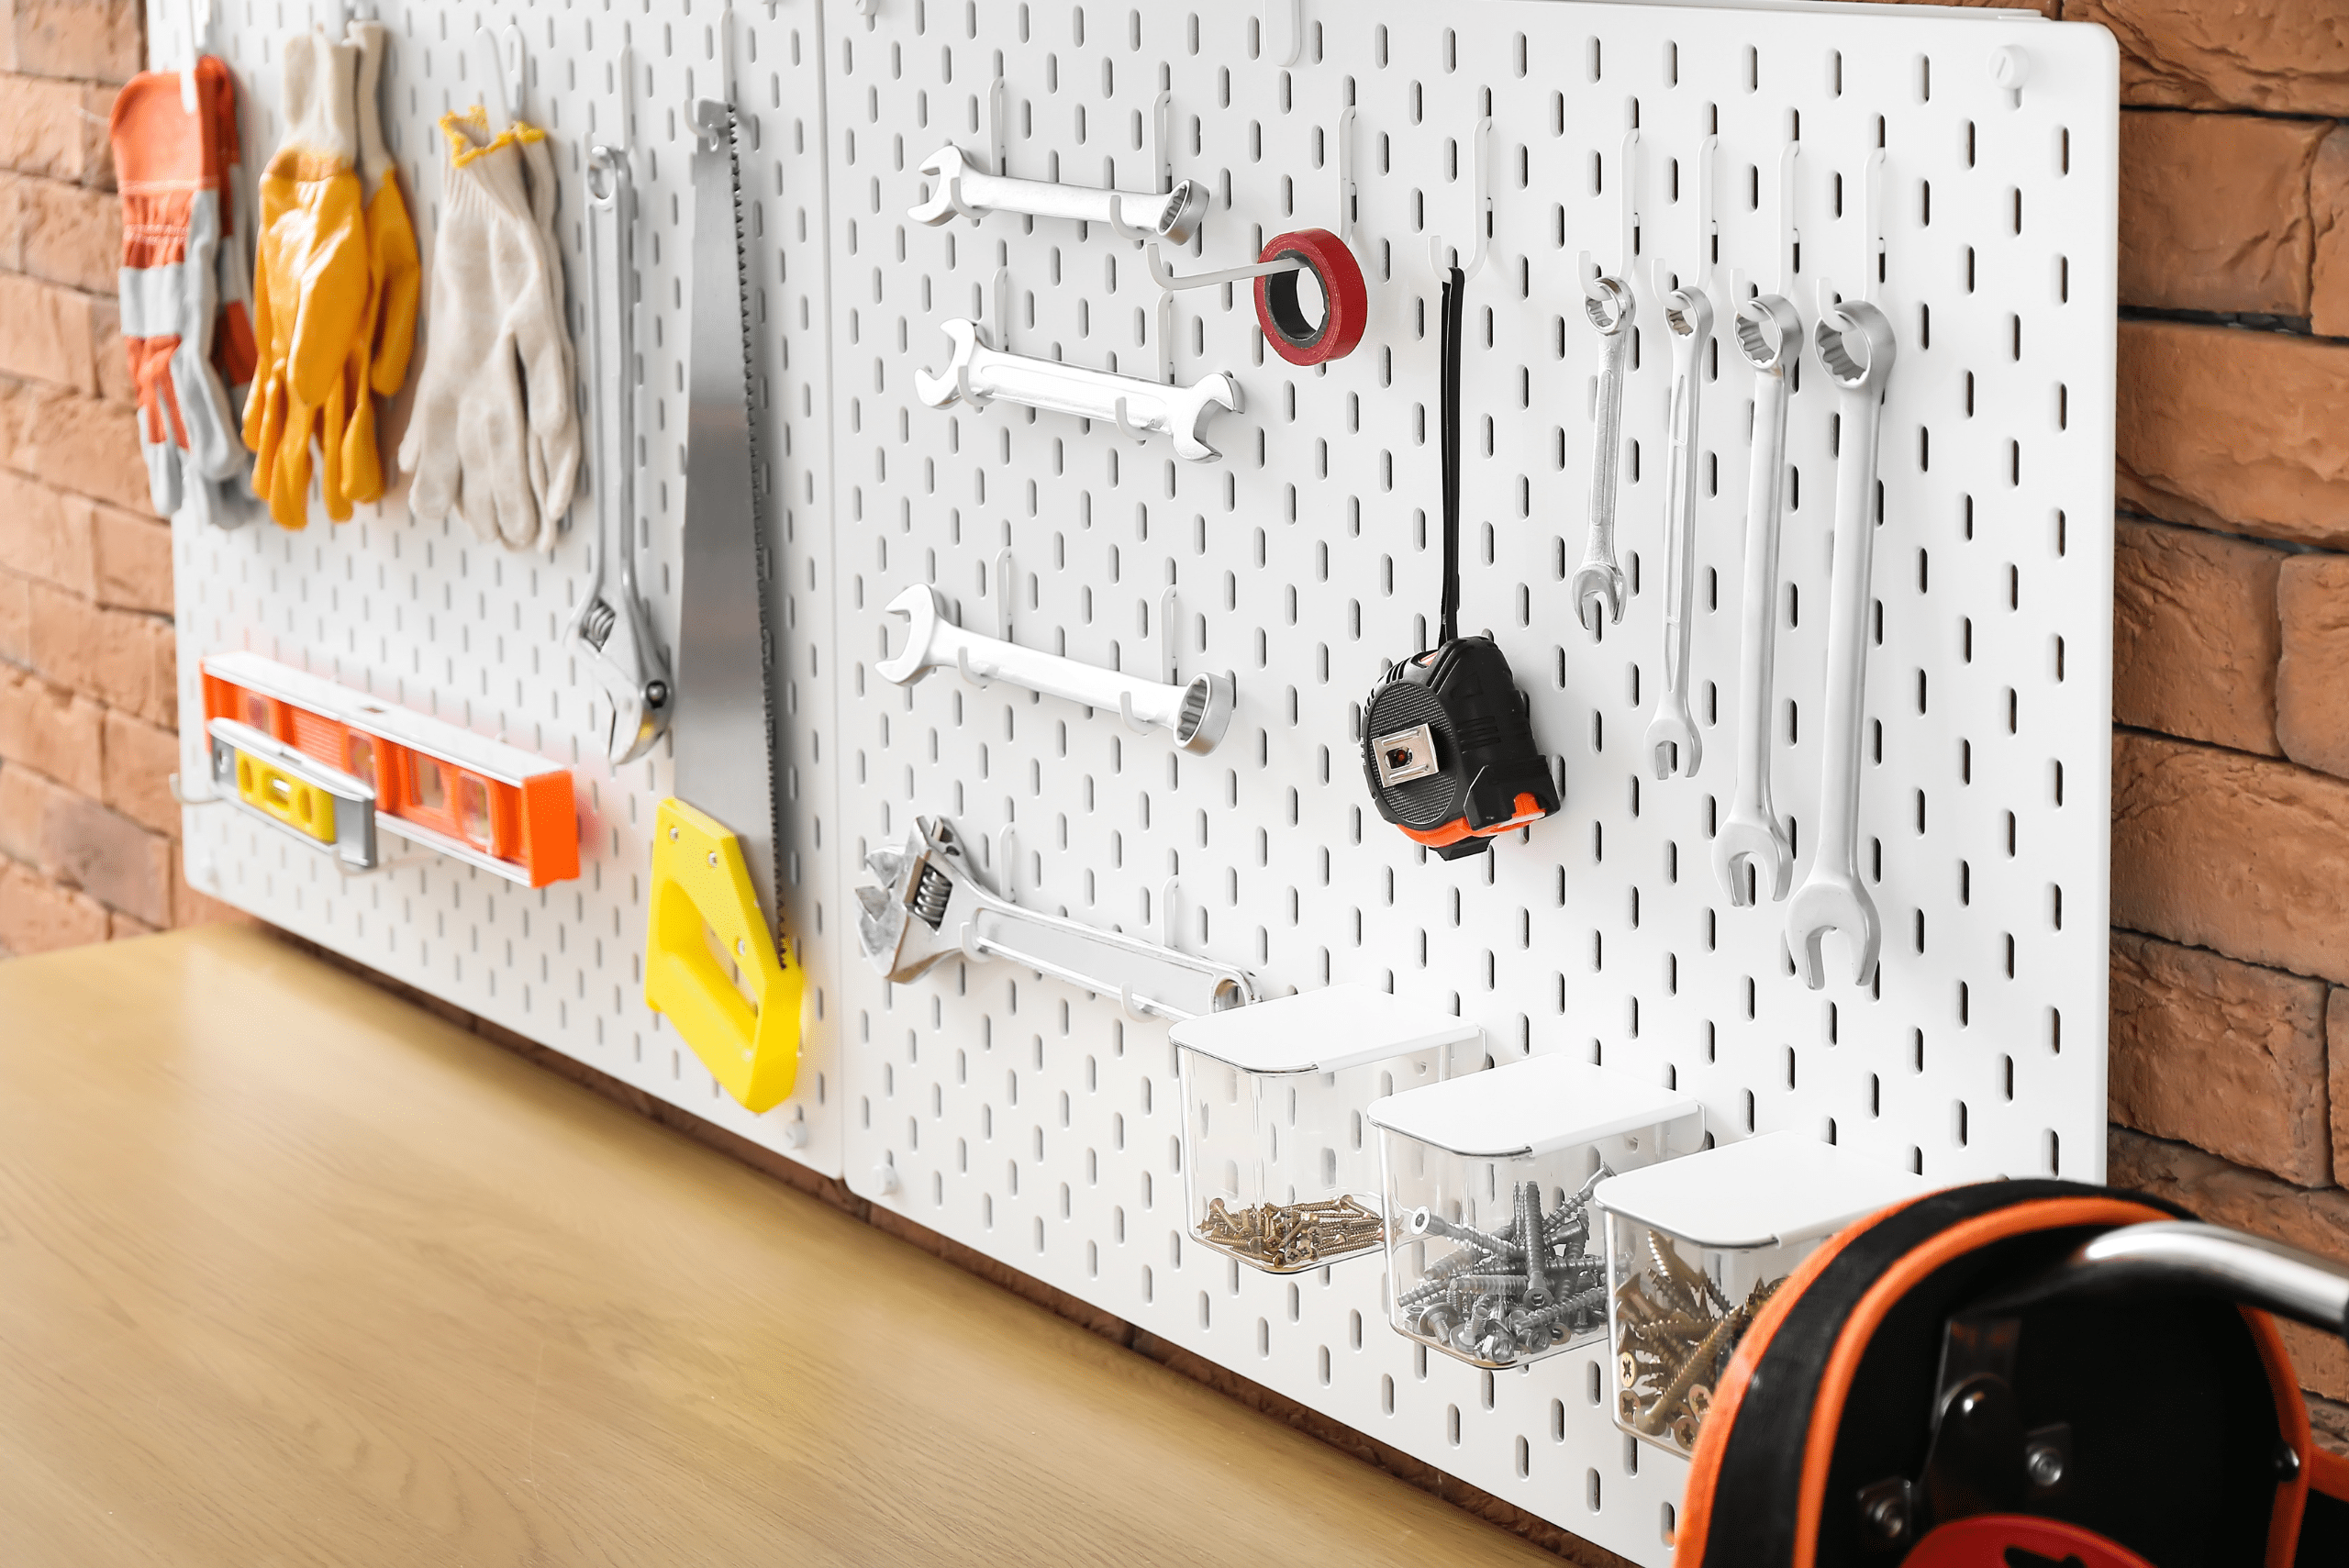
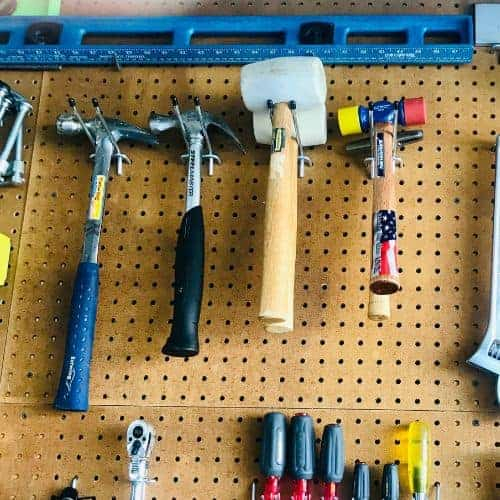
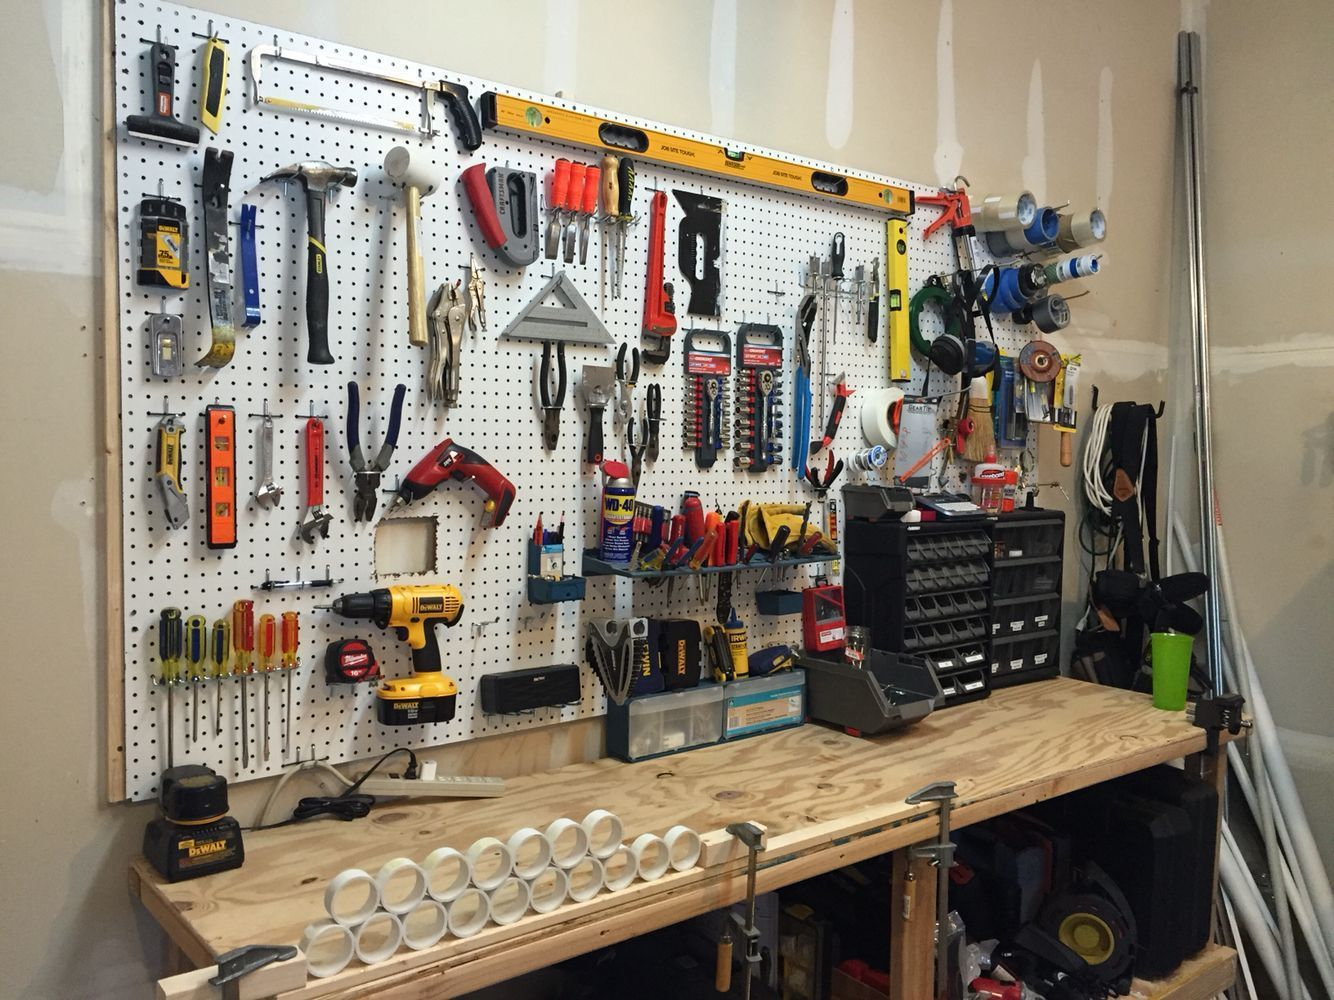
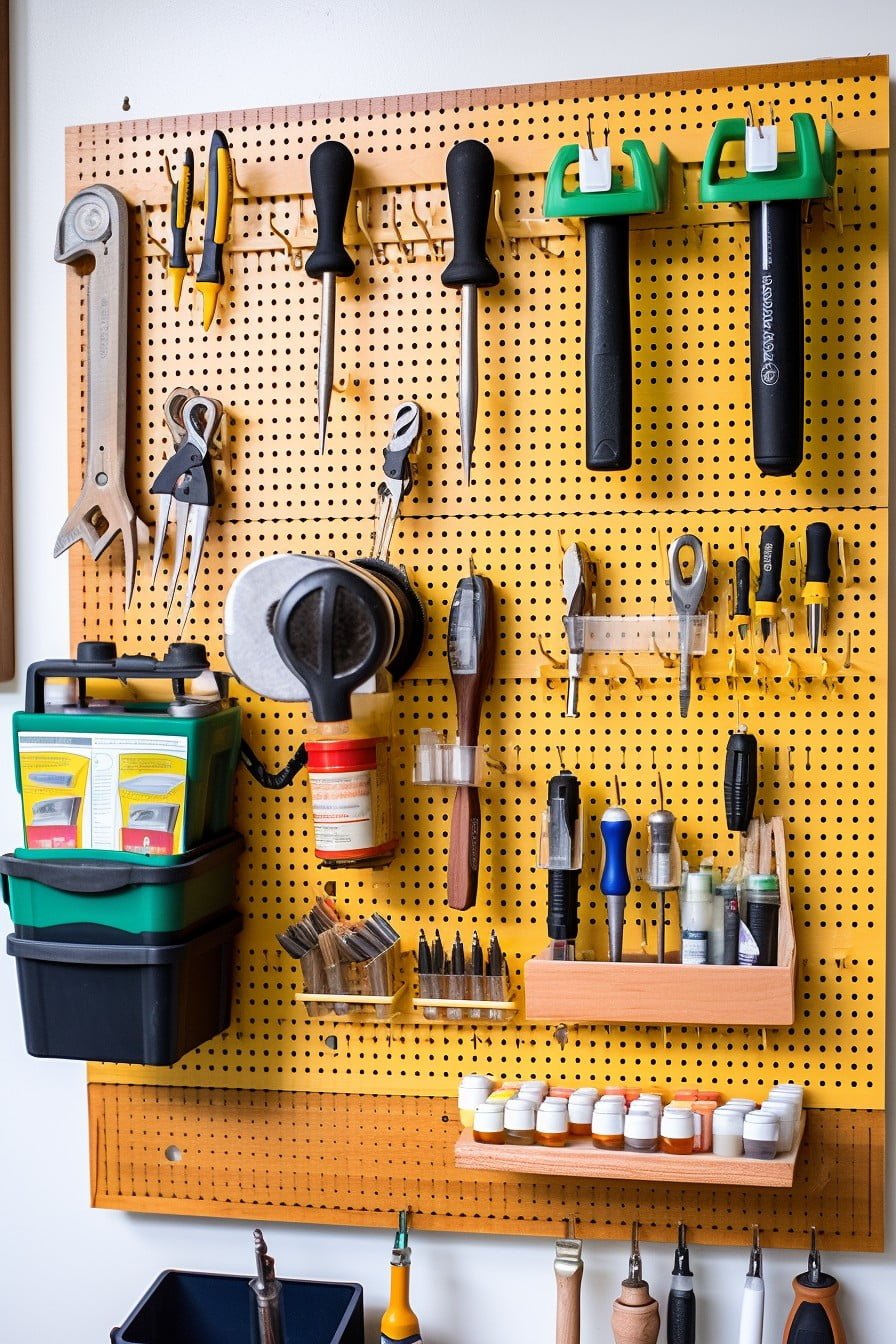
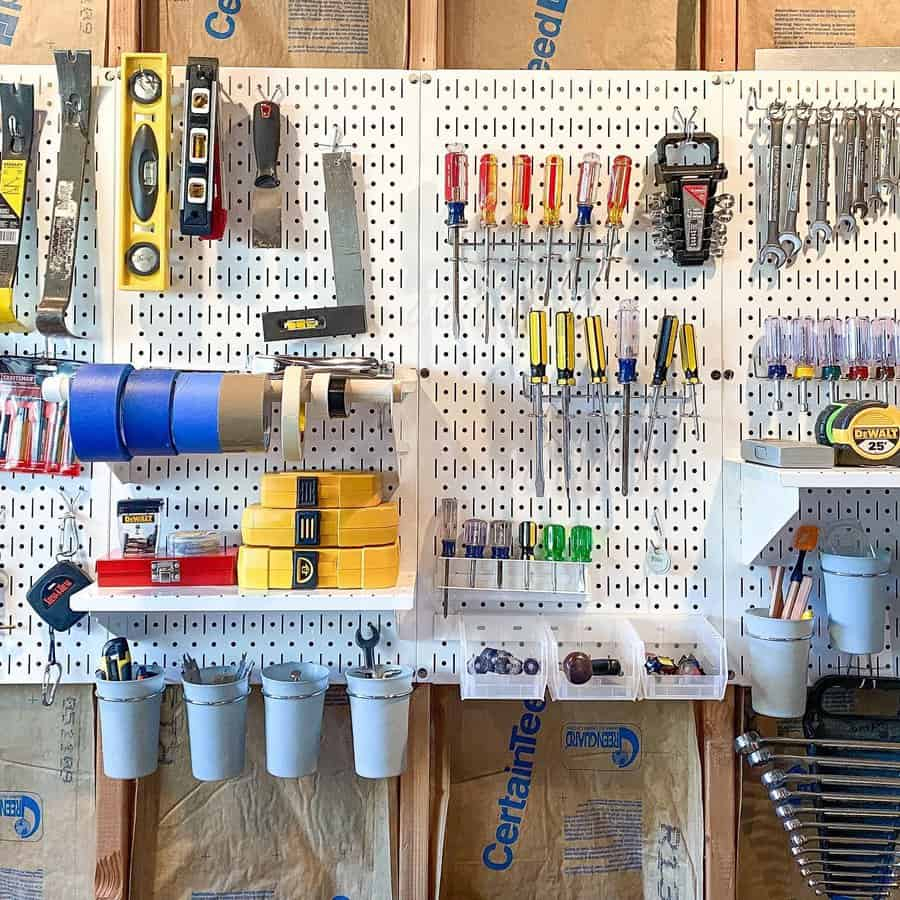
Once the junk is gone, look up. And look around. The biggest mistake people make is storing everything on the floor. The floor is for cars and walking. Everything else should be off the ground. Your walls are your best friend in this battle. Pegboards are classic for a reason—they’re cheap, flexible, and incredibly effective. You don’t need the fancy branded kits from the big box stores. Buy plain hardboard, cut it to size, and mount it with spacers so you can slide hooks behind it. Paint it a bright color if you want to add some pop. It’s functional art.
But don’t stop at eye level. Go high. The space above your car door or along the top perimeter of the garage is prime real estate for lightweight, seasonal items. Think holiday decorations, camping gear, or empty suitcases. You can build simple shelves using 2x4s and plywood for pennies on the dollar compared to pre-fab units. Just make sure you anchor them into the studs. Safety first. If you’re not comfortable drilling into studs, look for heavy-duty adhesive mounts for lighter items, but for anything substantial, screws into wood framing are the only way to go.
Ceiling storage is another game-changer, especially for bulky, light items like insulation batts or empty storage bins. You can rig up a simple pulley system for bikes or kayaks using rope and eye hooks. It keeps them out of the way and makes them easy to access when you need them. Just be mindful of headroom. You don’t want to crack your skull every time you walk in. Measure twice, install once. By utilizing vertical space, you effectively double or triple your storage capacity without adding a single square foot to your footprint. It’s simple physics, really. Use the air.
Smart Shelving on a Shoestring
Shelving is the backbone of any organized garage, but it doesn’t have to break the bank. Wire shelving units are popular, but they can wobble and don’t hold heavy tools well. Instead, consider building your own wooden shelving units. It sounds intimidating, but it’s basically just cutting boards and screwing them together. You can use reclaimed wood from pallets (just check for heat-treated stamps, not chemical treatments) or buy inexpensive pine from the hardware store. A simple frame with cross-bracing is sturdy enough to hold paint cans, toolboxes, and bulk supplies.
If building isn’t your thing, look for second-hand metal shelving. Check local classifieds, estate sales, or even ask neighbors who are renovating. People often give away sturdy industrial shelving because they’re upgrading to something "prettier." A coat of rust-inhibiting paint can make an old, rusty rack look brand new. The key is uniformity. Try to keep your shelf depths consistent so you can stack bins neatly. Label the front of each shelf with what belongs there. This visual cue helps everyone in the household put things back where they belong, which is half the battle in maintaining order.
Group similar items together. Create zones. One section for automotive supplies, another for gardening, another for sports equipment. Keep frequently used items at waist height. Rarely used stuff goes on the top or bottom shelves. This logical flow reduces the time you spend searching. In 2026, sustainability is huge, so repurposing old dressers or cabinets for garage storage is both eco-friendly and stylish. An old dresser can hold small parts in its drawers, while the top surface becomes a workbench. It’s about seeing potential in what others discard.
Clever Containers and Labeling Hacks
Bins are great, but clear bins are better. If you can’t see what’s inside, you’ll forget it exists, and you’ll end up buying duplicates. However, clear plastic bins can be expensive. Here’s a hack: use standard opaque totes, but take a photo of the contents and tape it to the front. Or, simply write the contents in large, bold letters with a permanent marker. Masking tape works too, but it can peel off in humid garages. Vinyl labels or paint pens are more durable. The goal is instant recognition. You shouldn’t have to open a box to know if it contains Christmas lights or winter coats.
Repurpose what you already have. Glass jars from pasta sauce or pickles are perfect for nails, screws, and bolts. Mount them under a shelf or on a pegboard with hose clamps. It’s free, it looks cool, and it keeps small parts visible and accessible. Milk crates are another underrated hero. They stack well, they’re ventilated, and you can usually find them for free or very cheap. Use them for sports balls, spray paint cans, or irregularly shaped tools. Creativity is your currency here. Don’t think you need to buy matching sets of everything. Mismatched is fine as long as it’s organized.
Labeling isn’t just for bins. Label your zones. A simple sign that says "Garden Tools" or "Auto Care" helps maintain the system. It sets expectations. If you have kids, involve them in the labeling process. Let them draw pictures or choose colors. When they feel ownership over the system, they’re more likely to respect it. And remember, labels aren’t permanent. As your needs change, your labels should too. Be flexible. The system serves you, not the other way around. If a label doesn’t make sense anymore, change it. No harm, no foul.
Repurposing and DIY Storage Solutions
Some of the best storage ideas come from looking at everyday objects differently. An old ladder mounted horizontally on the wall makes a fantastic rack for long items like lumber, pipes, or wrapping paper rolls. Tennis balls cut in half and screwed to the wall make perfect holders for golf clubs or broom handles. PVC pipes cut into sections can organize fishing rods or extension cords. These DIY solutions cost almost nothing and can be customized to fit your specific weirdly-shaped items. It’s about solving problems with what you have.
Pallets are everywhere. With a little sanding and some wheels, a wooden pallet becomes a rolling cart for heavy items. Stand it up against the wall, and it’s a rustic rack for shovels and rakes. The slats allow for airflow, which is great for wet garden tools. Just make sure to treat the wood if it’s going to be in a damp environment. You can also use old bookshelves. Remove the back panel to reduce weight and allow for cord management, then mount them securely. They’re perfect for lighter items like cleaning supplies or craft materials.
Don’t underestimate the power of magnets. Strong neodymium magnets glued to the back of small metal tools allow you to stick them to the side of your metal shelving or a magnetic strip on the wall. It keeps scissors, tape measures, and wrenches within arm’s reach. For larger metal items, consider a magnetic knife strip (the kind used in kitchens) mounted in the garage. It’s sleek, strong, and surprisingly affordable. These small tweaks add up. They reduce clutter on surfaces and make tools easy to grab and go. It’s the little things that make the biggest difference in daily usability.
You’ve done the hard work. The garage looks amazing. Now, how do you keep it that way? The answer is simple: habits. It takes two minutes to put something back where it belongs. It takes two hours to dig it out of a pile later. Adopt the "one in, one out" rule. If you buy a new tool, an old one has to go. This prevents creep. Clutter doesn’t happen overnight; it happens inch by inch, item by item. Stay vigilant. Schedule a quick 15-minute tidy-up once a month. Just walk through, straighten up, and toss anything that’s snuck in where it shouldn’t be.
Make it easy to do the right thing. If putting something away is difficult, you won’t do it. Ensure your bins are easy to open, your shelves are accessible, and your labels are clear. Reduce friction. If you have to move three other boxes to get to your snow shovel, you’ll leave it on the floor next time. Adjust your system based on how you actually use the space, not how you think you should use it. If you find yourself constantly moving a certain item, maybe it needs a more convenient home. Listen to your frustrations. They’re data points telling you what needs to change.
Finally, celebrate the win. Invite friends over for a barbecue in the garage. Show off your new workspace. Park your car inside and enjoy the feeling of closing the door on a clean, organized space. It’s a small victory, but it matters. It reduces stress. It saves time. It saves money. You’ve transformed a source of anxiety into a source of pride. And you did it without spending a fortune. That’s something to be proud of. So, grab a cold drink, sit back, and admire your handiwork. You earned it.