So, you need to get up there. Maybe it’s a leaky pipe, a flickering light fixture, or just the urge to see if those old holiday decorations are still intact. You pull down the ladder, climb up, and freeze. It’s dark. It’s hot. And the floor? Well, there isn’t one. Just a sea of fluffy, pink or yellow stuff that looks soft but is actually a minefield for your home’s energy bill.
Most people panic. They step out, sink in, and suddenly they’re standing on drywall instead of wood. Or worse, they stomp around on the joists, crushing the insulation flat, thinking, "It’ll fluff back up." Spoiler alert: it won’t. Not really. Once you compress fiberglass or cellulose, you kill its R-value. That means your AC works harder, your bills go up, and your comfort goes down. It’s a mess. But it doesn’t have to be.
We’ve all been there. The attic is that weird, forgotten limb of the house. We ignore it until we can’t. But navigating it safely—without turning your thermal barrier into a pancake—is actually pretty simple if you know the tricks. You don’t need to be a contractor. You just need to respect the structure and understand what’s under your feet. Let’s talk about how to do this right, so you can get in, get done, and get out without costing yourself a fortune in wasted energy.
The Hidden Danger Under Your Feet
Here’s the thing about insulation: it works by trapping air. Whether it’s blown-in cellulose, fiberglass batts, or that new spray foam stuff everyone’s talking about in 2026, the magic is in the pockets of still air. When you step on it, you squeeze those pockets out. Think of it like a down jacket. If you sit on your puffy coat all day, it gets flat. It doesn’t keep you warm anymore. Same deal in the attic.
When insulation is compressed, its R-value drops significantly. A standard R-38 batt can lose half its effectiveness if you crush it down to an inch or two. That’s not just a minor dip; it’s a major breach in your home’s thermal envelope. Heat pours in during the summer and escapes in the winter. You might not notice it immediately, but your utility company certainly will. And let’s be honest, nobody wants to pay more to keep their house uncomfortable.
But there’s another risk, one that’s a bit more immediate and painful: falling through the ceiling. The drywall below your feet isn’t designed to hold your weight. It’s designed to hold paint and maybe a light fixture. If you miss a joist, you’re going through. It’s not a matter of if, but when. So, the goal here isn’t just saving energy; it’s keeping your bones intact. You need a plan before you even lift that ladder.
Know Your Joists Before You Step
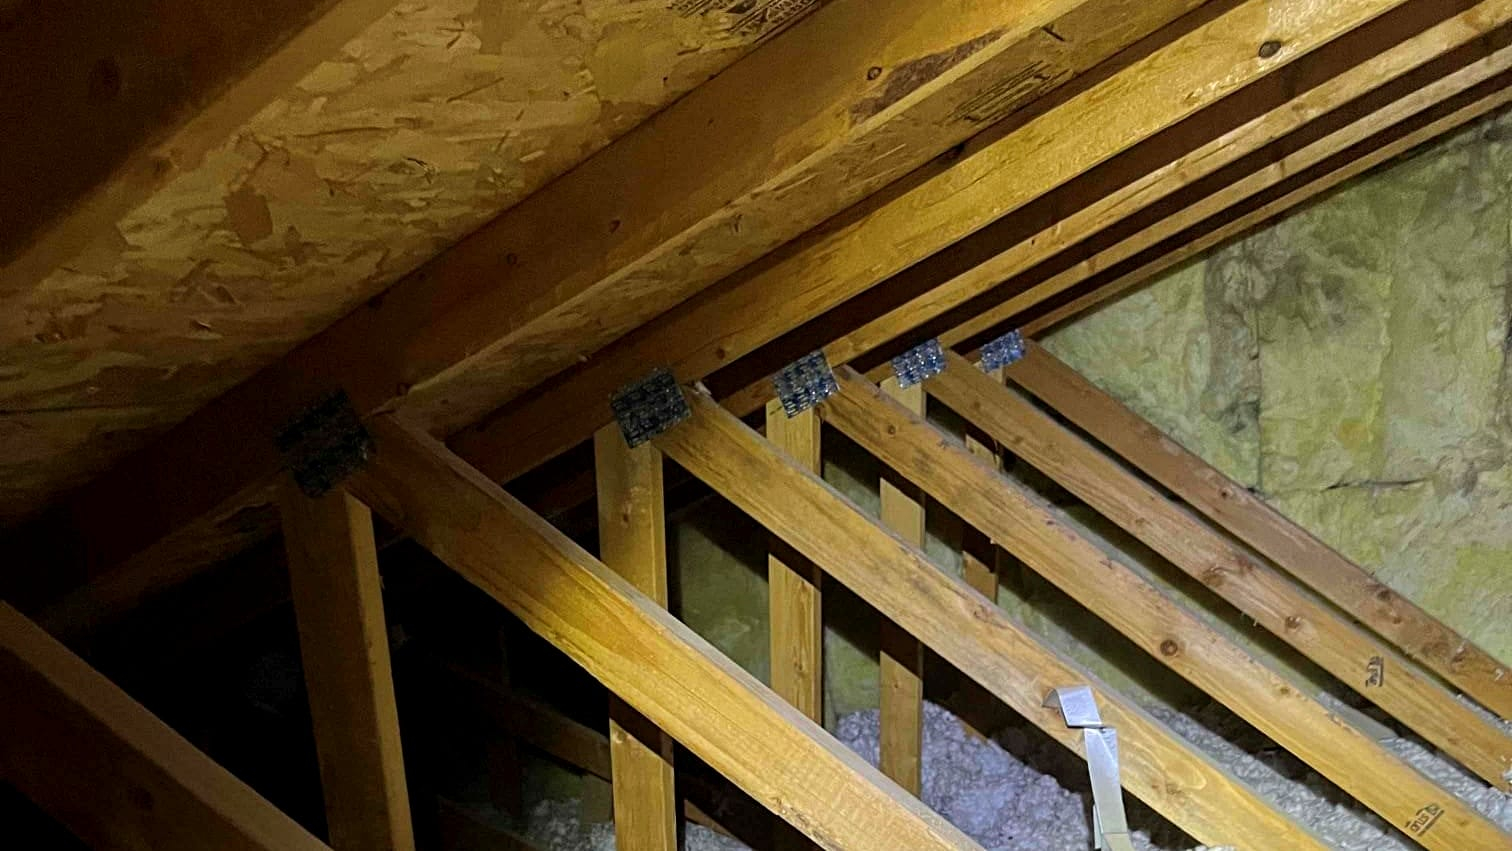
Before you do anything, you need to see where the bones of your house are. The joists are the horizontal beams that hold up your ceiling downstairs. They’re usually spaced 16 or 24 inches apart. In older homes, it might be irregular. In newer ones, it’s pretty standard. But you can’t assume. You have to look.
If you have blown-in insulation, it’s often hard to see the joists. They’re buried. Don’t just guess. Use a long stick, a broom handle, or a flashlight to gently probe the depth. You’re looking for the solid thud of wood, not the soft give of insulation. Mark the tops of the joists with a little chalk or even just mentally note their position. Some pros use reflective tape on the joist tops so they glow in the flashlight beam. It’s a cheap trick, but it saves your neck.
If you have batt insulation (the rolled stuff), it’s easier. You can usually see the edges of the rolls between the beams. But be careful. Batts can shift. Just because it looks like a joist is there doesn’t mean it’s centered under your foot. Always test your weight slowly. Put one foot on the suspected joist, lean into it, and see if it holds. If it creaks or feels spongy, move. Never commit your full weight until you’re sure. It sounds paranoid, but attics are unforgiving places.
The Temporary Pathway Method
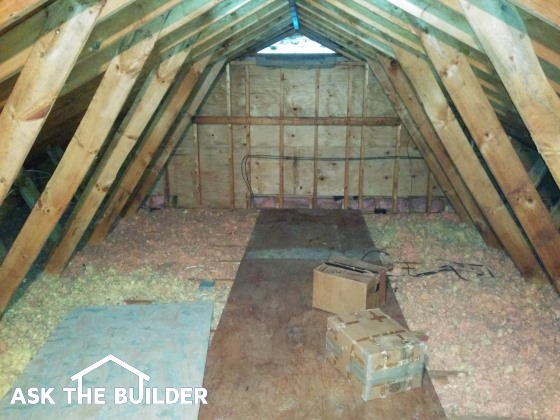
Okay, so you’ve found the joists. Now, how do you move across them without balancing like a tightrope walker? You build a bridge. You don’t need to install a permanent floor (we’ll get to that later). For most quick jobs, temporary walkboards are the way to go. This is what the pros use, and it’s what you should use too.
You can buy specialized attic walkboards, like the AtticBoard mentioned in recent guides. These are lightweight, strong platforms that span across multiple joists. They distribute your weight so you’re not punching holes in the drywall if you slip, and they keep you off the insulation entirely. They’re great because they’re movable. You place one, step on it, place the next one ahead of you, and shuffle forward. It’s like playing a real-life game of Frogger, but with plywood.
If you don’t want to buy a specialty product, you can make your own. Grab some scraps of 3/4-inch plywood. Cut them into strips about 10 to 12 inches wide and 4 to 6 feet long. Why 3/4 inch? Because thinner stuff bends and breaks. You want rigidity. Lay these boards across the joists, perpendicular to them. Make sure each end rests securely on a joist, not just on the insulation. This creates a safe, flat path. You can walk, kneel, and even drag light boxes along these boards without touching the fluffy stuff below.
Dealing with Blown-In Insulation
Blown-in insulation is tricky. It’s loose. It shifts. It hides everything. If you try to walk directly on joists in a deep layer of blown-in cellulose or fiberglass, you’re likely to kick up a cloud of dust that’ll make you cough for a week. Plus, you’ll inevitably compress the material around your feet as you balance.
The best technique here is the "rake and clear" method. Before you start walking, use a rake or a large piece of cardboard to gently push the insulation away from the area where you want to create a path. You’re not removing it; you’re just relocating it. Push it to the sides, exposing the top of the joists. Create a clear channel about two feet wide. This lets you see exactly where you’re stepping.
Once the joists are visible, lay your temporary boards down. But here’s a pro tip for 2026: be mindful of air sealing. Often, blown-in insulation covers gaps and cracks in the ceiling plane. If you rake it away, you might expose leaks. Take a moment to look. If you see big gaps around wires or pipes, seal them with caulk or foam before you cover them back up. It’s a perfect opportunity to improve efficiency while you’re already up there. Just don’t forget to push the insulation back over the sealed areas when you’re done. You want that thermal blanket complete.
Permanent Solutions: Flooring Over Insulation
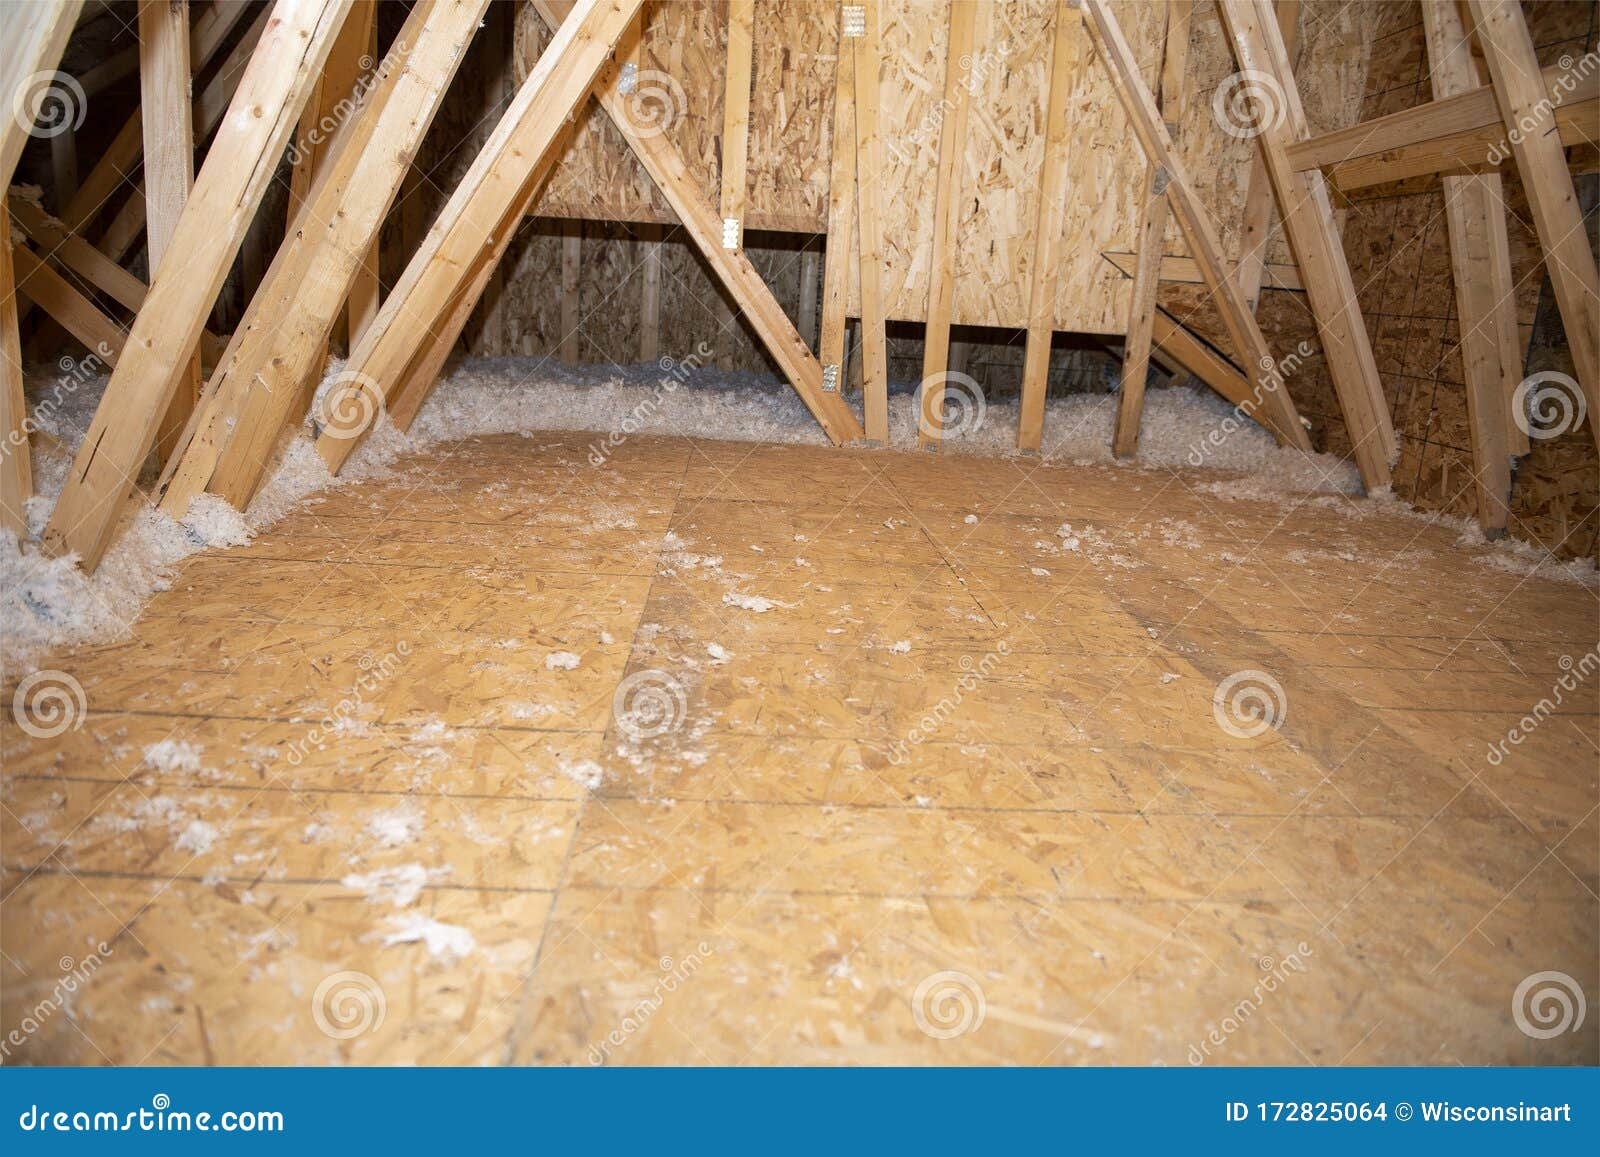
Maybe you’re tired of dragging boards up every time you need to check the HVAC filter. Maybe you want to use the attic for storage. In that case, you need a permanent floor. But you can’t just nail plywood down on top of the insulation. That crushes it, remember? So, how do you do it right?
The key is elevation. You need to raise the floor above the insulation level. One common method is to install "knee walls" or raised framing. You attach 2x4s or 2x6s perpendicular to the existing joists, creating a grid. Then, you lay your plywood or OSB subfloor on top of that new grid. This leaves the insulation uncompressed underneath. It’s like building a deck over a garden bed. The plants (insulation) stay fluffy, and you have a solid place to walk.
Another option, which has gained popularity recently, is using rigid foam boards combined with plywood. You lay down thick rigid foam (which has its own R-value) between the joists, then cover it with plywood. This adds insulation rather than compressing it. However, you have to be careful with ventilation. Attics need to breathe. If you seal the floor too tightly, you can trap moisture and cause rot in the roof sheathing. Always leave gaps for airflow near the eaves, or install soffit vents if you haven’t already. Check your local building codes for 2026 standards, as they’ve gotten stricter about moisture management in conditioned attics.
Safety Gear and Common Mistakes
Let’s talk about safety gear. It’s not glamorous, but it’s essential. First, lighting. Attics are dark. A headlamp is non-negotiable. Hands-free light lets you use both hands for balance and work. Second, masks. Insulation fibers are nasty. They itch, they irritate your lungs, and nobody wants that. Wear an N95 mask or better. Third, knee pads. Even with boards, you’ll be kneeling. Your knees will thank you.
Now, the mistakes. The biggest one? Stepping on the drywall. I can’t say this enough. If you’re not on a joist or a board spanning joists, you’re gambling. Another mistake is ignoring the heat. Attics in summer can reach 140 degrees or more. Hydrate before you go up. Take breaks. Heat exhaustion creeps up on you fast in those confined spaces.
Also, watch out for electrical wires. They’re often stapled to the side of joists or run across the bottom. Don’t step on them. Don’t drill through them. If you’re installing permanent flooring, map out your wire runs first. And finally, don’t block the vents. If you’re storing boxes, keep them at least three feet away from soffit vents and the attic fan. Airflow is the lifeblood of your roof’s health. Block it, and you invite mold and ice dams. It’s not worth the extra storage space.
So, there you have it. Walking in your attic doesn’t have to be a disaster. It’s about preparation. Find the joists. Build a path. Protect the insulation. It’s simple logic, but it requires patience. Don’t rush. The attic isn’t going anywhere.
By following these steps, you’re not just protecting your home’s energy efficiency; you’re protecting your wallet and your safety. Compressed insulation costs money. Fallen ceilings cost even more. And hospital visits? Well, let’s avoid those altogether. Use temporary boards for quick fixes. Consider raised flooring if you need regular access. And always, always wear your mask and light.
Your home is a system. Every part matters. The attic isn’t just empty space; it’s a critical component of your comfort. Treat it with care, and it’ll take care of you. Next time you pull down that ladder, you’ll know exactly what to do. No guessing. No sinking. Just safe, smart movement. And hey, maybe you’ll even find those missing holiday lights.