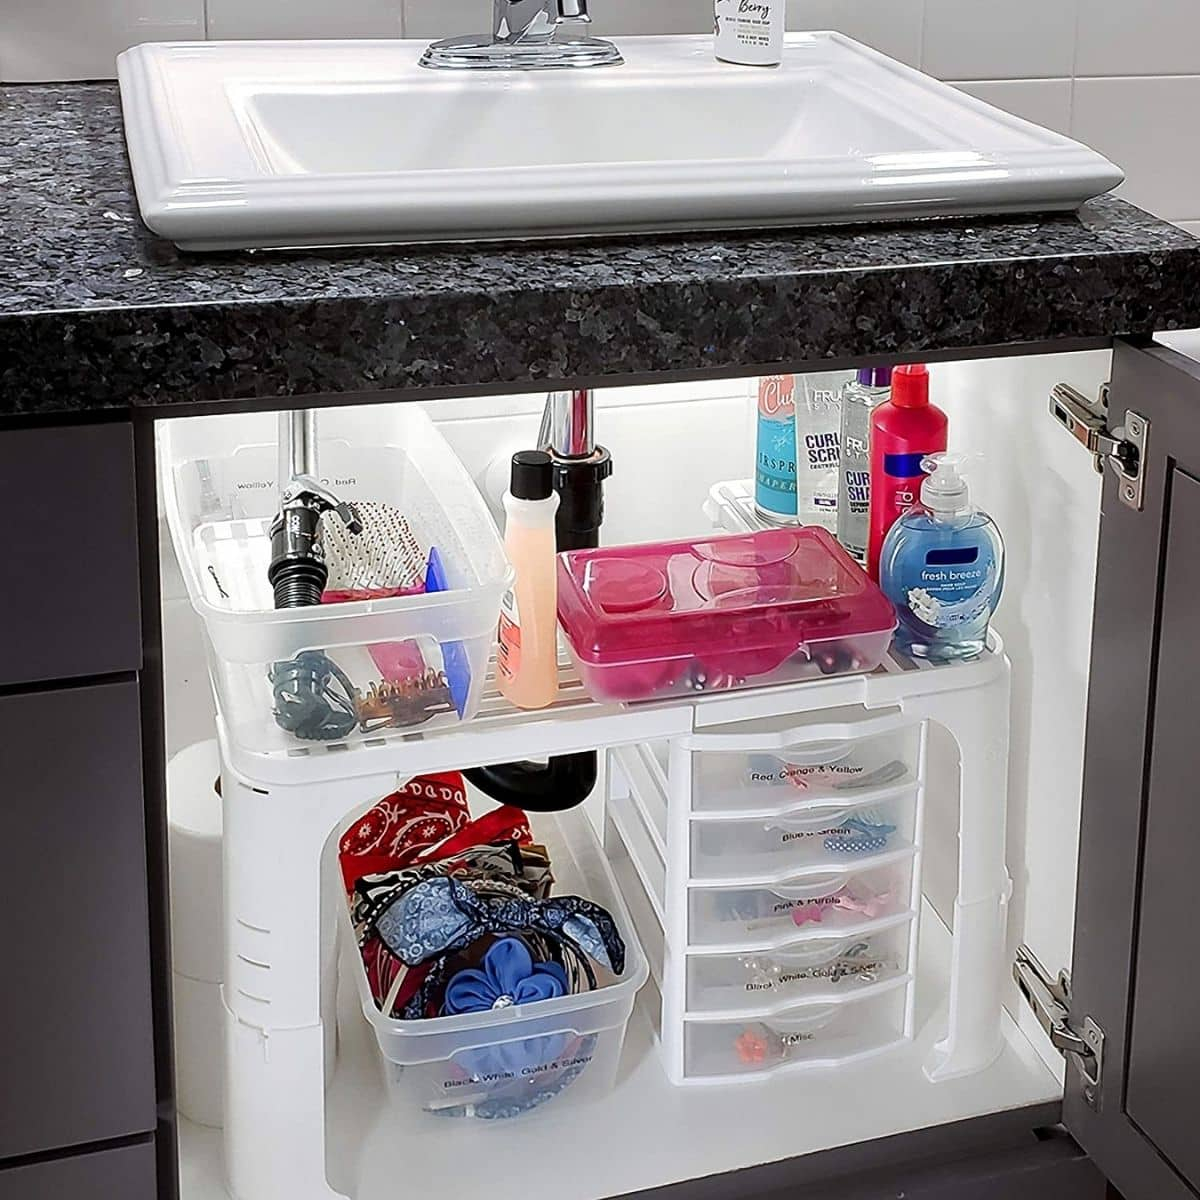
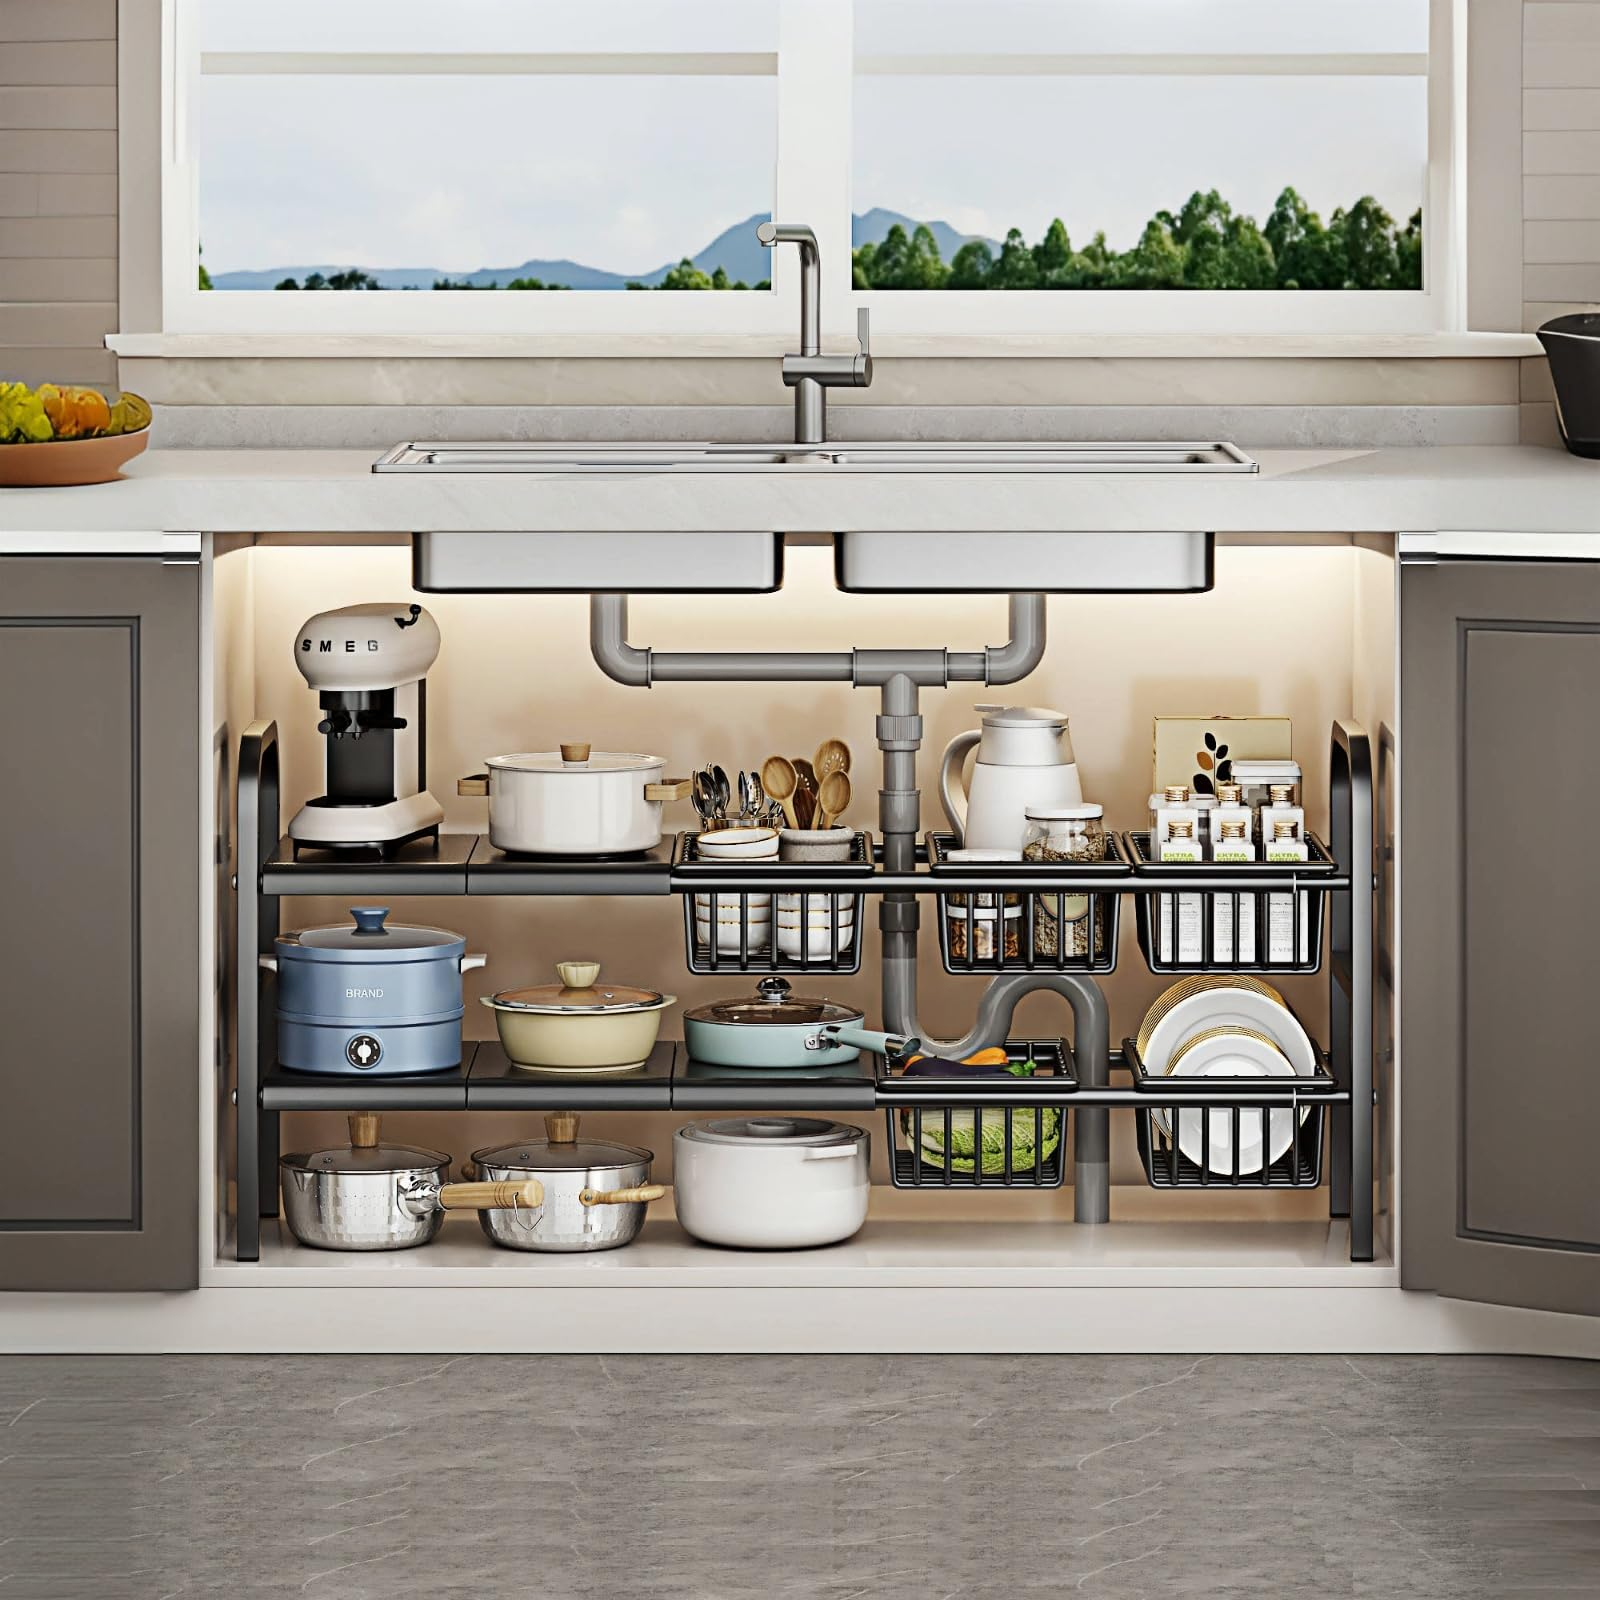
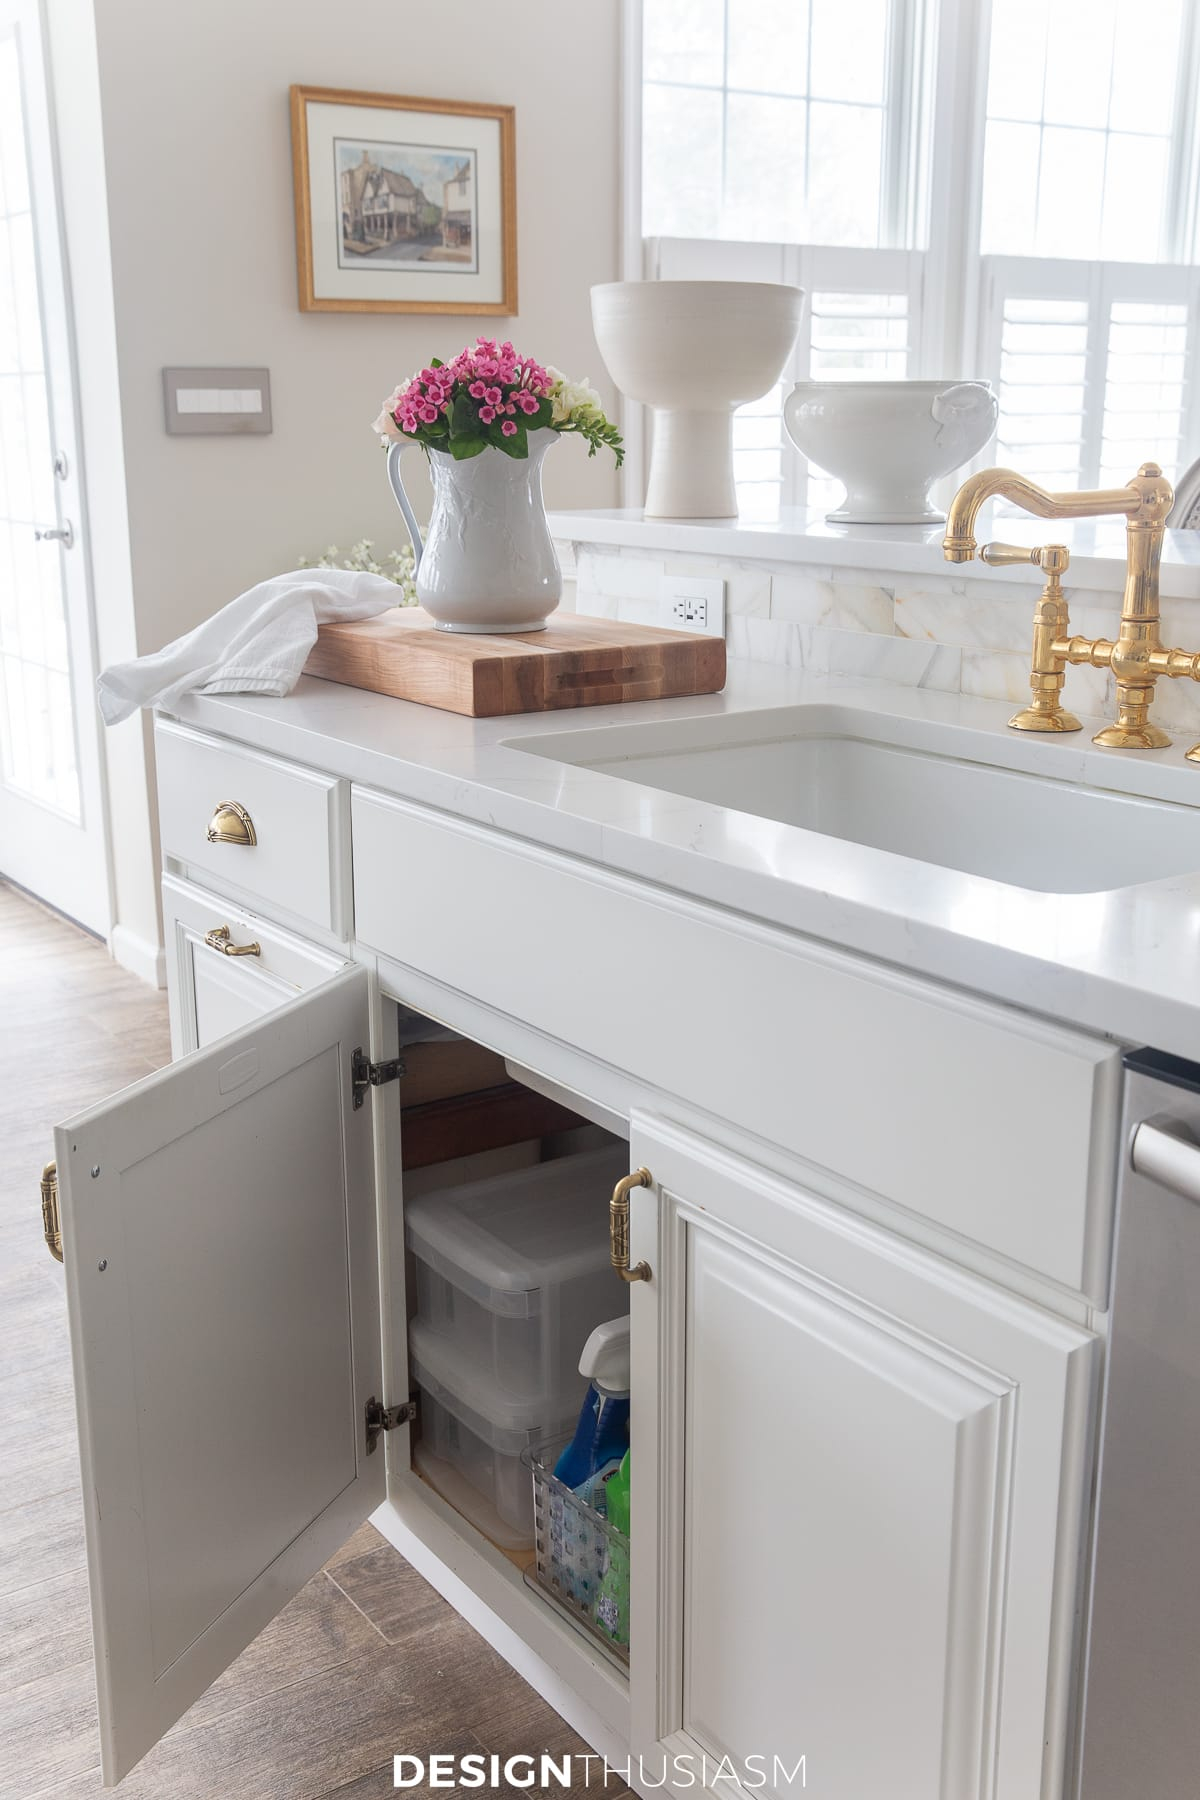
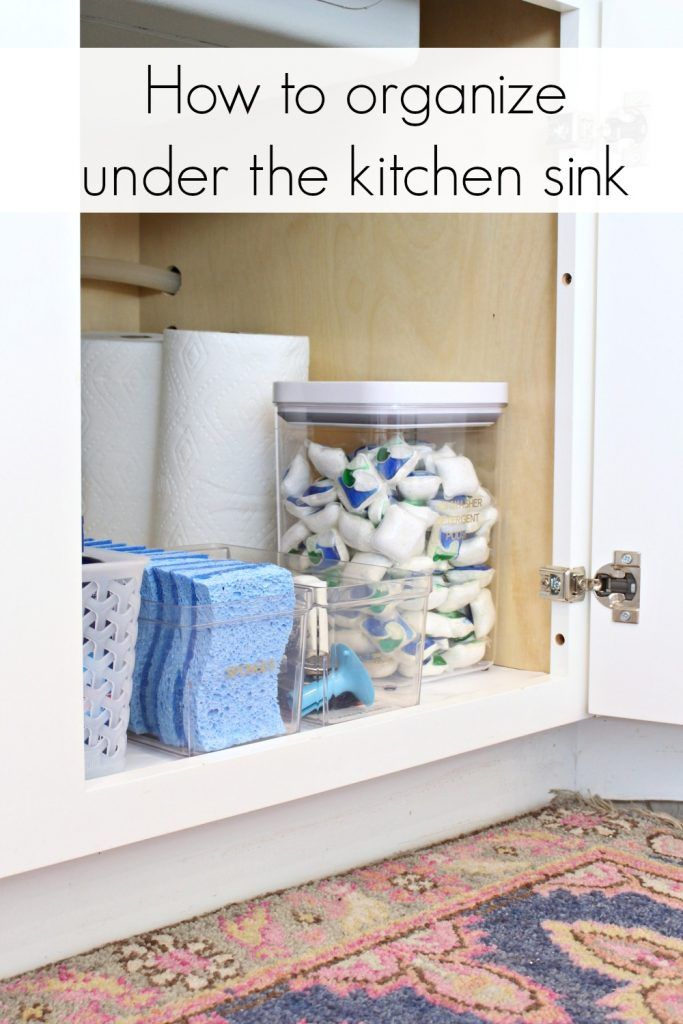
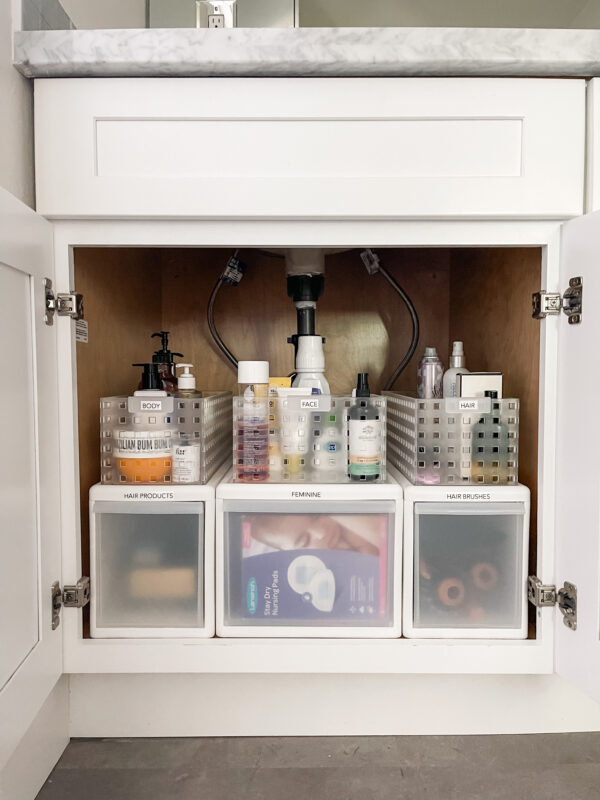
We’ve all been there. You open the cabinet door under the kitchen sink, hoping to grab the all-purpose cleaner, and instead, you get an avalanche of plastic bottles, sponges that have seen better days, and maybe a leaky pipe that’s dripping onto a pile of old receipts. It’s dark. It’s cramped. And honestly? It’s kind of depressing. That little cupboard is basically the junk drawer of the plumbing world. We shove things in there because we can’t see them, and then we forget they exist until we need them desperately.
But what if that chaotic cave could actually work for you? Imagine opening that door and seeing your cleaning supplies lined up like soldiers, ready for duty. No more digging. No more knocking over a bottle of bleach while reaching for the glass cleaner. Just smooth, easy access. It sounds like a dream, right? But it’s actually incredibly simple to achieve. You don’t need a contractor. You don’t even need a drill. You just need a shift in perspective and a couple of cheap hardware store finds.
Let’s talk about turning that dead zone into a command center for your cleaning routine. It’s not just about tidiness; it’s about reclaiming a tiny bit of peace in your daily life. When your tools are organized, the job feels less like a chore and more like a quick task you can knock out before your coffee gets cold. So, let’s dive into how we can make this happen, step by step, without breaking the bank or your back.
The Psychology of the Under-Sink Black Hole
Why do we ignore this space? It’s partly because it’s awkward. The pipes get in the way. The shape is irregular. It’s not a nice square box you can just drop a bin into. So, we treat it as a void. In 2026, with everyone focusing on mindful living and efficient home setups, letting this space rot is kinda counterproductive. It creates low-level stress every time you open the door. You know the mess is there, judging you.
Think about the last time you tried to find a specific spray bottle. Did you have to move three other items to get to it? Did something spill? That friction adds up. It makes you less likely to clean because the setup is annoying. By organizing this area, you’re removing barriers. You’re making the path of least resistance lead to a cleaner home. It’s a small change, but the mental payoff is huge. You stop dreading the cabinet.
Also, consider safety. When bottles are piled haphazardly, caps can come loose. Chemicals can mix in weird ways if things leak. A structured hub keeps everything upright and secure. It’s not just aesthetic; it’s practical hygiene. Keeping your cleaning agents separated and visible means you know exactly what you have and when it’s running low. No more buying a new bottle of degreaser when you already have two half-full ones hiding in the back.
The Magic of the Tension Rod
Here is the secret weapon: the tension rod. You probably know these as shower curtain rods. They’re cheap, adjustable, and require zero installation hardware. That’s the key. You don’t want to drill holes into a cabinet that’s constantly exposed to moisture and potential leaks. Tension rods rely on pressure, so they stay put without damaging the wood or laminate. It’s a renter-friendly hack that homeowners love too.
How does it work for spray bottles? Simple. You install one or two rods horizontally across the width of the cabinet, usually near the front or middle. Then, you hang your spray bottles by their triggers over the rod. The neck of the bottle rests on the rod, and the weight of the liquid keeps it stable. It’s like a coat rack for your cleaners. This lifts them off the floor, freeing up valuable shelf space below for bins, trash bags, or larger containers.
You can get fancy with double rods if you have tall cabinets. One rod higher up for taller bottles, one lower for shorter ones. Or, use vertical tension rods to create dividers for bins. The versatility is wild. And since they’re adjustable, you can tweak the position as your collection of cleaning products changes. Maybe you switch from large industrial-sized bottles to smaller, eco-friendly concentrates. The rods adapt. It’s a dynamic system, not a static shelf.
Step-by-Step Setup Guide
First, empty the cabinet. Yeah, I know. It’s a pain. But you need a blank canvas. Take everything out and wipe down the interior. Check for leaks while you’re at it. If there’s water damage, fix that first. No point organizing a sinking ship. Once it’s dry and clean, measure the width of the inside of the cabinet. Buy tension rods that fit that range. Standard kitchen cabinets are usually around 24 to 30 inches wide, so most standard rods will work.
Next, decide on your layout. Do you want the bottles hanging in the front, with bins behind them? Or do you want them in the back, with frequently used items in front? Most people prefer hanging them in the front for easy access. Install the first rod about 4-6 inches down from the top of the cabinet opening, or just below any existing shelves if you have them. Twist the rod to tighten it until it’s solid. Give it a tug. It shouldn’t budge.
Now, hang your bottles. Group them by type. All-purpose cleaners together. Glass cleaners together. Disinfectants in another spot. This visual grouping helps your brain process the space faster. If you have odd-shaped bottles that don’t hang well, set them aside for now. We’ll deal with them in the next section. Make sure the triggers are facing outward or slightly angled so you can grab them easily without knocking into neighbors.
Managing the Awkward Shapes
Not every bottle is created equal. Some have weird ergonomic handles that slip off the rod. Others are too bulky. For these outliers, don’t force it. Use small bins or baskets for the non-hanging items. Place these bins on the floor of the cabinet, underneath the hanging bottles. This uses the vertical space efficiently. The hanging rods clear the air, and the bins handle the ground game.
You can also use Command hooks or adhesive S-hooks on the side walls of the cabinet for lightweight items like scrub brushes, sponges, or rubber gloves. Keep these off the floor where they can get wet and gross. Vertical wall space is often wasted under sinks. Utilizing it keeps your floor area clear for larger items like a small trash can or a stack of paper towels.
If you have a garbage disposal unit or complex plumbing that blocks the center of the cabinet, work around it. You might need two shorter tension rods instead of one long one. One on the left side, one on the right. Leave the middle open for the pipes. This "bridge" approach ensures you still get storage density without fighting the infrastructure. It’s about adapting to the space, not forcing the space to conform to a perfect grid.
Labeling and Maintenance Tips
Once everything is hung and placed, take a step back. Does it look chaotic? Maybe a little. Labels can help unify the look. You don’t need a label maker, though those are nice. Simple chalkboard labels or even masking tape with handwritten notes work fine. Label the bins. Label the zones. "Glass," "Counter," "Floor." This helps other family members know where things go. If kids are involved, picture labels can be a fun addition.
Maintenance is key. Every few months, take everything down and wipe the rods. Dust and grime accumulate, especially in a humid under-sink environment. Check the tightness of the rods. Over time, temperature changes or accidental bumps can loosen them. A quick twist is all it takes to retighten. Also, audit your supplies. Throw away expired products. Recycle empty bottles. Don’t let the hub become a hoarding zone.
Consider the visual aspect too. If the mismatched colors of commercial bottles bother you, you can transfer liquids into uniform amber or clear spray bottles. This looks sleek and reduces visual noise. However, if you’re like most people, that’s extra effort. Just grouping by color or size can create a sense of order without the hassle of decanting. The goal is function first, form second. But a little form doesn’t hurt.
What if the rods keep slipping? This usually happens if the cabinet walls are slippery or uneven. Try adding small rubber grips or sandpaper to the ends of the rod where it touches the wall. This increases friction. Also, ensure you’re not overloading the rod. Spray bottles are heavy when full. If you have ten heavy bottles on one thin rod, it might sag or slip. Distribute the weight evenly.
Another issue is accessibility. If the cabinet is deep, hanging bottles in the back might mean you have to reach over the front ones. In this case, use a tiered approach. Hang shorter bottles in the front and taller ones in the back. Or, use a lazy Susan turntable for the items on the floor. This brings the back items to the front with a simple spin. It’s a great solution for deep, dark corners.
Finally, watch out for moisture. Under-sink areas can get damp. If you notice mold or mildew on your bins or bottles, increase ventilation. Leave the cabinet door open occasionally to let air circulate. Use moisture-absorbing packets in the back corners. Keeping the area dry protects both your organization system and the cabinet structure itself. A dry hub is a happy hub.
So, there you have it. Transforming that dreaded under-sink space isn’t about buying expensive custom inserts or hiring a pro. It’s about using simple tools like tension rods to create vertical storage. It’s about thinking differently about the space you have. By hanging your spray bottles, you free up floor space, improve visibility, and make your cleaning routine smoother.
It’s a small project, sure. But the impact is immediate. You’ll save time looking for supplies. You’ll reduce waste by seeing what you have. And you’ll feel a little surge of pride every time you open that cabinet and see order instead of chaos. In 2026, we’re all about working smarter, not harder. This hack is the definition of smart.
Give it a try this weekend. Grab a tension rod, clear out the junk, and hang those bottles. You might just find yourself actually enjoying the process of cleaning up, simply because the tools are finally easy to reach. And hey, if it doesn’t work perfectly the first time, tweak it. Move a rod. Swap a bin. Make it yours. After all, it’s your home, and it should work for you, not against you.