You know that feeling. You’ve spent weeks picking out the perfect crown molding. You’ve debated the paint color until your eyes crossed. The walls are prepped, the tools are ready, and then you get to the corners. That’s where the rosette corner block comes in. It’s supposed to be the cherry on top, the little detail that makes the room feel finished and fancy. But somehow, it often ends up looking like an afterthought. Or worse, like a mistake.
It’s not just you. In 2026, as home renovation trends swing back toward detailed, character-rich interiors, we’re seeing a huge spike in DIY trim projects. And with that surge comes a lot of confused homeowners standing in their living rooms, staring at a piece of wood or polyurethane that just doesn’t look right. Why does it feel bulky? Why does the pattern clash with the ceiling medallion? Why does it look like it’s floating instead of sitting snugly in the corner?
The truth is, rosettes are tricky. They aren’t just decorative plugs; they are structural visual anchors. Get them wrong, and the whole room feels off-kilter. Get them right, and you’ve got a space that feels intentional and timeless. Let’s talk about where things usually go sideways, so you can avoid the headache and the extra trip to the hardware store.
Ignoring the Scale of the Room
One of the biggest blunders people make is treating all rosettes as one-size-fits-all. They aren’t. A rosette that looks elegant and understated in a grand foyer with twelve-foot ceilings will look tiny and insignificant in a cozy bedroom with eight-foot ceilings. Conversely, a massive, ornate block in a small hallway feels oppressive. It crowds the space.
Think about proportion. If your crown molding is simple and narrow, say under three inches, a huge, complex rosette will overwhelm it. It’s like wearing a giant bow tie with a t-shirt. It doesn’t match the vibe. On the flip side, if you have heavy, multi-layered crown molding, a dainty, small rosette gets lost. It disappears into the visual noise.
In 2026, interior designers are pushing for "balanced asymmetry," but that doesn’t mean ignoring scale. Measure your molding width. A good rule of thumb? The rosette should be roughly 1.5 to 2 times the width of your crown molding profile. If your molding is 4 inches wide, look for a rosette that’s around 6 to 8 inches in diameter. This keeps the visual weight distributed evenly. Don’t guess. Pull out the tape measure. It saves you from that sinking feeling when you step back and realize the proportions are all wrong.
Clashing Styles and Eras
Here’s a common trap: mixing eras without a plan. You might have a Victorian-style home with original intricate plasterwork, but you buy a sleek, modern geometric rosette because it was on sale. Or maybe you’re in a mid-century modern ranch and you slap on a baroque, leafy acanthus design. It creates visual dissonance. The eye doesn’t know where to rest.
Style consistency matters. If your home has traditional bones, stick to traditional motifs. Floral patterns, scrolls, and classic egg-and-dart borders work well here. For transitional homes—those mix of old and new—you can get away with slightly simpler rosettes that still have some detail but aren’t overly fussy. And for modern spaces? Look for clean lines, minimal ornamentation, or even square-corner blocks instead of round rosettes if the aesthetic calls for it.
It’s easy to get distracted by what’s trendy on social media. Pinterest and Instagram are full of beautiful images, but they don’t always show the context of the whole house. Before you buy, look at your baseboards, your door casings, and your existing architectural details. Do they have curves? Sharp angles? Heavy carving? Your rosette should echo those elements, not fight them. If your door frames have a simple bevel, a super ornate rosette will look out of place. Keep the conversation between design elements consistent.
Overlooking Material Durability and Finish
People often pick rosettes based on how they look in the package, forgetting about where they’re going. Are they going in a bathroom? A humid kitchen? An exterior porch? Material choice is critical here. In 2026, we have more options than ever—MDF, polyurethane, plaster, and solid wood—but each has its quirks.
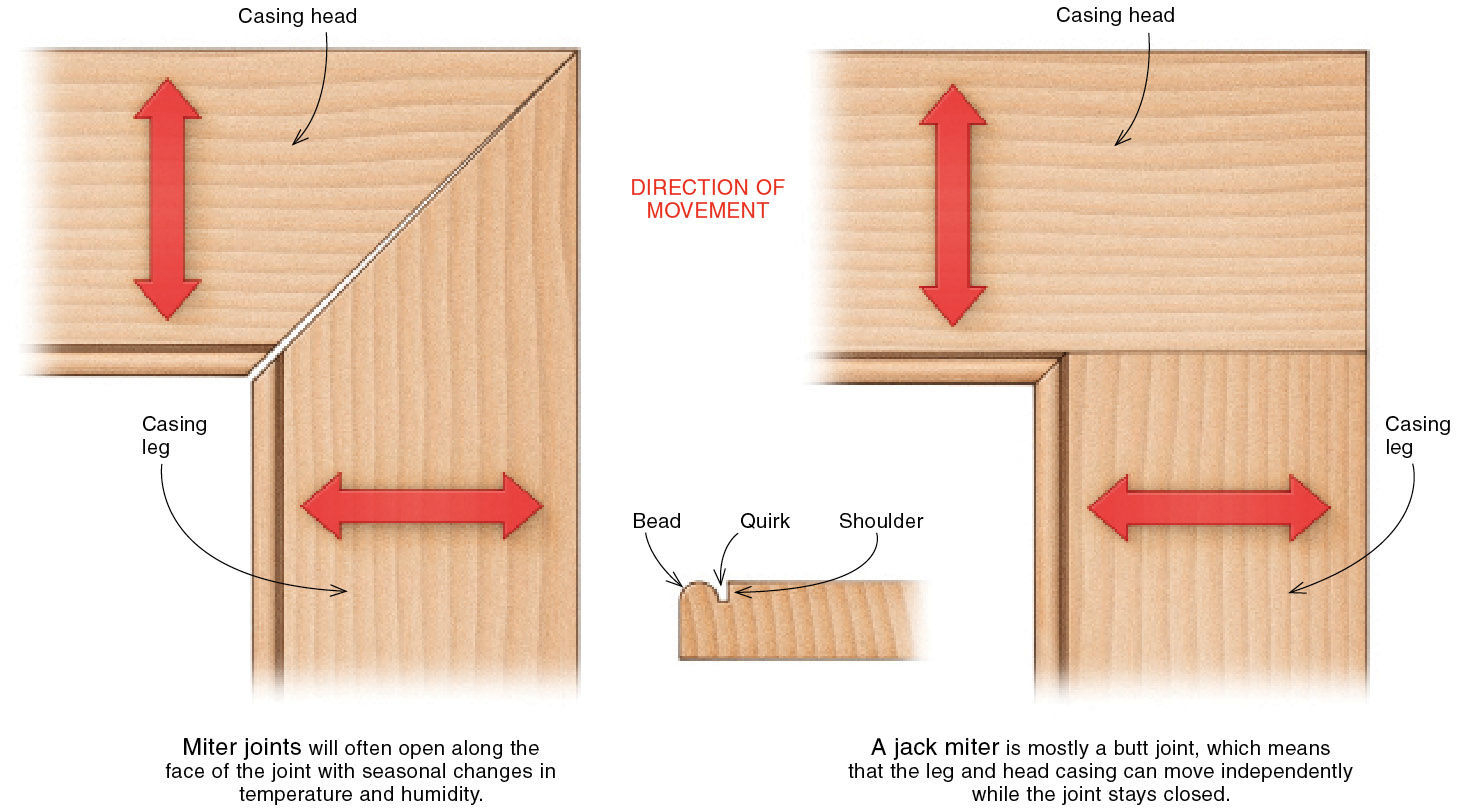
MDF is cheap and easy to paint, but it swells if it gets wet. So, putting an MDF rosette in a steamy bathroom is a recipe for disaster. It’ll puff up, crack the paint, and look terrible within a year. Polyurethane is moisture-resistant and lightweight, making it great for high-humidity areas, but it can be brittle if you’re not careful during installation. Solid wood is beautiful and durable, but it expands and contracts with temperature changes, which can lead to gaps if not installed properly.
And let’s talk about finishing. Many homeowners assume they can just slap a coat of paint on a raw rosette and call it done. But rosettes have deep crevices and detailed carvings. If you don’t prime them properly, or if you use thick latex paint without thinning it slightly for the first coat, you’ll lose all that detail. The paint fills in the cracks. The definition disappears. Use a high-quality primer, and consider using a sprayer or a small artist’s brush for the nooks and crannies. Don’t rush the finish. It’s the difference between a custom look and a DIY disaster.
Misjudging the Installation Angle
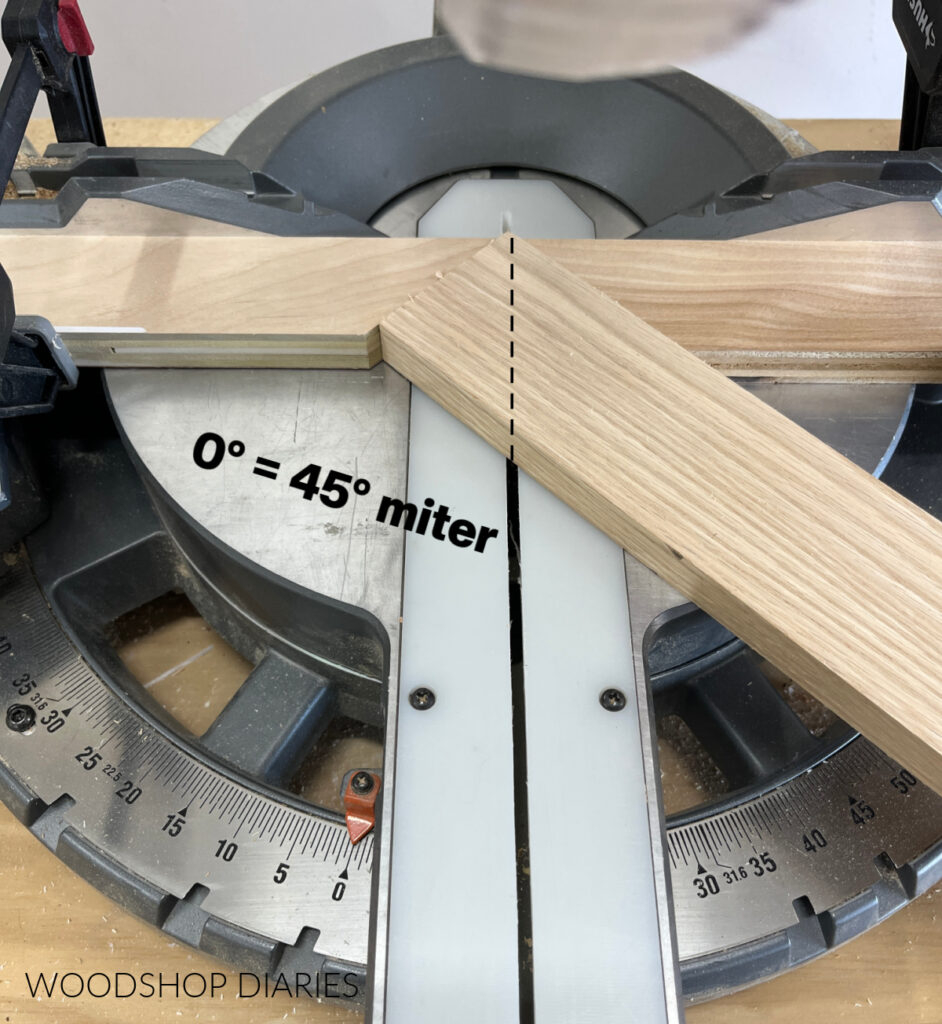
This is where things get technical, and where many DIYers throw in the towel. Rosettes aren’t just glued flat against the wall. They need to accommodate the angle of the crown molding. Most corners aren’t perfectly 90 degrees. Houses settle. Walls shift. If you assume every corner is square, your rosette won’t sit flush. There will be gaps. Ugly, shadow-casting gaps.
You need to dry-fit everything. Before you apply any adhesive, hold the rosette in place. Check the fit against the crown molding. Does it line up? Is there a gap at the top or bottom? You might need to shim the rosette or sand down the back to get it to sit correctly. Some rosettes come with a built-in angle, but many are flat. If you’re using flat rosettes, you’ll need to create a backing or use a flexible caulk to fill the voids, but relying on caulk to fix a bad fit is a band-aid, not a solution.
Also, consider the height. The rosette should align with the top edge of your crown molding, or slightly below it, depending on the profile. If it’s too high, it looks like it’s falling off the ceiling. Too low, and it disconnects from the molding entirely. Take your time here. Use a level. Use a laser line if you have one. Precision matters. A misaligned rosette draws the eye to the mistake, not the beauty of the trim.
Neglecting the Paint Color Connection
Paint seems like the last step, but it should be part of the planning process. A common mistake is painting the rosette the same color as the wall, thinking it will blend in. Sometimes this works, but often it makes the rosette disappear. The whole point of a rosette is to add interest. If it blends in too much, why bother installing it?
Alternatively, painting it the same color as the ceiling can make it feel like part of the ceiling plane, which can be nice if you want a subtle effect. But if you want it to pop, consider a slight contrast. Not a jarring, bright red against white, but maybe a semi-gloss white rosette against a matte white ceiling. The sheen difference creates depth. Or, if you’re feeling bold, a soft gray or a muted metallic can highlight the detail without screaming for attention.
In 2026, we’re seeing a trend toward "tonal layering." This means using different shades of the same color family to create depth. Try painting the rosette a shade lighter or darker than the crown molding. It creates a sophisticated, layered look that feels expensive and thoughtful. Test your colors on a sample piece first. Paint dries differently on wood or polyurethane than it does on drywall. Don’t assume the swatch on the wall will look the same on the rosette.
Finally, people forget that rosettes collect dust. Lots of it. Those intricate swirls and leaves? They are dust magnets. If you install a highly detailed rosette in a hard-to-reach corner, you’re signing up for a lifetime of cleaning headaches. Be realistic about your lifestyle. Do you have pets? Kids? High ceilings that require a ladder to reach?
If cleaning is a concern, opt for a simpler design with fewer deep crevices. Smooth, flowing lines are easier to wipe down than tight, complex carvings. Also, consider the durability of the finish. A high-quality enamel paint will withstand occasional wiping better than a flat matte finish.
And think about future repairs. If a rosette gets damaged, can you replace it easily? Will you be able to match the paint? Keep a little bit of the original paint mixed and stored in a labeled jar. Take a photo of the product label and the installation date. Five years from now, when you need to touch it up, you’ll thank yourself. It’s the small things that keep a home looking fresh. Don’t just install and forget. Plan for the life of the home.
Choosing the right rosette corner block isn’t just about picking a pretty shape. It’s about understanding scale, style, material, and maintenance. It’s about seeing the room as a whole, not just a collection of parts. When you get it right, it feels effortless. Like it was always meant to be there. And isn’t that what we’re all aiming for? A home that feels complete, comfortable, and uniquely yours. So take a breath, measure twice, and choose wisely. Your walls will thank you.