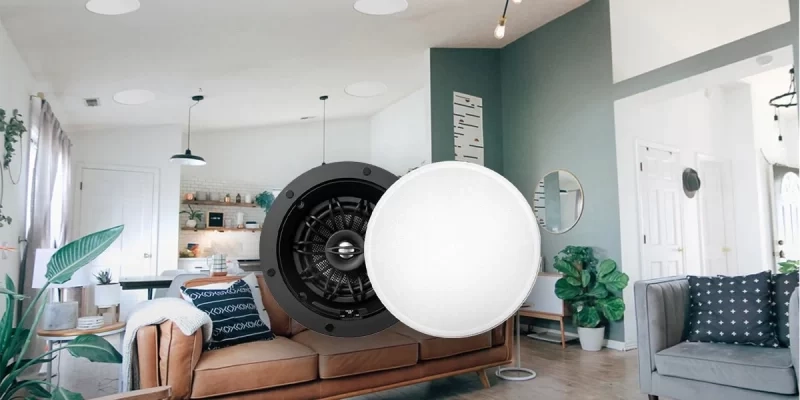
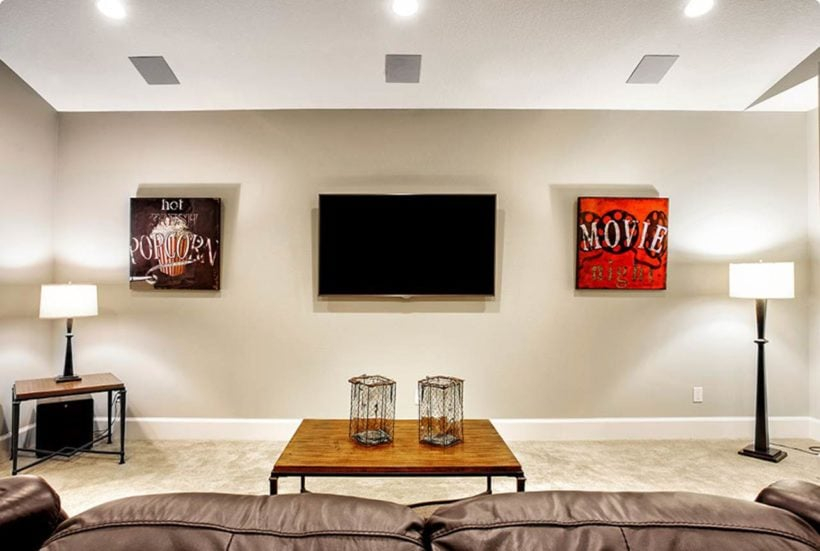
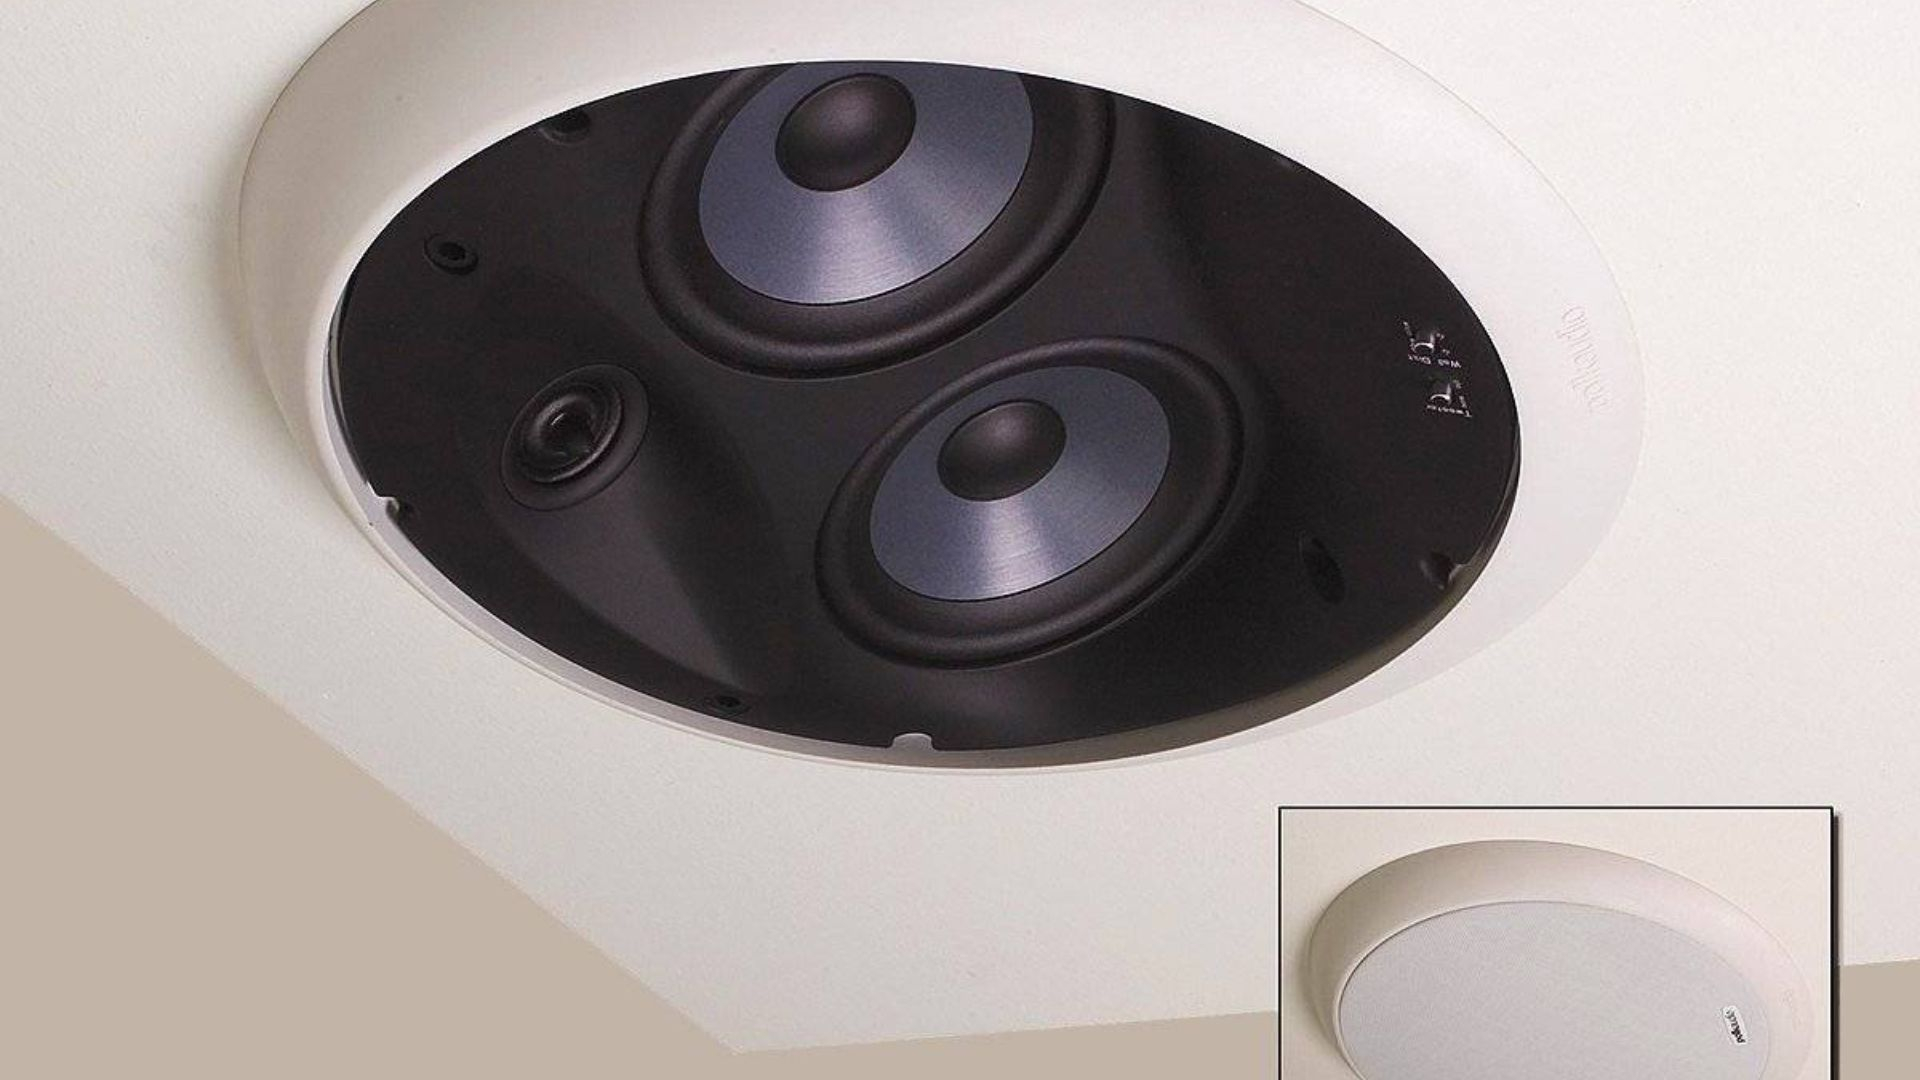
You know that feeling when you walk into a high-end hotel lobby or a sleek modern restaurant? The music is everywhere, yet you can’t see a single speaker. It just feels like the air itself is singing. It’s magic, right? Well, it’s not magic. It’s engineering. And for years, homeowners have been terrified to try it themselves because they’ve heard the horror stories. The story about the guy who cut a hole in his ceiling only to find a massive steel beam blocking the way. Or the woman who tried to fish a wire through an insulated attic and ended up pulling down half her plaster.
We get it. The stakes feel high. Your ceiling is probably painted a perfect shade of "cloud white" or maybe it has that subtle texture you spent a weekend applying. The last thing you want is to turn your living room into a construction zone. But here is the thing most contractors won’t tell you upfront because it doesn’t bill as many hours: you don’t need to tear anything down. Not really. In 2026, the tools and techniques available to the average DIYer have changed the game completely. You can have that invisible sound system without the drywall disaster.
The hidden truth isn’t about avoiding work; it’s about working smarter. It’s about knowing where to look before you cut. It’s about understanding that drywall is fragile, but your approach doesn’t have to be. If you’re ready to upgrade your audio experience without upgrading your stress levels, you’re in the right place. Let’s dig into how to do this right, the first time.
The Myth of the Invisible Obstacle
Let’s start with the biggest fear: what’s hiding up there? For decades, the assumption was that ceilings were a black box. You’d cut a hole and pray. That’s a terrible strategy. Today, we have technology that lets us see without seeing. Before you even touch a utility knife, you need to map the terrain. This isn’t just about finding studs; it’s about finding the "no-go" zones.
Most people grab a standard stud finder and call it a day. But in 2026, relying on basic magnetic finders is a recipe for disaster. You need a multi-sensor scanner that can detect depth. Why? Because knowing a pipe is there isn’t enough; you need to know if it’s half an inch deep or two inches deep. A shallow electrical wire is a nuisance; a deep HVAC duct is a showstopper. By spending twenty minutes scanning the entire grid of your intended speaker placement, you save yourself from patching holes later. It’s boring, sure. But it’s the difference between a clean install and a repair job.
Also, consider the layout of your house. If you’re in a newer build, chances are good that your trusses are engineered with specific spacing, usually 24 inches on center. Older homes? They’re the wild west. You might find hand-nailed joists that are spaced irregularly. The key is to verify, not assume. Use a small pilot hole—no bigger than a pencil lead—in an inconspicuous area, like inside a closet or behind a curtain rod. Drop a bent wire or a flexible camera probe up there. Take a look. Confirm the clearance. This tiny step validates your entire plan. It removes the guesswork. And honestly, once you know exactly what’s above you, the anxiety just melts away.
Fishing Wires Like a Pro (Without the Frustration)
Okay, so you know where the speakers go. Now you need to get power and signal to them. This is the part where most people quit. "Fishing" wires through enclosed walls and ceilings sounds like a nightmare. And if you use the wrong tools, it is. But if you use the right ones, it’s almost satisfying. The secret weapon here isn’t strength; it’s flexibility.
Forget those stiff metal fish tapes from the 1990s. You need glowing pull rods or flexible fiberglass sticks. These things bend around corners, slip past insulation batts, and don’t get stuck on nail plates. Here’s the trick: don’t just push. Guide. If you’re running wire from an amplifier in the basement to a ceiling on the second floor, you’re likely going through multiple cavities. Use access points. Can you remove a vent cover? An outlet plate? These are your gateways. Push the rod up from the bottom, grab it at the top, and pull the wire back down. It’s a dance, not a wrestle.
And let’s talk about the wire itself. In 2026, speaker wire has gotten thinner and more flexible without losing quality. Look for CL2 or CL3 rated cable. This is crucial. Standard lamp cord isn’t safe for in-wall use because it lacks the fire-retardant jacket required by code. Using the right cable protects your home and ensures you pass any future inspections. Also, leave slack. Always leave at least 12 inches of extra wire at both ends. You’ll thank yourself when you’re trying to connect terminals in a tight ceiling hole. Rushing this step leads to short connections and frustration. Take your time. Pull gently. If it sticks, don’t force it. Back up and try again.
Cutting Clean Holes Every Single Time
Now comes the scary part. The cut. You’ve marked your spot. You’ve verified the space is clear. You have your wire waiting. It’s time to make the hole. Most DIYers reach for a jab saw or a reciprocating saw (Sawzall). Stop. Put those down. Those tools are aggressive. They tear drywall paper, create jagged edges, and vibrate the ceiling, which can crack the tape seams feet away from your work area. You want precision, not power.
The best tool for this job is a high-quality oscillating multi-tool with a fine-tooth drywall blade. Or, if you want to keep it simple and cheap, a sharp rotary cutting tool (like a RotoZip) with a depth collar. The goal is to score the paper face of the drywall cleanly before cutting through the gypsum core. Start slow. Let the tool do the work. If you’re using a manual keyhole saw, score the circle first with a utility knife. This prevents the paper from tearing outward, which creates a ragged edge that’s hard to hide.
Here’s a pro tip that saves hours of mudding: cut the hole slightly smaller than the speaker’s outer rim. Most in-ceiling speakers have "dog-ear" clamps that pull up against the backside of the drywall. If the hole is too big, the clamps have nothing to grab, or worse, the speaker falls through. If it’s slightly small, the speaker’s bezel covers the imperfection. You can always trim a millimeter off, but you can’t add drywall back. Measure twice, cut once, and breathe. It’s just a hole. You’ve got this.
Dealing with Insulation and Fire Blocks
So, you’re up in the attic or peering into the ceiling void, and you hit a wall. Literally. Or rather, you hit a pile of fluffy pink stuff or a wooden block. Insulation and fire blocks are the two biggest enemies of easy installation. But they aren’t insurmountable. They just require a different approach.
If you have blown-in insulation, it’s a mess. It falls everywhere. It gets in your eyes. The trick is containment. Before you cut your ceiling hole, go into the attic (if accessible) and build a small dam around the area using cardboard or scrap wood. Keep the insulation back. If you can’t access the attic, use a vacuum cleaner with a long hose attachment near the cut site as you work to catch falling debris. It’s not perfect, but it keeps your room cleaner. For fiberglass batts, simply push them aside gently. Don’t compress them too much, or you lose their R-value (insulating power). Just create a path for the wire.
Fire blocks are horizontal pieces of wood nailed between studs or joists to stop fire from spreading rapidly. They block your vertical wire run. You cannot drill through them randomly; that violates fire codes. Instead, you need to route around them. This might mean shifting your speaker location by a foot or two. Or, it might mean drilling through the side of the joist if code allows (usually requiring a specific distance from the edge). Check your local building regulations for 2026, as these can vary. Sometimes, the easiest fix is to run the wire horizontally along the joist bay to an open spot, then drop down. It adds length to your wire run, but it saves you from structural headaches.
The Secret to Perfect Sound Isolation
You’ve installed the speakers. They’re wired. But when you turn them on, the sound feels… thin. Or maybe your family downstairs complains that they can hear every beat of your bass. This isn’t a speaker problem; it’s a coupling problem. When you mount a speaker directly to drywall, the drywall becomes part of the speaker. It vibrates. It rattles. And it leaks sound into other rooms.
The hidden truth here is isolation. You need to decouple the speaker from the structure. In new construction, pros use "place savers" or backing boxes. These are plastic frames installed before the drywall goes up. They provide a solid, rigid mounting point that doesn’t rely on the drywall itself. But what if your drywall is already up? You can still improve isolation. Use rubber gaskets or neoprene washers between the speaker frame and the ceiling surface. This dampens vibration.
For better performance, consider adding acoustic putty or mass-loaded vinyl (MLV) patches behind the speaker in the ceiling void. This adds mass, which blocks sound transmission. It’s a small addition that makes a huge difference in clarity. It stops the "boxy" sound that plagues cheap installations. Remember, the goal is for the sound to come from the speaker, not the ceiling material. By isolating the driver, you get tighter bass and clearer highs. It’s the difference between hearing music and feeling it. And since we are talking about 2026 standards, many modern speakers come with built-in isolation rings. Check your specs. If they don’t, buy aftermarket ones. They’re cheap insurance against bad audio.
You’re almost done. The speakers are in. The wires are connected. But now you have to deal with the visual aftermath. Even with a perfect cut, there might be a tiny gap. Or maybe you made a small mistake and the hole is a bit oval. Don’t panic. This is where the finish work saves the day.
Most in-ceiling speakers come with paintable bezels. This is your best friend. Before you install the speaker, prime the bezel. Then, after installation, caulk the edge where the bezel meets the ceiling. Use a paintable, acoustically transparent silicone caulk. Apply a thin bead, smooth it with your finger, and wipe away the excess. This seals the gap, preventing air leaks that can muddy the sound, and it creates a seamless visual transition. Once the caulk is dry, paint over it. Match the sheen of your ceiling paint exactly. If your ceiling is flat, use flat paint. If it’s eggshell, use eggshell. Mismatched sheen is what gives away DIY jobs, not the hole itself.
If you messed up the drywall edge, don’t try to patch it under the speaker. It’s unnecessary. Just ensure the speaker’s flange covers it. If the gap is larger than the flange, you might need a wider trim ring, available at most audio retailers. Keep it simple. Clean lines. Tight seals. Fresh paint. When you step back and look up, you shouldn’t see a speaker. You should just see a pristine ceiling. And when you turn the music on, you’ll forget the work entirely. That’s the goal.
Installing in-ceiling audio doesn’t have to be a renovation nightmare. It’s a series of small, manageable steps. Map the space. Fish the wires with care. Cut with precision. Respect the insulation. Isolate the sound. And finish with attention to detail. By following these steps, you avoid the common pitfalls that ruin drywall and frustrate homeowners. You end up with a system that looks like it was there all along.
The beauty of this project is that once it’s done, it disappears. You don’t see the tech; you just enjoy the experience. Whether you’re listening to jazz in the kitchen or watching a movie in the living room, the sound wraps around you without cluttering your space. It’s clean. It’s professional. And best of all, it’s yours. You didn’t destroy your home to get it. You enhanced it. So take a breath, grab your tools, and trust the process. Your ceiling—and your ears—will thank you.