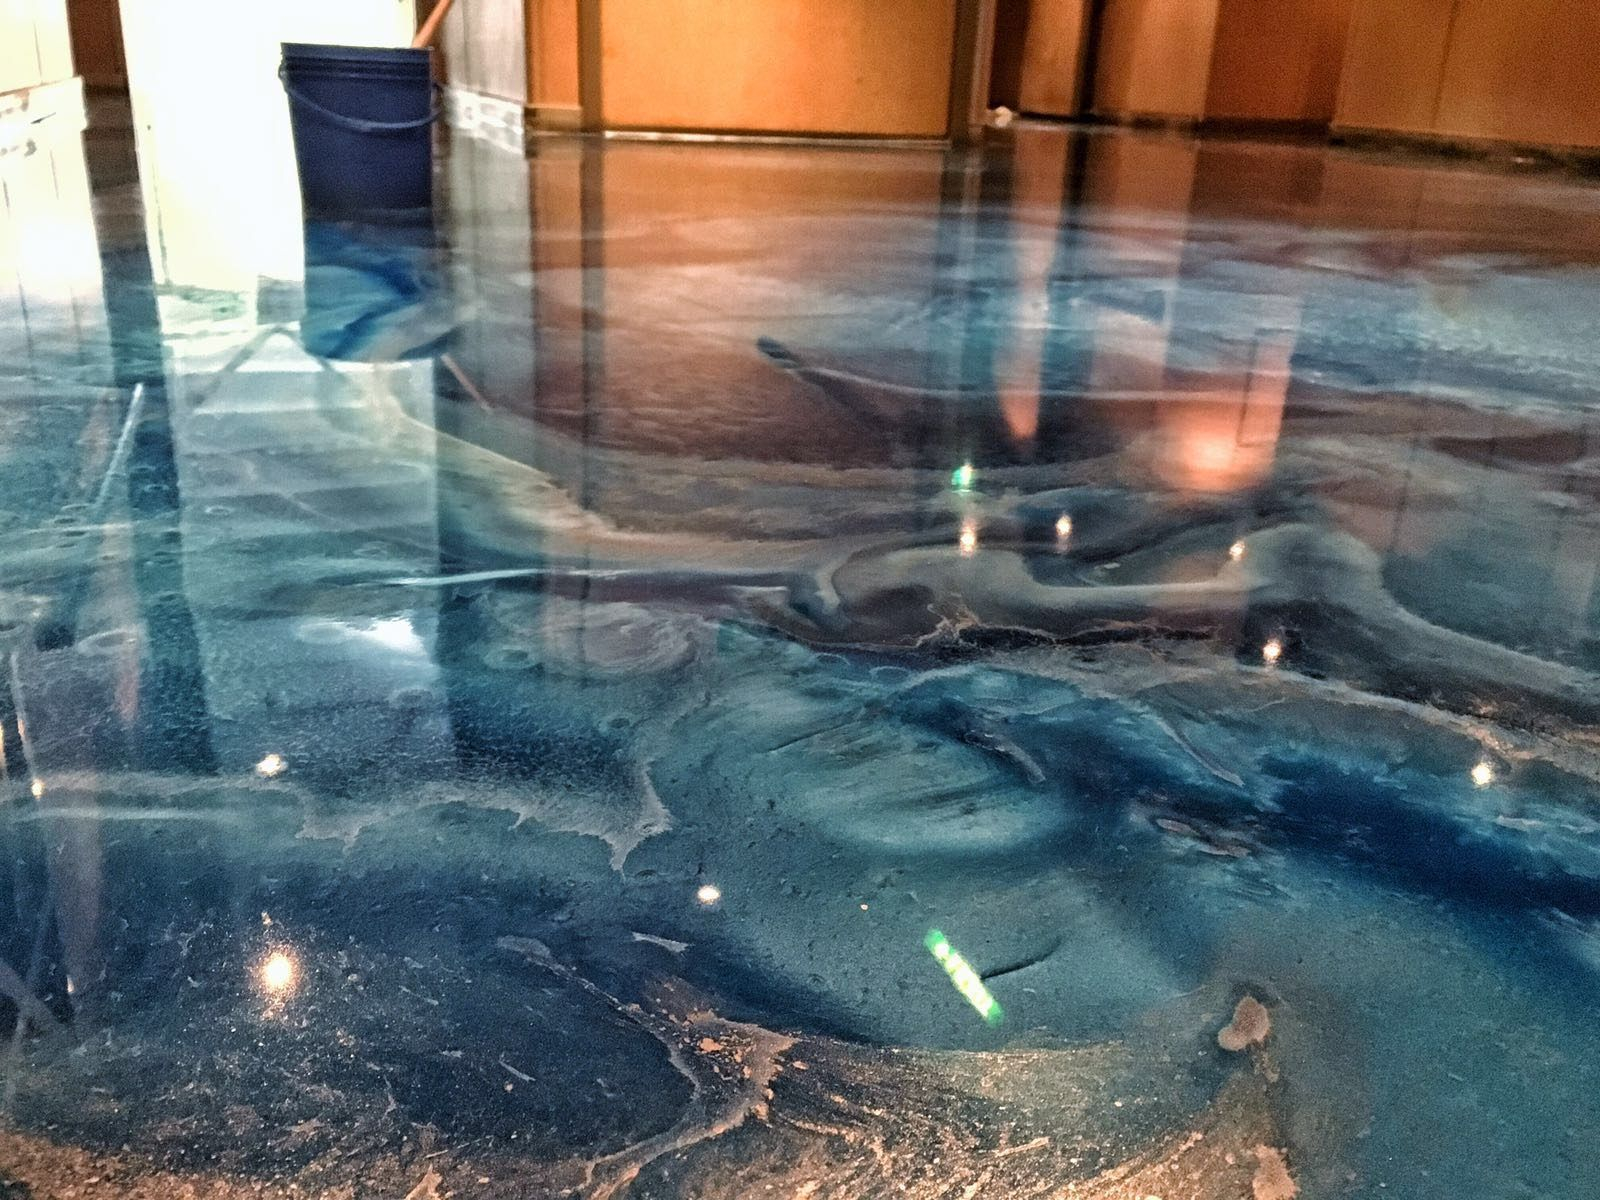
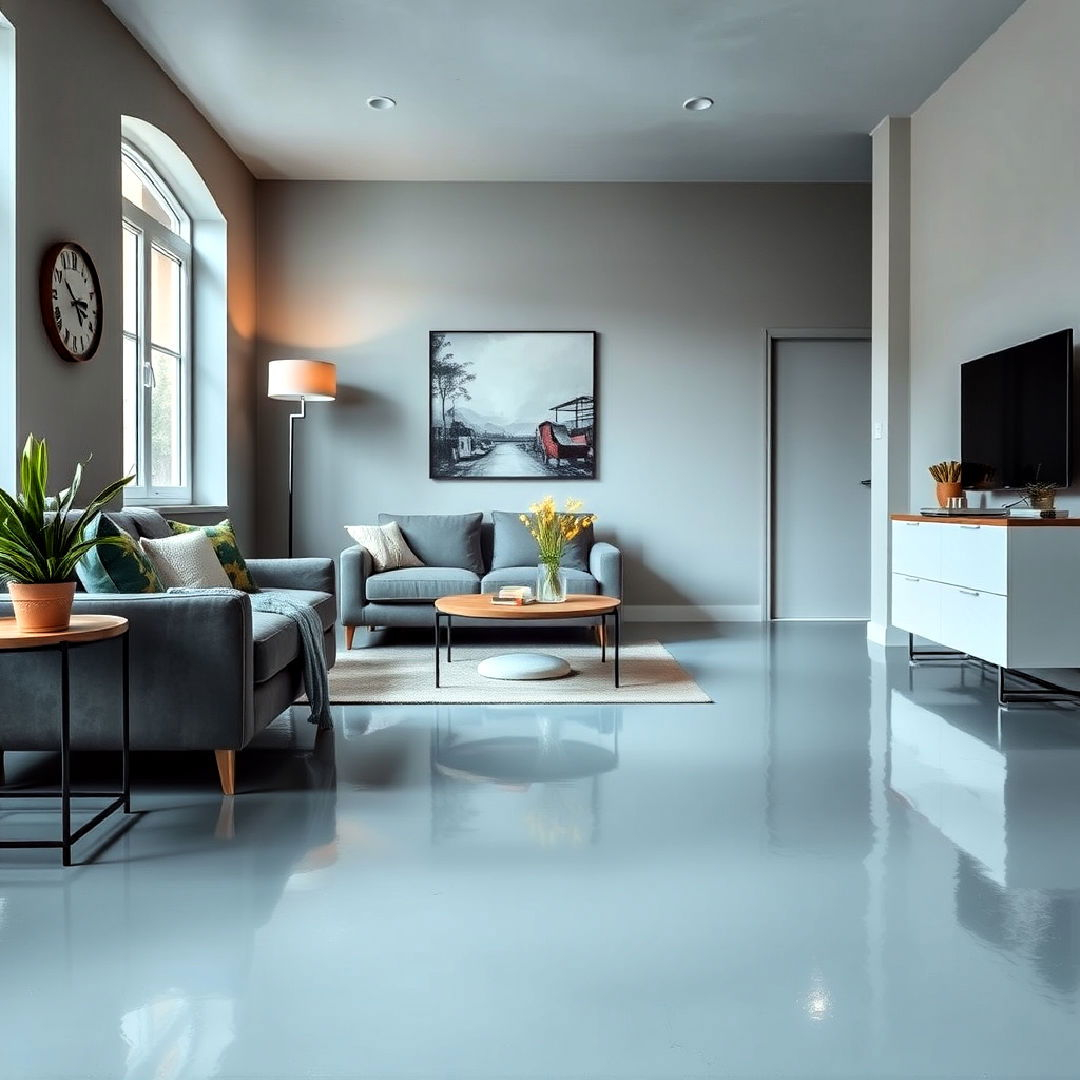
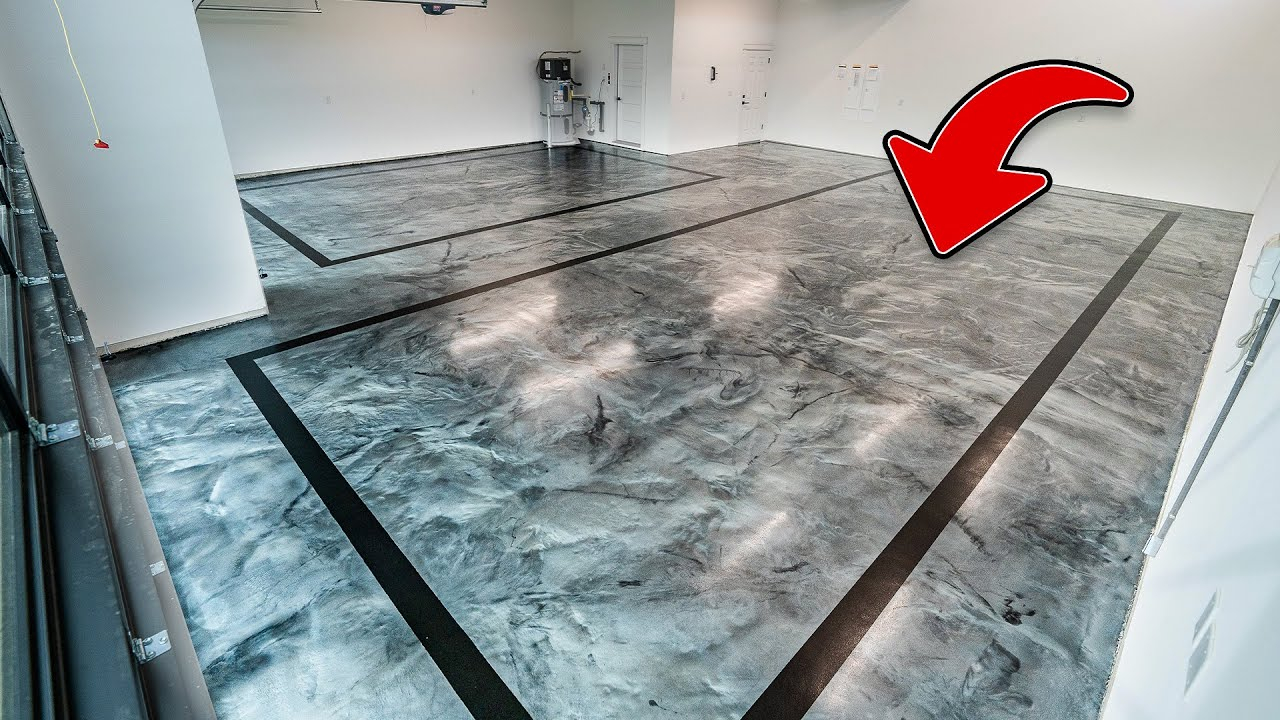
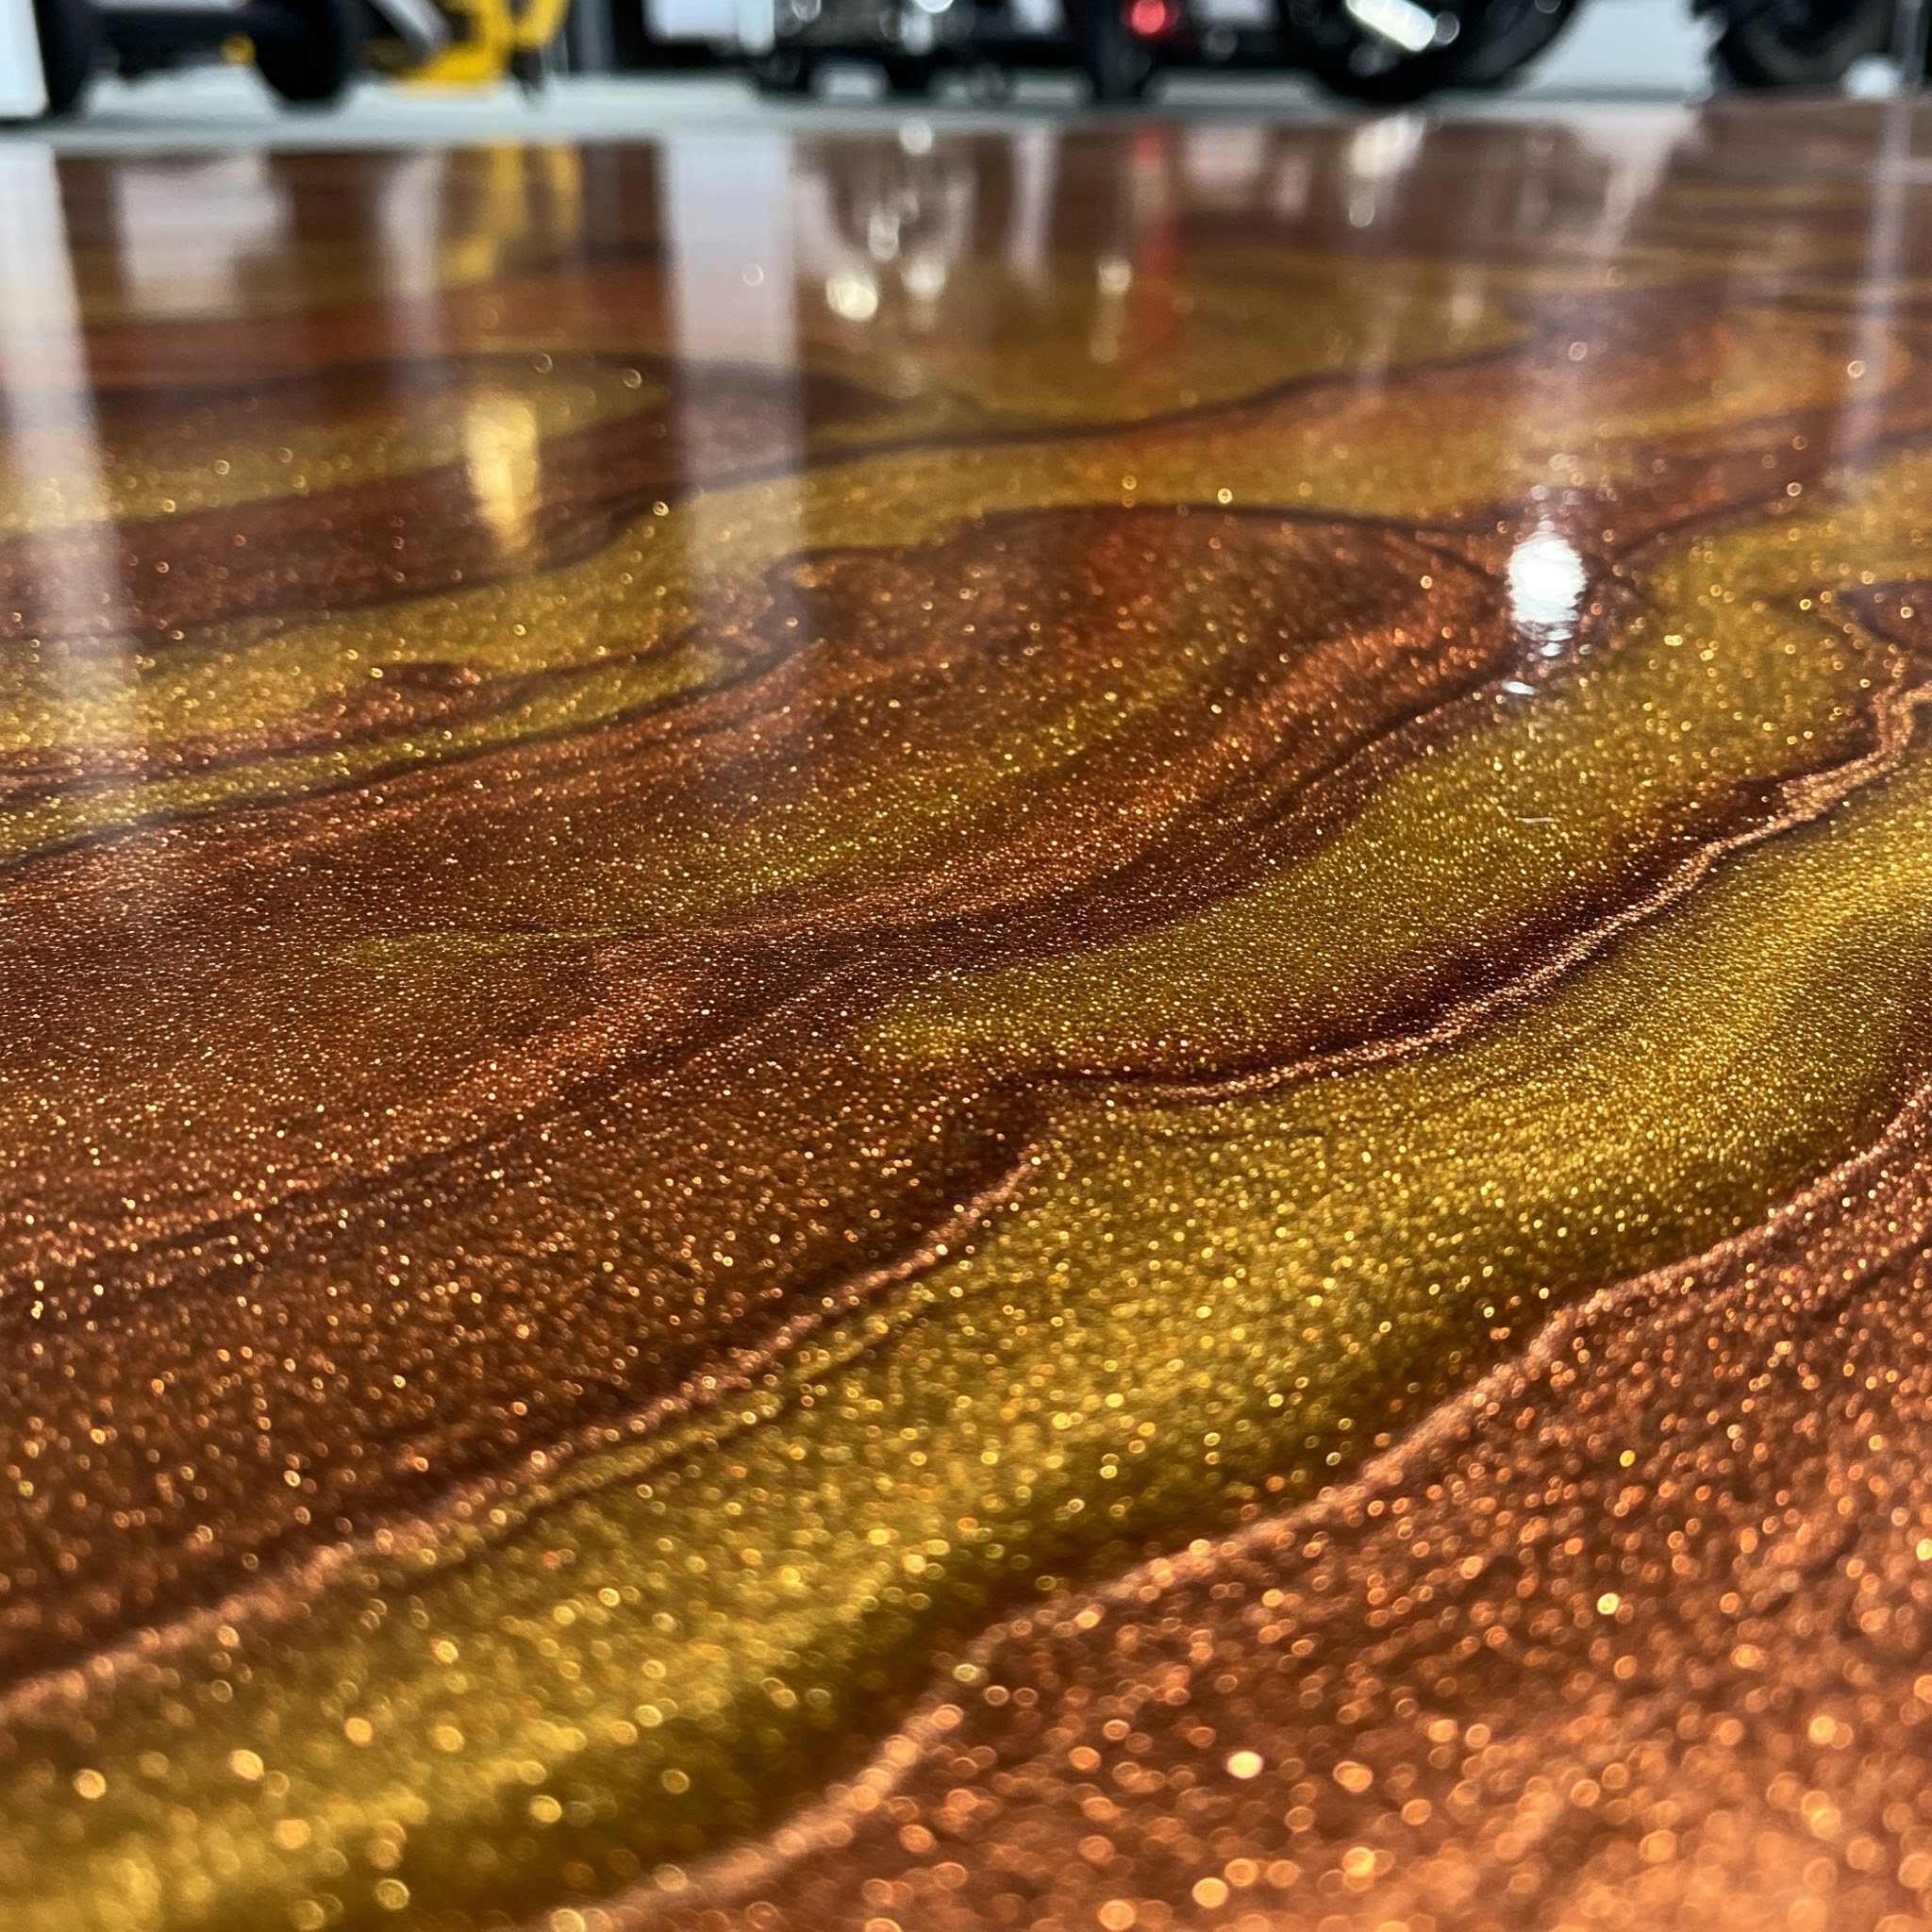
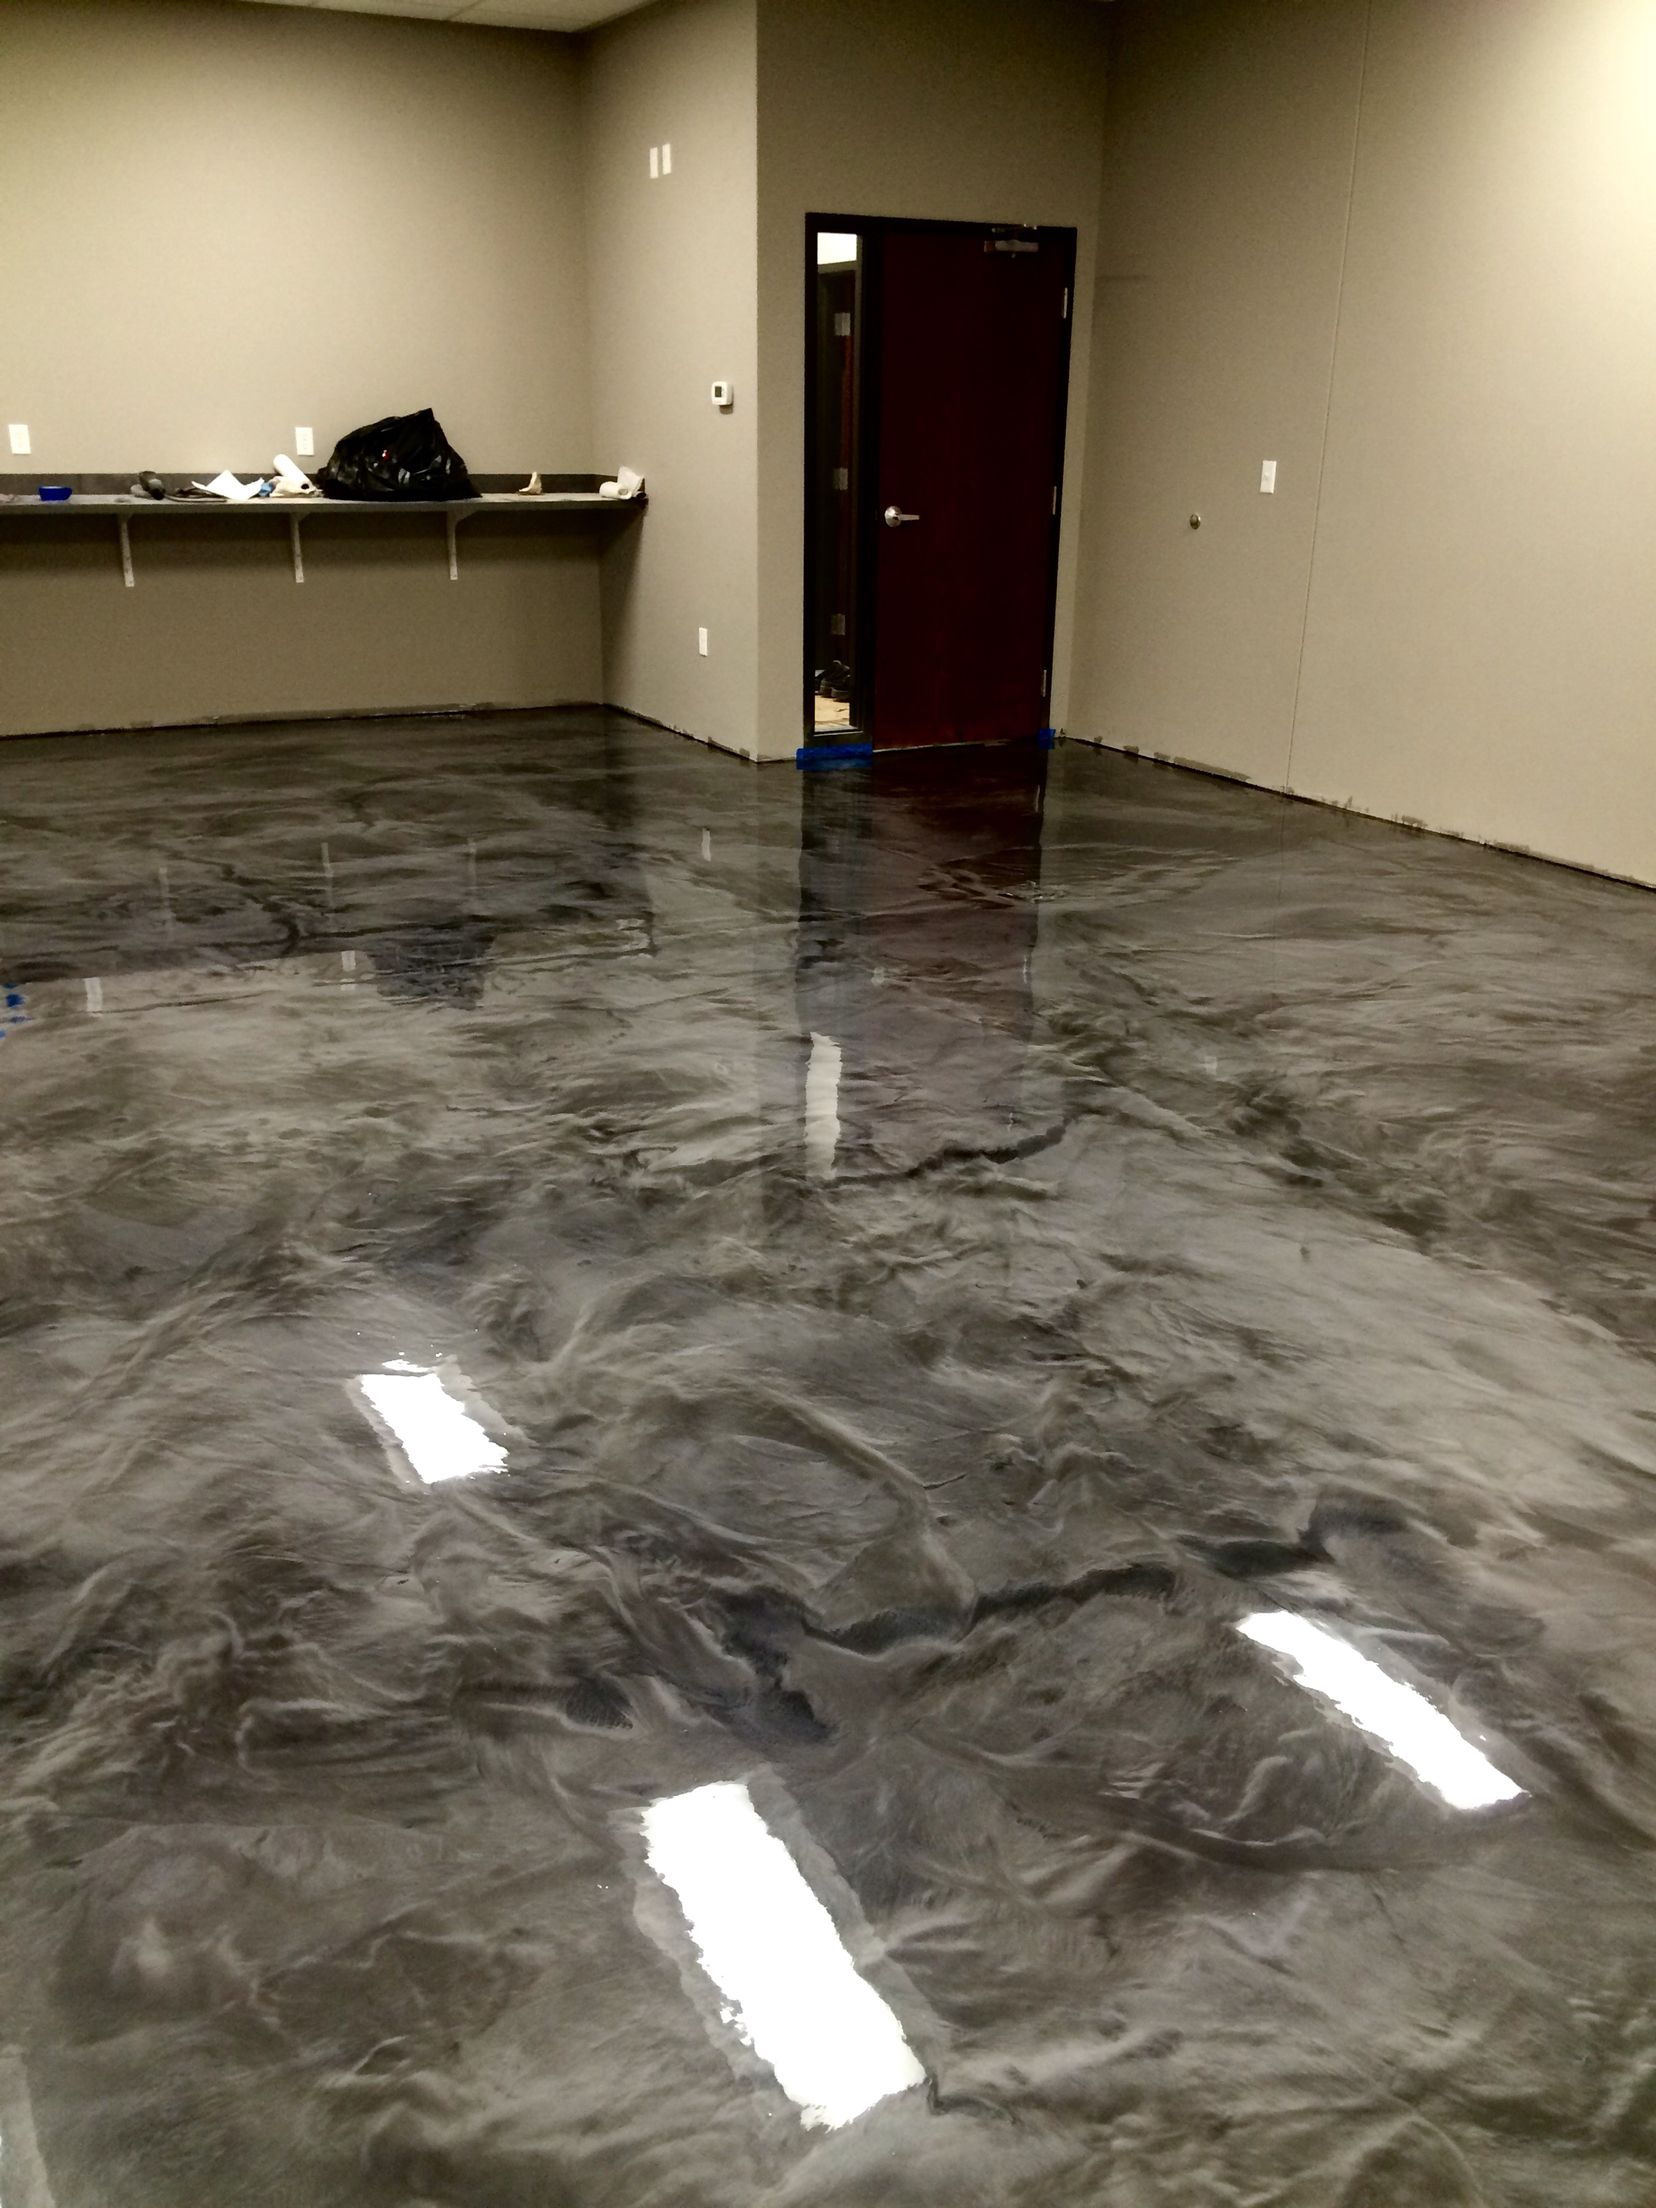
You know that feeling when you walk into a room and the floor just… stops you? It’s not just clean. It’s alive. Maybe it looks like molten copper flowing over stone, or perhaps it mimics the deep, swirling chaos of a stormy ocean. For decades, concrete was the ugly duckling of design. It was industrial. Cold. Something you hid under carpet or tile. But lately? Something shifted. We stopped seeing it as a foundation and started seeing it as a canvas.
It’s wild to think about, right? That gray, dusty stuff under our feet can become the most expensive-looking part of a home. This isn’t just paint. It’s chemistry meeting creativity. By mixing high-performance epoxy resins with metallic pigments, artists and homeowners are creating surfaces that look like liquid metal frozen in time. And the best part is, it’s not just for fancy hotel lobbies anymore. It’s happening in garages, living rooms, and even on coffee tables. Let’s dig into how this magic actually works, because honestly, it’s simpler than it looks but harder to master than you’d think.
The Chemistry of Shine: Understanding the Materials
So, what exactly are we pouring here? At its core, this technique relies on two main components: the concrete substrate and the resin system. Concrete is porous. It breathes. It has tiny holes and cracks that, if you don’t handle them right, will ruin your artwork. The resin—usually a two-part epoxy or sometimes polyurea—is the vehicle. It’s clear, thick, and self-leveling. But the star of the show is the metallic pigment. These aren’t just glitter jars from a craft store. They are microscopic mica flakes or aluminum powder suspended in a solvent.
When you mix these pigments into the clear resin, they don’t dissolve. They float. This suspension is crucial. It allows the particles to move around before the resin cures (hardens). In 2026, the formulations have gotten way better. Older epoxies used to yellow out after a few years, especially in sunlight. Now, we have UV-stable resins that stay crystal clear. This matters because if the base yellows, your beautiful silver swirls turn muddy. You want that crisp, high-gloss finish that looks like glass.
Safety is also a big piece of the puzzle here. Working with resin means dealing with volatile organic compounds (VOCs), although many modern brands are low-VOC or zero-VOC. Still, you need good ventilation. And gloves. Definitely gloves. Once that stuff gets on your skin, it’s there for days. Think of the resin as a heavy syrup. When you pour it, it wants to find level ground. Your job isn’t to force it into a shape, but to guide its flow. It’s a partnership between gravity and your hand. If you fight the material, it fights back with bubbles and uneven spots. Respect the chemistry, and it’ll give you that mirror-like finish everyone loves.
Prep Work: The Boring Part That Makes or Breaks It
Here’s the truth nobody wants to hear: 90% of this job is cleaning. Seriously. You can have the most expensive metallic pigments in the world, but if your concrete isn’t prepped perfectly, it’s going to peel up like a sunburnt sticker. Concrete looks smooth, but it’s covered in laitance—a weak, dusty layer of cement and fines. You have to get rid of it. Professionals use diamond grinders. It’s loud, it’s dusty, and it’s exhausting. But it opens up the pores of the concrete so the resin can bite in.
After grinding, you’ve got to repair any cracks. Concrete moves. It shifts with temperature and moisture. If you just fill a crack with hard epoxy, it’ll crack again when the slab moves. You need flexible sealants for active cracks. Then comes the primer. Think of primer as the double-sided tape of the flooring world. It penetrates deep into the concrete and creates a mechanical bond. Without it, your beautiful art floor is just a sheet of plastic sitting on top of dust. One day, someone drops a heavy pot, and the whole thing shatters. Nobody wants that.
Moisture testing is another step people skip. If your concrete slab has water vapor coming up from the ground, it will cloud your resin. It looks like white fog trapped under glass. In humid climates or basements, this is a huge risk. There are tests you can do—simple plastic sheet tests or more advanced calcium chloride tests—to check moisture levels. If it’s too wet, you need a moisture barrier primer. It adds cost, sure. But it saves you from having to rip out a $5,000 floor six months later. Patience here pays off. Rushing prep is the fastest way to fail.
The Palette: Choosing Colors and Effects
Once the floor is ready, the fun begins. Picking colors is where things get tricky. It’s tempting to go wild with five or six different metallics. Don’t. Less is usually more. Most pro installations stick to two or three colors. A classic combo is a dark base (like charcoal or black) with a bright metallic (like gold, copper, or silver). The dark base provides depth. It makes the metallics pop. If you use a light base, the effect can look washed out, like watered-down milk.
In recent years, we’ve seen some cool trends emerge. Glow-in-the-dark pigments are getting popular for gaming rooms or bars. You charge them with light during the day, and at night, your floor emits a soft, eerie glow. UV-reactive resins are another niche but growing area. Under blacklight, certain patterns fluoresce brightly. It’s perfect for clubs or creative studios. But for a home? Stick to timeless metallics. Bronze and slate gray look incredible in a kitchen. Pearl white and soft blue work well in bathrooms.
Mixing the colors requires a bit of intuition. You don’t stir them together completely. You want streaks. If you mix them until they are one uniform color, you lose the marble effect. You pour puddles of each color next to each other. Some people like to pre-mix a little bit of each color with a small amount of resin to create "veins." These veins are then drizzled over the main puddles. It adds complexity. Think of it like baking a marbled cake. You want distinct ribbons of flavor, not a muddy brown batter. Experiment on a small board first. See how the colors interact. Some metals react chemically with others, changing hue as they cure. Know your materials.
Application Techniques: Dancing with the Resin
Okay, the buckets are mixed. The floor is primed. Now you pour. Start in the corner farthest from the door. Pour the resin in large puddles. Don’t worry about spreading it yet. Just get it on the floor. Use a notched squeegee to spread it out evenly. You’re aiming for a thickness of about 10 to 20 mils. Too thin, and you won’t get depth. Too thick, and it might overheat and crack. Once it’s spread, grab your roller. A spiked roller helps pop air bubbles. Roll in one direction, then cross-hatch. It’s rhythmic. Almost meditative.
Now for the art part. This is where you use tools to manipulate the metallics. Some artists use heat guns. The heat thins the resin slightly, allowing the metallic particles to rise to the surface and create cells—those cool, circular patterns you see in resin art. Others use alcohol sprays. A mist of isopropyl alcohol breaks the surface tension, creating craters and veins. It’s unpredictable. That’s the beauty of it. No two floors are ever the same. You might try a "swirl" technique with a trowel, gently dragging the colors into each other. Or maybe a "drop" technique, where you let heavy blobs of color sink into the base.
Timing is everything. Resin has a "pot life"—the time before it starts to harden. Usually, you have 20 to 30 minutes to work. After that, it gets tacky. If you try to move it then, you’ll leave drag marks. You have to work fast but calmly. Panic leads to mistakes. If you mess up a section, don’t try to fix it immediately. Sometimes, letting it settle for a minute allows the resin to self-level and hide the error. Watch the flow. Gravity is doing half the work. Your job is just to nudge it in the right direction. It’s a dance, really. You lead, but the resin follows its own rhythm.
Beyond Floors: Tables, Walls, and Sculptures
While floors get all the attention, metallic resin on concrete isn’t limited to walking surfaces. In 2026, "fusion art" is huge in furniture design. Imagine a solid concrete coffee table with a "river" of metallic resin running through the middle. The contrast between the rough, matte concrete and the glossy, shimmering resin is striking. It’s tactile. People want to touch it. These pieces are heavy, durable, and unique. They act as conversation starters. Making them requires molds, but the technique is similar. Pour the concrete, let it cure, then pour the resin into the channel.
Wall panels are another emerging trend. Large-format concrete tiles backed with resin create stunning accent walls. Instead of painting a wall, you install these panels. They reflect light, making small rooms feel bigger. Artists are also using this combo for sculptures. Concrete provides the structure and weight, while resin adds color and translucency. You can embed objects in the resin—coins, leaves, fabric. It preserves them forever. It’s like amber, but industrial chic.
The versatility here is endless. Countertops in kitchens or bars are a natural fit. They’re heat resistant (to a point) and stain resistant if sealed properly. Just be careful with hot pans directly on the resin; it can soften. Use trivets. Outdoor applications are trickier. UV exposure and temperature swings can cause expansion and contraction issues. But with the right polyurea topcoats, which are more flexible than epoxy, you can do patios and pool decks. The key is matching the material to the environment. Don’t use indoor epoxy outside. It’ll chalk and fade within a year. Know the limits of your medium.
So, you’ve got this gorgeous, mirror-like floor. Now what? The good news is, metallic epoxy floors are incredibly durable. They resist oil, gas, and most chemicals. That’s why they’re great for garages. But they aren’t invincible. Scratches can happen. Dragging a heavy appliance across it will leave marks. To prevent this, use felt pads on furniture legs. It’s a simple habit that saves headaches. Sweeping regularly is important too. Dust and grit act like sandpaper. If you walk on them, they micro-scratch the surface. Over time, the floor loses its gloss.
Cleaning is easy. Use a pH-neutral cleaner. Avoid vinegar or acidic cleaners, which can dull the finish over time. Mop with a microfiber pad. No abrasive scrubbers. If you do get a scratch, don’t panic. Minor scratches can often be buffed out with a polishing compound. Deeper damage might require a professional to recoat the area. But here’s a secret: because the pattern is random and complex, small imperfections are hard to see. Unlike a solid white floor where every speck shows, a metallic swirl hides a multitude of sins.
Recoating is an option down the road. After 5-10 years, depending on traffic, the topcoat might wear thin. You don’t have to redo the whole artistic layer. Often, a fresh coat of clear urethane topcoat is enough to restore the shine and protection. This makes it a sustainable choice. You aren’t ripping out the floor; you’re just refreshing the surface. It’s less waste, less cost. Plus, the technology keeps improving. What you install today will likely last longer than floors installed ten years ago. Treat it well, and it’ll stay stunning for decades. It’s an investment in beauty that actually holds up to real life.
In the end, transforming concrete with metallic resin is about more than just aesthetics. It’s about changing how we interact with our spaces. It turns the mundane into the magical. It proves that utility and art don’t have to be separate. Whether you’re looking at a garage floor that shines like a showroom or a coffee table that looks like a captured galaxy, the effect is emotional. It brings joy. It sparks curiosity. And yeah, it’s a lot of work. The prep is tough. The learning curve is steep. But the result? It’s worth every sweaty hour. So, if you’ve been staring at that dull gray slab thinking it could be more, you’re right. It can. Go make some art.