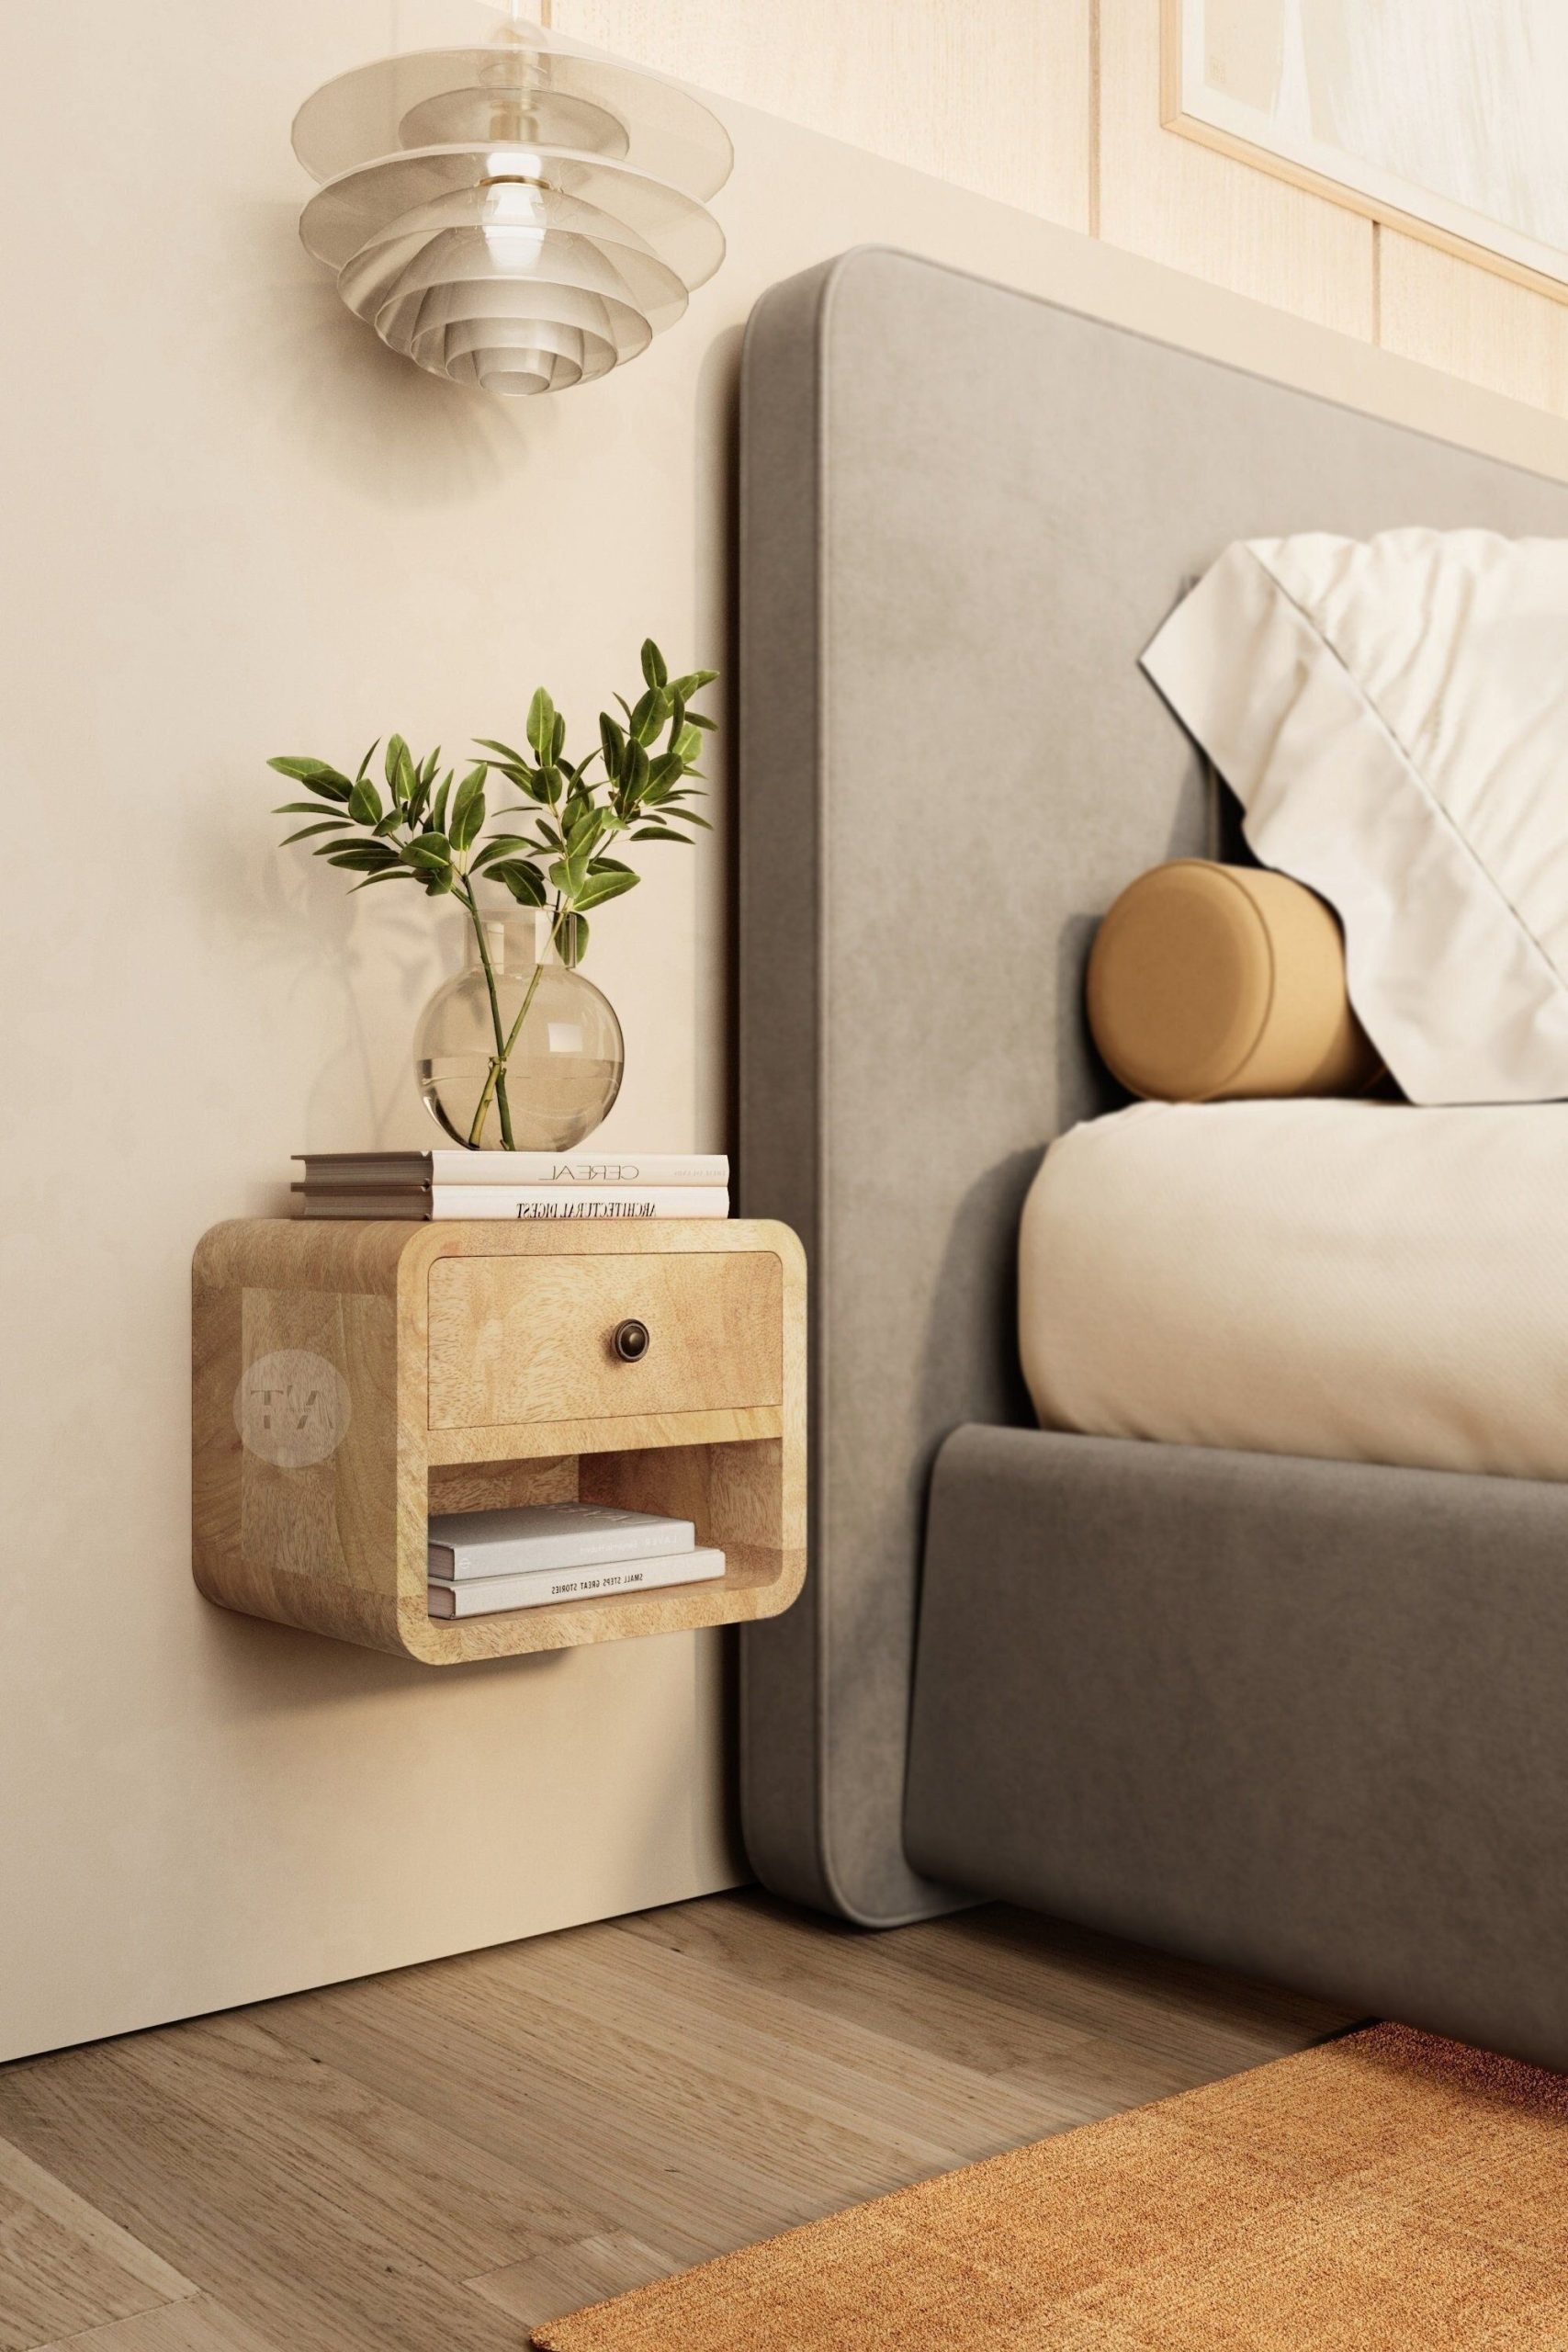
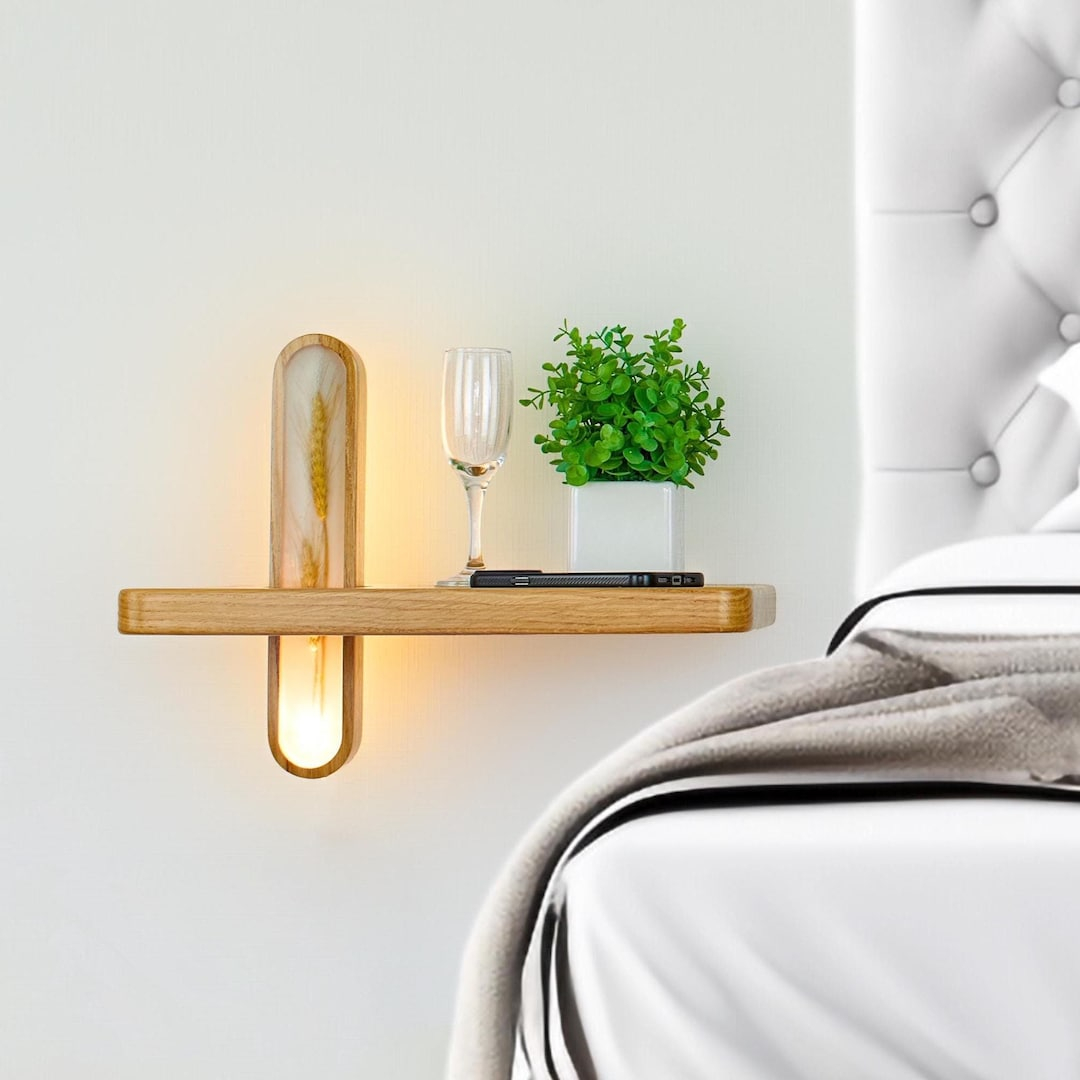
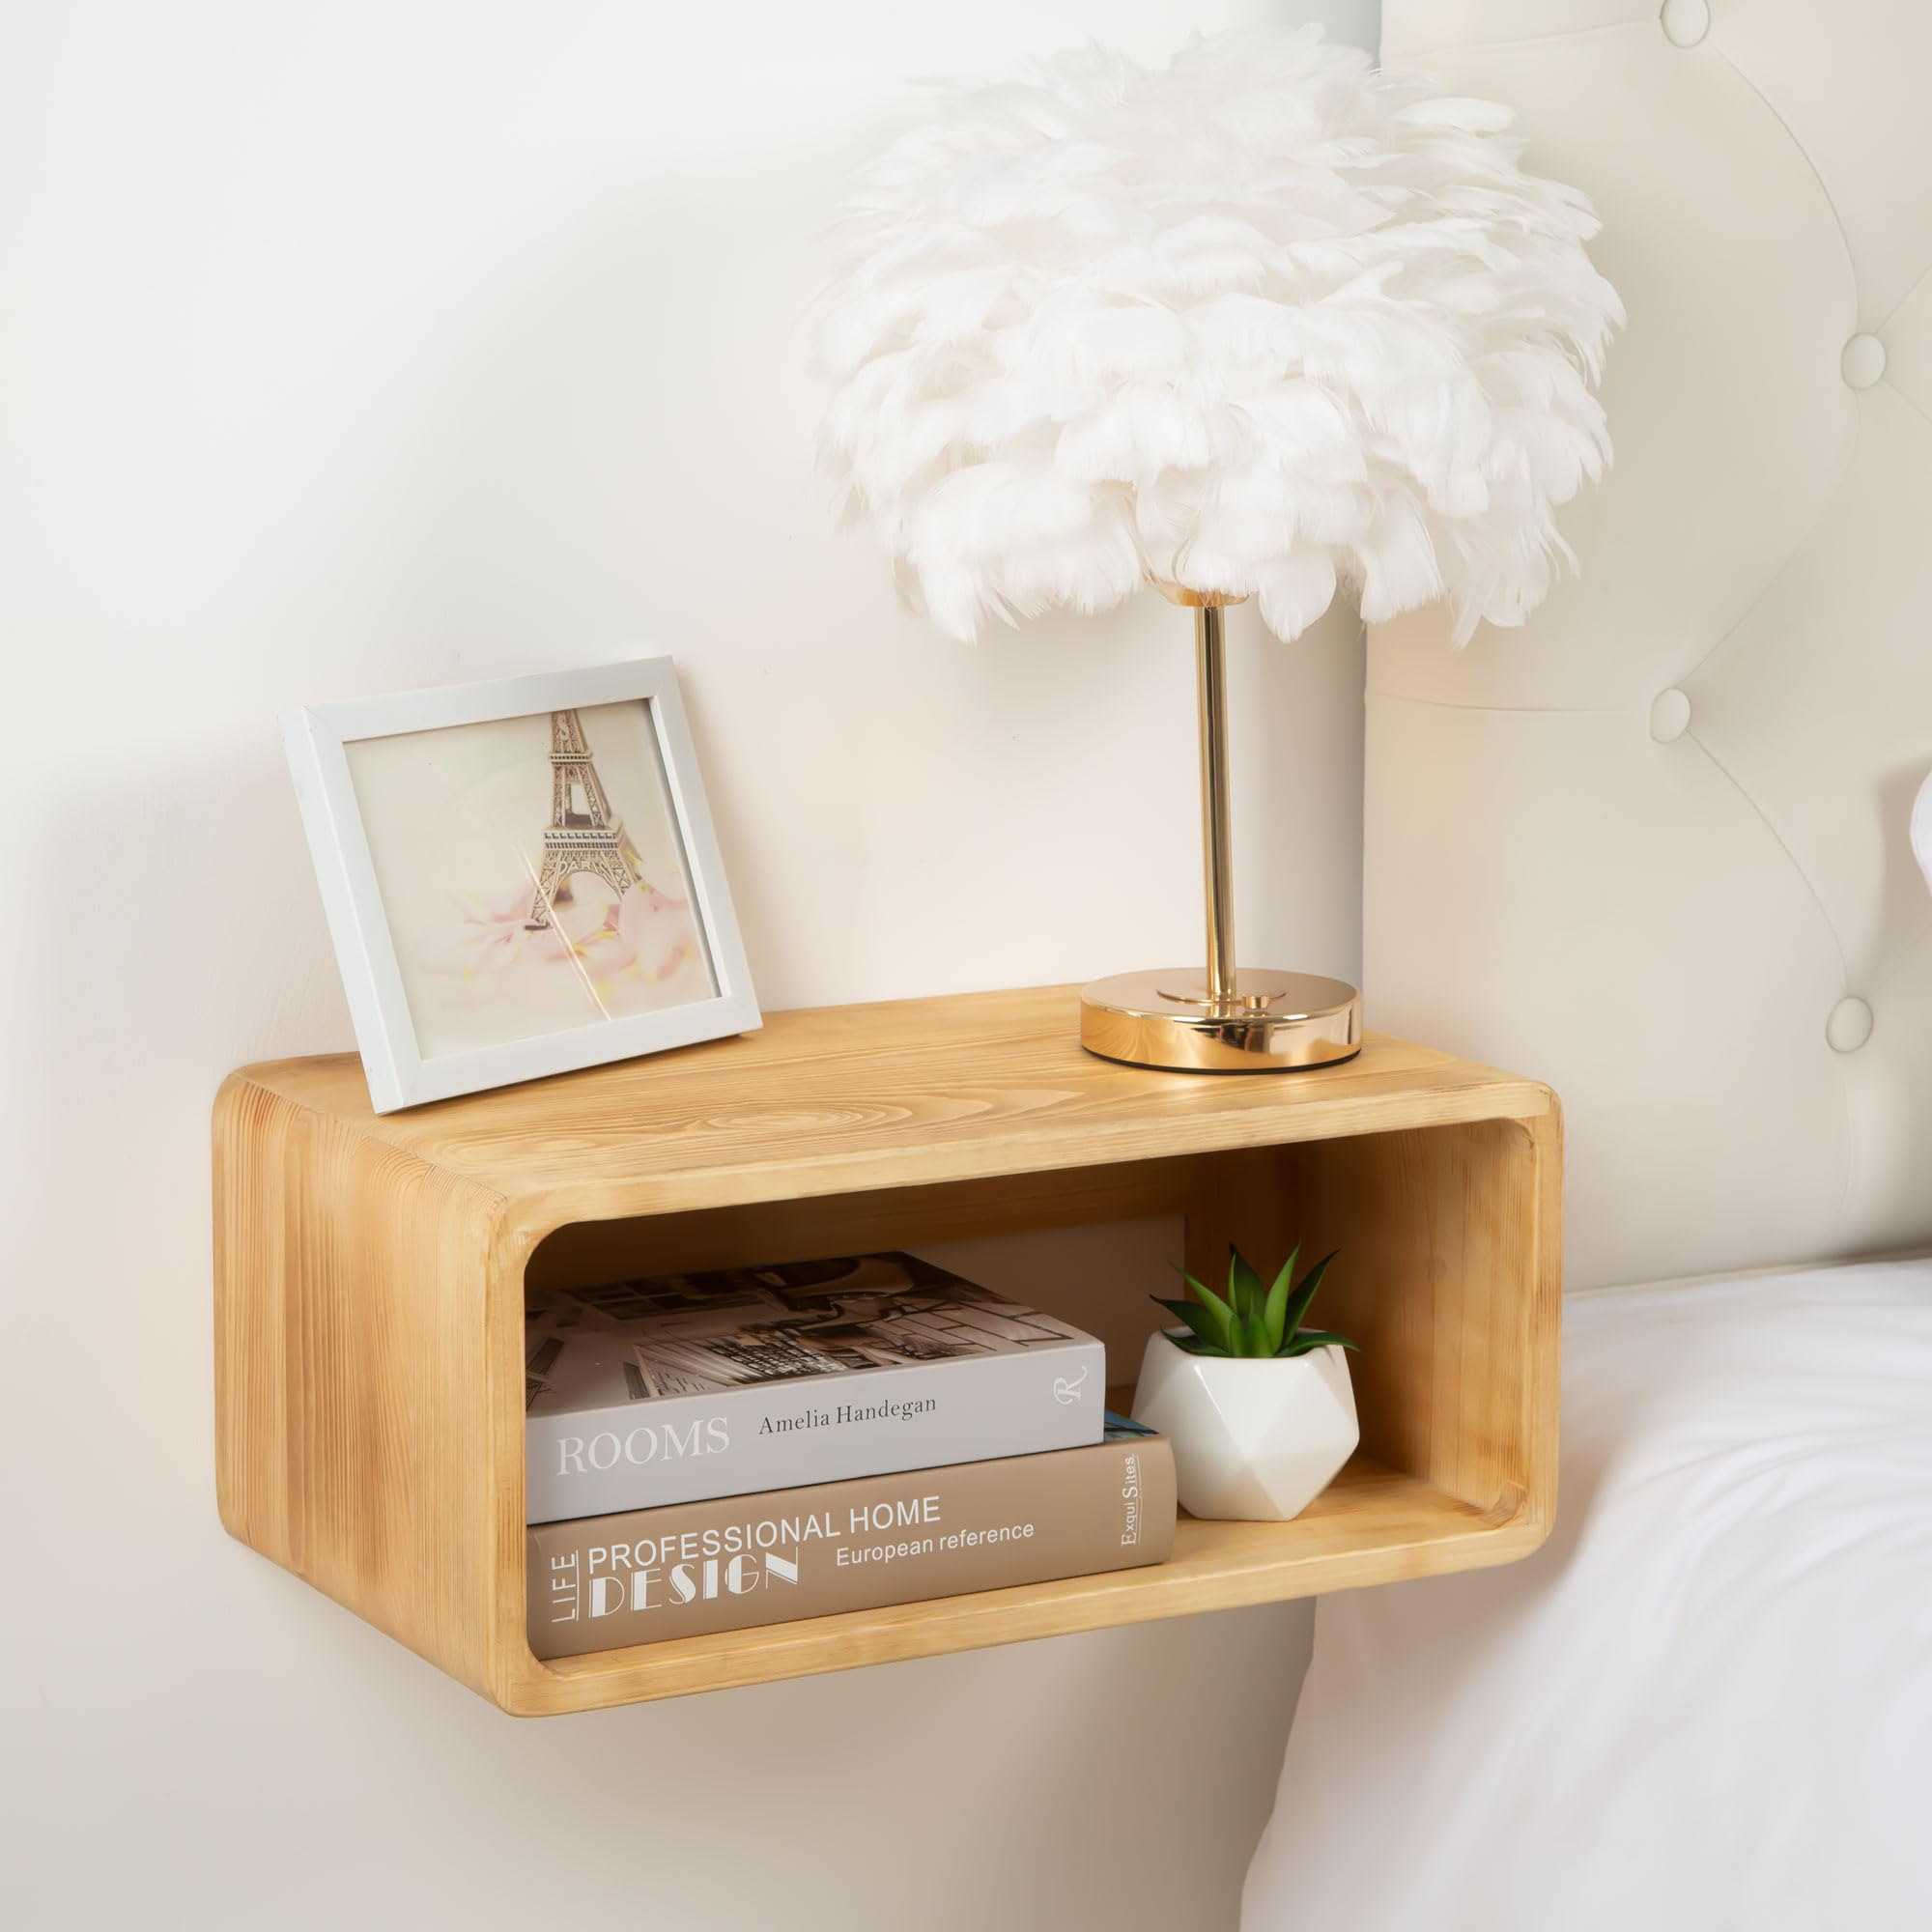
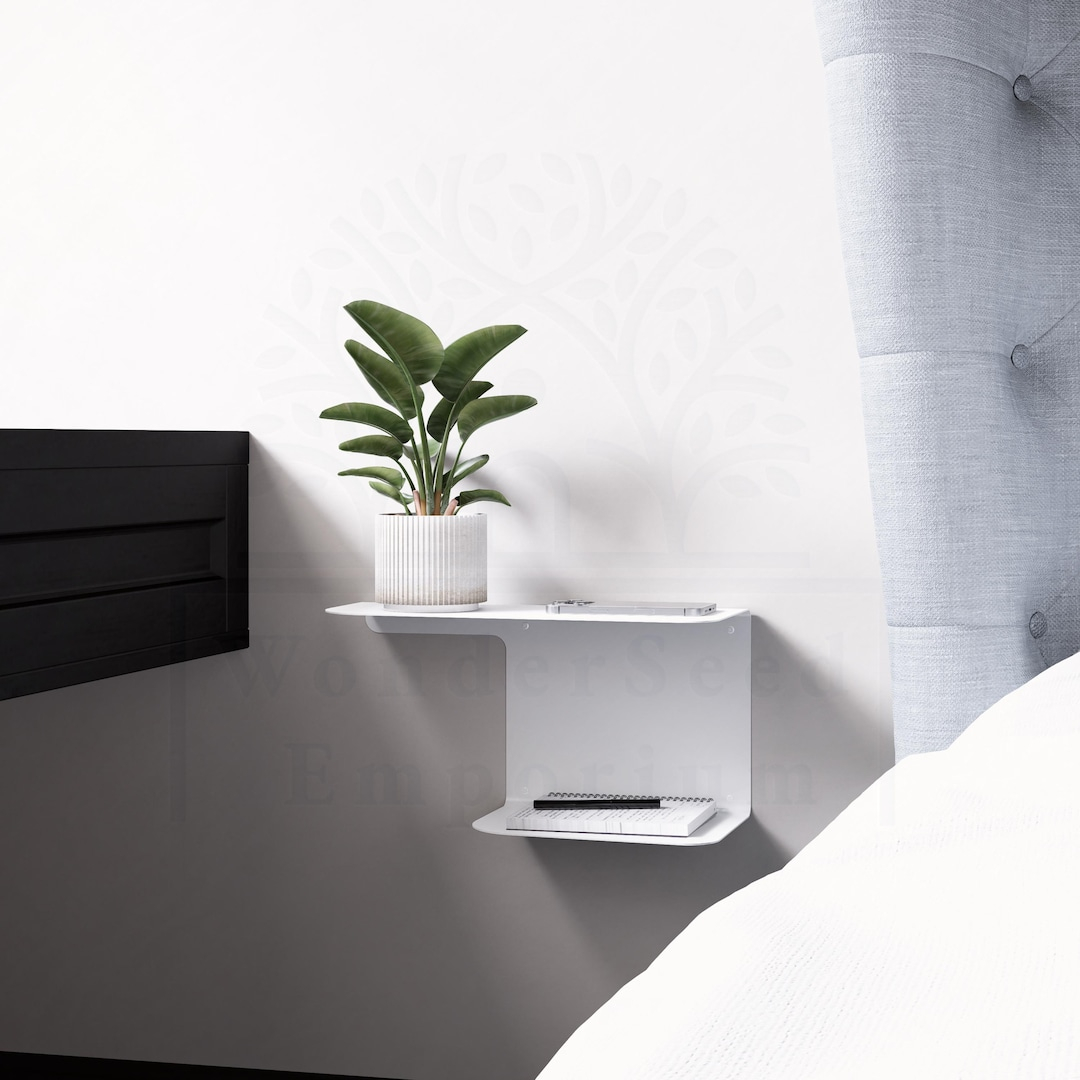
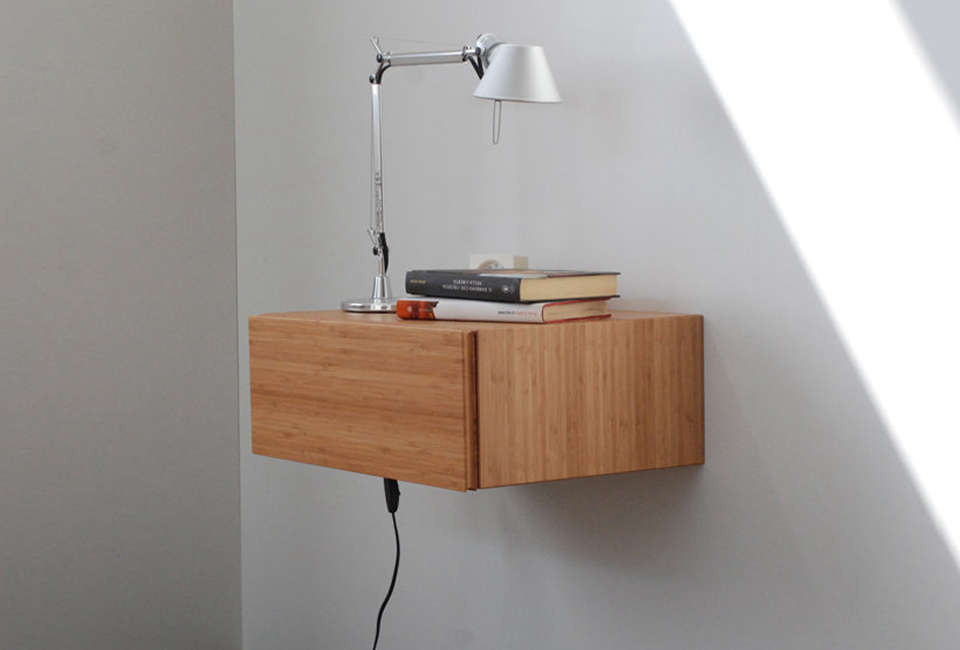
Ever walked into a bedroom that felt just… cluttered? You know the vibe. Bulky furniture eating up all the floor space, making the room feel smaller than it actually is. It’s frustrating. But what if you could keep your coffee, books, and phone within arm’s reach without sacrificing an inch of precious floor real estate? That’s the magic of floating nightstands. They’re not just a trend anymore; by 2026, they’ve become a staple in smart interior design. Whether you’re living in a cozy studio apartment or just want a cleaner, more minimalist aesthetic, going wall-mounted is a game changer.
It sounds intimidating, doesn’t it? Drilling into walls. Worrying about things falling on your toes in the middle of the night. I get it. Most people think they need to hire a contractor for this stuff. But honestly? With the right prep and a steady hand, you can do this yourself. It’s surprisingly simple. And the payoff is huge. You get that custom, high-end look for a fraction of the cost. Plus, cleaning under them is a breeze. No more dust bunnies hiding behind heavy wooden legs. Let’s dive into how you can pull this off like a total pro, even if you’ve never held a drill before.
Why Go Floating? The Space-Saving Secret
Let’s talk about why everyone is obsessed with these things. It’s not just about looking cool, though they definitely do that. It’s about function. In 2026, our living spaces are getting tighter. We’re maximizing every square foot. A traditional nightstand has a footprint. It sits on the floor. It takes up visual weight. A floating shelf or drawer unit? It disappears. Well, almost. It creates an illusion of more space because you can see the floor continuing underneath. This makes small bedrooms feel airy and open. It’s a simple trick, but it works wonders.
Think about your daily routine. You reach for your glass of water. You plug in your phone. You grab your book. A floating nightstand puts all that right at your eye level or hand level, depending on how you mount it. There’s no bending down. No reaching over a bulky surface. It’s ergonomic. And let’s be real, it looks sleek. Clean lines. No clutter on the floor. It gives the room a modern, curated feel. If you’re trying to sell your home or just want to love your space more, this is one of the easiest upgrades you can make. It’s low effort, high impact.
But it’s not just for tiny rooms. Even in master suites, floating nightstands add a touch of luxury. They allow you to play with lighting underneath, creating a soft glow that acts as a nightlight. They let you showcase beautiful flooring that might otherwise be hidden. The versatility is endless. You can go super minimalist with a simple slab of wood, or opt for something with drawers for hidden storage. The choice is yours, but the benefit remains the same: more space, less visual noise. And who doesn’t want a little more breathing room in their sanctuary?
Gathering Your Gear: Tools and Materials
Before you start punching holes in your wall, you need to get your stuff together. Don’t worry, you don’t need a whole workshop. Just a few key items. First, you need a stud finder. This is non-negotiable. You cannot hang a nightstand on drywall alone. It will rip out. Trust me, I’ve seen it happen. It’s a disaster. You need to hit those wooden studs behind the wall. If you don’t have a stud finder, buy one. They’re cheap and save you so much headache. Next, you’ll need a level. A good one. Not that tiny keychain thing. You want your nightstand to be straight. Crooked furniture drives people crazy.
You’ll also need a drill and some drill bits. Make sure your drill battery is charged. Nothing kills momentum like a dead battery mid-project. Get some screws that are long enough to go through your mounting bracket, through the drywall, and deep into the stud. Usually, 2.5 to 3 inches is safe, but check your specific hardware. A tape measure is essential too. You need to measure twice, cut once, or in this case, drill once. Oh, and a pencil. For marking. Seems obvious, but you’d be surprised how many people forget to mark their spots.
If you’re building the nightstand yourself, you’ll need wood, sandpaper, and finish. Oak, walnut, or pine are popular choices in 2026 for their durability and grain. Pre-finished options are great if you’re short on time. But if you’re buying a pre-made floating nightstand, check the hardware included. Sometimes the screws provided are junk. Swap them out for high-quality construction screws. It’s worth the extra two bucks. Also, grab a vacuum. Drilling creates dust. Lots of it. Keep your bedroom clean by vacuuming as you go. It makes the whole process feel less chaotic. And maybe some safety glasses. Protect your eyes. Dust gets everywhere.
Finding the Sweet Spot: Height and Placement
Where do you put it? That’s the million-dollar question. Too high, and you’re straining your neck. Too low, and it’s useless. The general rule of thumb is to align the top of the nightstand with the top of your mattress. Or slightly below. You want to be able to reach your stuff without lifting your arm too much. Sit on your bed. Extend your arm. Where does your hand naturally rest? That’s your zone. Measure from the floor to that spot. That’s your height. Everyone is different, so don’t just copy what you see online. Customize it to your body.
Next, think about width. You don’t want the nightstand hanging off the edge of the bed. It should be centered with your sleeping area. If you have a king bed, you have plenty of room. If you’re working with a twin or full, be precise. Leave enough space so you don’t bang your hip against it when you get in and out of bed. About 2 to 4 inches of clearance from the side of the mattress is usually comfortable. But again, test it. Stand next to your bed. Mimic getting in. See if it feels cramped. Adjust accordingly.
Also, consider what’s on the wall. Are there outlets? Light switches? Baseboards? You might need to notch out the back of your nightstand to fit around an outlet. Or choose a location that avoids them entirely. Hiding cords is another thing to think about. If you have a lamp or charger, where will the cord go? Some people drill a hole through the back of the nightstand and the wall to run cords inside. It’s cleaner. But it requires more work. If that’s too much, just plan for a cord management clip on the side. Planning ahead saves you from ugly, dangling wires later. Take your time here. This step determines how usable your nightstand will be every single day.
The Install: Secure Mounting Step-by-Step
Okay, let’s do this. First, find your studs. Use that stud finder. Mark the center of each stud with your pencil. You usually want to hit at least one stud, preferably two if the nightstand is wide. If you can’t hit two, make sure the one you hit is solid. Double-check your marks. Then, hold your mounting bracket or the nightstand itself against the wall at your desired height. Use your level to make sure it’s perfectly horizontal. Have a friend help if you can. It’s hard to hold, level, and mark all at once. Once it’s level, mark the screw holes on the wall.
Pre-drill your holes. This is crucial. If you just drive screws in, you might split the wood or crack the drywall. Use a bit slightly smaller than your screw shaft. Drill into the marks you made. Go slow. Feel for the stud. When the drill bit hits solid wood, you’re in. Now, attach the bracket or the nightstand. Drive your screws in tight. Don’t overtighten, but make sure there’s no wiggle. Give it a firm tug. Does it move? If yes, tighten more or check your stud placement. It needs to be rock solid. Remember, this will hold your phone, books, maybe a heavy lamp. It can’t fail.
If you’re installing a box-style nightstand with hidden mounts, the process is similar but trickier. You usually mount a cleat to the wall first. Then the box slides over it. Make sure the cleat is perfectly level. If it’s off by even a degree, the box won’t sit flush. Use shims if needed. Once the box is on, secure it from the inside or bottom, depending on the design. Check the doors and drawers. Do they open smoothly? If they stick, adjust the hinges or slides. Final check: put some weight on it. Sit on it? Maybe not that extreme. But put a stack of books on it. Leave it overnight. Check it in the morning. If it’s still solid, you’re golden.
Styling Secrets: Making It Look Intentional
Now comes the fun part. Decorating. A floating nightstand can look stark if you’re not careful. You want it to feel warm and inviting, not like a hospital shelf. Start with lighting. A small pendant light hanging above the nightstand looks incredible. It frees up surface space and adds ambiance. Or use a slim table lamp. Scale is key. Don’t put a huge lamp on a tiny shelf. It’ll look top-heavy. Choose something proportional. In 2026, organic shapes are big. Think ceramic bases, linen shades. Soft textures balance the hard lines of the furniture.
Layer your decor. Don’t just plonk one thing down. Create a vignette. A small tray for jewelry or watches. A stack of two books. A small plant. Succulents work well because they’re low maintenance. Or a fresh stem in a tiny vase. Change it with the seasons. Eucalyptus in winter, wildflowers in summer. It keeps the room feeling alive. Also, think about vertical space. Since the nightstand is small, use the wall above it. A small piece of art or a mirror can anchor the look. It draws the eye up and makes the setup feel complete.
Color matters too. If your nightstand is wood, add some contrast. A white lamp. A black frame. If it’s painted, add warmth with natural elements. Wood, stone, plants. Mix materials. It adds depth. And keep it clutter-free. That’s the whole point of going floating. Minimalism. Only keep what you use daily. Everything else goes in a drawer or away. If you have drawers, use organizers. Keep chargers tucked away. Visible cords ruin the vibe. Use cable clips or hide them behind the unit. The goal is effortless elegance. It should look like you didn’t try too hard, even though you did.
Things go wrong. It happens. Maybe you drilled into a pipe. Hopefully not. But maybe you missed the stud. Or the nightstand is crooked. Don’t panic. Most issues are fixable. If you missed the stud, you can’t just move the screw over. You’ll have to patch the hole. Use spackle. Sand it smooth. Paint it. Then find the actual stud and try again. It’s annoying, but better than a fallen nightstand. If you’re renting, check your lease. Some landlords allow small holes, others don’t. Always ask. Or use heavy-duty adhesive mounts if the nightstand is very light. But for anything substantial, studs are mandatory.
What if it’s not level? If it’s a slight tilt, you can shim it. Slip a thin piece of cardboard or wood wedge behind the low side. Tighten the screw. Check the level again. Keep adjusting until it’s perfect. If it’s way off, you might need to redo the holes. Measure carefully next time. Another common issue is squeaky drawers. Fix that with some wax or silicone spray on the slides. It’s a quick fix that makes a huge difference in quality of life. Smooth gliding drawers feel luxurious.
And what about aesthetics? If it looks too bare, add more layers. If it looks too crowded, take things away. Step back. Look at it from the door. How does it feel? Does it blend in or stand out in a good way? Sometimes less is more. Don’t be afraid to edit. You can always add more later. Also, consider the view from the bed. When you’re lying down, what do you see? Make sure it’s pleasing. Maybe add a small photo frame or a meaningful object. Personal touches make it yours. If you mess up, remember: it’s just wood and drywall. You can fix it. You can repaint. You can start over. Don’t let perfectionism stop you. Done is better than perfect.
So, there you have it. Installing and styling floating nightstands isn’t rocket science. It’s just careful planning and a bit of elbow grease. By following these steps, you’ve upgraded your bedroom’s functionality and style. You’ve gained space. You’ve created a calm, organized spot for your nightly essentials. And you did it yourself. That feels pretty good, doesn’t it?
Remember, the key is patience. Measure twice. Drill once. Style with intention. Don’t rush the process. Enjoy the transformation. Watch how your bedroom changes. Notice how much easier it is to clean. Appreciate the extra floor space. These small changes add up. They make your home feel more like a retreat. And in 2026, we all need a little more retreat in our lives. So go ahead. Grab that drill. Find those studs. Make it happen. Your future self, sipping coffee in a clutter-free room, will thank you.