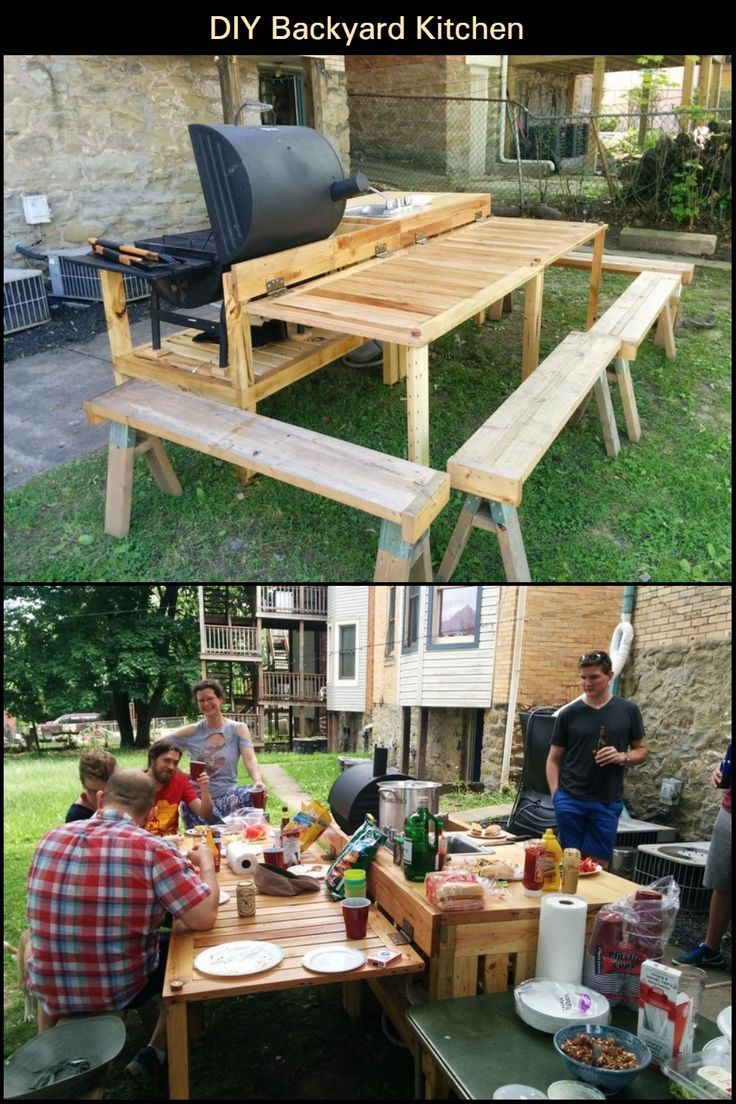
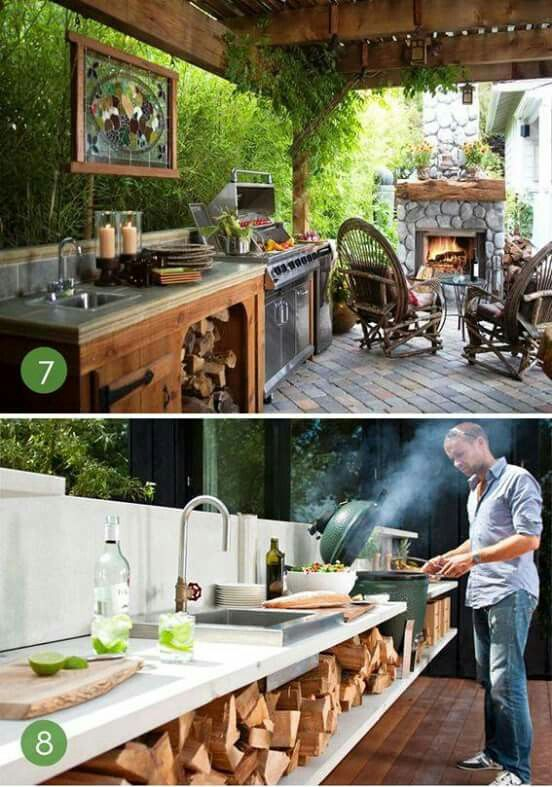
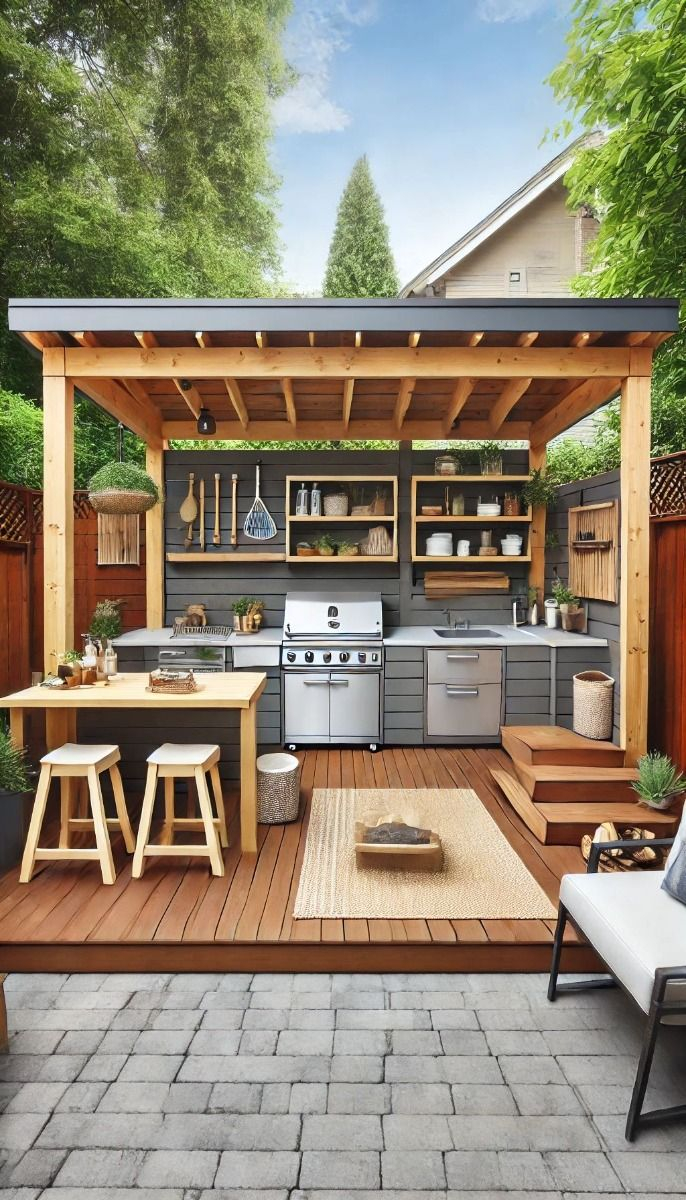
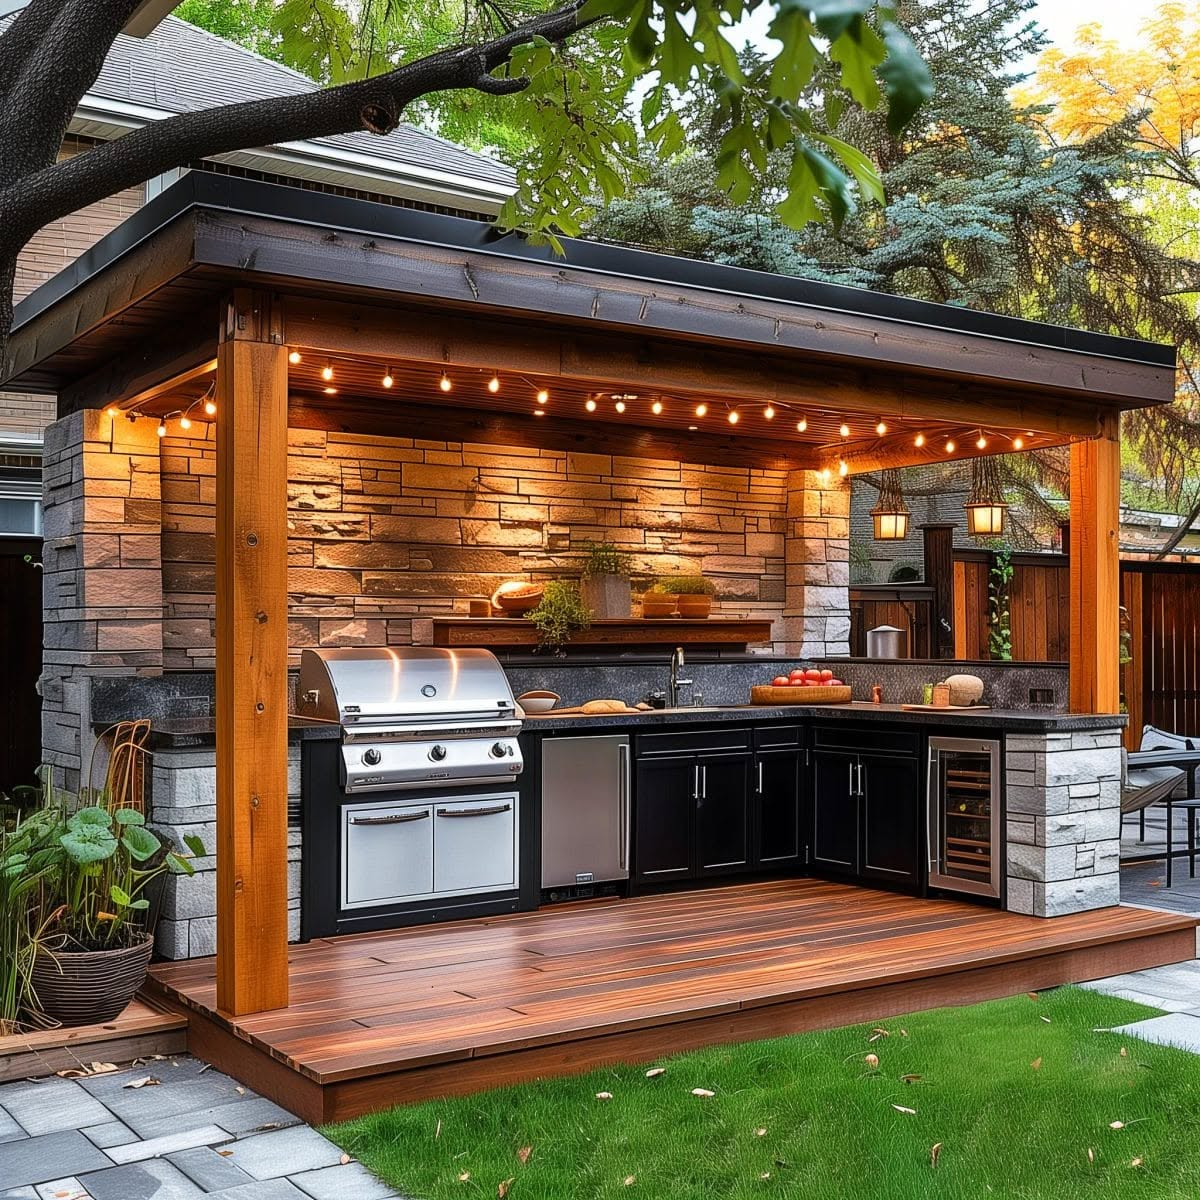
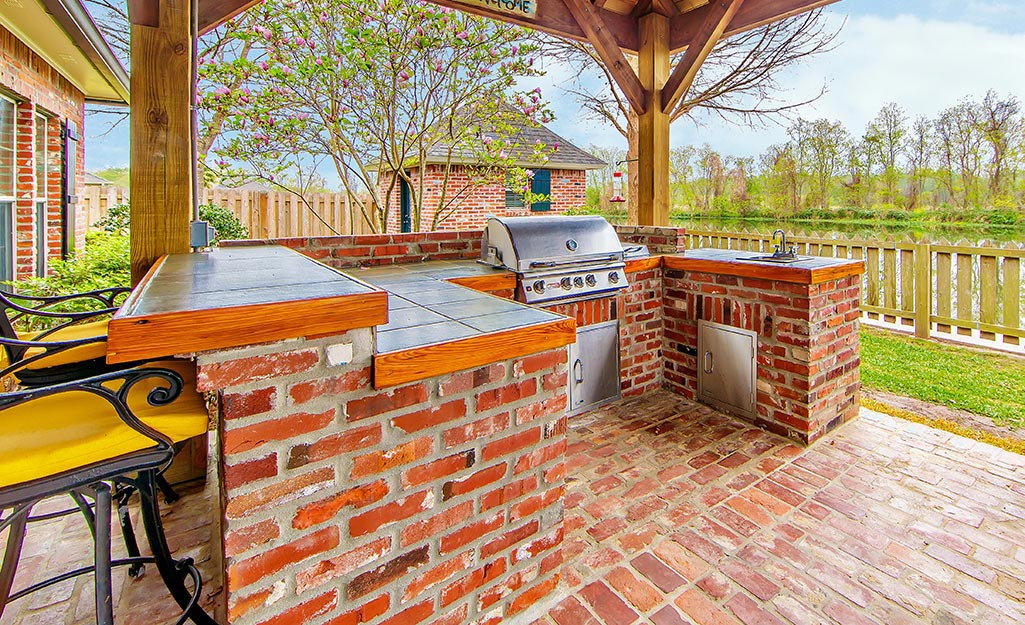
Smoke curls lazily from a chunk of post oak, carrying the unmistakable, rich aroma of rendered fat hitting hot coals across the patio. Inside the house, the kitchen remains pristine, untouched, and utterly silent. You stand outside under the warm glow of string lights, a pair of stainless-steel tongs in one hand and a cool drink in the other, watching the sun dip below the fence line. This is not just a weekend barbecue routine; it is the culmination of a meticulously planned backyard cooking oasis that has completely rewritten how a home functions.
Building an outdoor culinary escape has evolved from a simple weekend project involving a wheeled kettle grill into a high-craft architectural endeavor. Homeowners no longer settle for makeshift setups that require lugging ingredients, spices, and cutting boards back and forth through sliding glass doors. The modern 2026 backyard cooking space functions as a seamless extension of the indoor living area, marrying the rugged durability required for outdoor elements with the high-performance ergonomics of a commercial professional kitchen.
Getting from a vague vision on a mood board to a fully operational culinary workstation requires navigating a maze of spatial dynamics, mechanical engineering, and material science. You have to think about where the prevailing wind carries smoke, how gas lines tie into your home’s existing infrastructure, and whether your chosen stone surface will absorb grease stains after a late-night smash burger session. When done right, the payoff is immense: a multi-functional entertainment hub that fundamentally upgrades your lifestyle and transforms your property.
Blueprinting Your Culinary Footprint: Layouts and Spatial Ergonomics
The single biggest design mistake people make when building an outdoor kitchen is treating it like an indoor kitchen that simply lacks walls. Outdoor spaces demand a completely different approach to traffic flow, heat management, and physical stamina. The golden rule of outdoor kitchen design centers around the culinary triangle—or more accurately in modern setups, the linear or L-shaped workstation zone. You need to map out your primary zones: the hot zone (grills, side burners, pizza ovens), the wet zone (sink, prep bowls), and the dry zone (counter space, refrigeration, dry storage).
Consider the thermal dynamics of your cooking appliances before placing a single brick. High-BTU gas grills, ceramic kamado cookers, and wood-fired pizza ovens radiate immense heat. Placing these units directly against a wooden fence, vinyl siding, or under a low, enclosed patio overhang creates a serious fire hazard and traps heat that can warp cabinetry. Clearance specifications from manufacturers must dictate your spatial layout. A smart design also accounts for the cook’s perspective; nobody wants to stand with their back to their guests while flipping steaks. Incorporating an island layout with a breakfast bar or counter seating shifts the cook from an isolated station worker to the literal center of the evening’s social gravity.
Traffic patterns matter just as much as cooking efficiency. If your layout requires guests to squeeze past a blazing hot pellet smoker to grab a beverage from the outdoor fridge, you are inviting spills and burns. Allocate a minimum of three to four feet of clearance around all active workstations. Furthermore, think about how you bring groceries outside. Creating a staging counter near the entry point from your indoor kitchen prevents the awkward balancing act of carrying platters of raw chicken, plates, and condiments across an uneven lawn.
Engineering the Infrastructure: Utilities, Permits, and Sub-Structure Stability
Beneath the sleek stone veneer and gleaming stainless-steel appliances lies the unglamorous skeleton of your outdoor oasis: utilities and structural framing. Before you pour concrete or stack concrete masonry units (CMUs), you must plan for gas, water, electricity, and drainage. Running a natural gas line out to your island beats the endless hassle of swapping out propane tanks mid-way through smoking a brisket. However, sizing that line correctly is critical. If your main gas meter cannot handle the cumulative BTU load of a large grill, a sear burner, and a side burner, your appliances will starve for fuel, leading to frustrating pressure drops.
Water supply and drainage present another layer of complexity, especially in colder climates where freezing temperatures can rupture pipes. Running PEX lines with shut-off valves inside the house allows you to winterize your outdoor sink with ease. Drainage is equally vital; a simple gray water line tied into your main sewer or a dedicated dry well prevents soapy dishwater from pooling around the foundation of your kitchen island. Electrical planning goes far beyond a single GFCI outlet for a blender. Modern cooking oases require dedicated circuits for rotisseries, pellet grill augers, outdoor-rated refrigerators, task lighting, and automated ventilation hoods.
Structural stability starts from the ground up. An outdoor kitchen is surprisingly heavy. Between concrete footings, steel framing studs, cement backer boards, heavy stone countertops, and commercial-grade appliances, a modest ten-foot island can easily weigh several thousand pounds. Pouring a reinforced concrete slab of at least four to six inches thickness prevents differential settling, which will inevitably crack your gorgeous granite or porcelain countertops down the road. If you live in an area prone to seismic activity or expansive clay soils, consulting a structural engineer or adhering strictly to local building codes is non-negotiable.
Step-by-Step Construction Roadmap for Your Outdoor Kitchen
Executing a build of this magnitude requires a systematic approach. Skipping ahead or ignoring structural curing times will result in costly rework. Here is the field-tested roadmap to taking your project from dirt to dinner:
- Step 1 (Site Survey and Utility Trenching): Mark out your footprint using stakes and mason’s string. Call 811 to locate underground utility lines before you touch a shovel. Dig trenches for gas, electrical conduit, water supply, and drainage lines, ensuring they sit below the local frost line.
- Step 2 (Foundation and Slab Pouring): Excavate the topsoil, lay down a compacted gravel base, position your utility stub-ups precisely where the island will house them, and pour your reinforced concrete slab. Allow the concrete to cure for a minimum of 7 to 10 days before applying any vertical loads.
- Step 3 (Framing the Island Structure): Build your skeleton using either weather-resistant concrete masonry units (CMUs) or heavy-gauge galvanized steel studs designed specifically for outdoor kitchen framing. Ensure rough openings for appliances, doors, and access panels are squared and reinforced.
- Step 4 (Sheathing and Utility Rough-In): Fasten cement backer board to your framing to create a solid substrate for stone veneer or stucco finishes. Pull your gas lines, electrical wiring, and plumbing through the designated cutouts, keeping gas lines safely separated from electrical sources.
- Step 5 (Surface Finishes and Appliance Installation): Apply your exterior veneer—whether stacked stone, brick, or stucco—and mount your outdoor-rated countertops. Drop in your grill, side burner, sink, and refrigeration units, sealing all perimeter gaps with high-temp silicone to prevent moisture intrusion.
Navigating Common Pitfalls and Field-Tested Workarounds
Even enthusiastic DIYers and experienced contractors stumble when translating indoor building logic to the punishing environment of the great outdoors. Recognizing these traps before you break ground saves thousands of dollars and endless frustration.
- Pitfall 1 (Using Indoor-Rated Cabinetry and Hardware): Standard wood cabinets or cheap steel hinges will warp, rust, and rot within a single season of rain and humidity. Workaround: Stick strictly to marine-grade aluminum, stainless steel (304 grade minimum), or concrete framing with polymer access doors.
- Pitfall 2 (Choosing High-Maintenance Countertops): Polished marble or unsealed concrete looks stunning on day one, but acidic marinades, red wine, and grease will etch and stain them permanently. Workaround: Opt for leathered granite, ultra-compact porcelain slabs, or soapstone, which resist thermal shock and staining while standing up to UV rays.
- Pitfall 3 (Neglecting Ventilation and Smoke Control): Building an enclosed or semi-covered cooking pavilion without an exhaust hood turns your gathering space into a smoke chamber. Workaround: Install a high-CFM outdoor-rated ventilation hood positioned correctly over high-heat cooking zones to pull smoke and grease away from guests.
- Pitfall 4 (Forgetting Task and Ambient Lighting): Relying solely on the backyard floodlight casts harsh shadows right where you are trying to slice a steak. Workaround: Hardwire low-voltage LED strip lighting underneath the countertop overhang and incorporate directional, water-resistant task lights above the grill deck.
- Pitfall 5 (Ignoring Winterization Realities): Leaving water lines pressurized and uninsulated in freezing climates leads to burst pipes and shattered masonry. Workaround: Design your plumbing with accessible shut-off valves indoors and drain petcocks outdoors to evacuate water effortlessly every autumn.
The Microclimate Reality: Selecting Climate-Resilient Materials
When you build an outdoor kitchen, you are handing the keys of your investment over to Mother Nature. Rain, freezing snow, relentless UV radiation, and salt spray (if you live near the coast) wage a constant war on your construction materials. Selecting elements based purely on aesthetics without factoring in local microclimate conditions is a recipe for rapid degradation.
Stainless steel is often misunderstood as being entirely maintenance-free. In reality, lower grades of stainless steel—such as 430 grade—will develop surface rust pitting when exposed to moisture and chlorine from nearby pools. Demanding true 304-grade or marine-grade 316 stainless steel for appliances, drawer slides, and cabinet frames ensures your investment survives coastal air and heavy rainstorms. Similarly, masonry mortar must be mixed with proper bonding additives to prevent freeze-thaw cycles from crumbling your stone veneer during harsh winters.
Wood selection requires equal paranoia. If you incorporate timber accents, pergolas, or bar tops into your cooking oasis, avoid softwoods like untreated pine or fir. Invest in tropical hardwoods like Ipe, teak, or thermally modified wood (thermowood), which resist rot, insect infestation, and warping without requiring toxic chemical treatments every spring. By treating material selection as a defense against environmental degradation rather than a purely decorative choice, you ensure your backyard oasis looks just as sharp a decade from now as it does on opening day.
Maximizing Utility: Tailoring Your Cooking Arsenal to Your Style
The hallmark of a poorly designed backyard kitchen is a collection of expensive, specialized gadgets that sit gathering dust while the owner uses a portable kettle grill on the grass. Your appliance selection should be dictated by your actual culinary habits, not showroom fantasies. If you bake pizza twice a year, spending thousands on a massive wood-fired brick oven might not make logistical sense when a portable countertop pizza oven or a ceramic grill pizza stone achieves identical results with zero permanent footprint.
Conversely, if you love hosting slow-cook events, integrating a dedicated cabinet space for a pellet smoker or Kamado-style cooker with a slide-out shelf makes heavy lifting safe and ergonomic. Refrigeration is another area where thoughtful choices pay off. A standard indoor mini-fridge will struggle to maintain safe food temperatures when ambient outdoor temperatures soar past 90 degrees Fahrenheit. Investing in an outdoor-rated, UL-listed refrigeration unit with a forced-air cooling system guarantees your beverages stay ice cold and your raw proteins remain out of the danger zone.
Do not overlook the humble prep station. Adequate continuous counter space flanking your grill is infinitely more valuable than an extra specialty burner you will rarely ignite. You need space to stage raw meats, hold cutting boards, rest finished proteins, and plate food for a crowd without playing Jenga with your platters. Incorporating a pull-out trash and recycling bin directly beneath the primary prep counter eliminates the frantic trips back and forth to the indoor kitchen while handling raw poultry prep.
Constructing a backyard cooking oasis is an exercise in intentional living. It shifts the center of gravity in your home away from closed doors and isolated indoor spaces, pulling family and friends out into the fresh air where conversations linger long after the plates are cleared. The process demands patience, structural discipline, and a clear understanding of how materials interact with the elements, but the reward is a deeply personalized sanctuary that elevates everyday meals into memorable rituals.
As you finalize your design and prepare to break ground, keep your focus anchored on usability and durability. Do not rush the utility rough-ins, skimp on concrete foundations, or compromise on marine-grade hardware. Take your time, lean into the craftsmanship of the build, and build a space that invites you outside season after season. The smoke is rising, the fire is ready, and your ultimate outdoor culinary chapter is waiting to be written.