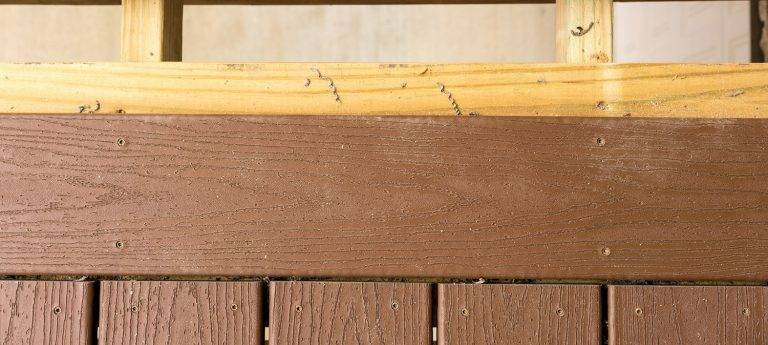
You know that feeling. You spend a whole summer weekend sweating over a new deck. You sand, you stain, you sweat. And then, three months later, you walk out with your morning coffee and see it. A board that’s twisted like a pretzel. Or worse, a gap so wide you could drop your phone through it. It’s frustrating. It feels personal. Like the wood is mocking your hard work.
But here’s the thing. It’s not bad luck. And it’s usually not even bad craftsmanship. It’s physics. In 2026, we have better materials than ever before, from high-tech composites to stabilized woods like Accoya. Yet, people still mess up the basics. Why? Because we rush. We skip the spacer. We guess the gap. We think, "It’ll be fine." Spoiler alert: it won’t be.
This guide isn’t about selling you the most expensive screw on the market. It’s about the small, boring details that actually matter. The stuff pros do without thinking. If you get these six areas right, your deck won’t just look good in 2026. It’ll look good in 2036. Let’s dig in.
Choosing Materials That Actually Stay Put
Let’s start at the beginning. The lumber yard. Or the online store. Whatever. The biggest mistake folks make in 2026 is still buying based on price alone. I get it. Budgets are tight. But cheap wood is a ticking time bomb. If you’re going natural, look for stability. Cedar and redwood are classics for a reason. They resist rot and don’t move as much as pine. But if you really want to sleep well at night, check out modified woods like Accoya. It’s treated so it barely absorbs water. Less water means less swelling. Less swelling means no warping. Simple.
Composite decking has come a long way too. Back in the day, it looked like plastic milk jugs melted together. Now? It looks real. But it behaves differently. Wood breathes; composite expands and contracts with heat. Big difference. If you live in a place with hot summers and cold winters, composite needs room to breathe. Don’t just grab the cheapest cap-stock board. Look for ones with a solid core or reinforced structure. They hold their shape better.
Also, think about where you live. Are you in a humid swamp or a dry desert? This matters. In humid zones, wood swells. In dry zones, it shrinks. Composite gets hot and expands. Know your enemy. If you’re in a high-heat area, lighter colored composites stay cooler and expand slightly less than dark ones. It’s a small detail, but it adds up. Don’t let the salesperson talk you into something that doesn’t fit your climate. Ask questions. Read the specs. Your future self will thank you.
The Magic of Expansion Gaps (Don’t Skip This)
Okay, this is the big one. The number one reason decks warp or buckle. Gaps. Or lack thereof. You can’t just butt two boards together and hope for the best. Nature hates a vacuum, but it loves expansion. When it gets hot, materials grow. When it gets cold, they shrink. If there’s no room to move, the boards push against each other. Result? Buckling. Ugly waves. Maybe even popped screws.
For composite decking, the rules are strict. Most manufacturers in 2026 recommend a gap of 3-6 mm between boards. That’s about the width of a pencil or a specialized spacer. Against walls or fixed objects? You need more. Think 10-15 mm. Why? Because the whole deck moves, not just individual boards. If you pin it against a house wall with no gap, it has nowhere to go but up. Always use spacers. Don’t eyeball it. Your eyes lie. Spacers don’t.
Wood is a bit more forgiving, but not by much. For pressure-treated pine, you often install it wet. As it dries, it shrinks, creating its own gaps. But if you install kiln-dried wood, you need to leave a small gap, maybe 3-5 mm. Check the moisture content. If it’s above 15%, let it acclimate. If it’s below, leave a gap. It sounds fussy, but it’s the difference between a flat deck and a wavy one.
And don’t forget the ends. When you cut boards to length, leave a gap at the ends too. Especially with composite. If you run a 12ft board straight into a rim joist, it might bow out in the middle when it expands. Leave that 10-15 mm buffer. It hides under the fascia board anyway, so no one sees it. But your deck feels it. Consistency is key. Use the same spacer for every single board. Every. Single. One.
Framing and Joist Spacing Basics
A deck board is only as good as what’s underneath it. You can buy the best ipe wood in the world, but if your joists are spaced too far apart, it’s gonna sag. And sagging leads to stress. Stress leads to warping. In 2026, the standard for most composite decking is 12 inches on center (OC) for joists. Some heavy-duty brands allow 16 inches, but why risk it? Closer spacing means more support. Less bounce. Less chance for the board to twist.
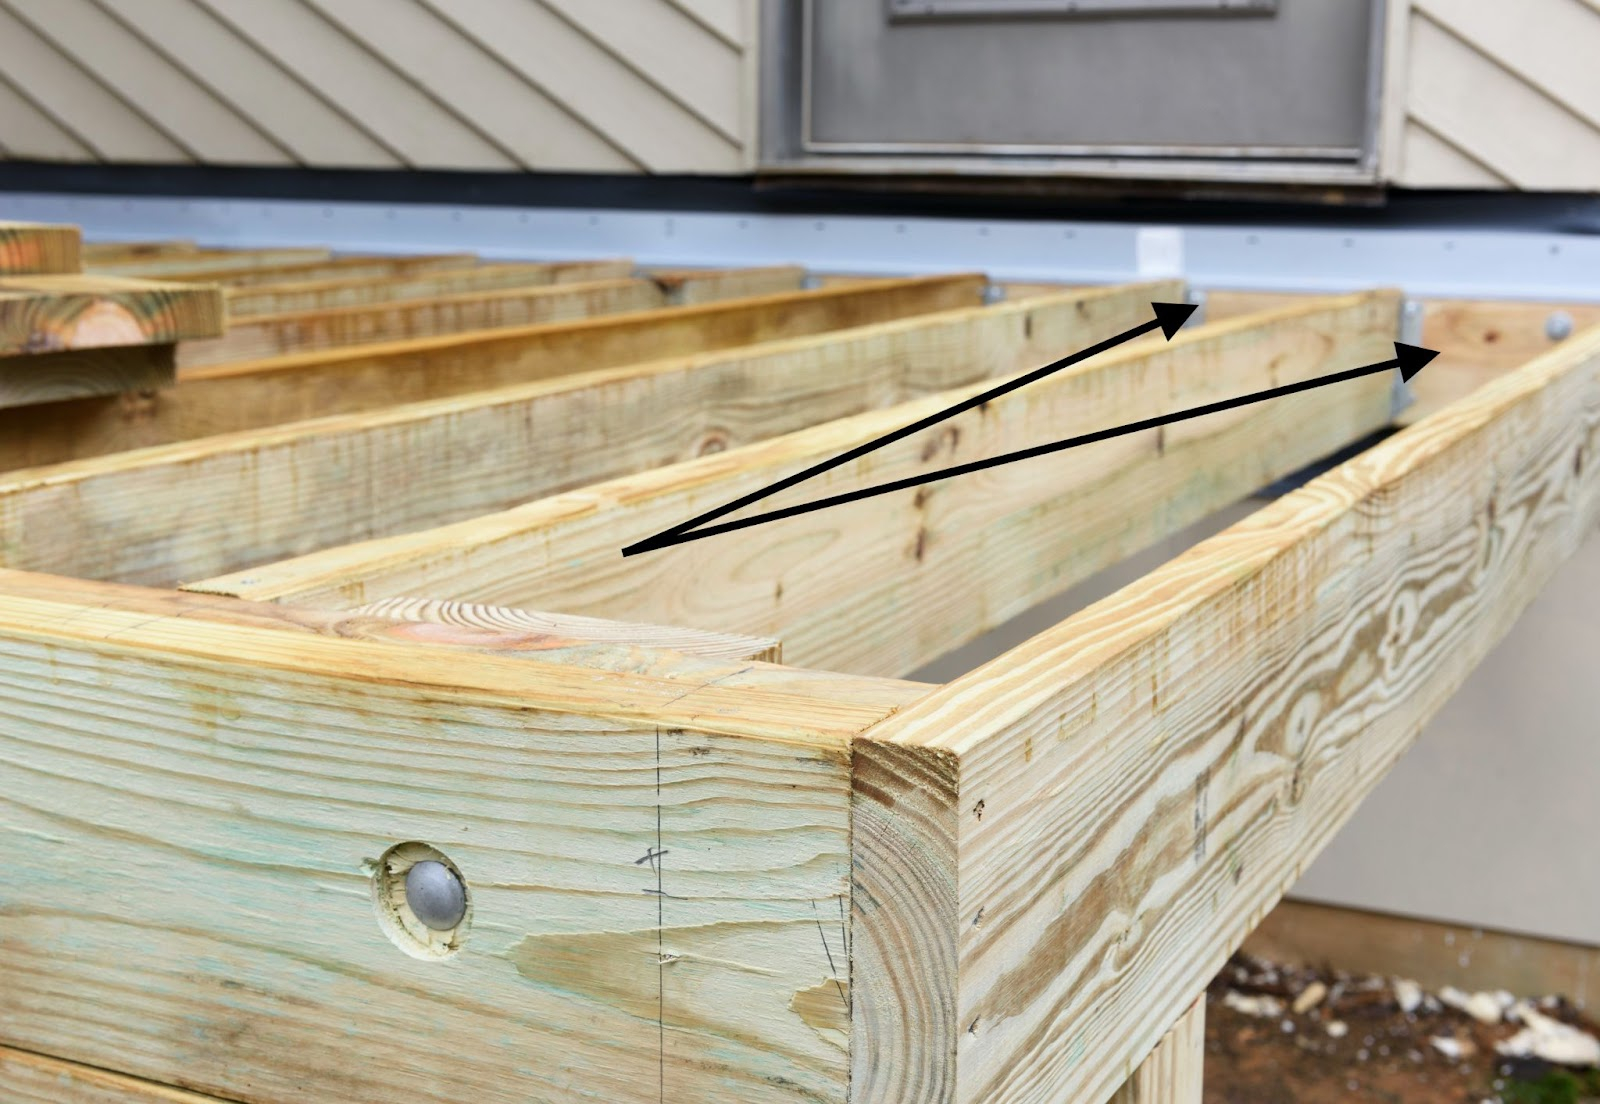
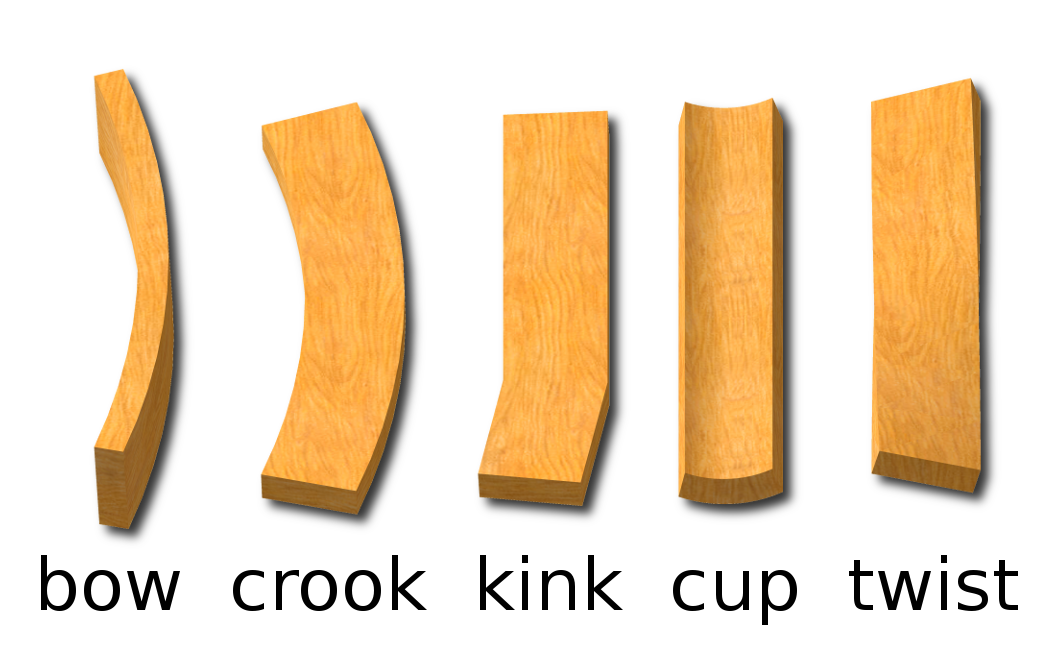
For traditional wood, 16 inches OC is usually fine. But if you’re using thinner boards or softer woods, drop it to 12 inches. It costs a bit more in lumber, sure. But it saves you money in repairs later. Think of it as insurance. Also, check your joists for crown. Every piece of lumber has a slight curve. Install them with the crown facing up. When the weight of the deck and people sits on it, the joists flatten out. If you install them crown down, they’ll sag over time. And your deck boards will follow suit.
Make sure your framing is square. If your frame is out of square, your boards won’t line up. You’ll end up cutting weird angles to make them fit, which weakens the structure. Use the 3-4-5 triangle method to check corners. It’s old school, but it works. Also, ensure proper drainage. Water should flow off the deck, not pool on the joists. If water sits on your framing, it rots. Rotting joists mean uneven support. Uneven support means warping boards. It’s all connected.
Don’t skimp on blocking either. Blocking between joists adds rigidity. It stops the joists from twisting under load. This is crucial for diagonal installs or if you’re using hidden fasteners. Hidden fasteners rely on the groove in the board, and if the joist twists, the groove misaligns. Boom. Gap or lift. Solid framing is the backbone. Treat it with respect.
Fastening Techniques for 2026
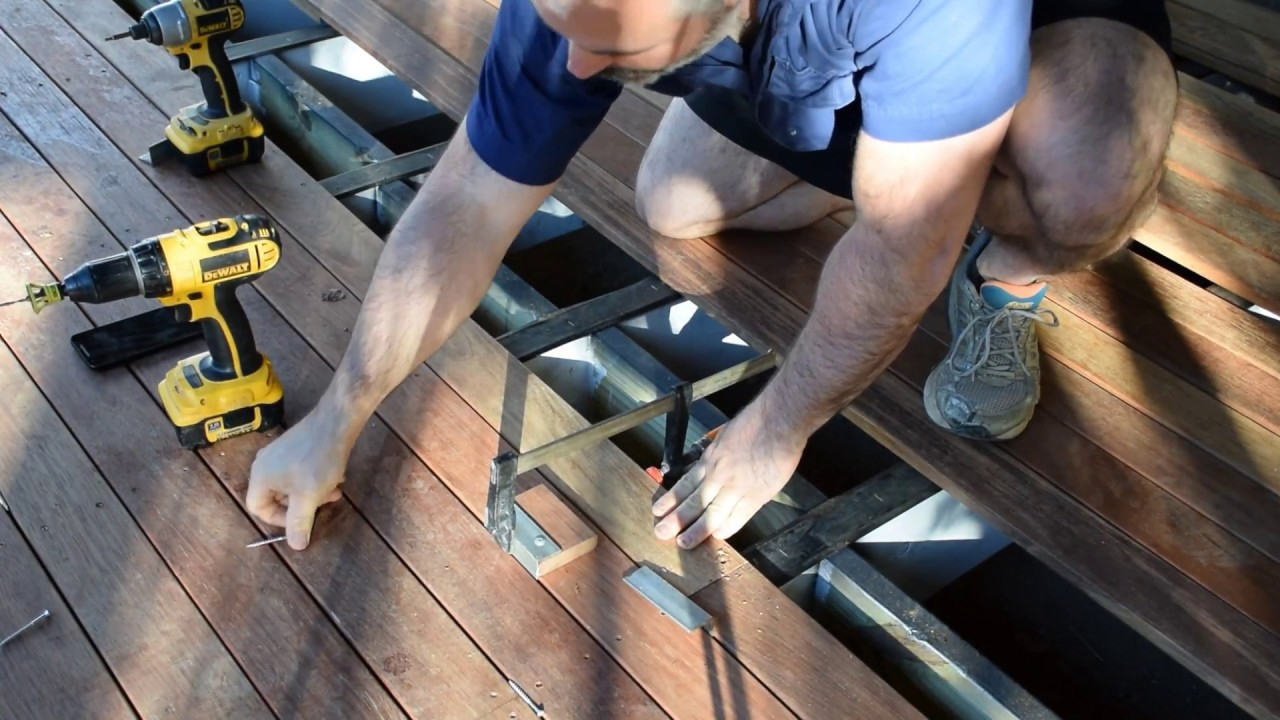
How you attach the board matters just as much as the board itself. Screws vs. nails. Hidden vs. face. In 2026, hidden fasteners are huge for composite decks. They give a clean look, no visible screw heads. But they require precision. You need to clip them into the groove properly. If you force it, you crack the groove. If you leave it loose, the board shifts. Follow the manufacturer’s instructions. Seriously. They test this stuff. Don’t guess.
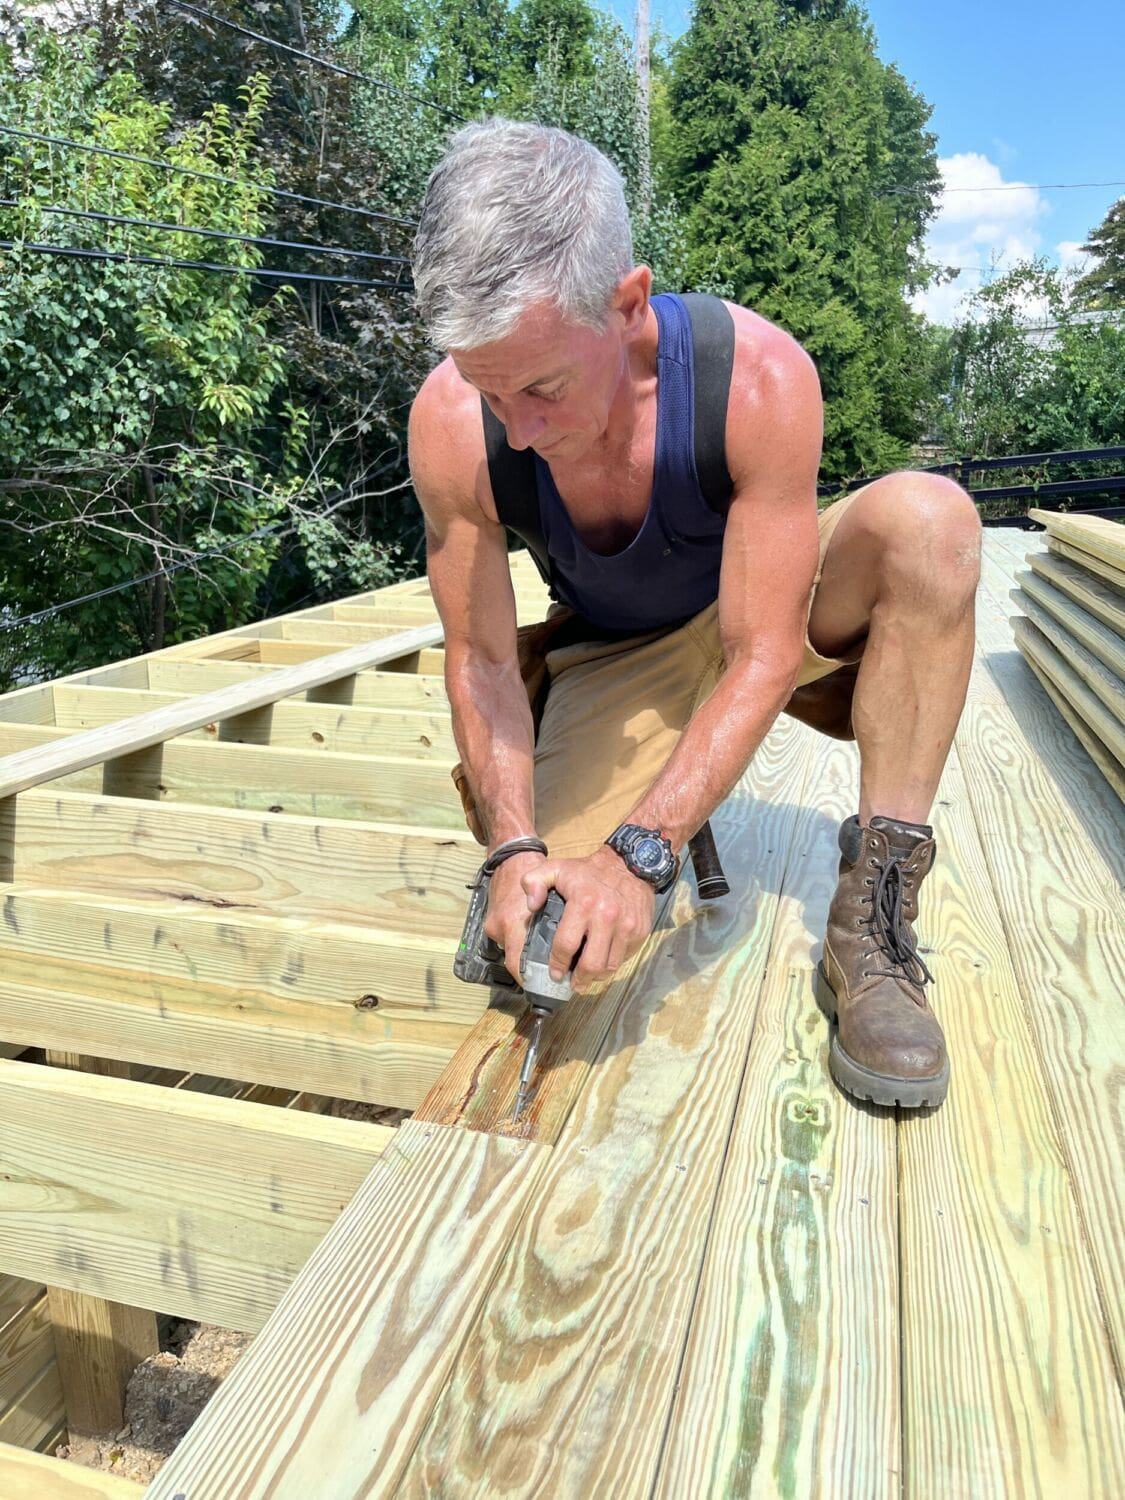
For wood decks, screws are still king. Nails pop out over time. Screws hold. But not just any screws. Use coated deck screws. Stainless steel or ceramic-coated. Regular zinc screws will rust and stain your deck. And they’ll snap. When screwing wood, pre-drill if you’re near the end of a board. This prevents splitting. Splitting lets water in. Water causes rot. Rot causes warping. See the pattern? Drive the screw straight. Don’t angle it unless you’re toe-screwing into a rim joist.
If you’re doing a diagonal install, things get tricky. Angled screws provide better holding power here. They bite into the joist at a stronger angle. But be careful not to split the board. Use a pilot hole. And keep your lines straight. Diagonal decks look amazing, but if one row is off, the whole pattern looks wrong. Use a chalk line. Snap it fresh for every few rows. Don’t trust your eye.
One pro tip for 2026: check your torque settings if you’re using an impact driver. Too much torque strips the screw head or crushes the wood fiber. Crushed fiber holds less. Use a clutch setting or a drill for the final turn. It takes longer, but it’s worth it. You want the screw snug, not buried. If you bury it, you create a dimple. Water sits in dimples. Water is the enemy. Keep it flush.
Acclimation and Weather Timing
Here’s a secret most DIYers ignore. You can’t just buy wood and install it immediately. Well, you can, but you shouldn’t. Wood needs to acclimate. Bring it to your site. Stack it flat with spacers between layers. Let it sit for a few days. This lets the wood adjust to the local humidity and temperature. If you install wet wood on a dry day, it’ll shrink. If you install dry wood on a humid day, it’ll swell. Acclimation minimizes this shock.
Composite decking needs acclimation too, but for different reasons. It needs to reach ambient temperature. Installing cold composite on a hot day? It’ll expand massively once it heats up. Those gaps you left might close up completely. Install it in the shade if possible. Or early in the morning. Avoid installing in direct, blazing sunlight if you can help it. It makes the material pliable and harder to handle. Plus, you won’t burn your hands.
Weather timing is crucial. Don’t install if rain is forecast within 24 hours. Wet wood swells. Wet composite is slippery and hard to cut accurately. Also, avoid extreme temperatures. If it’s below freezing, some composites become brittle. They can crack when you screw them. If it’s over 90°F, wood dries out fast. Check the weather app. Plan your project for mild, dry days. It’s not always possible, but try.
If you get caught in a sudden shower, stop. Cover the materials. Let them dry before continuing. Installing wet boards traps moisture under the deck. That’s a recipe for mold and warping later. Patience is a virtue here. Rushing leads to rework. And rework is expensive. Take your time. Let the materials settle. It’s a small step that makes a huge difference in longevity.
So you’ve built it. It’s beautiful. Flat. No gaps. Now what? You can’t just ignore it. Maintenance keeps it that way. For wood, cleaning is key. Sweep it regularly. Dirt and leaves trap moisture. Moisture causes uneven drying. Uneven drying causes warping. Wash it once a year with a mild detergent and a soft brush. Don’t use a pressure washer on high setting. It shreds the wood fibers. Gentle is better.
Composite decks are low maintenance, not no maintenance. They still get dirty. Mold can grow in the shade. Use a composite cleaner. Keep the gaps clear. If leaves and gunk clog the gaps, the deck can’t drain. Water pools. Pooling water leads to issues. Also, check the gaps annually. Did they close up? Did they widen? If a board is starting to lift, catch it early. Don’t wait until it’s a tripping hazard.
Inspect your fasteners. Are any screws popping up? Tighten them. Are any hidden clips broken? Replace them. Small fixes now prevent big problems later. Check the flashing against your house. Is water getting behind the deck ledger? That rots the house and the deck frame. Caulk it if needed. Keep the area under the deck clear for airflow. Good airflow helps everything dry out faster.
Think of your deck like a car. You change the oil. You check the tires. Do the same for your deck. A little attention goes a long way. In 2026, we have great sealers and cleaners. Use them. But don’t overdo it. Too much sealer on wood can trap moisture inside. Follow the product instructions. And remember, prevention is cheaper than cure. Fixing a warped board is a pain. Preventing it is just good habits.
At the end of the day, a deck is more than just wood and screws. It’s where you gather. Where you relax. It deserves care. By choosing the right materials, leaving those crucial gaps, framing it solid, fastening it right, respecting the weather, and maintaining it, you’re building something that lasts. No warping. No ugly gaps. Just a solid, beautiful space for years to come. So grab your spacer. Take a breath. And build it right.