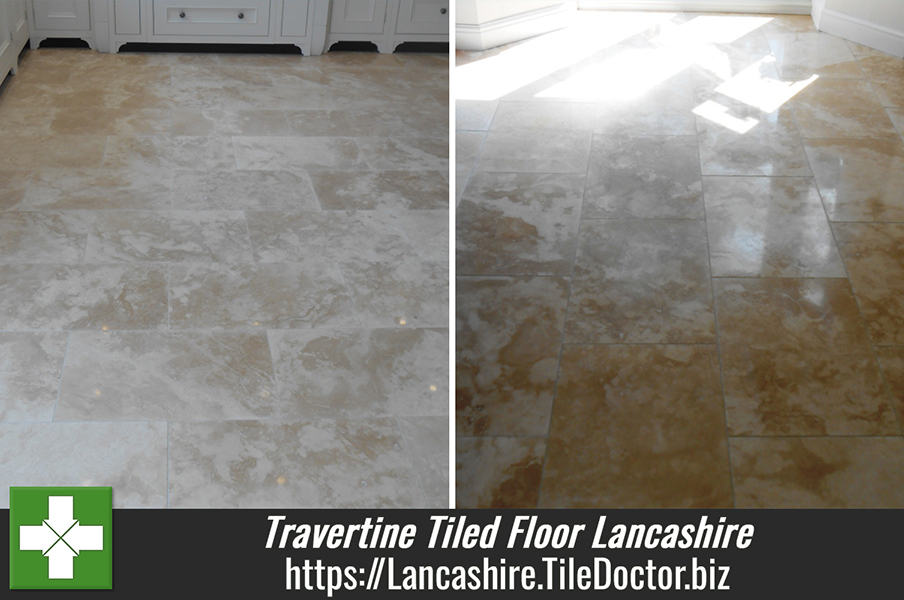
You’ve picked out the stone. It’s gorgeous. That soft, matte finish of honed travertine calls to you. It feels warm underfoot, timeless, like something that belongs in an old Italian villa rather than a suburban hallway. But here’s the thing about natural stone: it doesn’t care about your aesthetic dreams. It cares about physics. It cares about gravity, moisture, and the thousands of feet that are going to pound against it every single day.
I’ve seen it happen too many times. A homeowner spends a fortune on beautiful beige or walnut-colored travertine. They hire someone—maybe a pro, maybe a brave DIYer—and six months later, the floor looks tired. There are cracks. There are stains that won’t come out. The grout is crumbling. Or worse, tiles are popping loose near the front door. It’s heartbreaking. And almost entirely preventable.
Installing honed travertine in high-traffic areas isn’t just about laying tile. It’s about understanding how this specific stone behaves. Honed means it’s smooth, not polished, which is great for slip resistance but terrible at hiding mistakes if the base isn’t perfect. High traffic means stress. Constant, unyielding stress. If you get the prep wrong, the stone will fail. Let’s talk about how to make sure it doesn’t.
Ignoring the Substrate Reality
The biggest lie in flooring is that the tile matters most. It doesn’t. The substrate matters. If you’re putting heavy natural stone over a bouncy wooden subfloor without proper reinforcement, you’re asking for trouble. Travertine is rigid. Wood flexes. When wood flexes and stone doesn’t, the stone cracks. It’s that simple. In 2026, we still see contractors skipping the decoupling membrane step to save a few bucks or an hour of labor. Don’t let them.
For high-traffic zones like entryways, kitchens, or commercial lobbies, you need a rock-solid foundation. If you’re on concrete, check for cracks and levelness. If it’s wood, you likely need to add a layer of plywood and then a crack-isolation or decoupling membrane. This layer absorbs the micro-movements of the house so your stone doesn’t have to. Skipping this is like building a castle on sand. It might look fine for a week, but winter heating cycles and foot traffic will expose the weakness quickly.
Also, consider the flatness. Honed travertine shows lippage (where one tile edge is higher than the neighbor) more than textured stone because the surface is uniform. If your subfloor has dips or humps, the tiles will follow those contours. Use a self-leveling compound if needed. It’s not an extra cost; it’s insurance. A perfectly flat floor isn’t just pretty; it prevents tripping hazards and ensures even weight distribution across every tile.
Choosing the Wrong Adhesive and Grout
Not all thin-set mortars are created equal. You can’t just grab the cheapest bag at the hardware store and expect it to hold dense, heavy travertine in a busy area. You need a high-quality, polymer-modified thin-set mortar. Why? Because travertine is porous and heavy. It needs a bond that can handle shear stress and slight flexibility. Unmodified mortar might work for ceramic tile in a bathroom, but for a foyer where people are dragging in groceries and kicking off shoes? No way.
Look for ANSI A118.4 or A118.15 standards on the bag. These indicate modified mortars with better adhesion properties. And don’t skimp on coverage. Use the right trowel size—usually a 1/2 inch x 1/2 inch square notch for larger format travertine tiles. Back-buttering each tile (applying a thin layer of mortar to the back of the stone) is non-negotiable for high-traffic installs. It ensures 100% contact between the stone and the bed, eliminating voids where tiles can crack under pressure.
Then there’s grout. Standard cementitious grout is porous and will stain easily, especially next to light-colored travertine. In high-traffic areas, dirt and moisture grind into grout lines. Consider using a high-performance urethane grout or an epoxy grout. Yes, they’re harder to work with. Yes, they cost more. But they resist staining, cracking, and water penetration far better than standard options. Plus, they don’t require sealing. One less thing to worry about. If you do use cement grout, make sure it’s sanded appropriately for the joint width and seal it religiously.
Underestimating the Filling Process
Here’s a secret about travertine: it’s full of holes. Literally. It’s formed by mineral deposits from springs, leaving voids and pits in the stone. "Honed" refers to the finish, not the filling. Most honed travertine comes pre-filled at the factory, but the quality varies wildly. Some fills are resin-based; others are cement-based. In high-traffic areas, cheap fills pop out. Then you’re left with open pits that trap dirt, moisture, and bacteria.
Before installation, inspect your tiles. If the factory fill looks shallow or crumbly, you might need to re-fill them. Use a color-matched epoxy or polyester resin filler. Cement fillers can shrink and fall out over time, especially with the vibration of foot traffic. Epoxy fills bond chemically with the stone and are much more durable. It’s tedious work, I know. But imagine trying to clean mud out of hundreds of tiny holes in your floor every week. Not fun.
Also, be aware of the "pop-out" phenomenon. Even with perfect installation, industry experts note that within the first 12 to 18 months, 5-10% of filled holes in high-traffic areas may expose new voids as the initial fill settles or wears away. This isn’t necessarily a defect; it’s the nature of the stone. Plan for it. Keep some filler on hand for touch-ups. Educate the client (or yourself) that this maintenance is part of owning natural stone. It’s not a failure; it’s character. But starting with a solid fill minimizes how often you’ll need to do this.
Neglecting Proper Sealing Protocols
Sealing is not optional. It’s critical. Honed travertine is more absorbent than polished travertine because the polishing process closes some of the surface pores. Honing opens them up. Without a sealer, spilled wine, oil, or even muddy rainwater will soak in instantly. And once it’s in, it’s nearly impossible to get out completely. In high-traffic areas, the sealer acts as your first line of defense against stains and etching.
But here’s where people mess up: they seal it once and forget it. Or they use the wrong sealer. For interior floors, you generally want a penetrating impregnating sealer, not a topical coating. Topical sealers sit on top and can peel or scratch, looking ugly in busy zones. Impregnators soak into the stone and repel liquids from within. Test the absorption rate of your specific batch of stone before choosing a product. Some dense travertines need less protection; some very porous ones need heavy-duty solutions.
Apply the sealer after installation and grouting, but before the area gets heavy use. And reapply it regularly. In a high-traffic entryway, you might need to reseal every 6 to 12 months, depending on the product and wear. Do the water drop test: put a few drops of water on the floor. If it beads up, you’re good. If it soaks in and darkens the stone, it’s time to reseal. Don’t guess. Check. It takes five seconds and saves you from costly stain removal later.
Cutting Corners on Layout and Expansion Joints
Travertine expands and contracts with temperature and humidity changes. If you install it wall-to-wall with no room for movement, it will buckle or crack. This is especially true in areas with direct sunlight or near heating vents. Expansion joints are mandatory. They should be placed at regular intervals (usually every 20-25 feet for interior floors, but check manufacturer specs) and around the perimeter where the floor meets walls or fixed objects.
Use a flexible silicone caulk in these joints, not grout. Grout is rigid; silicone moves. If you grout over an expansion joint, it will crack immediately. It looks sloppy and fails its purpose. Also, plan your layout carefully. Avoid sliver cuts (tiny narrow pieces) along edges. They’re weak and prone to breaking. Adjust your starting point so you end with larger, more stable cuts. In high-traffic areas, symmetry and balance aren’t just aesthetic choices; they contribute to the structural integrity of the install.
Dry lay your tiles before committing to mortar. This lets you see how the veining and color variation flow. Travertine is natural; no two tiles are identical. Some are darker, some lighter. Some have dramatic veins, others are subtle. Mixing boxes is crucial to avoid patchy looks. If you don’t dry lay, you might end up with a cluster of dark tiles in one corner and light ones in another, which looks unintentional and cheap. Take the time. Move them around. Find the rhythm of the stone.
Installation is just the beginning. Honed travertine in high-traffic areas requires a realistic maintenance plan. It’s not a "set it and forget it" floor like porcelain. You need to sweep or dust mop daily to remove abrasive grit. Grit acts like sandpaper, dulling the honed finish and scratching the sealer over time. Use a pH-neutral cleaner for mopping. Avoid vinegar, lemon juice, or generic acidic cleaners. Acid etches calcium-based stones like travertine, leaving dull, rough spots that can’t be polished out easily.
Place mats at entrances. This is the single most effective thing you can do to extend the life of your floor. Mats trap dirt and moisture before they reach the stone. Make sure the mats have breathable backings, though. Rubber-backed mats can trap moisture against the stone, causing discoloration or adhesive failure. Rotate them occasionally so they wear evenly.
Finally, accept the patina. Natural stone ages. In high-traffic paths, the stone might polish slightly from foot traffic, creating a subtle sheen in walkways. Some people love this; it shows the history of the home. Others hate it. If you prefer a uniform matte look, you may need to have the floor professionally honed again every few years. It’s not a defect; it’s life. Understanding this upfront prevents disappointment. You’re not installing a plastic laminate; you’re installing a piece of the earth. Treat it with respect, and it will last generations.
So, is honed travertine worth the effort in busy spaces? Absolutely. When installed correctly, it offers a warmth and depth that synthetic materials simply can’t match. But it demands precision. It demands respect for its natural quirks. By focusing on the substrate, using the right materials, filling properly, sealing diligently, planning for movement, and maintaining it wisely, you avoid the common pitfalls. You get a floor that doesn’t just survive high traffic—it thrives in it. And that’s a win worth working for.