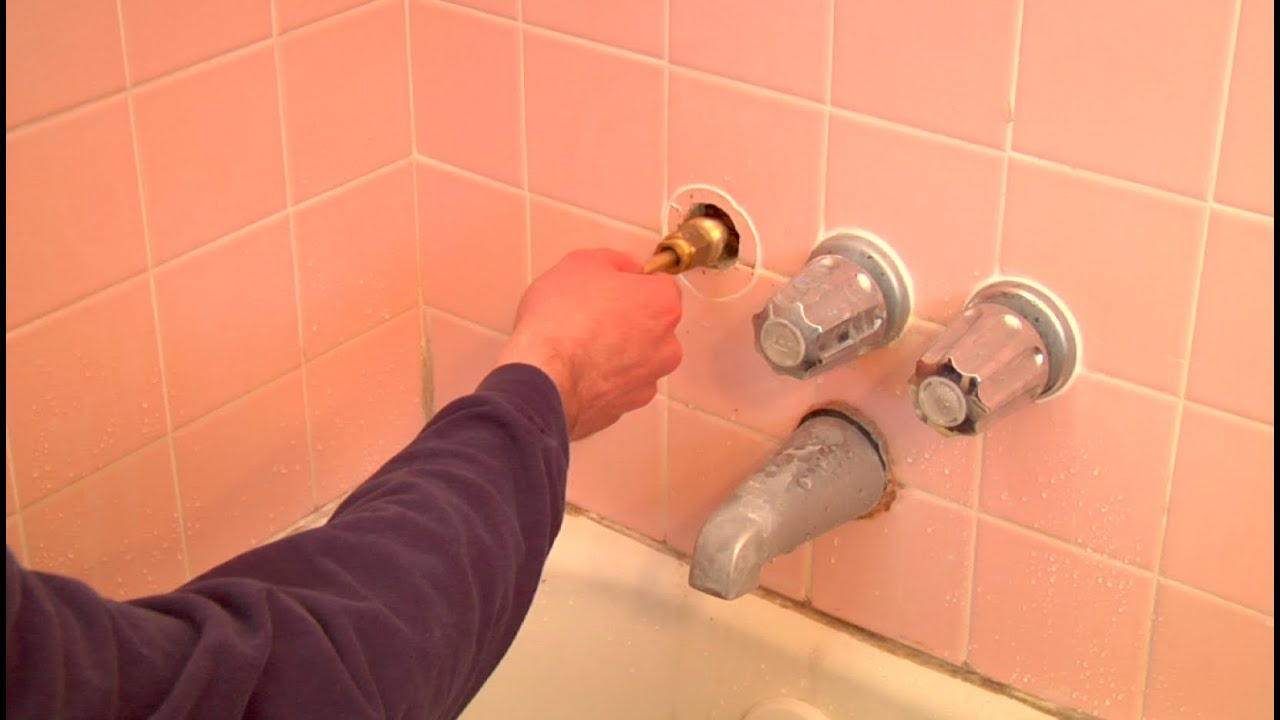
You know that feeling when you’re trying to relax in a warm bath, but your eyes keep drifting to that ugly, crusty thing sticking out of the wall? Yeah, the tub spout. It’s probably got green gunk around the base, or maybe it drips relentlessly even when the shower is on. It’s annoying. It’s unsightly. And honestly? It makes the whole bathroom feel older than it is.
But here’s the good news. You don’t need a degree in plumbing to fix it. You don’t even need to call a professional who charges $150 just to show up. Changing a bathtub spout is one of those rare home improvement tasks that looks impressive but is actually incredibly simple. With just a few basic tools and about fifteen minutes of your time, you can swap out that rusty relic for something shiny and new. It’s a small change, sure, but it makes a huge difference in how your space feels. Let’s get into it.
Why Bother? Signs It’s Time for a Swap
So, how do you know if it’s really time to pull the trigger on a new spout? Sometimes it’s obvious. The chrome is peeling off like sunburned skin, revealing the dull brass underneath. Or maybe there’s a ring of mineral buildup that no amount of scrubbing with vinegar can remove. These are cosmetic issues, sure, but they matter. Your bathroom should be a place you enjoy, not a reminder of neglect.
Other times, the problem is functional. Does the diverter—the little knob or pull-up mechanism that switches water from the tub to the shower head—feel sticky? Does it fail to redirect the water properly, leaving you with a weak shower stream while the tub keeps filling? That’s a sign the internal mechanisms are shot. Even worse, if you see water leaking from the base of the spout where it meets the wall, you’ve got a seal failure. Ignoring that can lead to water damage behind your tiles, which is a whole different ballgame of expensive repairs.
According to experts at Family Handyman, mineral deposits accumulate on the threading of screw-on spouts over time, even when they are tightened correctly. This buildup can eventually cause leaks or make removal difficult if you wait too long. So, if your spout is more than ten years old and showing any of these signs, don’t wait. Catching it early saves you from bigger headaches down the road. Plus, a new spout costs maybe twenty to fifty bucks. Compared to the cost of fixing water-damaged drywall? It’s a steal.
Gathering Your Arsenal: Tools You’ll Actually Need
One of the best parts about this project is the low barrier to entry. You likely already have everything you need in your junk drawer or basic toolkit. You aren’t going to need a pipe wrench the size of your arm or some specialized gadget from a plumbing supply house. Keep it simple. First, you’ll need an adjustable wrench or a pair of channel-lock pliers. These are for gripping and turning. If you have a soft-jaw version, even better, as it protects the finish of your new fixture.
Next, grab some Teflon tape (also known as plumber’s tape). This stuff is magic. It’s a thin, white tape that wraps around threads to create a watertight seal. Don’t skip this step. Some people think they can just screw the spout on tight and call it a day, but without the tape, you’re inviting leaks. You might also want a rag or an old towel to protect the tub surface from dropped tools. Dropping a metal wrench on acrylic or porcelain? That’s a crack waiting to happen.
If you’re dealing with a stubborn old spout, a little penetrating oil like WD-40 can be a lifesaver. It helps loosen rusted threads. And finally, have your new spout ready before you start taking things apart. Nothing worse than having your water shut off and your old spout removed, only to realize you bought the wrong type. We’ll talk about how to avoid that mistake in the next section, but for now, just make sure you’ve got the new fixture in hand. Oh, and maybe a flashlight. Bathrooms can be dark, and seeing clearly helps prevent stripped screws or cross-threaded connections.
The Great Debate: Slip-On vs. Threaded Spouts
Here is where most people get tripped up. Not all tub spouts are created equal. Before you buy a replacement, you need to know what kind of connection you have. There are two main types: slip-on and threaded. Identifying which one you have determines how you remove the old one and install the new one. Get this wrong, and you’ll be making multiple trips to the hardware store. Frustrating, right?
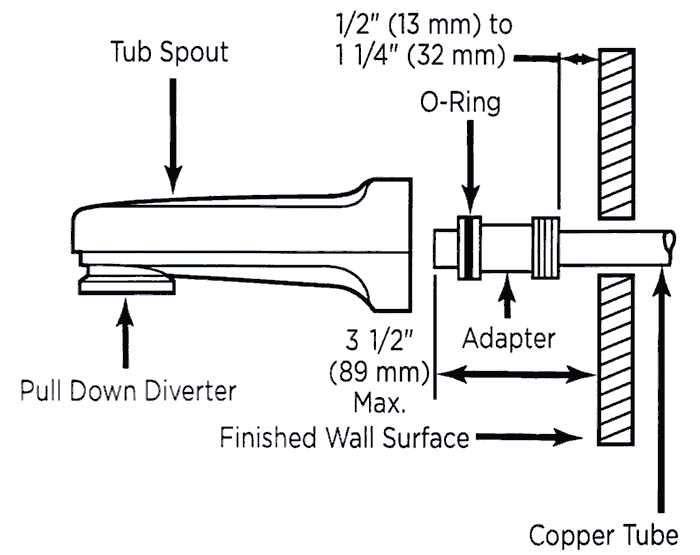
A slip-on spout slides over a smooth copper pipe sticking out of the wall. It’s held in place by a setscrew, usually located on the underside of the spout. You might need an Allen wrench (hex key) to loosen it. These are common in newer homes or renovations where the plumber didn’t leave enough pipe length for threading. To check if you have this type, look under the spout. Do you see a small hole with a screw inside? If yes, it’s likely a slip-on.
Threaded spouts, on the other hand, screw directly onto a threaded nipple (a short piece of pipe with threads) coming out of the wall. These are super common in older homes. To identify them, look for a hexagonal flat spot on the spout body where a wrench can grip, or simply try to turn it counter-clockwise by hand. If it rotates but doesn’t come off easily, it’s threaded. Some threaded spouts also have a setscrew, so don’t rule it out entirely just because you see a screw. But generally, if there’s no screw and it looks like it twists off, it’s threaded. Knowing this distinction is half the battle.
Out with the Old: Removal Techniques That Work
Alright, let’s get dirty. First things first: turn off the water. You don’t need to shut off the main house valve usually; just close the hot and cold handles for the tub. Test it by turning on the faucet to make sure no water comes out. Better safe than sorry. Once the water is off, lay that towel down in the tub to catch debris and protect the surface.
If you have a slip-on spout, locate the setscrew underneath. Use your Allen wrench to loosen it. You don’t need to remove it completely, just enough so it’s not biting into the copper pipe. Once loose, grip the spout firmly and pull it straight off the wall. It might take a wiggle. If it’s stuck due to mineral buildup or corrosion, gently twist it back and forth while pulling. Don’t use excessive force, or you might bend the copper pipe inside the wall. If it’s really stubborn, a squirt of penetrating oil around the base can help seep in and break the bond.
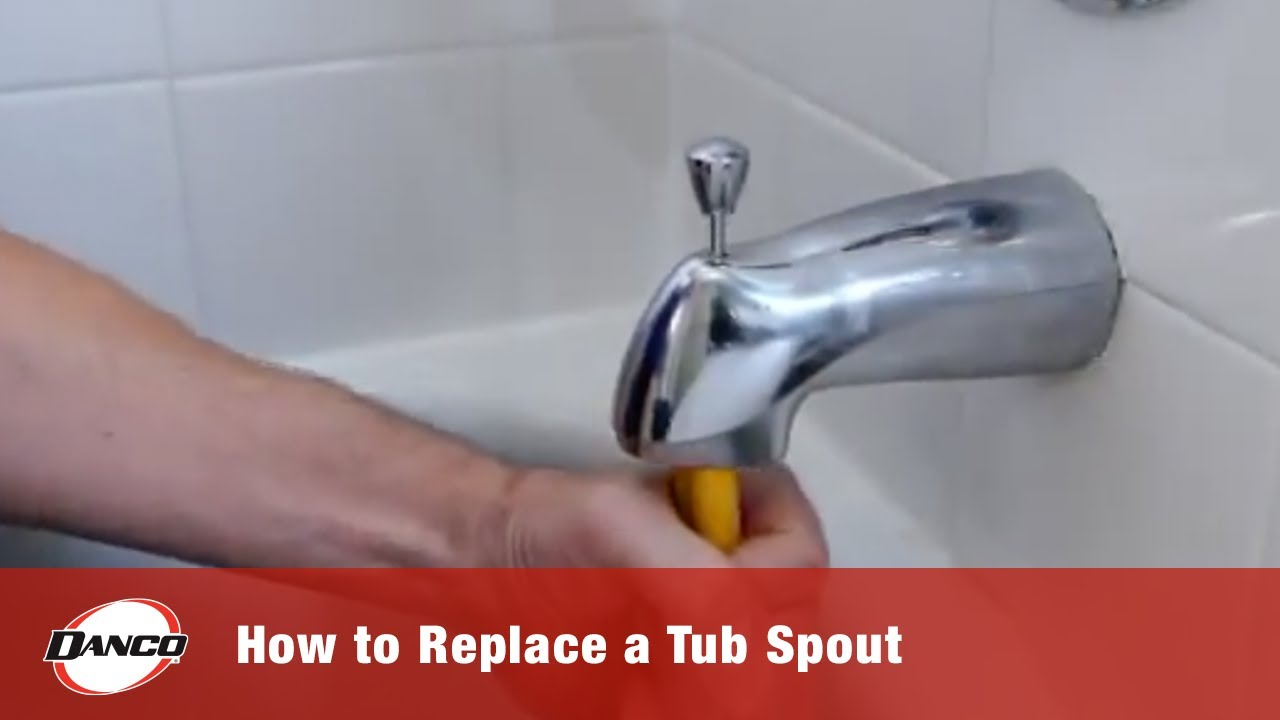
For threaded spouts, it’s a bit different. If there’s a setscrew, loosen it first. Then, grip the spout with your adjustable wrench or channel locks. Turn it counter-clockwise (lefty-loosey). If it’s been there for decades, it might be seized. Apply some penetrating oil and let it sit for ten minutes. Then try again. Use steady pressure, not jerky movements. If the spout has a decorative cover, sometimes you can unscrew the cover first to expose the mounting nut, but most modern spouts are one piece. Just keep turning until it comes free. Be careful not to scratch the wall tiles with your wrench. Wrap the wrench jaws in tape if you’re worried about it.
In with the New: Installation for a Leak-Free Fit
Now for the satisfying part. Installing the new spout. Start by cleaning the pipe stub coming out of the wall. Use a rag to wipe away any old Teflon tape, debris, or mineral deposits. For threaded pipes, you want clean threads. If you’re installing a threaded spout, wrap new Teflon tape around the pipe threads. Go clockwise (the same direction you’ll screw the spout on) and wrap it 3-4 times. Make sure it’s snug and covers the threads evenly. This creates the seal that prevents leaks.
Screw the new threaded spout on by hand first. Turn it clockwise until it’s hand-tight. Then, use your wrench to give it another quarter to half turn. Don’t overtighten! Brass and plastic components can crack if you crank them too hard. Hand-tight plus a little bit is usually enough. If it’s a slip-on spout, slide it onto the copper pipe. Make sure it goes on all the way until it hits the wall. Then, tighten the setscrew underneath with your Allen wrench. Snug it up firmly, but again, don’t strip the screw or crush the copper pipe.
Once it’s installed, step back and look at it. Is it straight? Is it flush against the wall? If there’s a gap, you might need to adjust the depth or add a rubber gasket if one came with the spout. Some slip-on spouts come with a small rubber O-ring or gasket that helps seal the gap between the spout and the tile. Make sure that’s in place. It prevents water from sneaking behind the spout and rotting the wall studs. A little attention to detail here goes a long way.
The Moment of Truth: Testing and Troubleshooting
You’ve swapped the spout. It looks great. But does it work? Time to test. Turn the water supply back on. Slowly open the hot and cold handles. Watch the base of the spout closely. Do you see any dripping? Any moisture seeping out? If it’s bone dry, congratulations! You did it. If you see a small leak, don’t panic. For threaded spouts, it usually means you need a bit more Teflon tape or a tighter turn. Shut the water off, remove the spout, add more tape, and try again.
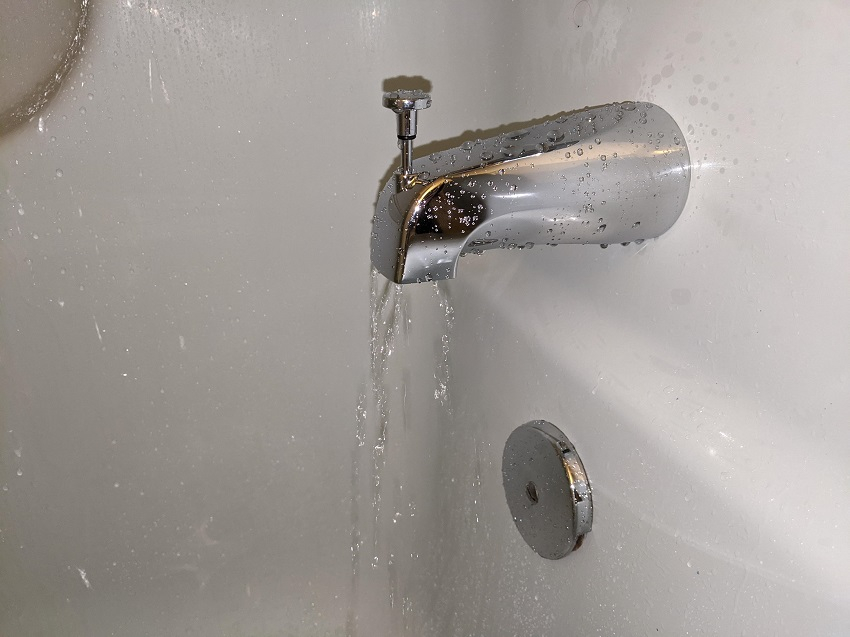
For slip-on spouts, a leak often means the setscrew isn’t tight enough or the pipe isn’t fully seated. Check the screw. Tighten it a bit more. If it still leaks, ensure the pipe is clean and smooth inside the spout. Sometimes a tiny burr on the copper pipe can prevent a good seal. A quick file or sandpaper can smooth that out. Also, test the diverter. Pull it up or turn it to switch to the shower. Does the water stop flowing from the tub spout? It should divert almost entirely to the shower head. A few drops from the tub spout are normal, but a steady stream means the diverter isn’t working right.
If you’ve followed the steps and it’s still leaking or malfunctioning, double-check that you bought the right type of spout. Did you try to screw a slip-on spout onto a threaded pipe? Or vice versa? Mistakes happen. But in most cases, a simple adjustment fixes the issue. Run the water for a minute to clear out any debris that might have gotten into the lines during the swap. Wipe everything down. Admire your handiwork. That shiny new spout reflects the light differently, doesn’t it? It’s a small win, but it feels good.
Changing a bathtub spout isn’t just about fixing a leak or hiding some rust. It’s about taking control of your home. It’s about realizing that you don’t have to live with annoyances. You have the power to fix them, often with nothing more than a wrench and a bit of patience. In 2026, with so many resources available online, there’s no excuse to feel helpless when faced with a minor household repair. This project is a gateway. If you can do this, you can probably tackle a leaky faucet, a running toilet, or a clogged drain.
Think about the money you saved. A plumber would charge you a service fee plus labor, easily topping $150. You spent maybe $30 on a nice new spout and some tape. That’s over $100 back in your pocket. But beyond the cash, there’s the pride. Every time you take a shower or run a bath, you’ll see that fixture and know you put it there. You transformed something rusty and neglected into something radiant and functional.
So, don’t let that ugly spout bug you for one more day. Grab your tools. Identify your type. Swap it out. It’s quick, it’s easy, and the results are instantly rewarding. Your bathroom—and your wallet—will thank you. And who knows? Maybe this little victory will inspire you to pick up that paintbrush or fix that squeaky door next. One step at a time, your home becomes more yours.