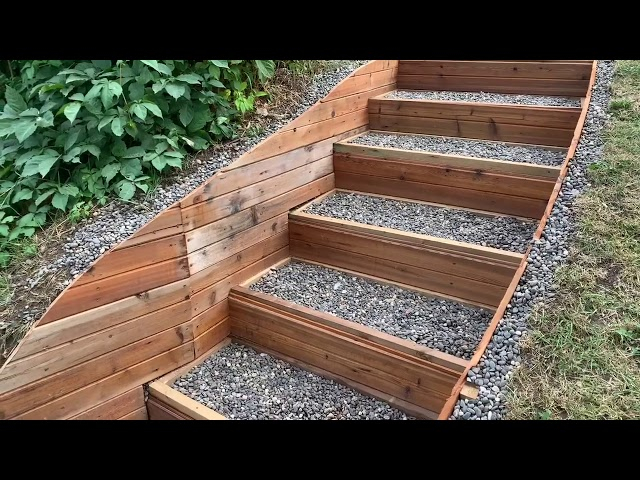
You know that spot in your yard. The one where the grass gets slippery when it rains, or maybe it’s just so steep you hesitate before taking that first step down to the garden beds. It’s frustrating. You want to use that space, but right now, it feels like a barrier instead of an invitation. Maybe you’ve tripped there once or twice. Or maybe you just avoid it altogether, leaving a perfectly good chunk of land unused.
It doesn’t have to be that way. Cutting steps into a hill isn’t just about moving dirt; it’s about reclaiming your outdoor life. When done right, those steps become the backbone of your landscape. They guide the eye, they make walking easy, and they add a sense of order to the wildness of a slope. But get it wrong? Well, then you’re dealing with mudslides, rotting wood, or worse, a nasty fall. Let’s talk about how to do it properly, safely, and without breaking the bank.
Before You Pick Up a Shovel
The biggest mistake people make is rushing. They see a hill, grab a shovel, and start hacking away. Stop. Take a breath. Before any dirt moves, you need a plan. And I don’t mean a sketch on a napkin. I mean understanding the land you’re working with. First things first: call 811. In the US, this is the national "call before you dig" number. It’s free, and it saves you from hitting gas lines, electric cables, or water pipes. Trust me, you do not want to find out what’s underground by accident. It’s dangerous and expensive to fix.
Once you know it’s safe to dig, look at the slope itself. How high is it? How long is the run? You’ll need to measure the total vertical rise (the height from bottom to top) and the horizontal run. This math matters because it dictates your step dimensions. A good rule of thumb for outdoor steps is a riser (the vertical part) of about 6 to 7 inches and a tread (the part you step on) of at least 12 to 14 inches. If your risers are too high, you’ll feel like you’re climbing a ladder. Too low, and you’ll trip over your own feet.
Also, look at the soil. Is it clay? Sand? Rocky? Clay holds water and can get slick and heavy. Sand drains well but might shift. Rocks can be a blessing or a curse—they provide stability but are a nightmare to dig through. Knowing your soil type helps you decide if you need extra drainage or reinforcement. Don’t skip this part. It’s boring, sure, but it’s the foundation of everything that comes next.
Choosing Materials That Last
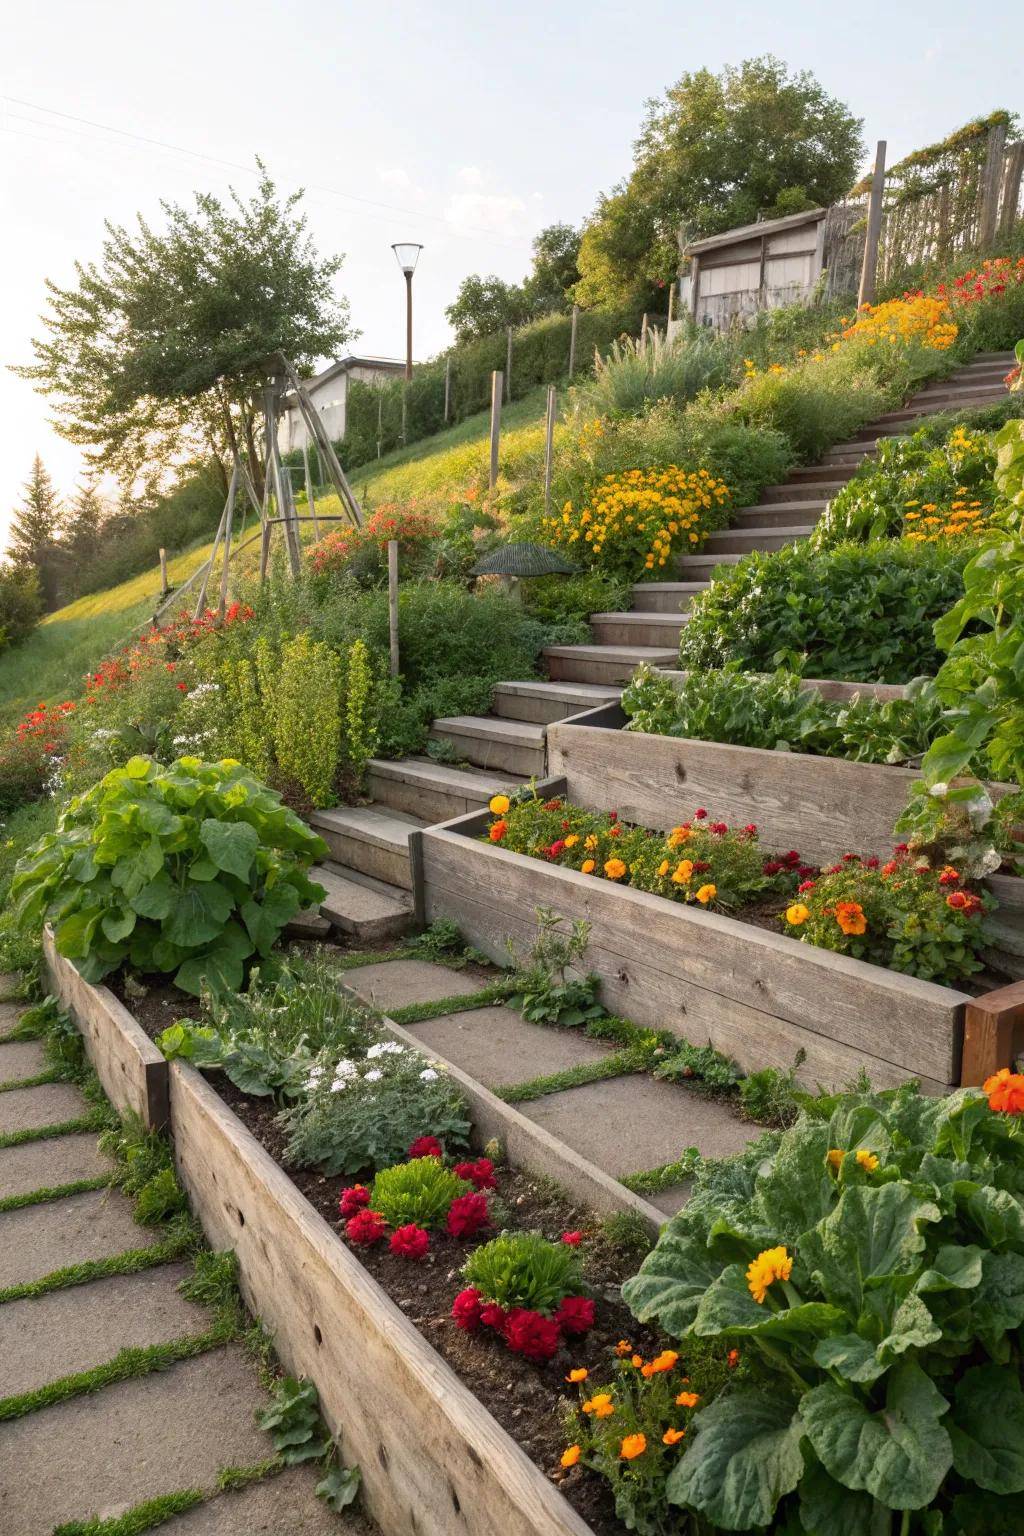
Now that you have your measurements, it’s time to pick your materials. This is where budget and style collide. Wood is popular. It’s warm, natural, and relatively easy to work with. Pressure-treated lumber is the standard choice because it resists rot and insects. But remember, even treated wood eventually decays, especially in wet soil. If you go with wood, consider using thick timbers or railroad ties for a rustic look, though keep in mind older railroad ties might have creosote, which isn’t great for vegetable gardens nearby.
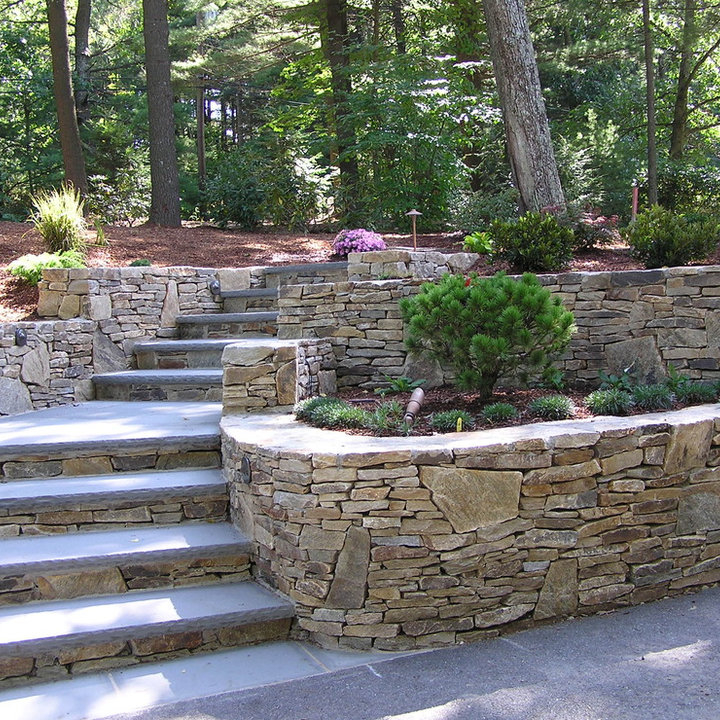
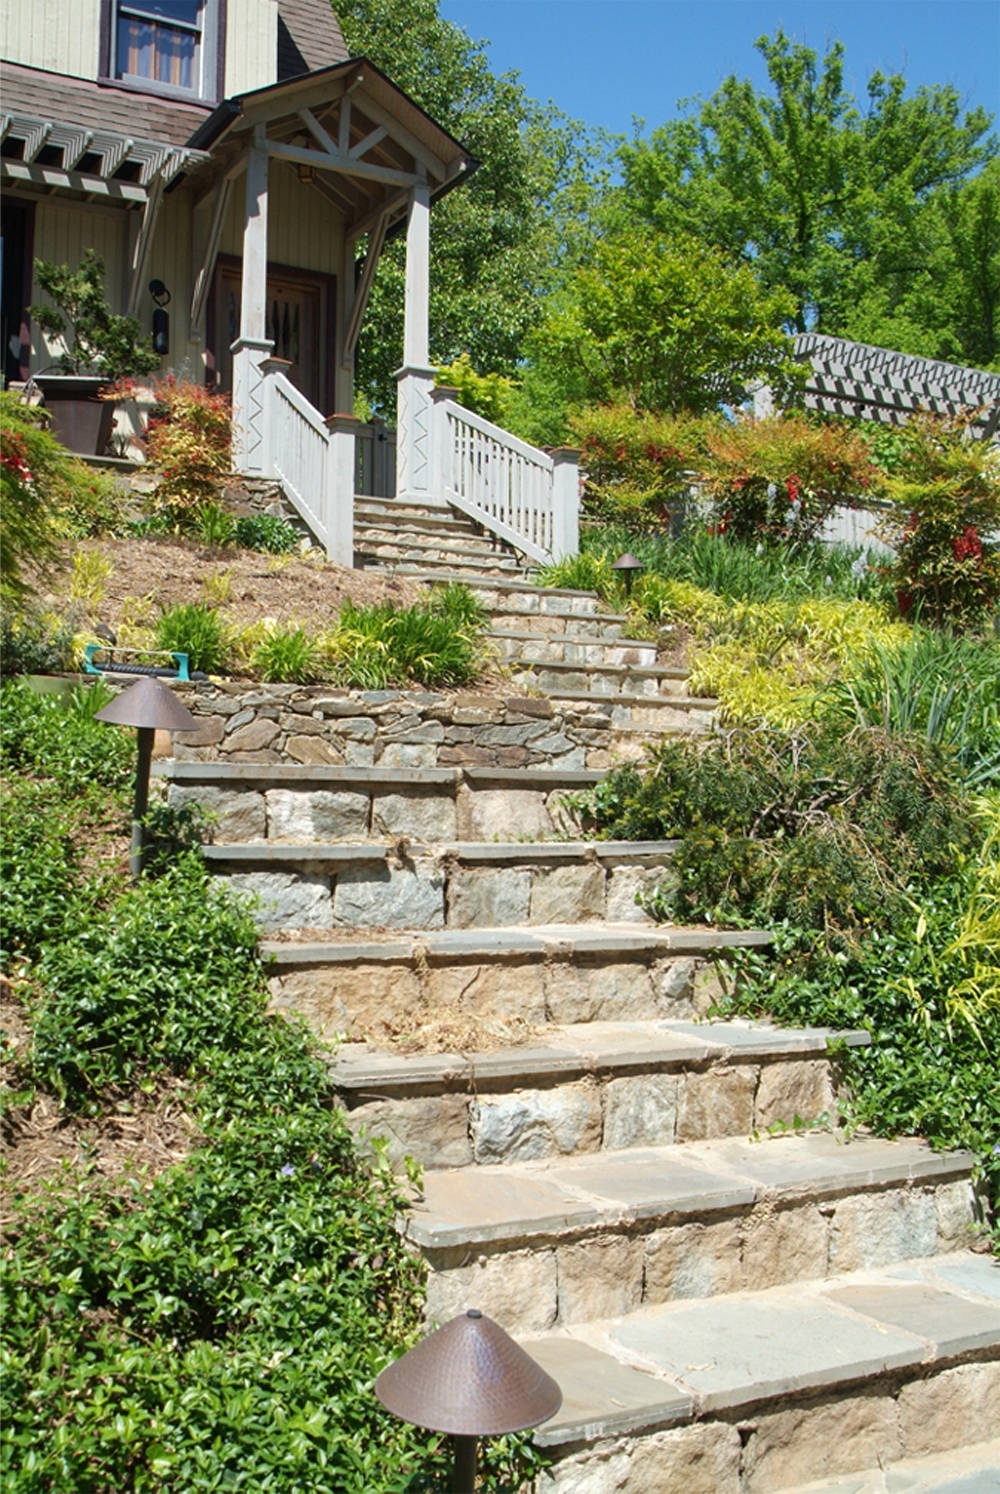
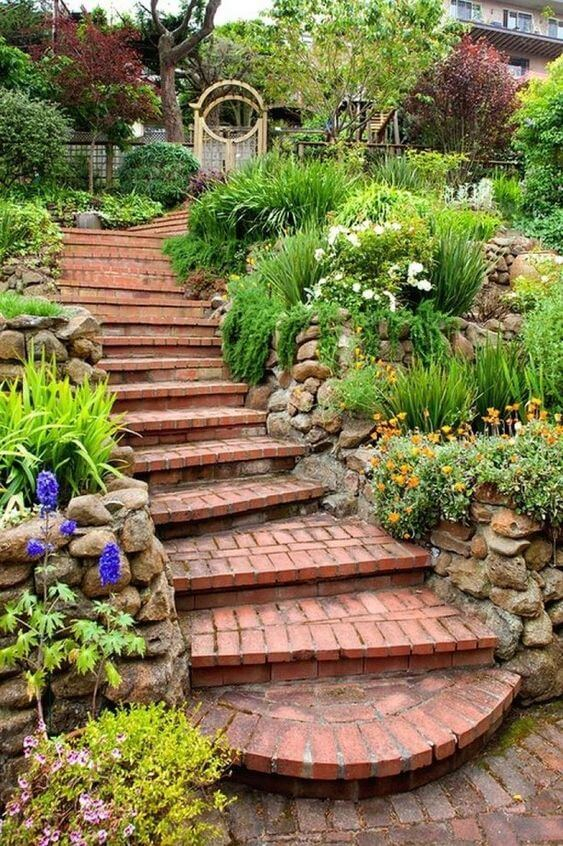
Stone is another classic option. It’s durable, looks amazing, and blends seamlessly with nature. You can use flagstone, fieldstone, or even recycled concrete chunks (sometimes called "urbanite"). Stone steps are heavy, so they stay put, but they require more skill to level properly. If you’re not confident in your masonry skills, dry-stacking (stacking stone without mortar) can be forgiving, but you still need a solid base. Brick is beautiful but can be slippery when wet and might crack in freeze-thaw cycles if not installed correctly.
Then there’s gravel or compacted earth. This is the cheapest route. You simply cut the steps into the dirt and line them with landscape timber or stones to hold the shape, then fill with gravel. It’s permeable, so water drains right through. But it needs maintenance. Rain will wash it out, weeds will grow, and you’ll need to top it off every year or so. For a low-traffic area or a very naturalistic garden, it’s a charming, low-commitment option. Just don’t expect it to look pristine forever.
The Art of the Cut
Alright, let’s get dirty. The actual digging process is physically demanding but surprisingly meditative if you take it slow. Start at the bottom of the hill and work your way up. Why? Because if you start at the top, you’ll be standing on loose dirt while trying to dig below you, which is unstable and unsafe. Use a string line and stakes to mark out the width and position of your stairs. This keeps your lines straight and ensures each step is aligned.
For each step, you’re essentially carving a flat shelf into the slope. Use a sharp spade or a mattock to cut into the hillside. Remove the soil to the depth of your tread plus a bit extra for your base material (like gravel or crushed stone). As you dig, check your level constantly. A bubble level is your best friend here. Each tread needs to be level from side to side, and ideally, it should slope slightly forward (about 1/4 inch per foot) to shed water. If water pools on your steps, it will erode the base and make them slippery.
Don’t forget to compact the soil at the back of each tread. This is called the "riser face." If you’re using wood or stone for the riser, you’ll need a solid, flat surface to attach or rest it against. Use a hand tamper or the back of a sledgehammer to pack the dirt down tight. Loose soil behind your riser will settle over time, causing your steps to sag or collapse. Take your time with this. It’s tedious, but it’s what separates a professional-looking job from a DIY disaster.
Drainage: The Silent Killer
Here’s the thing about hills: water wants to go down them. Fast. If you ignore drainage, your beautiful new steps will become a channel for runoff, washing away the soil beneath them and undermining their stability. This is the number one reason hillside steps fail. So, how do you fight gravity and water? You give the water somewhere else to go.
First, consider installing a French drain behind or beside your staircase. This is a trench filled with gravel and a perforated pipe that catches water and redirects it away from the steps. Even a simple layer of crushed stone (about 4-6 inches) under each tread acts as a drainage layer. It allows water to percolate down instead of sitting on top of the clay or compacted earth. If you’re using wood, drill small weep holes in the risers near the bottom to let trapped water escape.
Also, think about the sides of your staircase. If your steps are wide, water might sheet across the treads. Adding a slight crown (higher in the middle) helps, but on narrow steps, it’s hard to do. Instead, ensure the area above your top step is stabilized with plants or mulch to slow down rain before it hits your stairs. Diverting roof runoff from gutters away from the top of the slope is also crucial. You don’t want your roof dumping gallons of water directly onto your new construction.
Building Stability and Safety
Digging the hole is half the battle. Making sure the steps stay there is the other half. If you’re using wood timbers for risers, anchor them securely. Use rebar (steel reinforcing bars) driven into the ground behind the timber to hold it in place. Screw the timber to the rebar or use heavy-duty landscape screws. For stone steps, the weight is usually enough, but for larger stones, a bit of mortar or polymeric sand between joints can prevent shifting.
Safety isn’t just about structure; it’s about usability. Make sure your treads are deep enough for your whole foot. If they’re too shallow, you’ll feel precarious. Add traction. Wood can get slick with moss or algae. Consider adding grit paint, screwing in metal traction strips, or using rough-sawn lumber instead of smooth. Stone can be polished by foot traffic over time, so choose textured stone or bush-hammered surfaces.
Lighting is often overlooked but vital for safety. If you use these steps at night, you need to see them. Solar-powered step lights are easy to install and don’t require running electrical wires. Place them on the risers or along the sides. Even a single motion-sensor floodlight at the top or bottom can make a huge difference. Don’t assume you’ll remember where every step is in the dark. You won’t.
You’ve dug, built, and leveled. Now, make it yours. Soften the hard edges of your steps with planting. Creeping thyme, sedum, or ornamental grasses can spill over the sides, blending the man-made structure with the natural landscape. This isn’t just aesthetic; plant roots help hold the soil in place, reducing erosion around the edges of your staircase. Mulch the areas adjacent to the steps to keep weeds down and retain moisture for your new plants.
But remember, outdoor structures need love. Check your steps twice a year, ideally in spring and fall. Look for signs of rot in wood, loosening stones, or erosion in the gravel. Tighten any loose screws. Re-level stones that have shifted. Top off gravel treads if they’ve washed away. Catching small problems early prevents big repairs later. A little maintenance goes a long way in extending the life of your project.
And finally, enjoy them. Walk up and down. Invite friends over. Sit on the steps with a cup of coffee in the morning. That slope that used to be a no-go zone is now a feature. It’s functional, it’s safe, and it’s yours. There’s a deep satisfaction in transforming a challenging piece of land into something useful and beautiful. It changes how you interact with your home. So take a moment to appreciate the work you’ve done. You earned it.