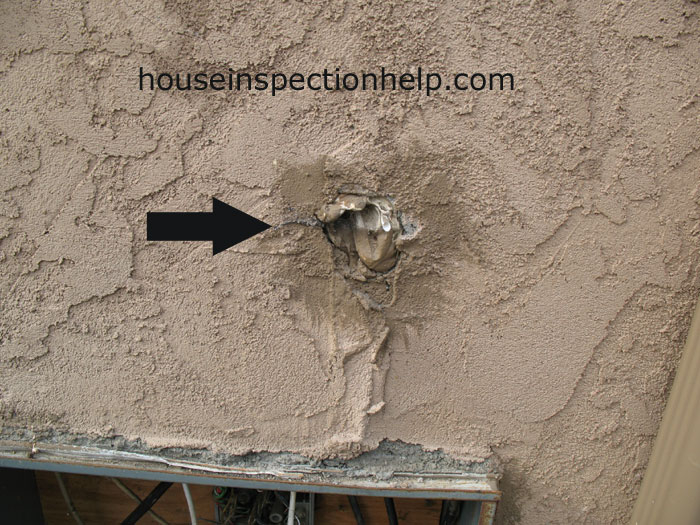
You know that feeling. You step out onto your porch, coffee in hand, ready to admire your home, and there it is. A jagged line running down the wall like a scar. It’s not just ugly; it feels like a failure. Like you missed something. But here’s the truth: stucco cracks. It happens. Houses settle, temperatures swing, and materials breathe. The real problem isn’t the crack itself. It’s the patch job that screams "I fixed this!" from across the street.
Most homeowners think filling the hole is the hard part. It’s not. Anyone can shove some cement mix into a gap. The art—the thing that separates a DIY disaster from a professional-looking repair—is matching the texture. That rough, sandy, or swirled finish that seems so random is actually a specific pattern. And if you don’t replicate it perfectly, your repair will stick out like a sore thumb, no matter how well you match the paint color later.
So, how do you make a new patch disappear into an old wall? It takes patience, the right tools, and a bit of detective work. In 2026, we have better materials than ever before, but the fundamental technique remains rooted in observation and practice. This guide isn’t just about fixing a crack. It’s about restoring the peace of mind that comes with a home that looks cared for, inside and out. Let’s dive in.
Understanding Why Stucco Cracks and What You’re Up Against
Before you grab a trowel, you need to know what you’re dealing with. Stucco is a cement-based plaster. It’s tough, durable, and breathable, which is why it’s been a favorite for centuries. But it’s also rigid. When the wood framing behind it moves—even just a little bit due to humidity or temperature changes—the stucco can’t flex enough. So, it cracks. In 2026, we see more hairline cracks than structural ones, mostly due to the extreme weather swings we’ve been experiencing lately.
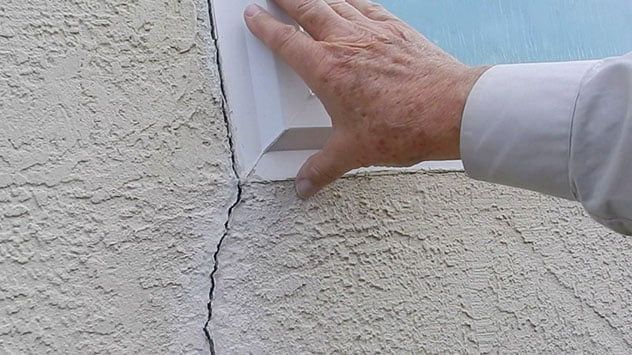
Not all cracks are created equal. Hairline cracks (less than 1/16th of an inch) are usually cosmetic. They’re annoying, but they aren’t letting water in. Larger cracks, especially those that are widening or running diagonally near corners, might signal a deeper issue with your foundation or framing. If you see gaps wider than a quarter-inch, or if the stucco feels loose when you tap it, stop. Call a pro. Trying to patch a structural failure with surface mud is like putting a band-aid on a broken bone. It won’t hold.
For the typical homeowner, though, you’re likely dealing with shrinkage cracks or impact damage. Maybe a lawn mower kicked up a rock. Maybe the house settled after a dry summer. These are fixable. The key is understanding that stucco has layers. There’s the lath (the mesh holding it to the wall), the scratch coat, the brown coat, and finally, the finish coat. Your repair only needs to address the finish coat and maybe a bit of the brown coat if the crack is deep. But remember: the texture lives in that top layer. That’s your canvas.
Gathering the Right Tools and Materials for the Job
You can’t improvise this part. Using the wrong mix or the wrong tool is why so many patches fail. First, you need a quality stucco patching compound. Don’t use generic concrete mix. It’s too coarse and won’t bond well to the existing smooth-ish surface of a finished wall. Look for a polymer-modified stucco repair product. These are widely available in 2026 and offer better flexibility and adhesion than the old-school bags of powder you had to mix with water yourself. Though, if you’re a purist, mixing your own sand-cement-lime blend gives you more control over the color and grain size.
Next, tools. You’ll need a wire brush to clean out the crack. A chisel and hammer to undercut the edges (more on that in a sec). A hawk and trowel for applying the material. But here’s the secret weapon: a sponge float or a textured roller. The type of float matters. A wood float creates a different look than a magnesium float. A sponge float creates that classic sandy finish. You need to match what’s already on your wall. Take a close look. Is it smooth? Rough? Swirled? Buy the tool that mimics that action.
Don’t forget safety gear. Stucco is caustic. It burns skin and eyes. Wear gloves, long sleeves, and safety glasses. Also, get a spray bottle filled with water. Keeping the patch moist while it cures is critical. If it dries too fast, it shrinks and cracks again. You’ll also need masking tape to protect windows or trim, and a vacuum or blower to clean out debris. Cleanliness is next to godliness in stucco repair. Dust prevents bonding. Period.
Preparing the Crack for a Seamless Bond
This is the step most people rush. Don’t. Preparation is 80% of the job. Start by cleaning the crack thoroughly. Use your wire brush to scrub out any loose dirt, moss, or old paint. If there’s vegetation growing in there (it happens!), kill it first. You want bare, solid stucco. Next, take your chisel and hammer. You need to "undercut" the crack. This means widening the back of the crack so it’s wider inside than it is on the surface. Think of it like a dovetail joint in woodworking. This mechanical lock keeps the patch from popping out when the wall expands and contracts.
Be gentle. You’re not trying to demolish the wall. Just create a V-shape or a U-shape channel. Remove any crumbling material. If the edges are fragile, chip them away until you hit solid stucco. Once the crack is shaped, clean it again. Use a shop vac to suck out all the dust. Then, dampen the area with water. Not soaking wet, just damp. This prevents the old stucco from sucking the moisture out of your new patch too quickly. If the old wall is thirsty, it’ll steal the water from your fresh mix, causing it to cure poorly and crumble.
Some pros recommend a bonding agent. In 2026, these are liquid adhesives you paint onto the prepared crack before applying the patch. They’re not always necessary if you’ve undercut and dampened properly, but if you’re nervous, or if the old stucco is very smooth and painted, a bonding agent adds insurance. It helps the new material grip the old. Let it get tacky, then move on. Don’t let it dry completely before applying the patch.
Mixing and Applying the Patching Compound
Now for the messy part. If you’re using a pre-mixed bucket, stir it well. If you’re mixing powder, follow the instructions on the bag. Consistency is key. You want a mix that’s like thick peanut butter. Not soupy, not crumbly. If it’s too wet, it’ll sag. Too dry, and it won’t stick. Mix small batches. Stucco sets fast, especially in warm weather. You don’t want it hardening in your hawk while you’re still prepping the wall.
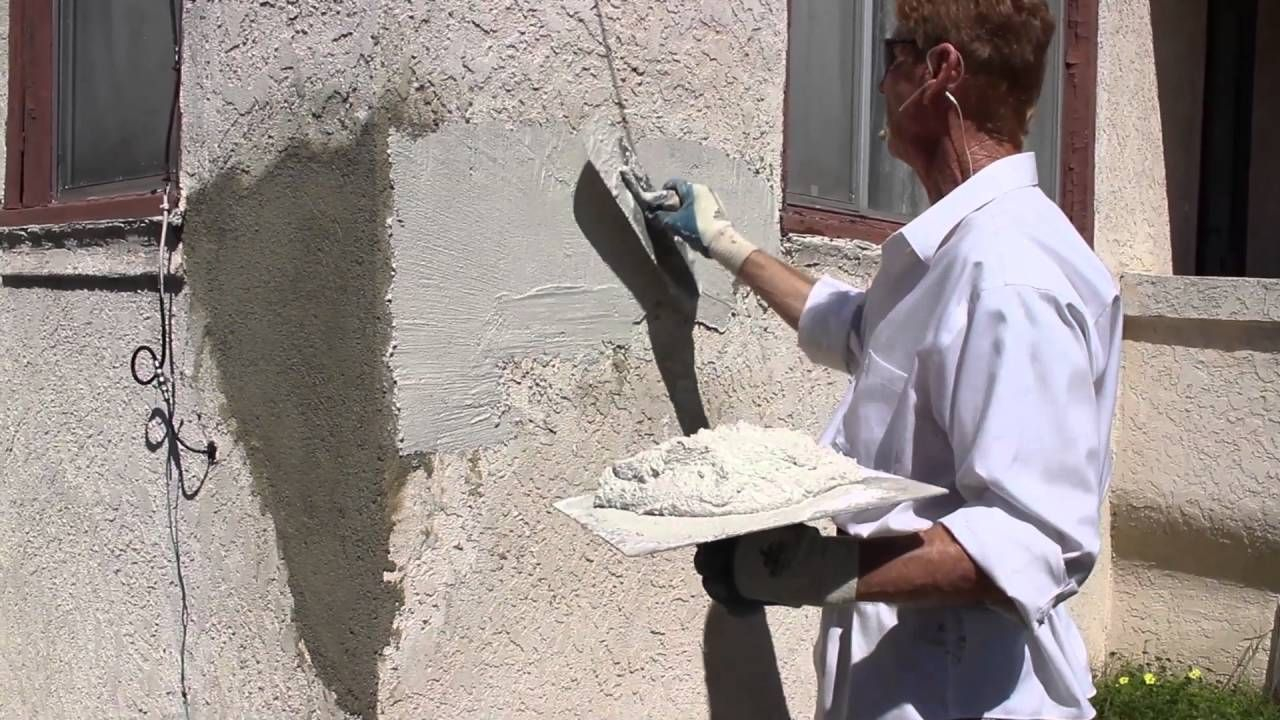
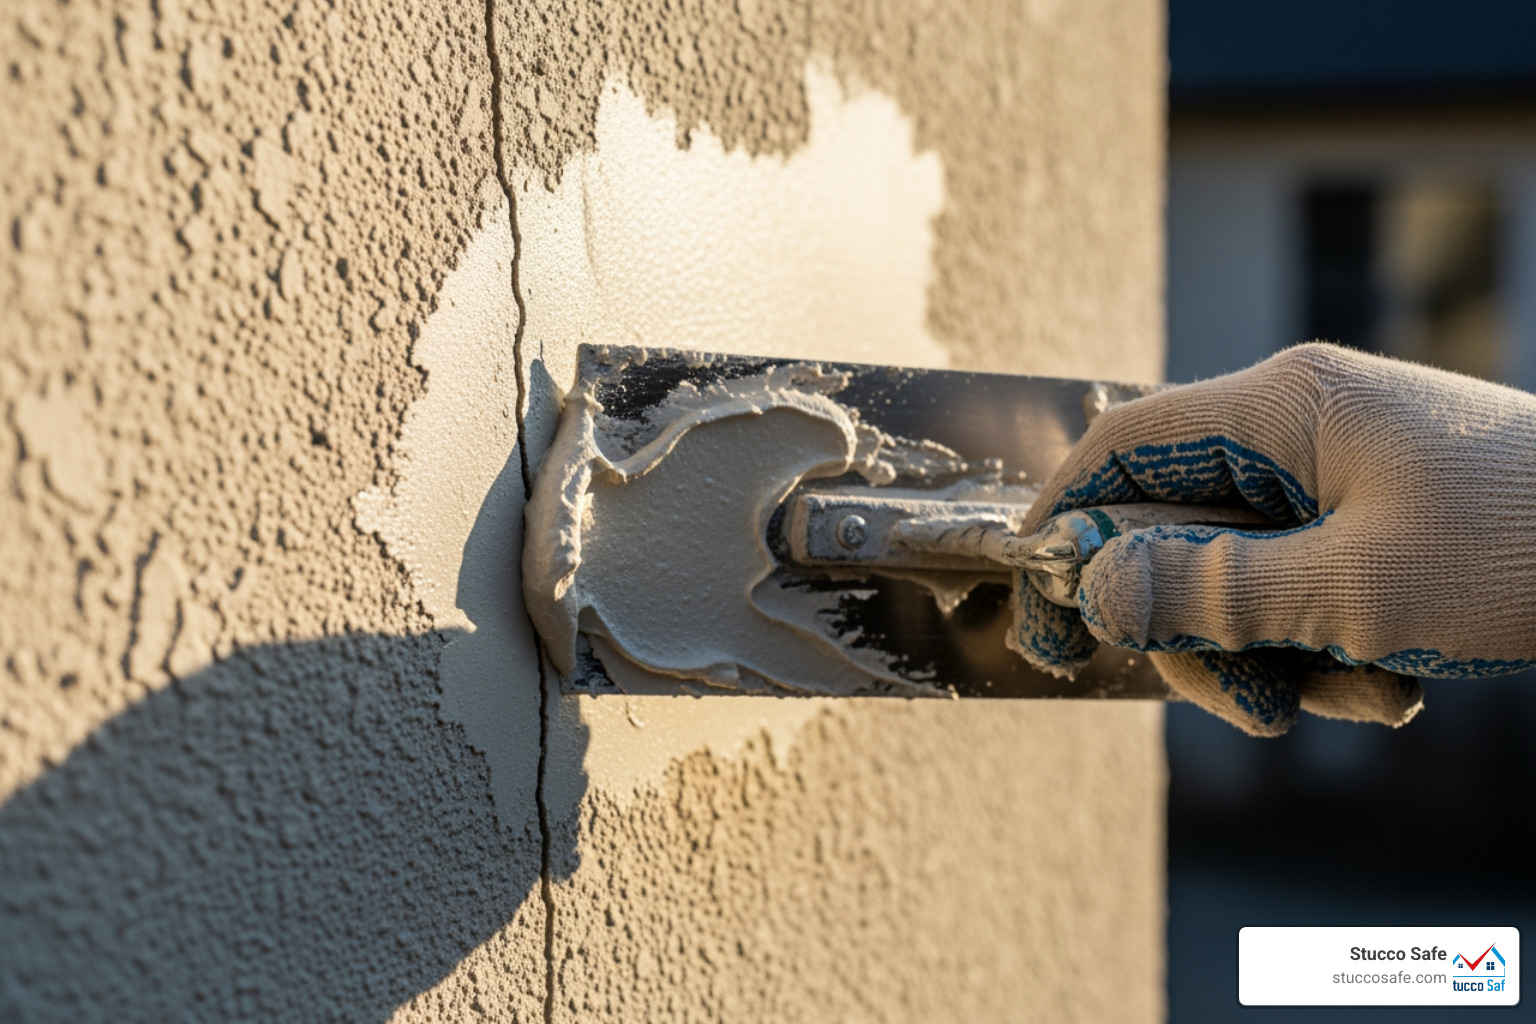
Load your hawk with a manageable amount of mix. Press it firmly into the crack. Don’t just smear it on top. Push it deep into the undercut area. Overfill the crack slightly. You’ll scrape off the excess later. Use your trowel to flatten the surface, but don’t try to make it perfect yet. The goal here is to get the material in place and bonded. If the crack is deep, apply it in layers. Let the first layer set up a bit (but not fully dry) before adding the second. This prevents sagging and ensures a solid fill.
Once the crack is filled, let it firm up. This is the "green" stage. It’s hard enough to hold its shape but soft enough to texture. This window might be 15 to 30 minutes, depending on the heat and humidity. Touch it gently. If your finger leaves a slight indent without sticking, it’s ready. If it’s mushy, wait. If it’s rock hard, you waited too long (and you’ll have to rough it up with a grinder or sandpaper, which is a pain). Timing is everything.
Mastering the Art of Texture Matching
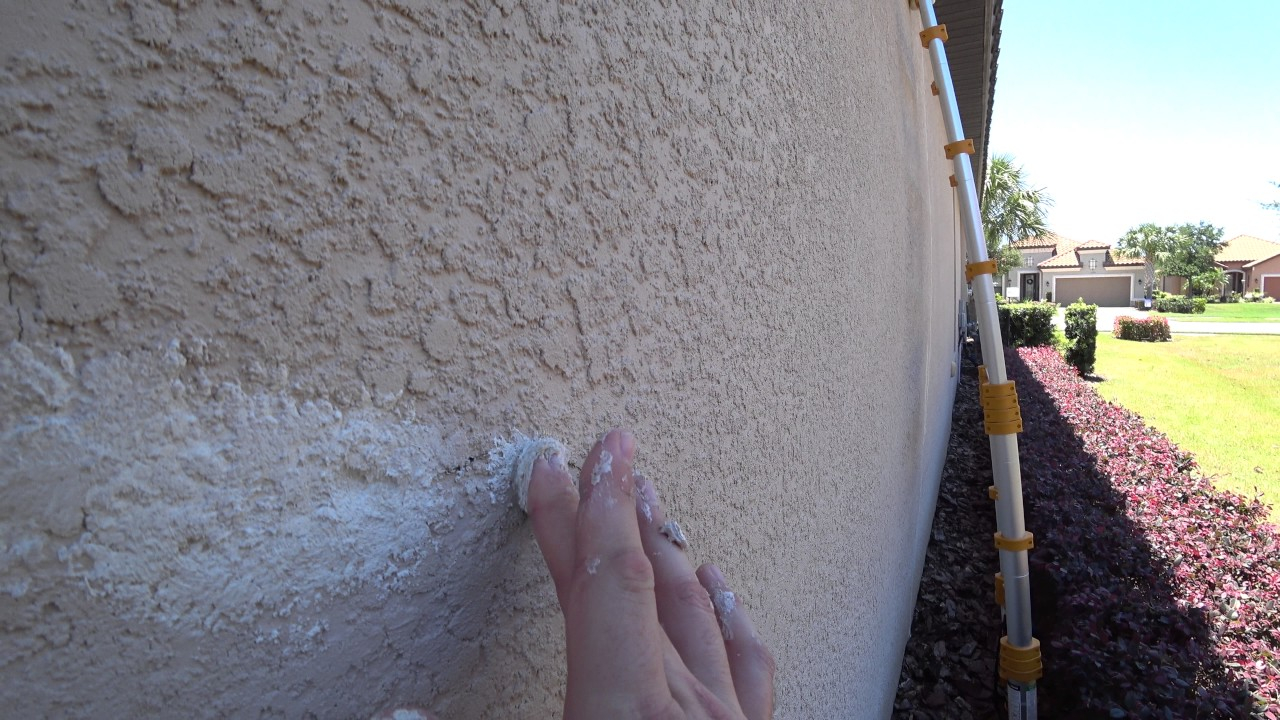
Here’s where the magic happens. Look at your wall. Really look at it. Stand back ten feet. What do you see? Is it a fine sand finish? A heavy dash? A lace texture? You need to replicate that exact pattern on your patch. This is not about being perfect. It’s about being consistent with the imperfections around it. Stucco is naturally irregular. If your patch is too smooth or too uniform, it will stand out.
If your wall has a sand finish, use a sponge float. Dampen the sponge. Gently rub the patch in a circular motion. This brings the sand to the surface and creates that gritty look. Blend the edges of the patch into the surrounding wall. Feather it out. Don’t leave a hard line. If your wall has a dash finish (where small stones are thrown at the wet stucco), you’ll need to flick a mix of sand and cement onto the patch using a brush or a specialized dasher. Practice on a piece of cardboard first. It takes a feel for it.
For swirl or lace patterns, use a trowel or a specialized texturing tool. Create arcs or random patterns that mimic the flow of the existing wall. Look at the direction of the swirls nearby. Match that direction. This is why observation is crucial. No two walls are exactly alike, even on the same house. The south side might be weathered differently than the north side. Try to match the texture of the immediate area, not the whole house. It’s a local repair, not a global renovation.
Don’t be afraid to experiment. If the first attempt looks wrong, knock it down and try again while it’s still wet. Keep a spray bottle handy to keep the surface workable. The goal is to make the eye glide over the patch without stopping. If your eye catches on it, it’s not blended enough. Step back. Squint. Does it disappear? Good. If not, adjust. Add more texture. Smooth it out. Keep going until it feels right.
You’ve matched the texture. You’re tired. You want to be done. But wait. The patch needs to cure. Stucco gains strength through hydration, not just drying. Keep the patch misted with water for 24 to 48 hours. Cover it with plastic sheeting if it’s sunny or windy. This slow curing process prevents shrinkage cracks. It’s the difference between a patch that lasts five years and one that cracks next winter. Patience pays off here.
Once cured, you’ll likely need to paint. Even if you matched the color of the mix perfectly, the new patch will look different because it’s fresh. It hasn’t weathered. Wait at least 30 days before painting to ensure all moisture has escaped. Use a high-quality exterior acrylic paint. Primer first, then two coats of paint. Feather the paint out beyond the patch area to blend the sheen. Sometimes, a "fog coat" (a thin wash of colored cement) is used instead of paint to maintain the breathable nature of the stucco, but paint is more common in residential settings in 2026.
Finally, keep an eye on it. Check the patch after the first big rain. Check it after the first freeze. If you see new hairline cracks forming around the edge, it might mean the patch was too rigid or the underlying movement is continuing. Small touch-ups are easy. Just clean, fill, and re-texture. Maintaining your stucco isn’t a one-and-done deal. It’s part of owning a home. But now that you know the trick to matching texture, those repairs won’t feel like failures. They’ll feel like victories. Small, invisible victories that keep your home looking its best.